Disclaimer: Please note that the following blog post may not be suitable for those seeking practical, budget-friendly, or safe EV conversion tips. This post is not intended for purists who prioritize authenticity and originality in their car builds. The ideas and suggestions presented in this blog post are purely for entertainment purposes and should not be attempted without proper expertise, experience, and caution. We highly recommend seeking professional assistance and conducting thorough research before attempting any custom EV conversion. By reading this blog post, you acknowledge that you assume all risks and responsibilities associated with attempting any of the ideas presented herein.
Quick links
Jump ahead to a part of this page
Introduction
Swapping a Tesla motor into a Volkswagen Rabbit is a project that requires a lot of planning, research, and hands-on experience. This project involves the conversion of an internal combustion engine-powered car to an electric car, which is an exciting and rewarding endeavor for those who are passionate about sustainability, innovation and serious problem solving.
Before diving into the technical aspects of this project, it’s essential to have a clear understanding of the benefits and challenges of electric car conversion. The primary benefit of converting a car to an electric motor is that it’s much more environmentally friendly than a traditional gasoline engine. Electric cars produce zero emissions, which means they don’t contribute to air pollution and greenhouse gases. Additionally, electric cars are more efficient, cheaper to maintain, and offer a smoother driving experience compared to their gasoline counterparts… and can be stupid fast if desired.
However, there are some challenges associated with electric car conversion. The most significant challenge is the cost. Swapping a Tesla motor into a Volkswagen Rabbit requires a significant investment in parts, labor, and expertise. Furthermore, electric car conversion is not a simple plug-and-play process. It involves rewiring the entire car, installing new batteries, and programming the motor controller. Additionally, electric car conversion requires advanced technical skills and specialized equipment, which can be challenging for beginners.
With all that said, let’s dive into the technical aspects of this project. The first step is to source a Tesla motor, which can be purchased from online marketplaces or salvage yards. Once you have the motor, you’ll need to decide how you want to controller it.
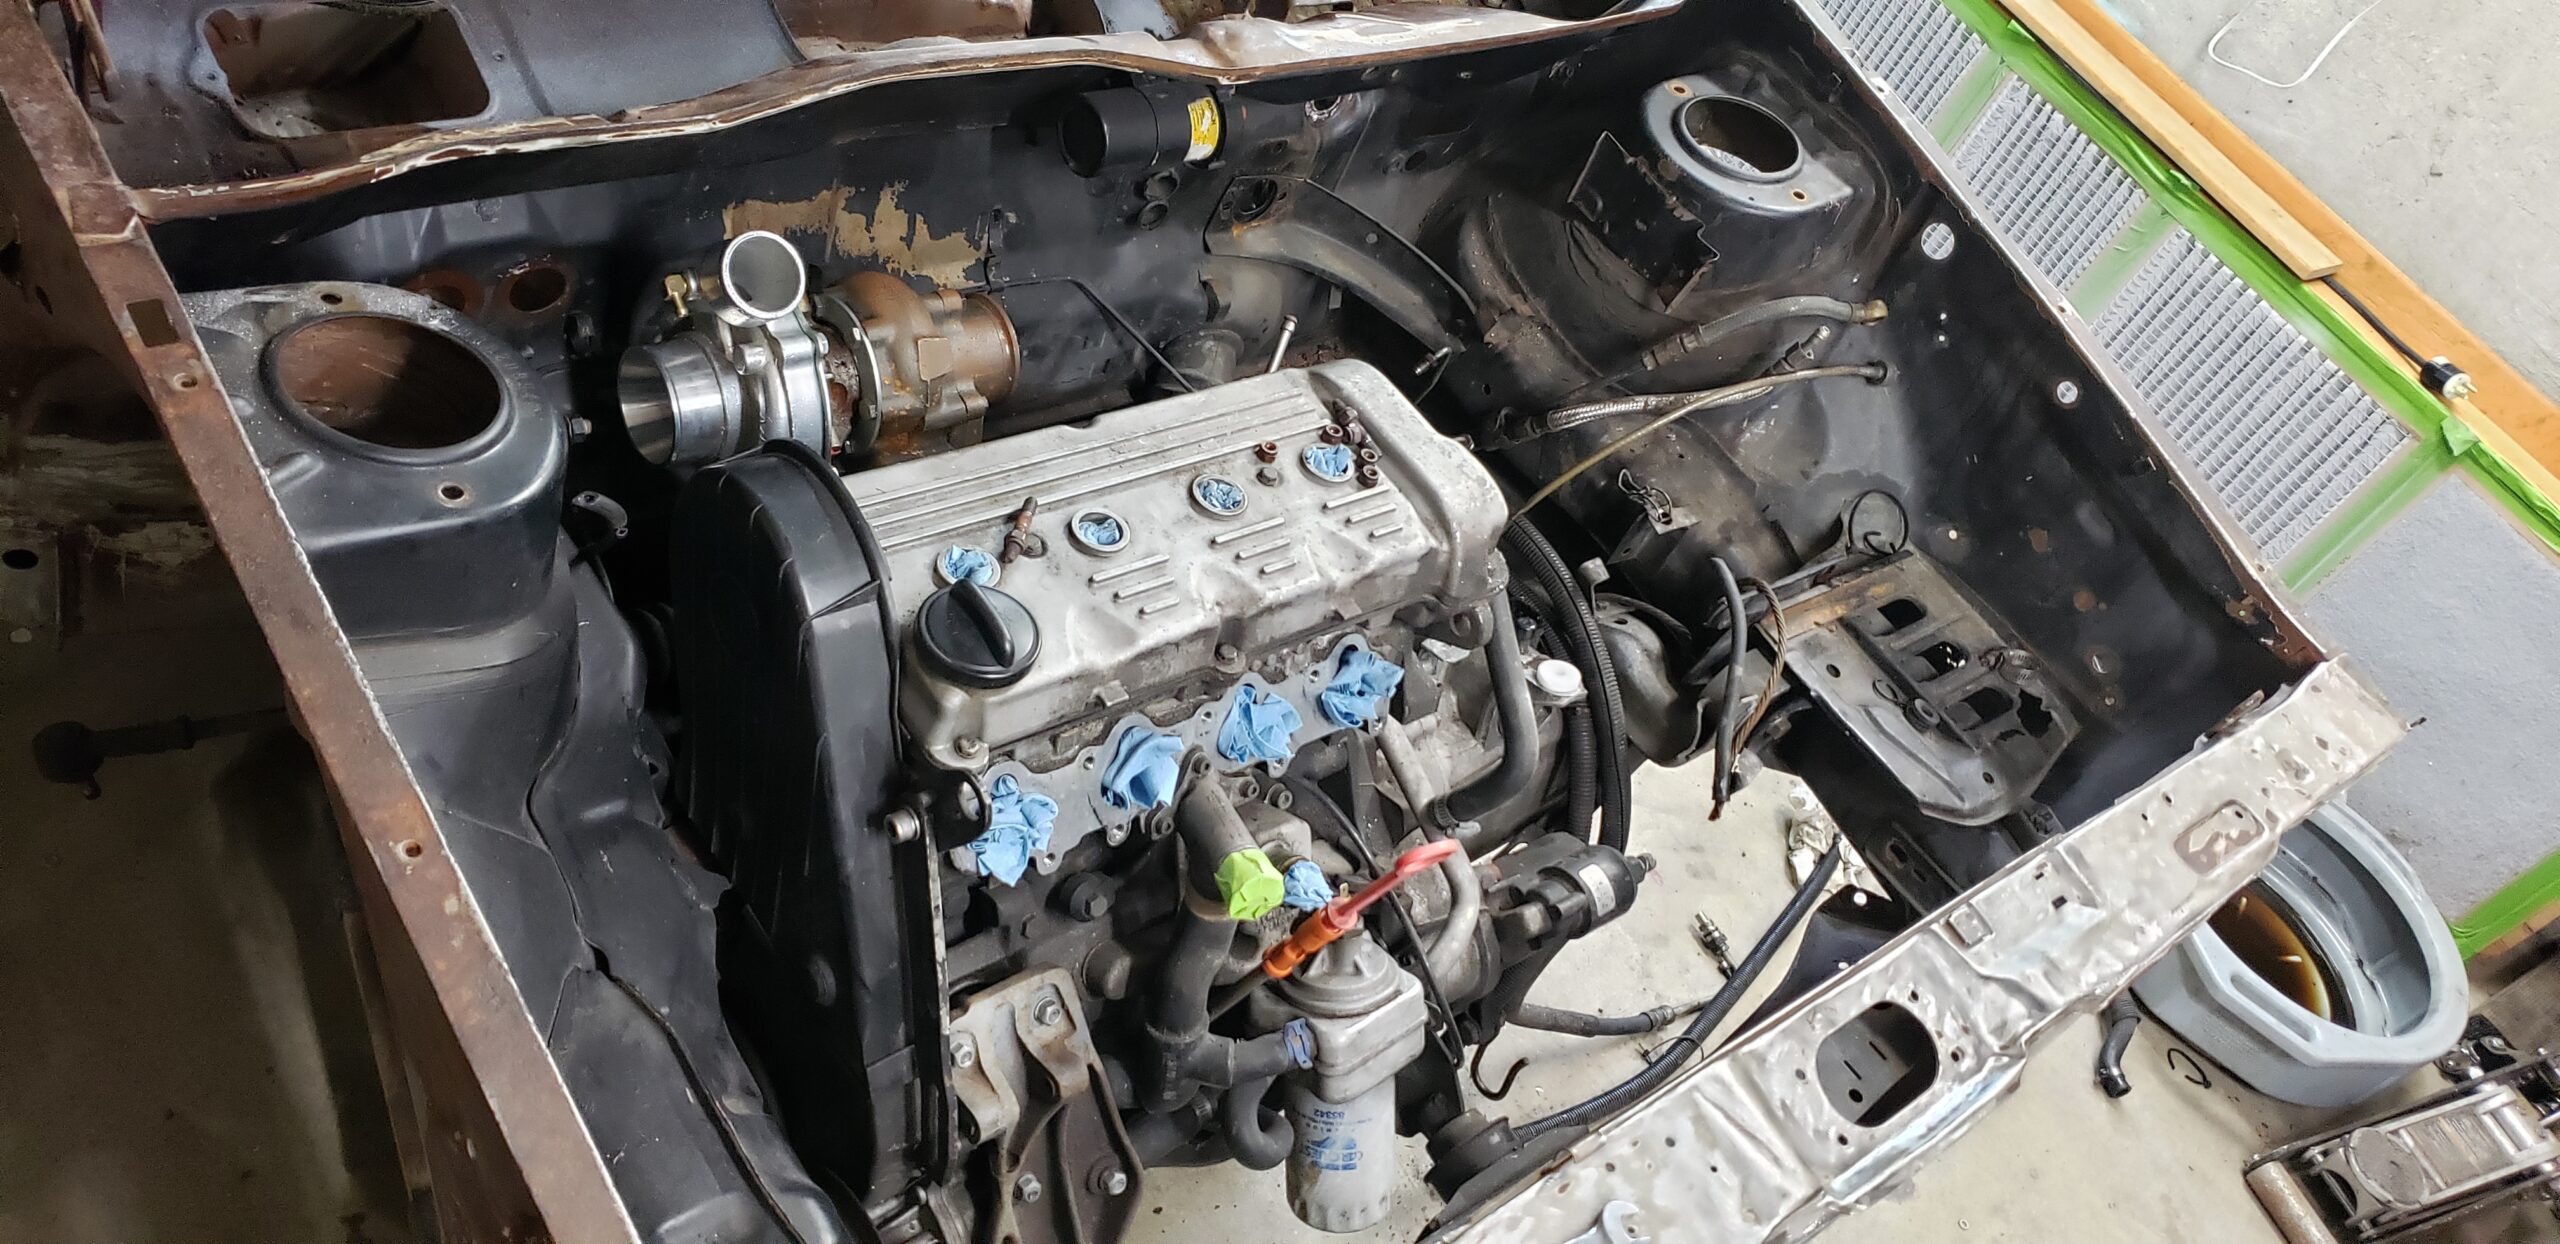
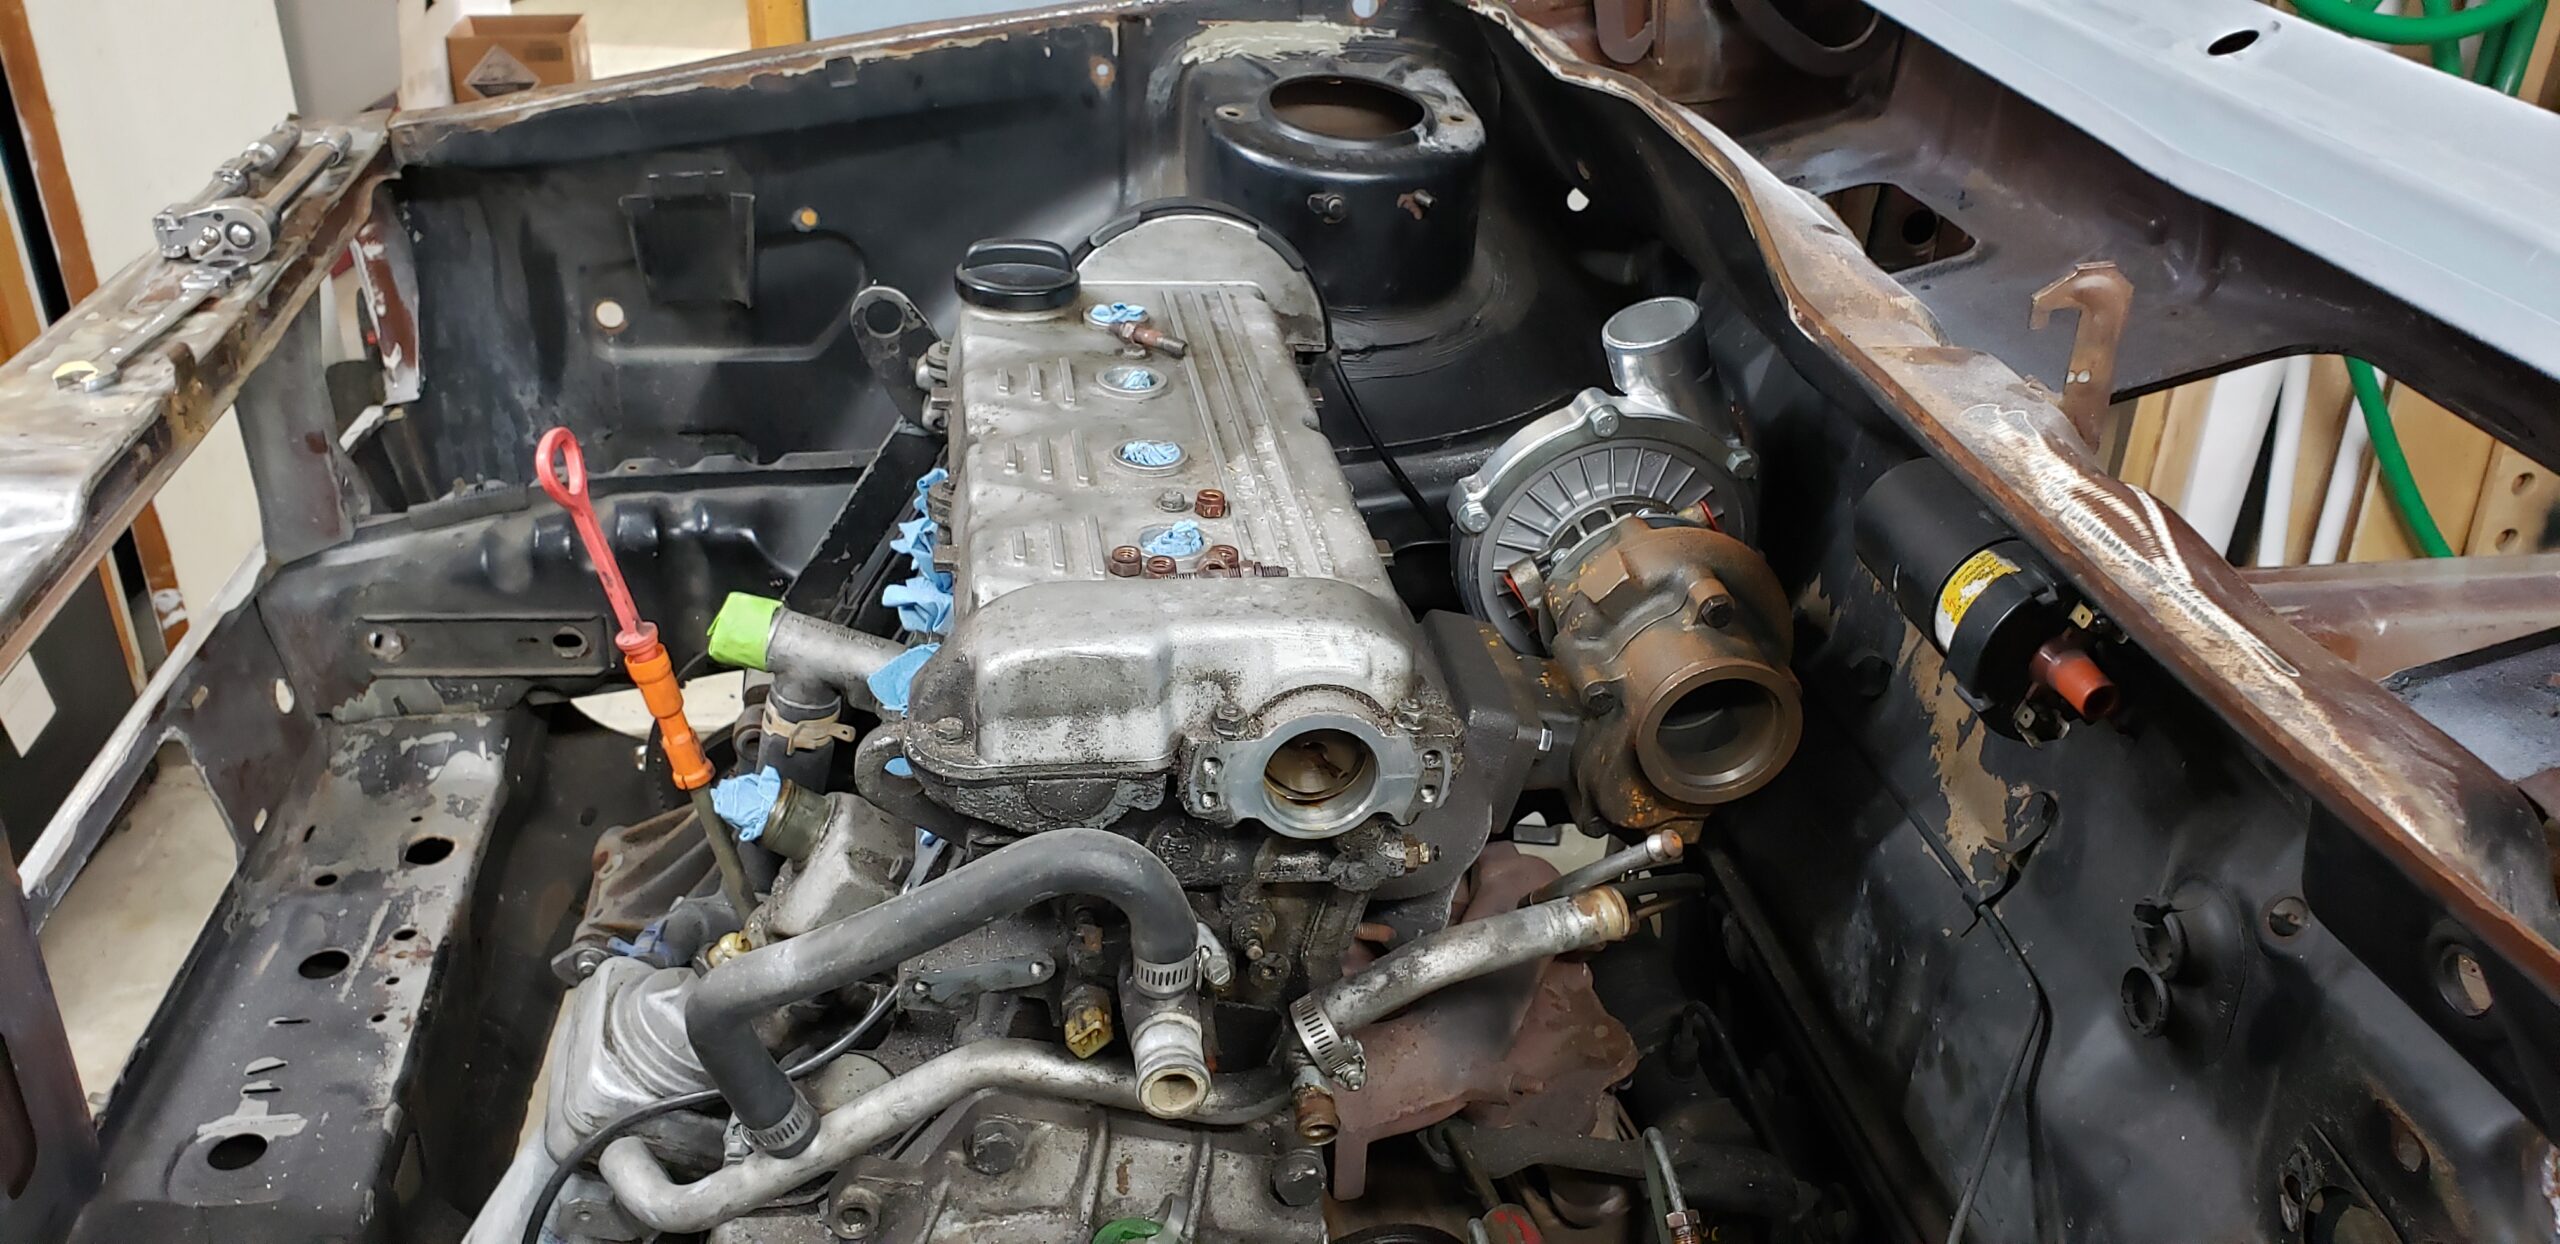
Next, you’ll need to remove the internal combustion engine from your Volkswagen Rabbit and replace it with the Tesla motor. This step requires some mechanical expertise, as you’ll need to disconnect all the wiring and hoses connected to the engine. In this project we will not only replace the stock motor and transmission, but also convert the entire rear end with a drive unit as well.
After the Tesla motor is installed, you’ll need to wire the entire car for electric power. This step involves running new wiring to the battery, motor controller, and all other electrical components. You’ll also need to install new batteries, which are responsible for powering the motor. The number and size of the batteries will depend on the range and power requirements. I’m going for performance not range in this build, so if you have range anxiety, this is not the project for you.
Once the wiring and batteries are installed, you’ll need to program the motor controller to ensure that the Tesla motor is running efficiently and safely. This step requires specialized software and expertise, and it’s crucial to get it right to avoid damaging the motor or other electrical components.
In conclusion, swapping a Tesla motor into a Volkswagen Rabbit is a complex project that requires advanced technical skills, specialized equipment, and a significant investment of time and money. However, the benefits of electric car conversion are undeniable, and the satisfaction of driving a car that you’ve converted to electric power is unparalleled. If you’re up for the challenge, this project can be an exciting and rewarding way to contribute to a more sustainable future… and possibly die in the process.
In the Beginning
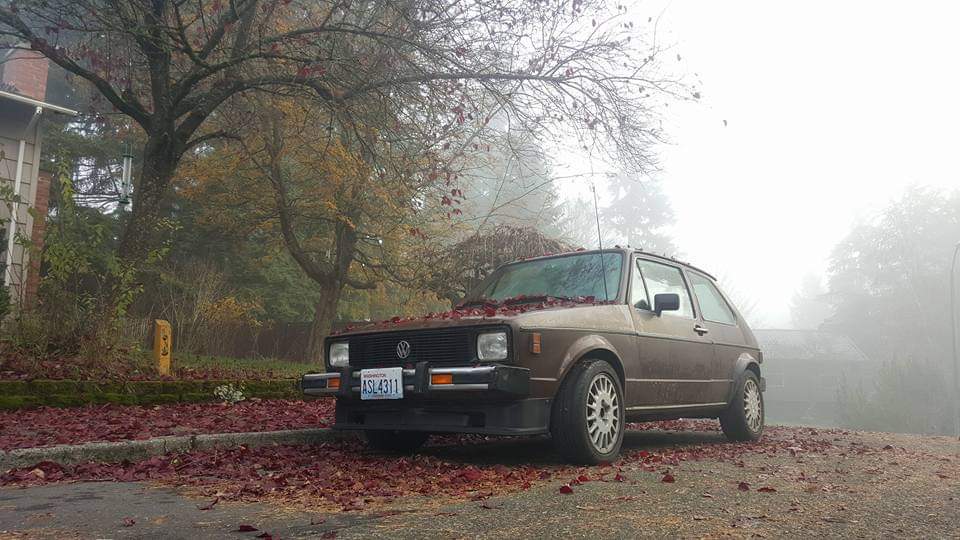
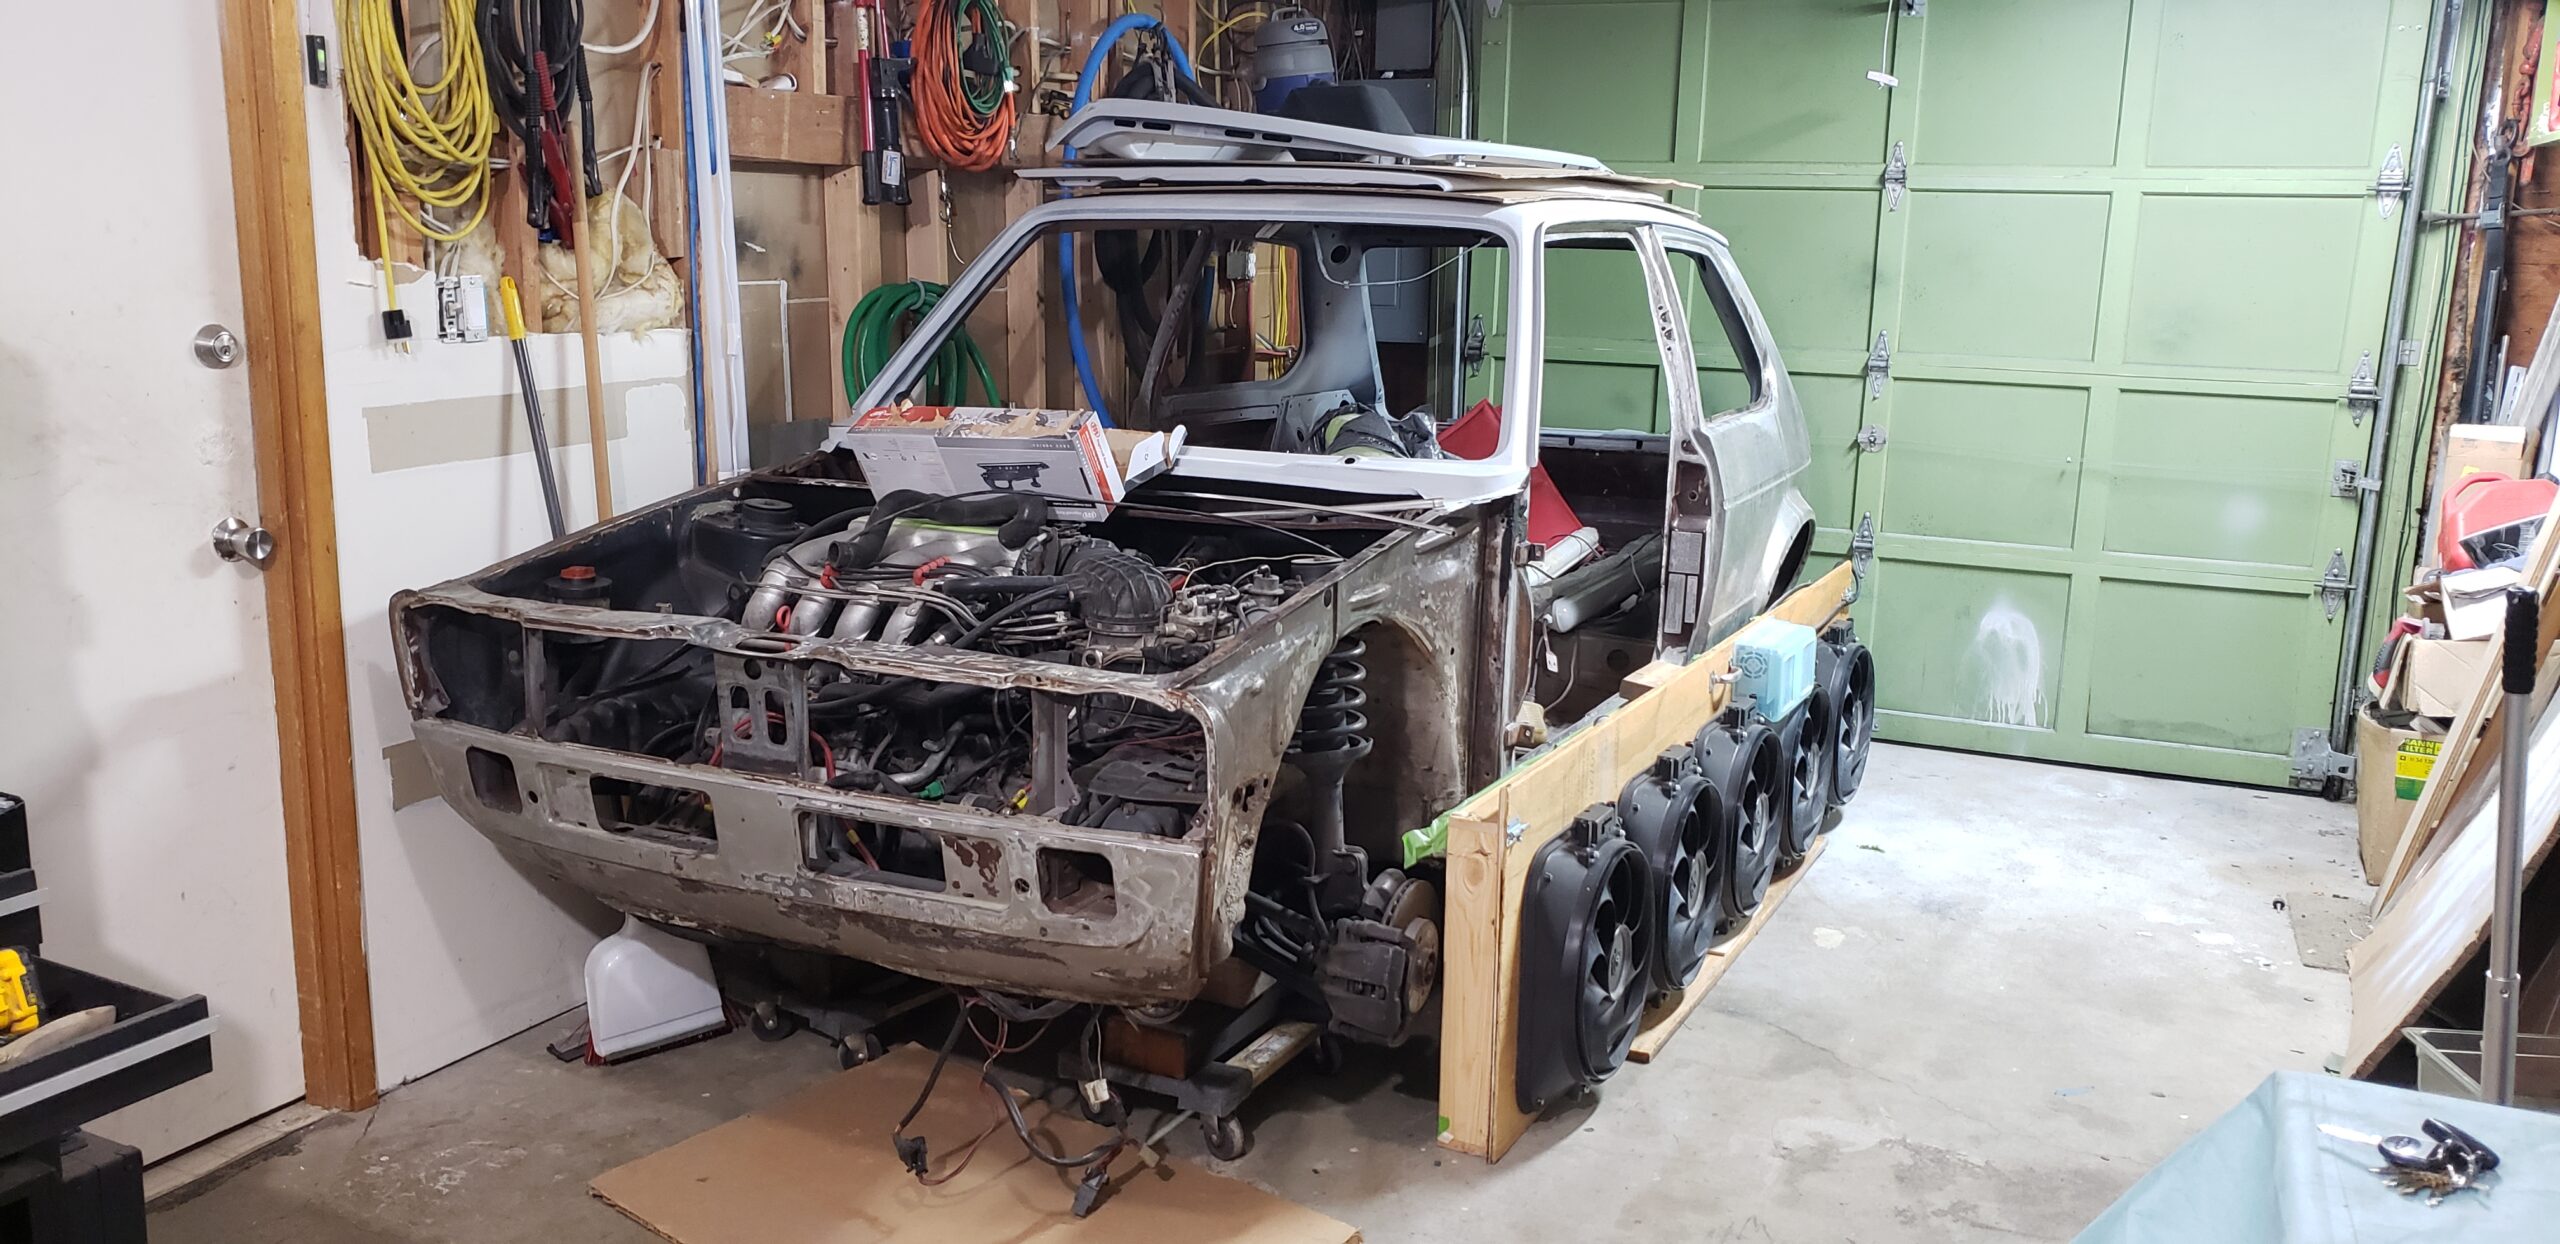
It all started when my friend offered to sell me his 1979 Rabbit for a ridiculously low price. At the time, I had been looking for a new project car and I jumped at the opportunity to buy something that I could fix up and customize to my liking. Side note: I had a green 1976 four door as my first car, so there is a lot of nostalgia involved.
The car was in pretty rough shape when I first got it. It had been sitting in my friend’s driveway for years, and the interior was covered in dust and debris. The engine was in need of some serious work, and paint was completely faded.
Over the course of the next few years, I revived the engine, rebuilt the transmission, and upgraded many other components.
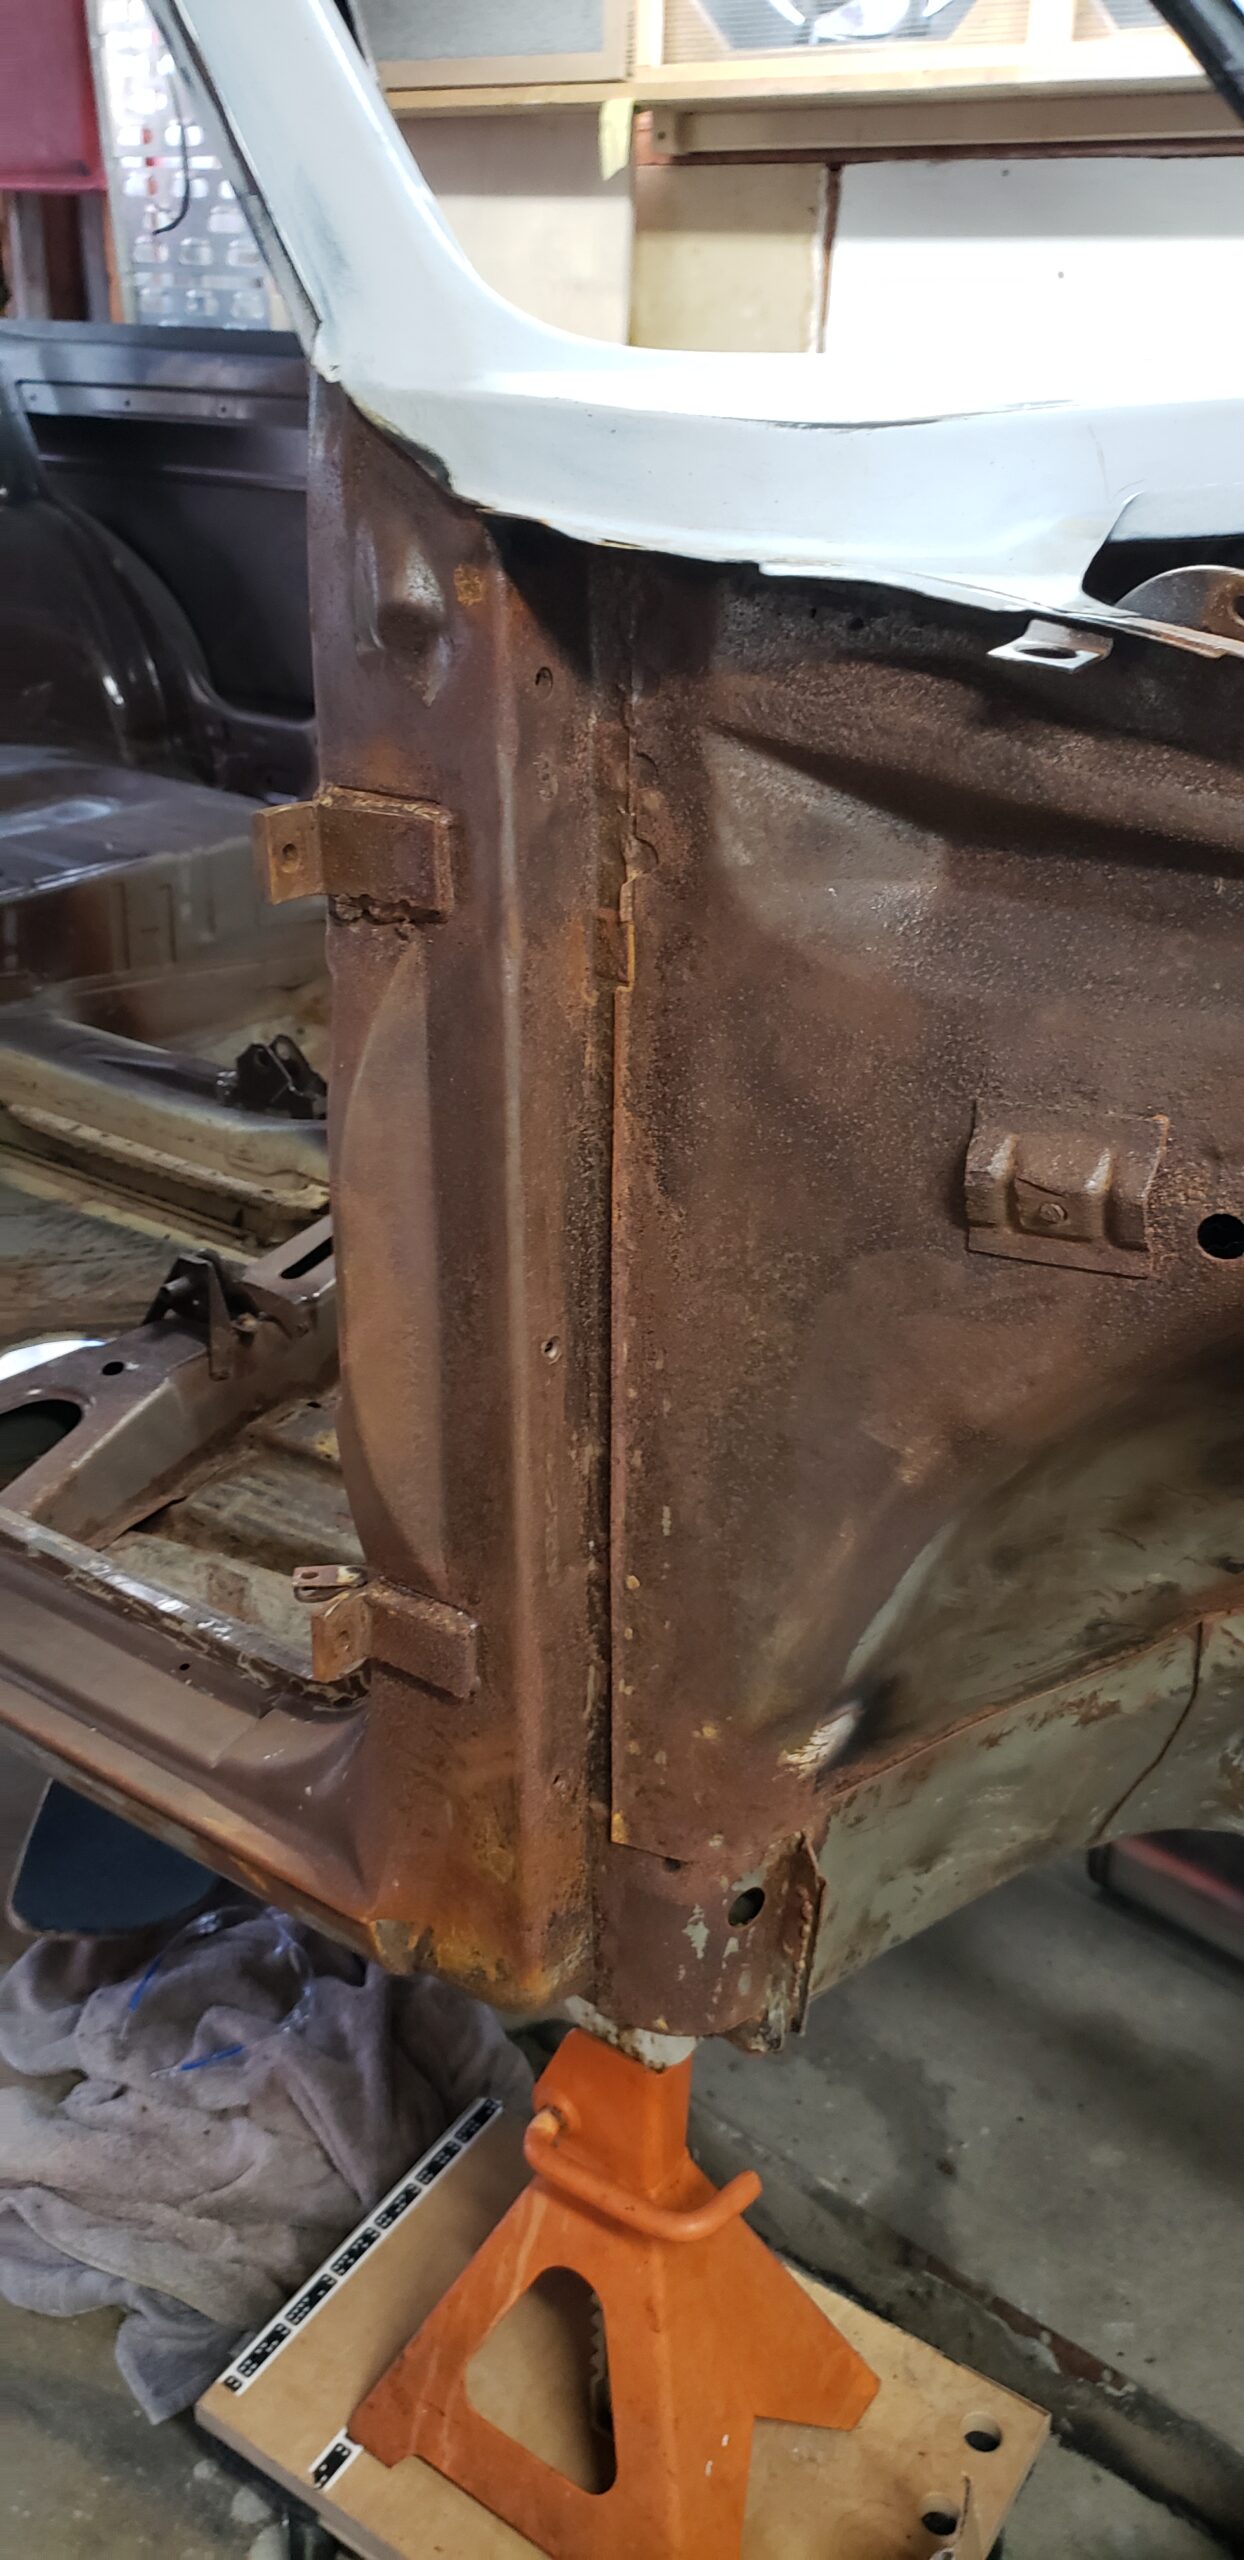
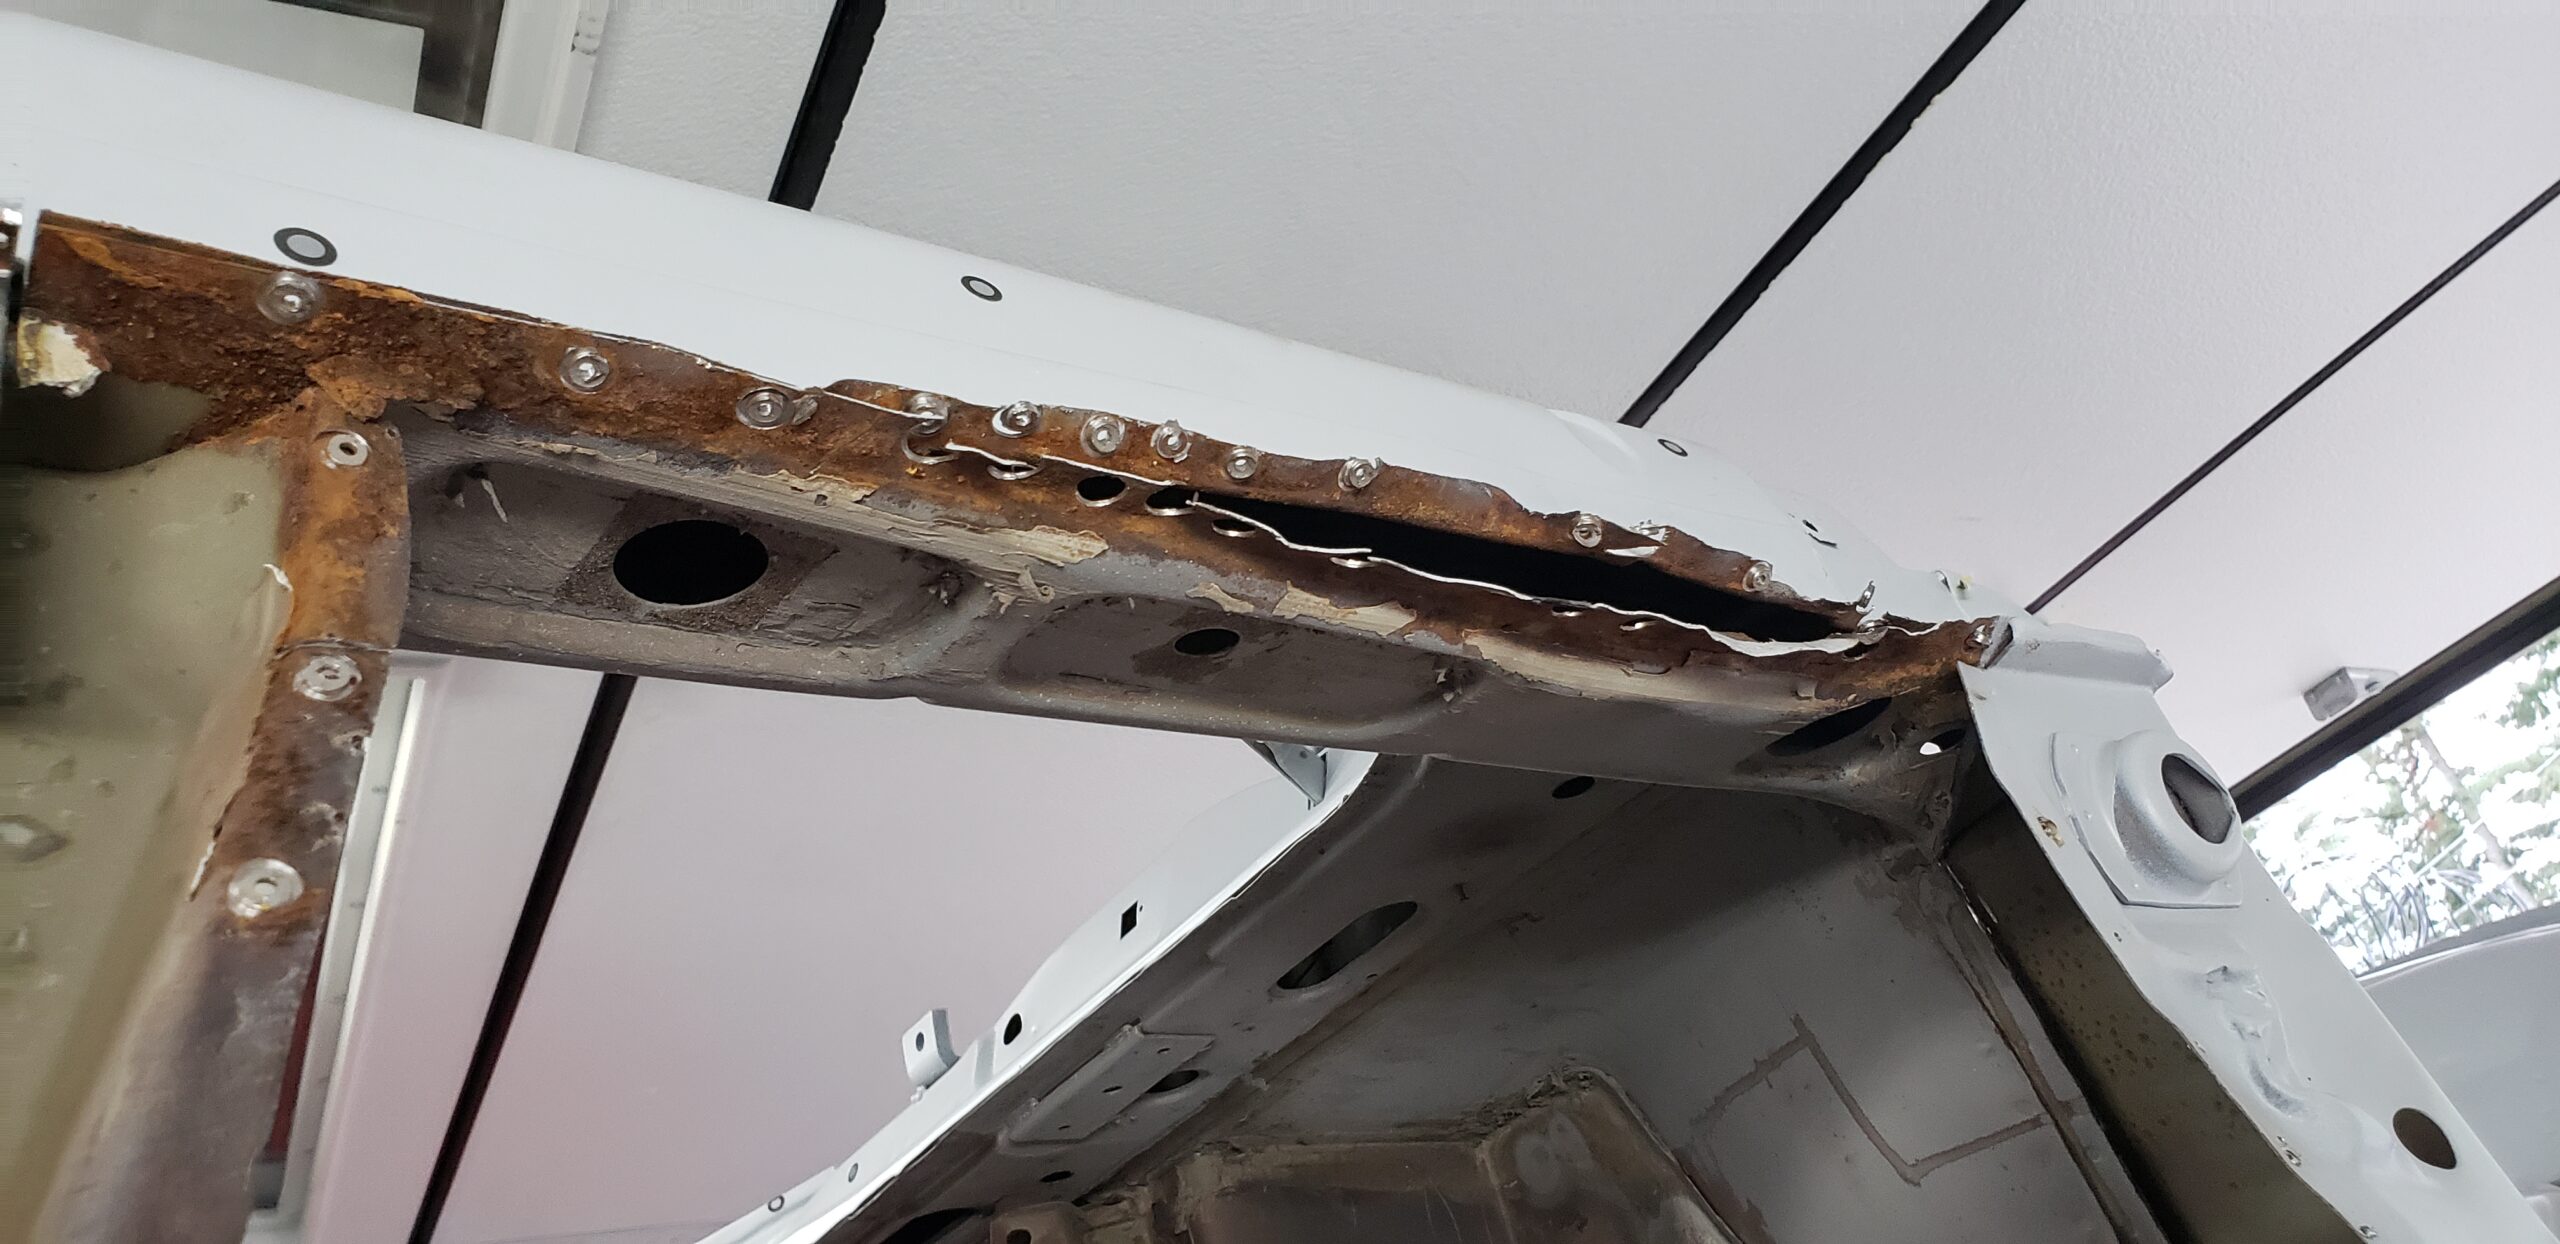
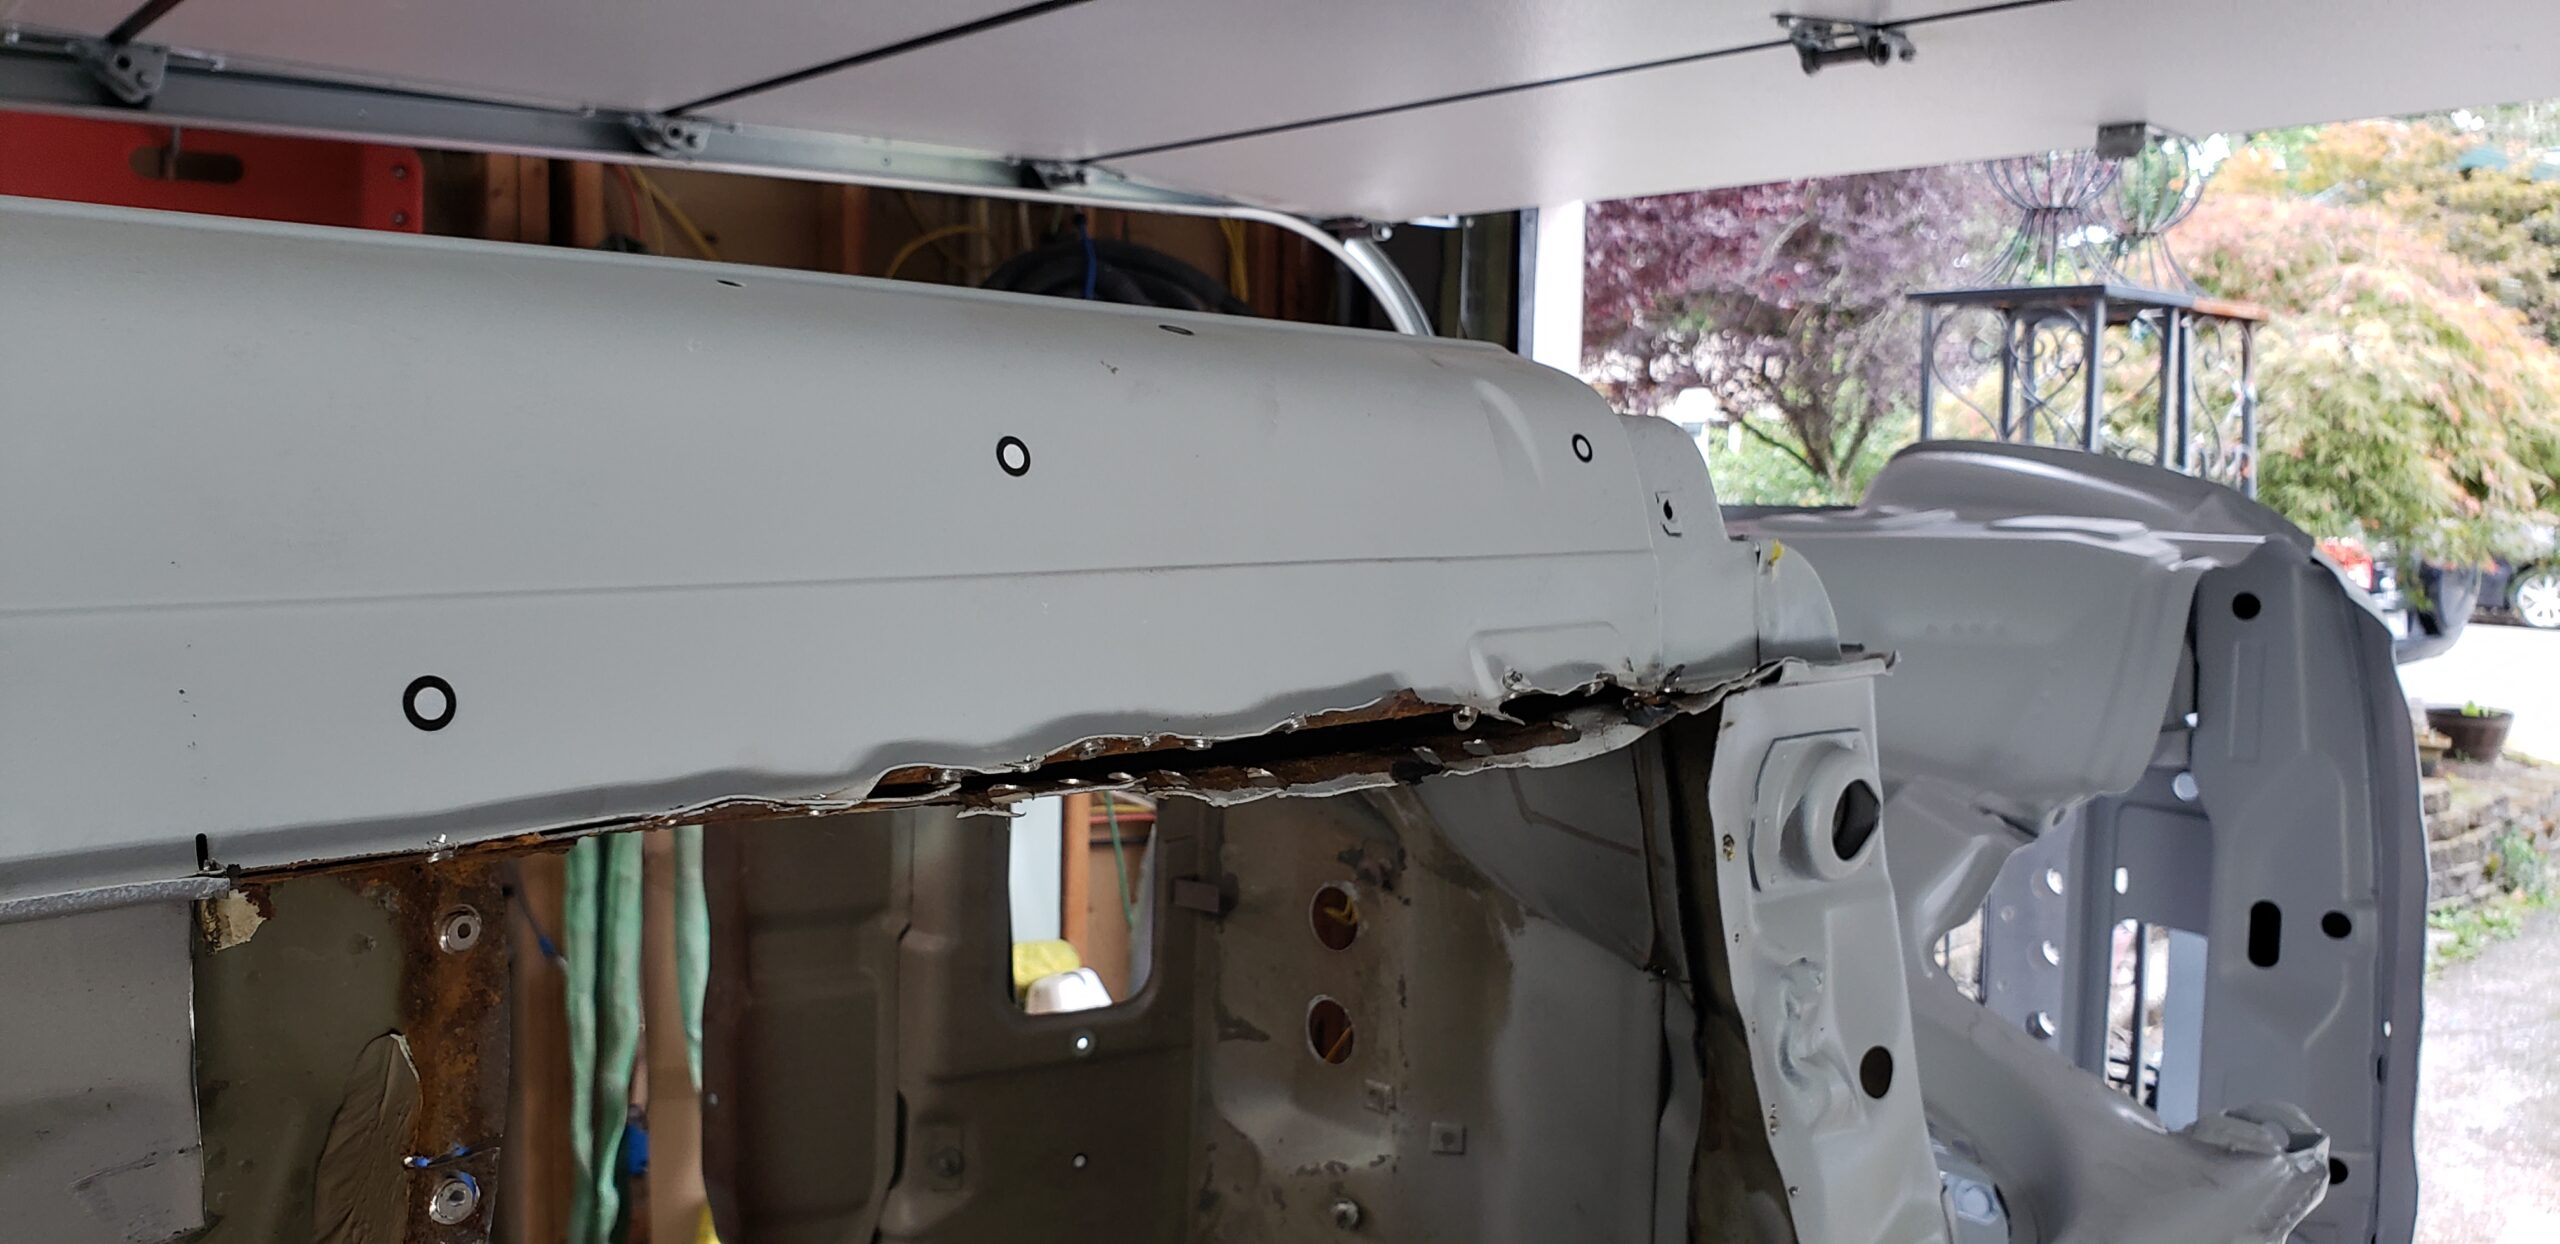
But after five years of driving the car, I realized that I had hit a wall. As much as I loved the car, It would never be close to perfect and need some serious rust repairs.
So I made the difficult decision to take the car completely apart and start from scratch. I wanted to build my dream Volkswagen, something that would truly reflect my own unique style and personality.
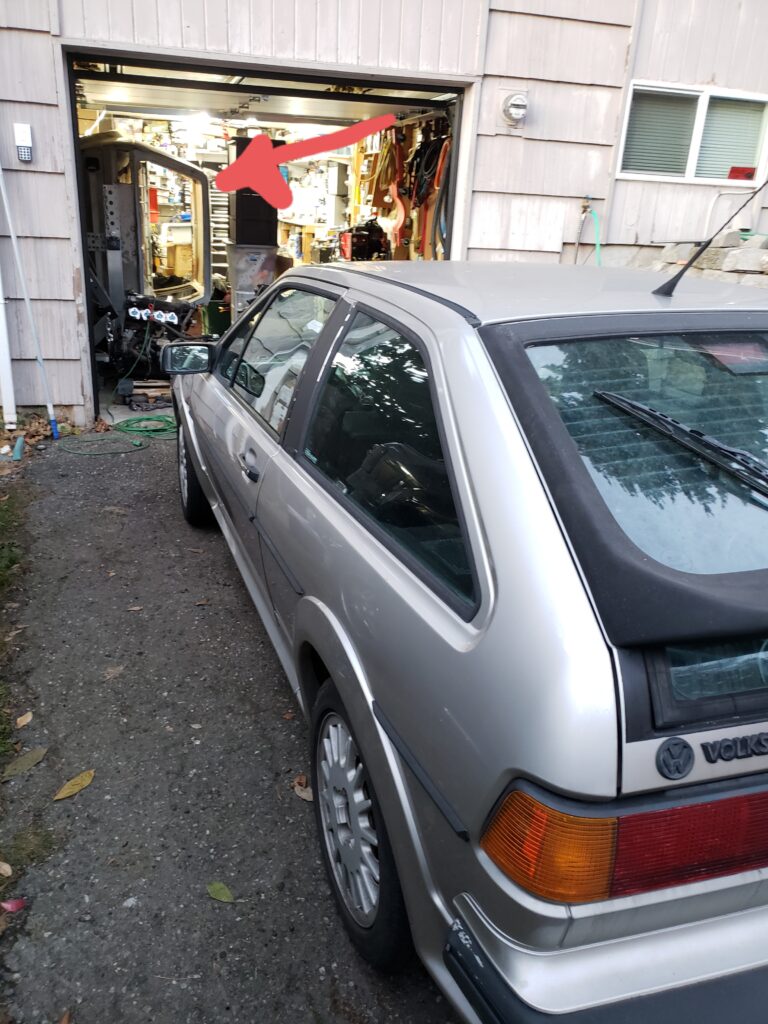
Where this project really changed.
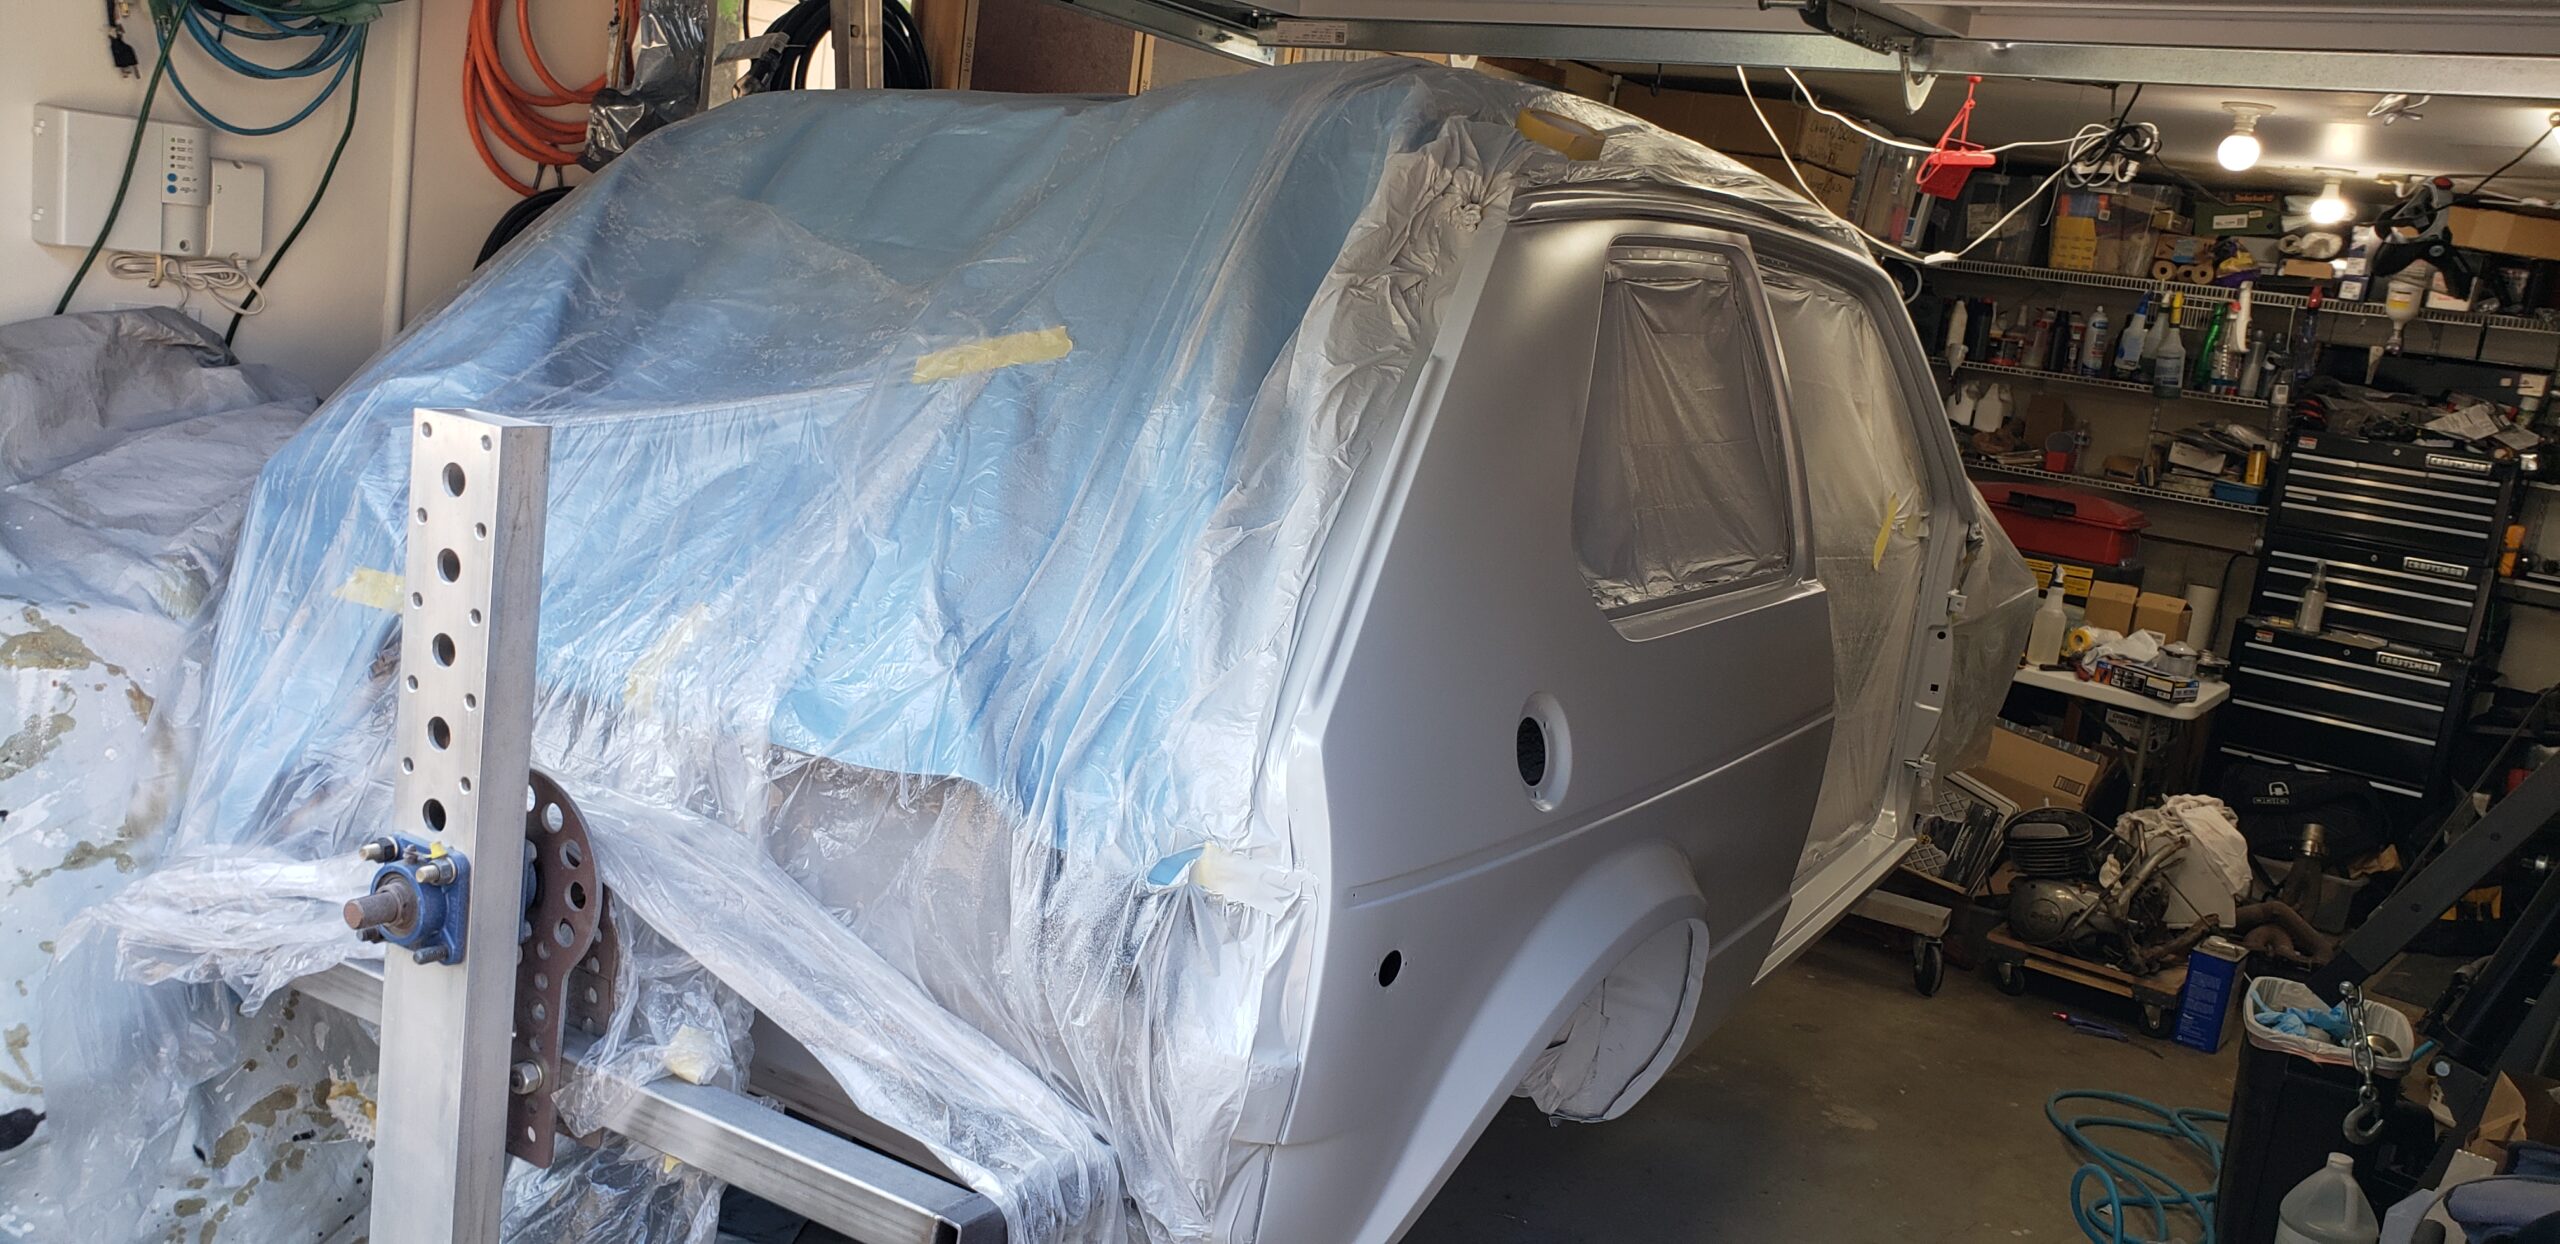
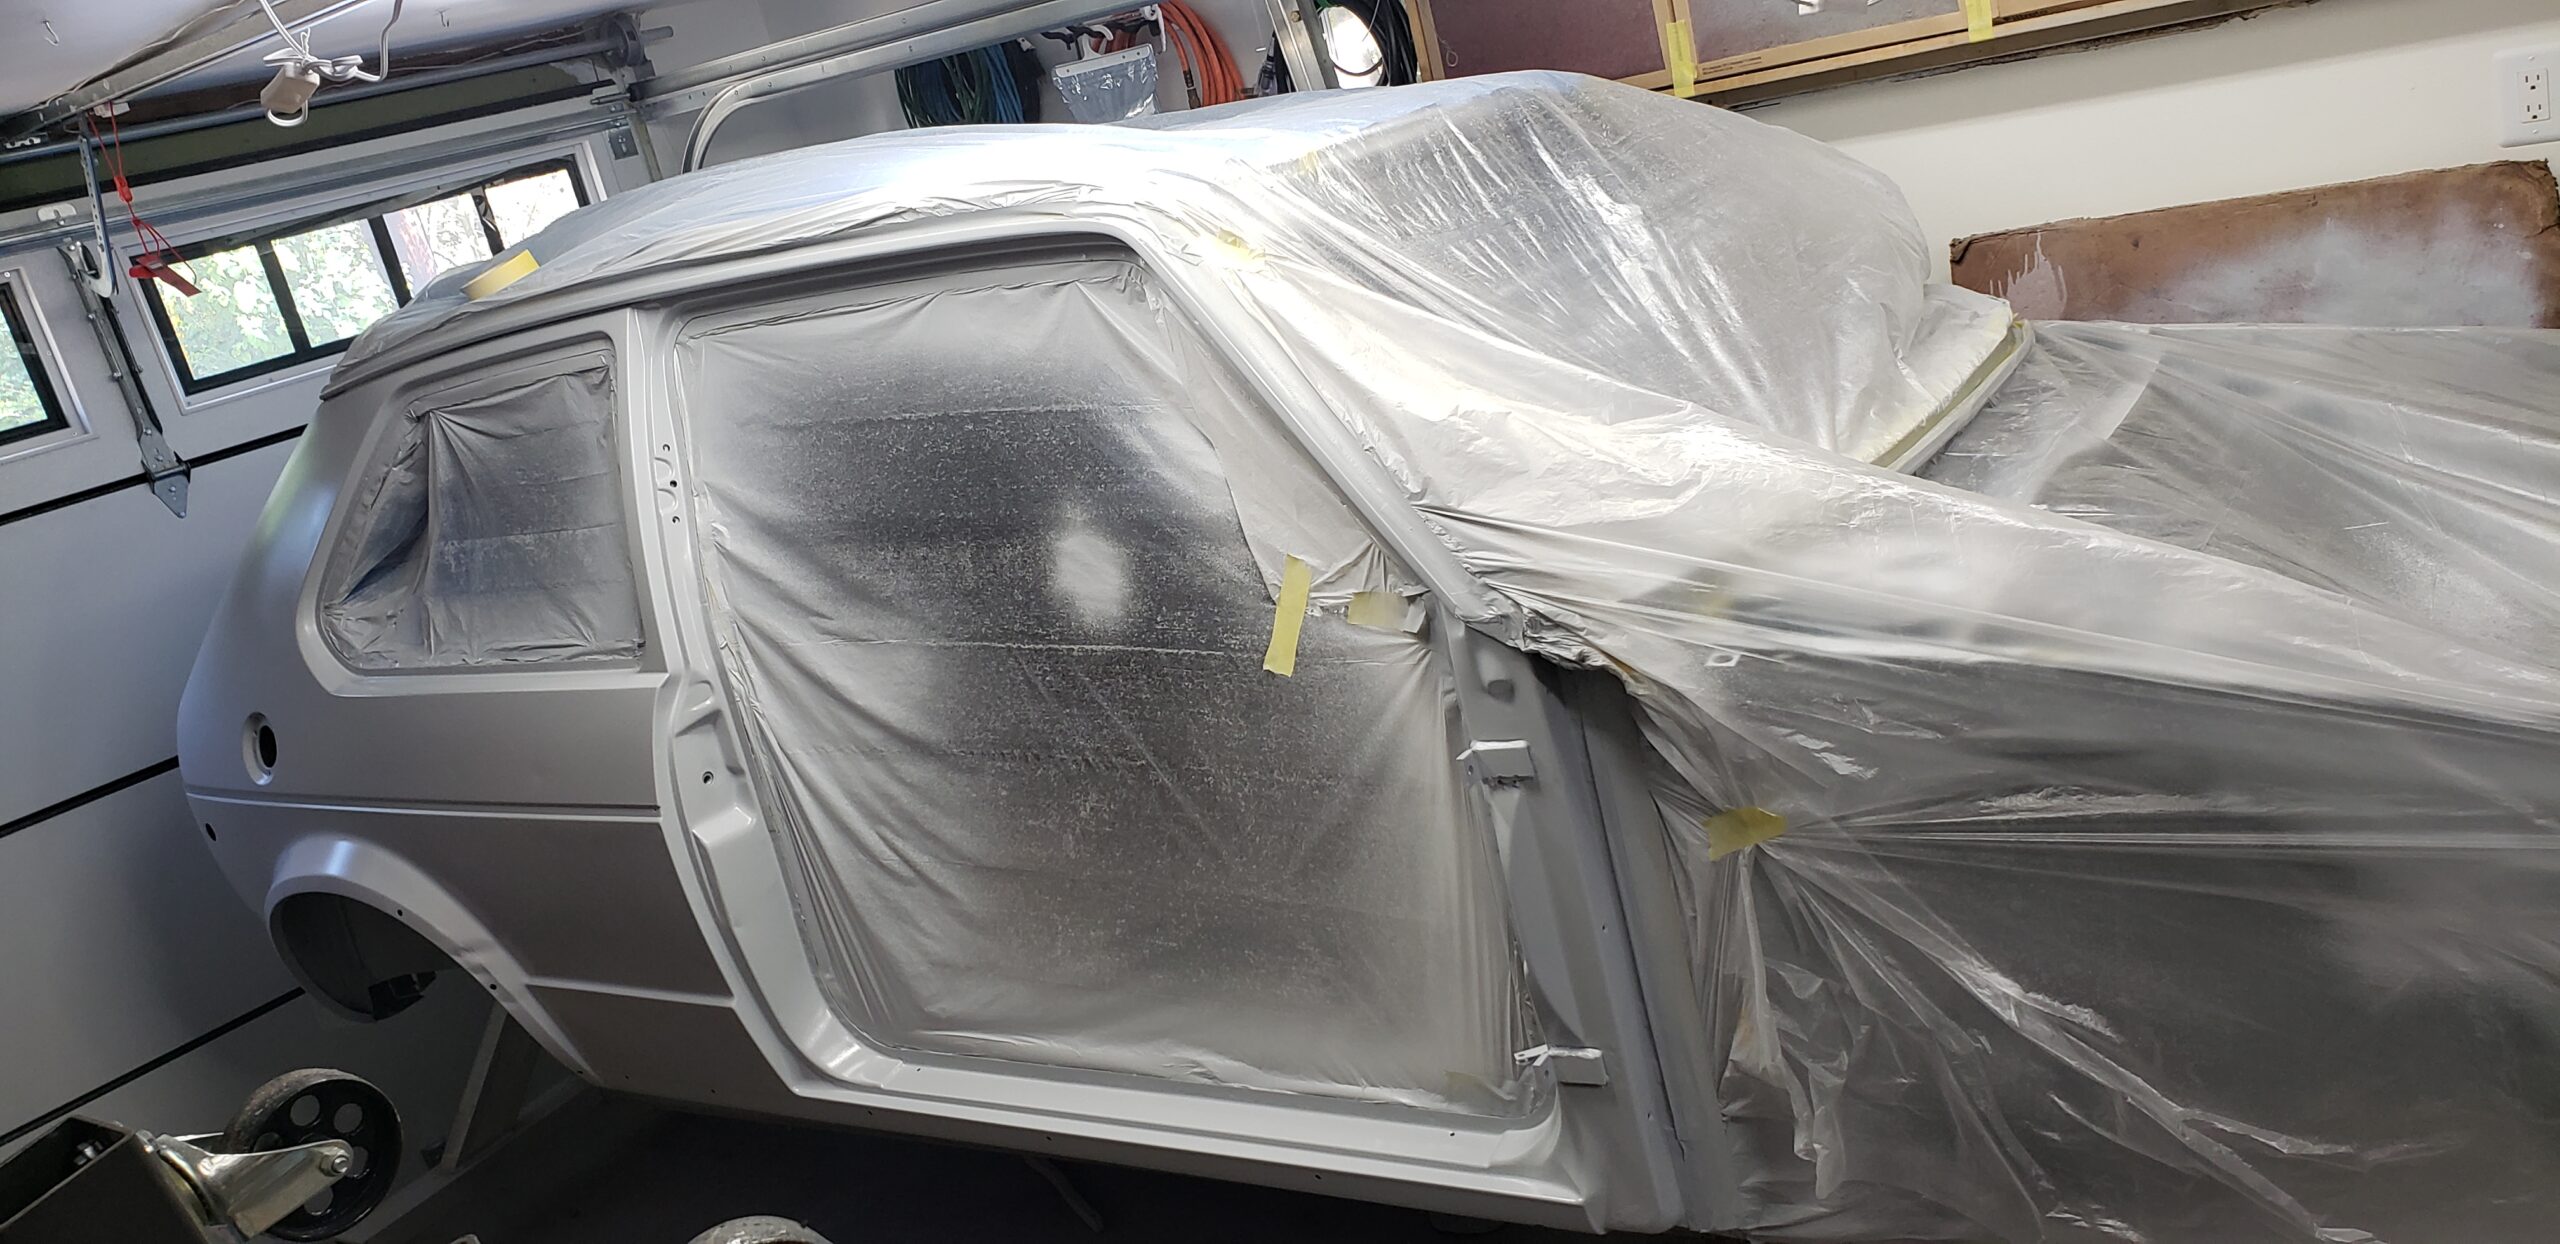
Years ago I started down the road of repainting my MK1. I was planning on giving it a fresh look and doing a lot of engine and suspension mods. First I sanded the roof, then the sides, doors and fenders. The farther I went the more rust I found, and the more discouraging my current plan was. I started to realize I’ll never be happy with this car until I’ve torn it completely apart and started from scratch. These photos were that last taken of my MK1 with an internal combustion engine, the next morning I would drop the motor and suspension. At this time I planned on putting this motor back in, it wasn’t until a year later when I first got the idea to EV swap it.
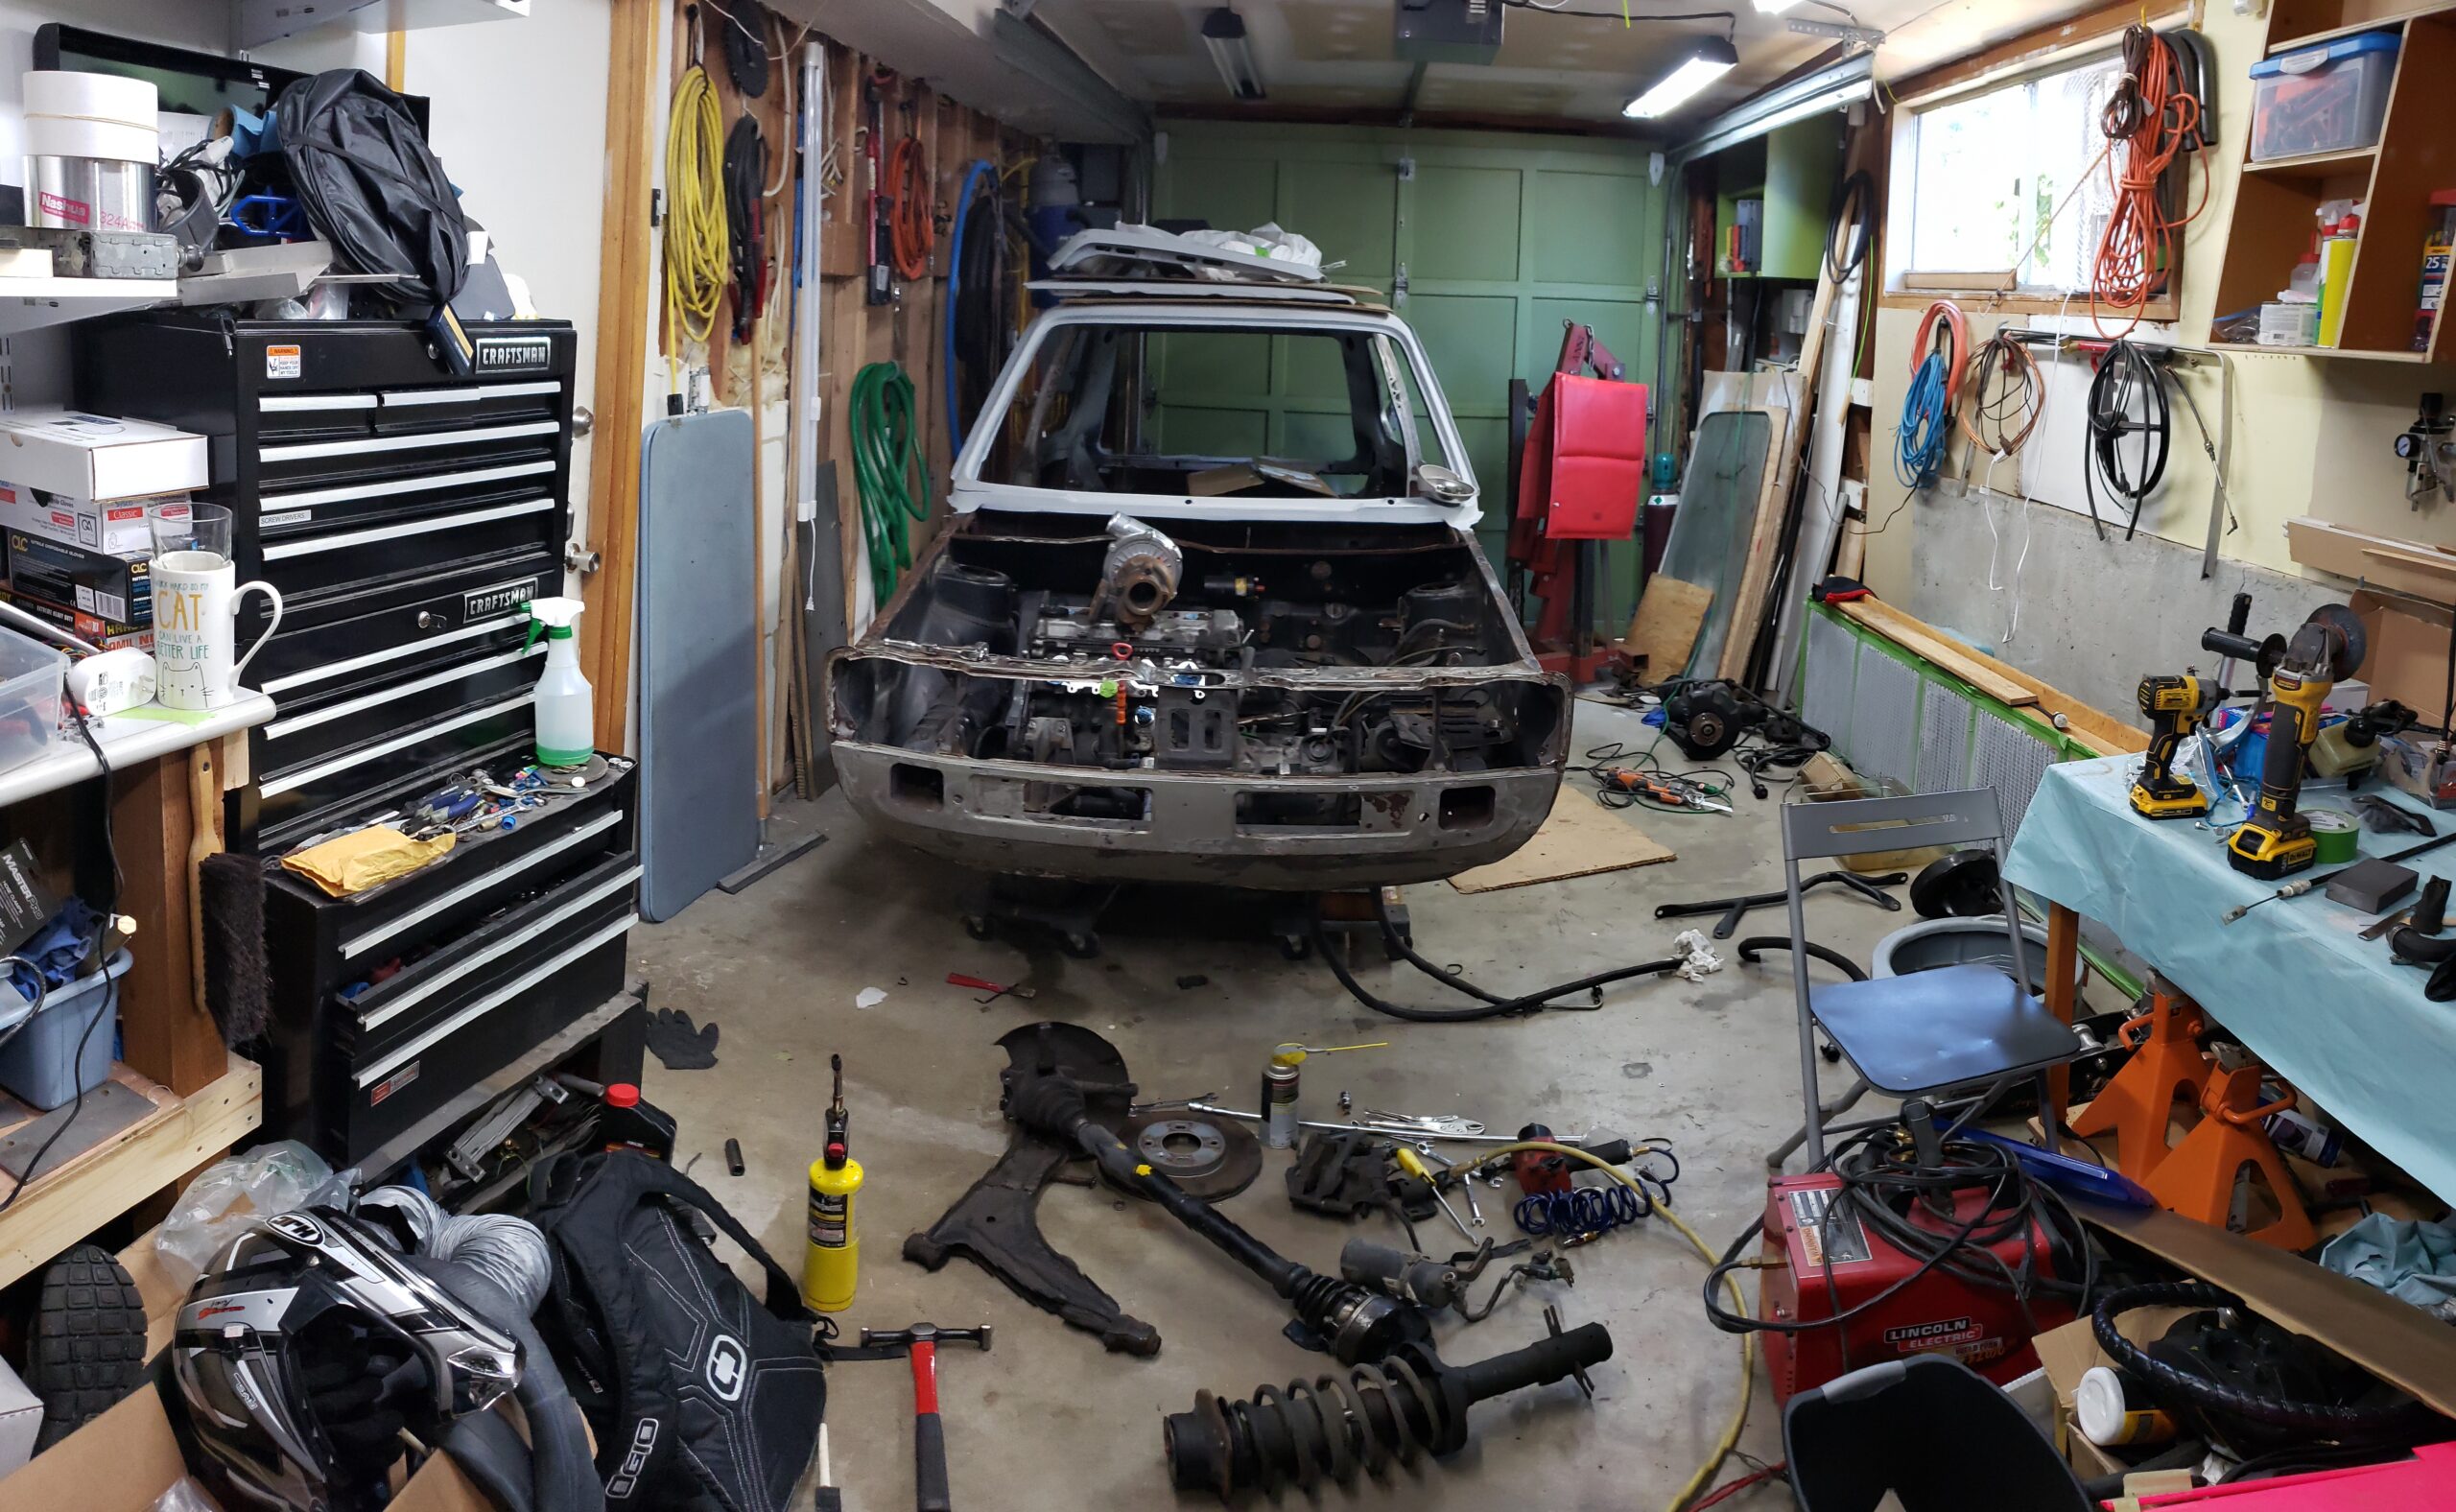
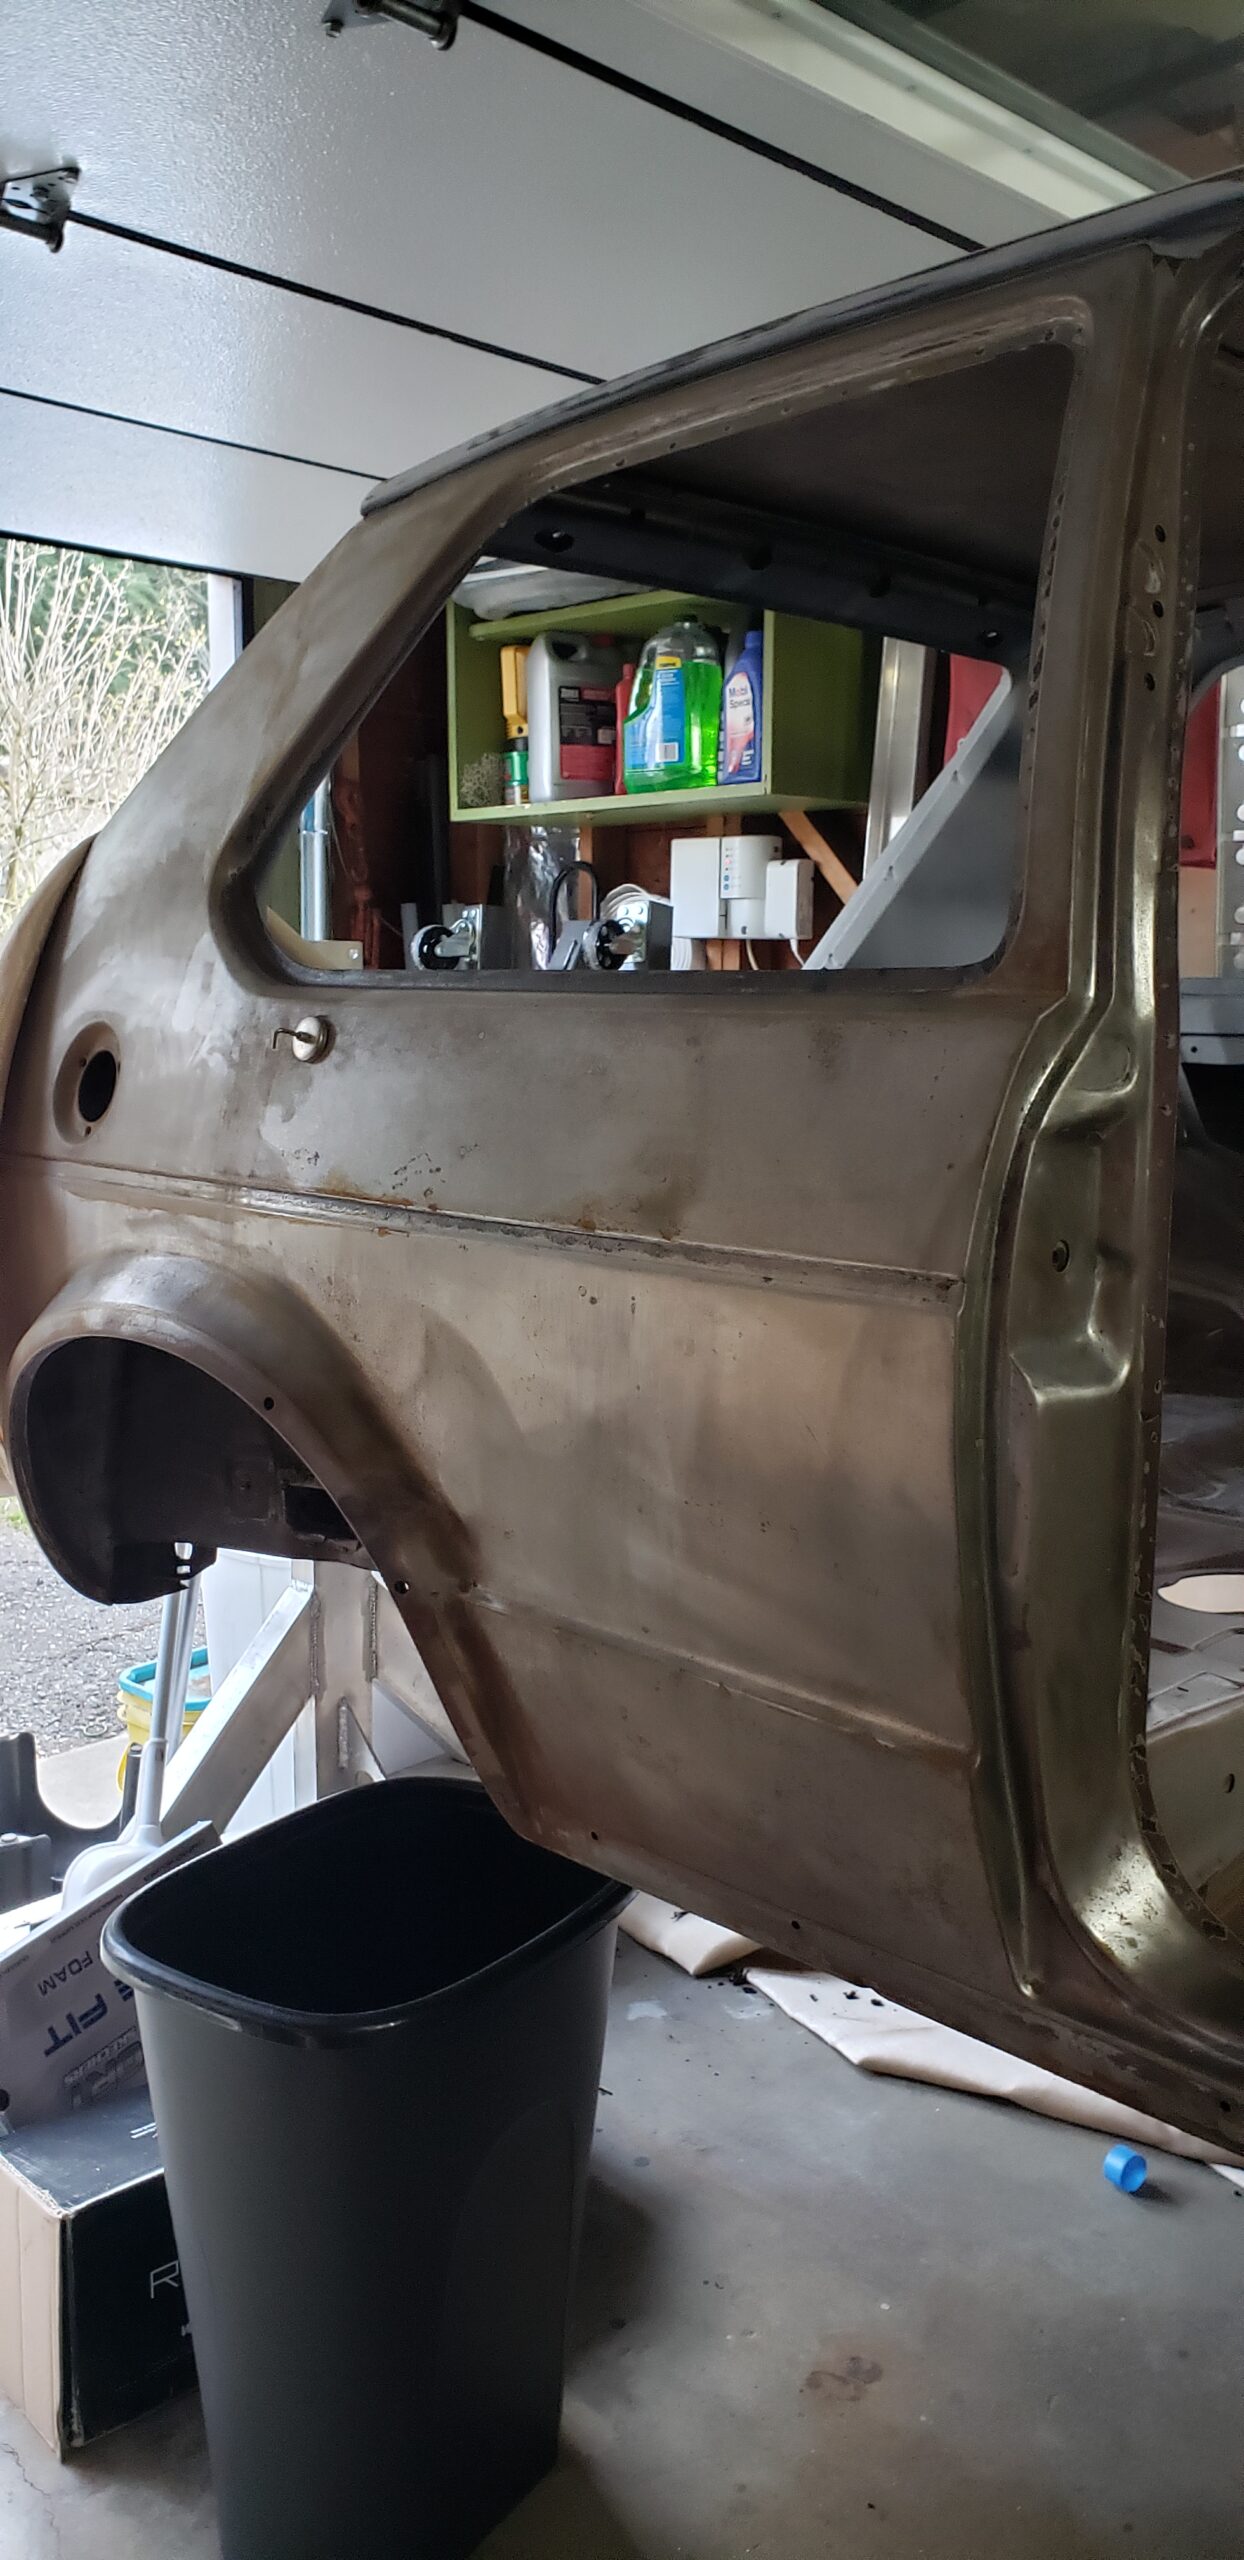
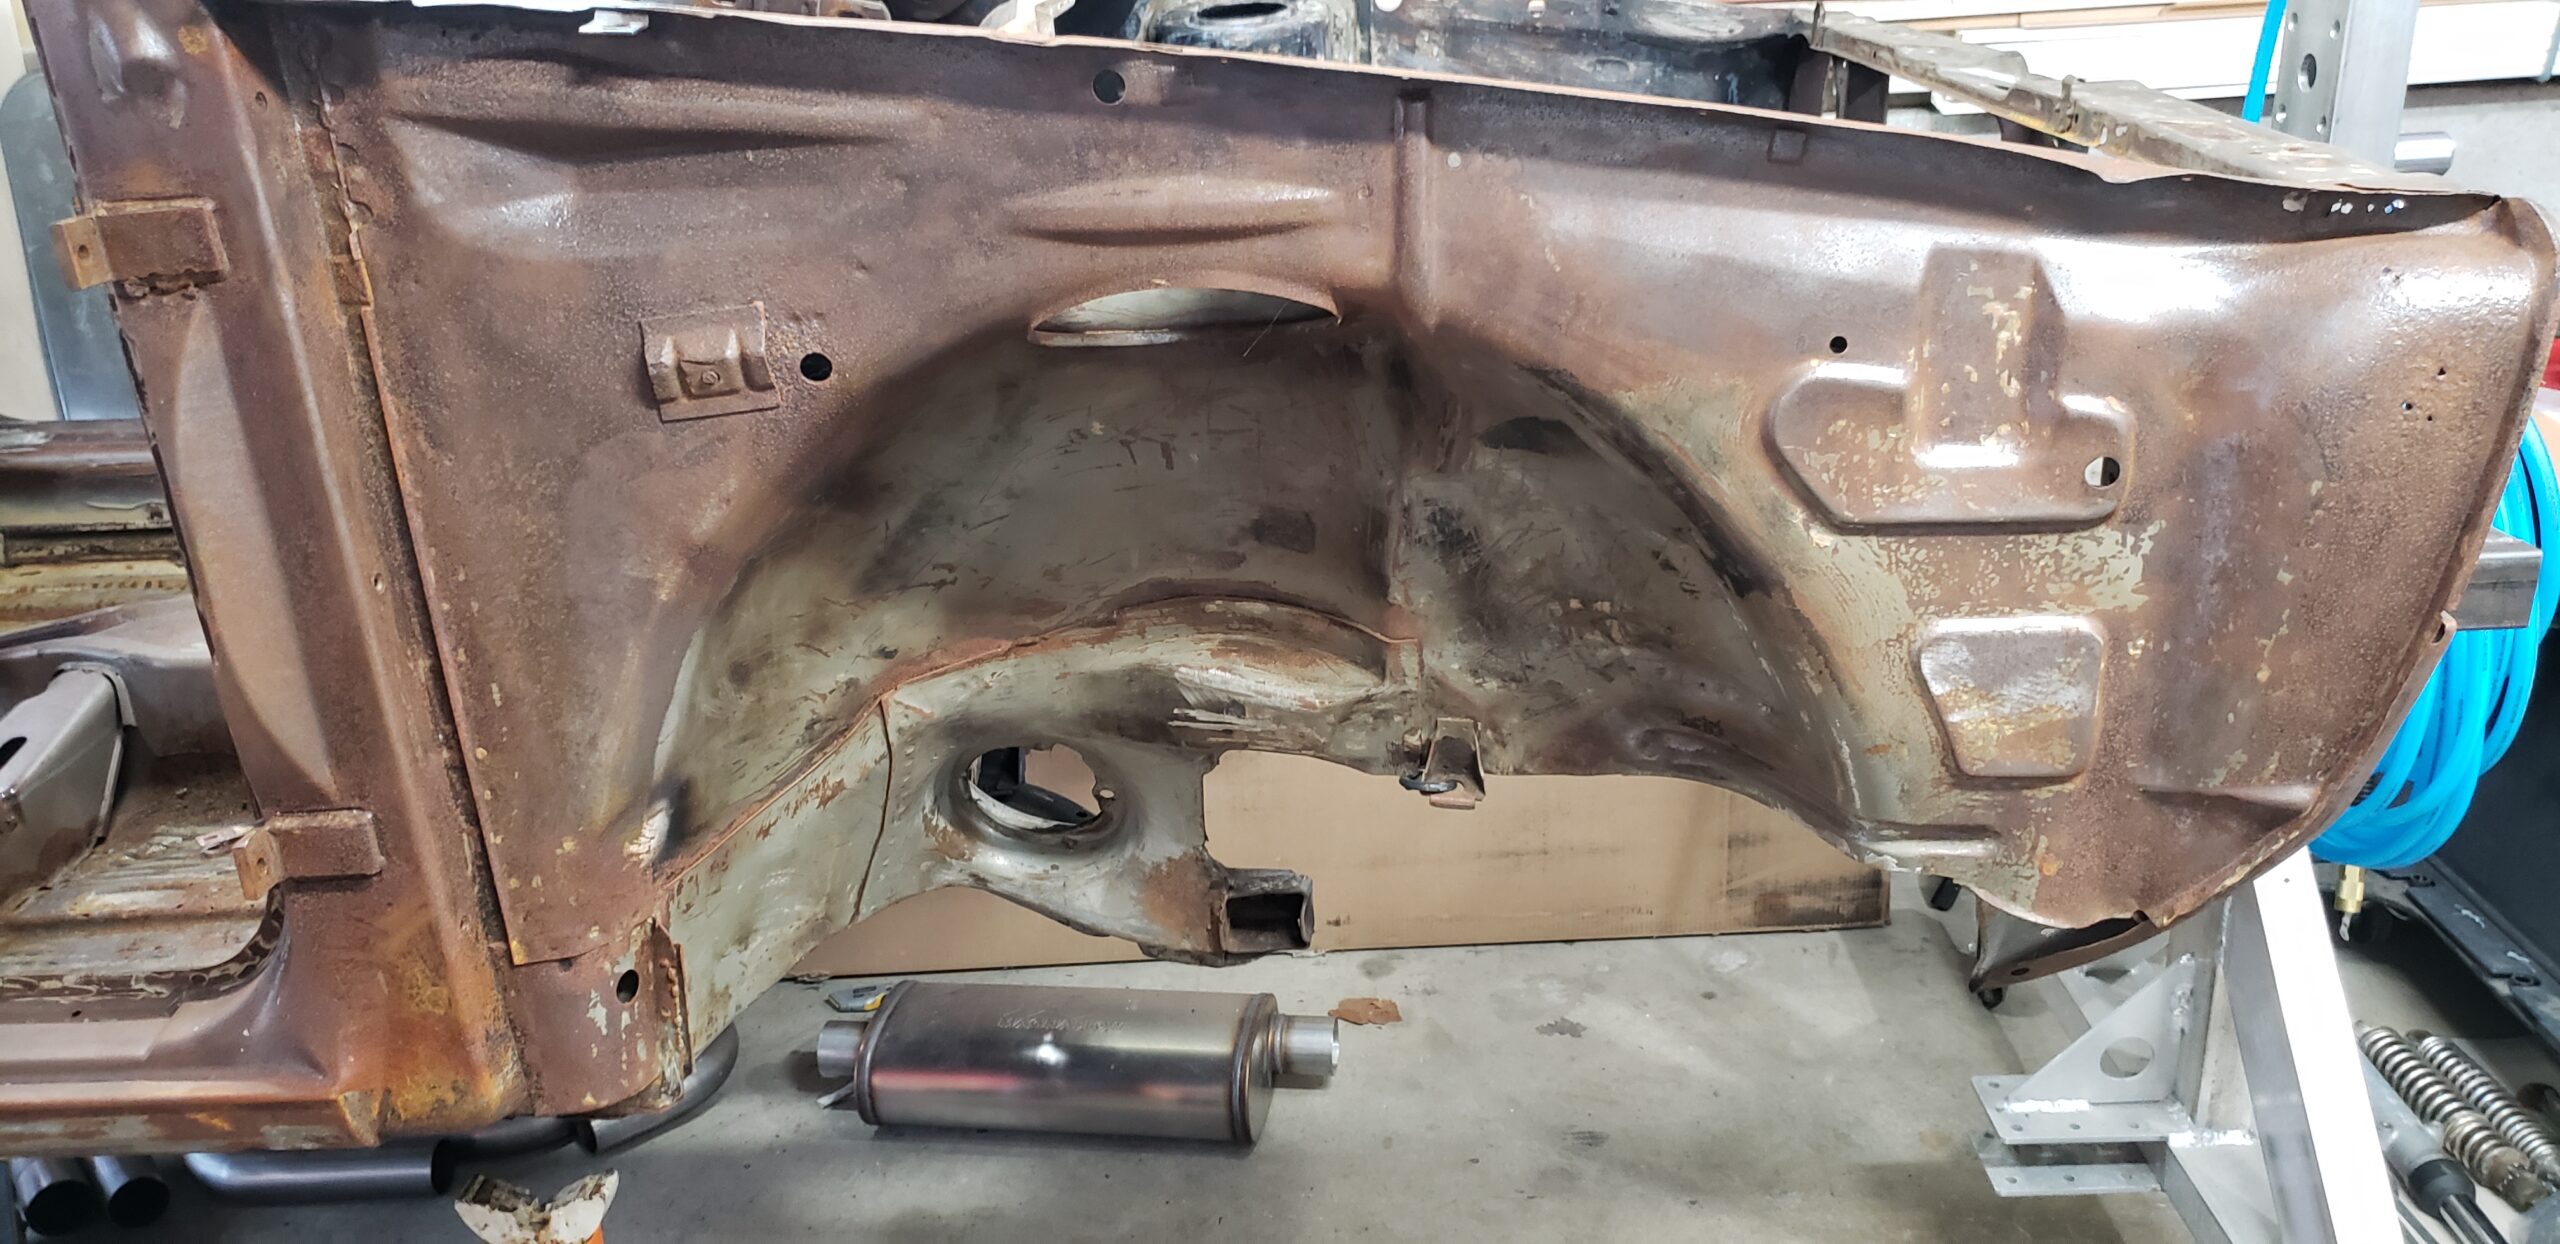
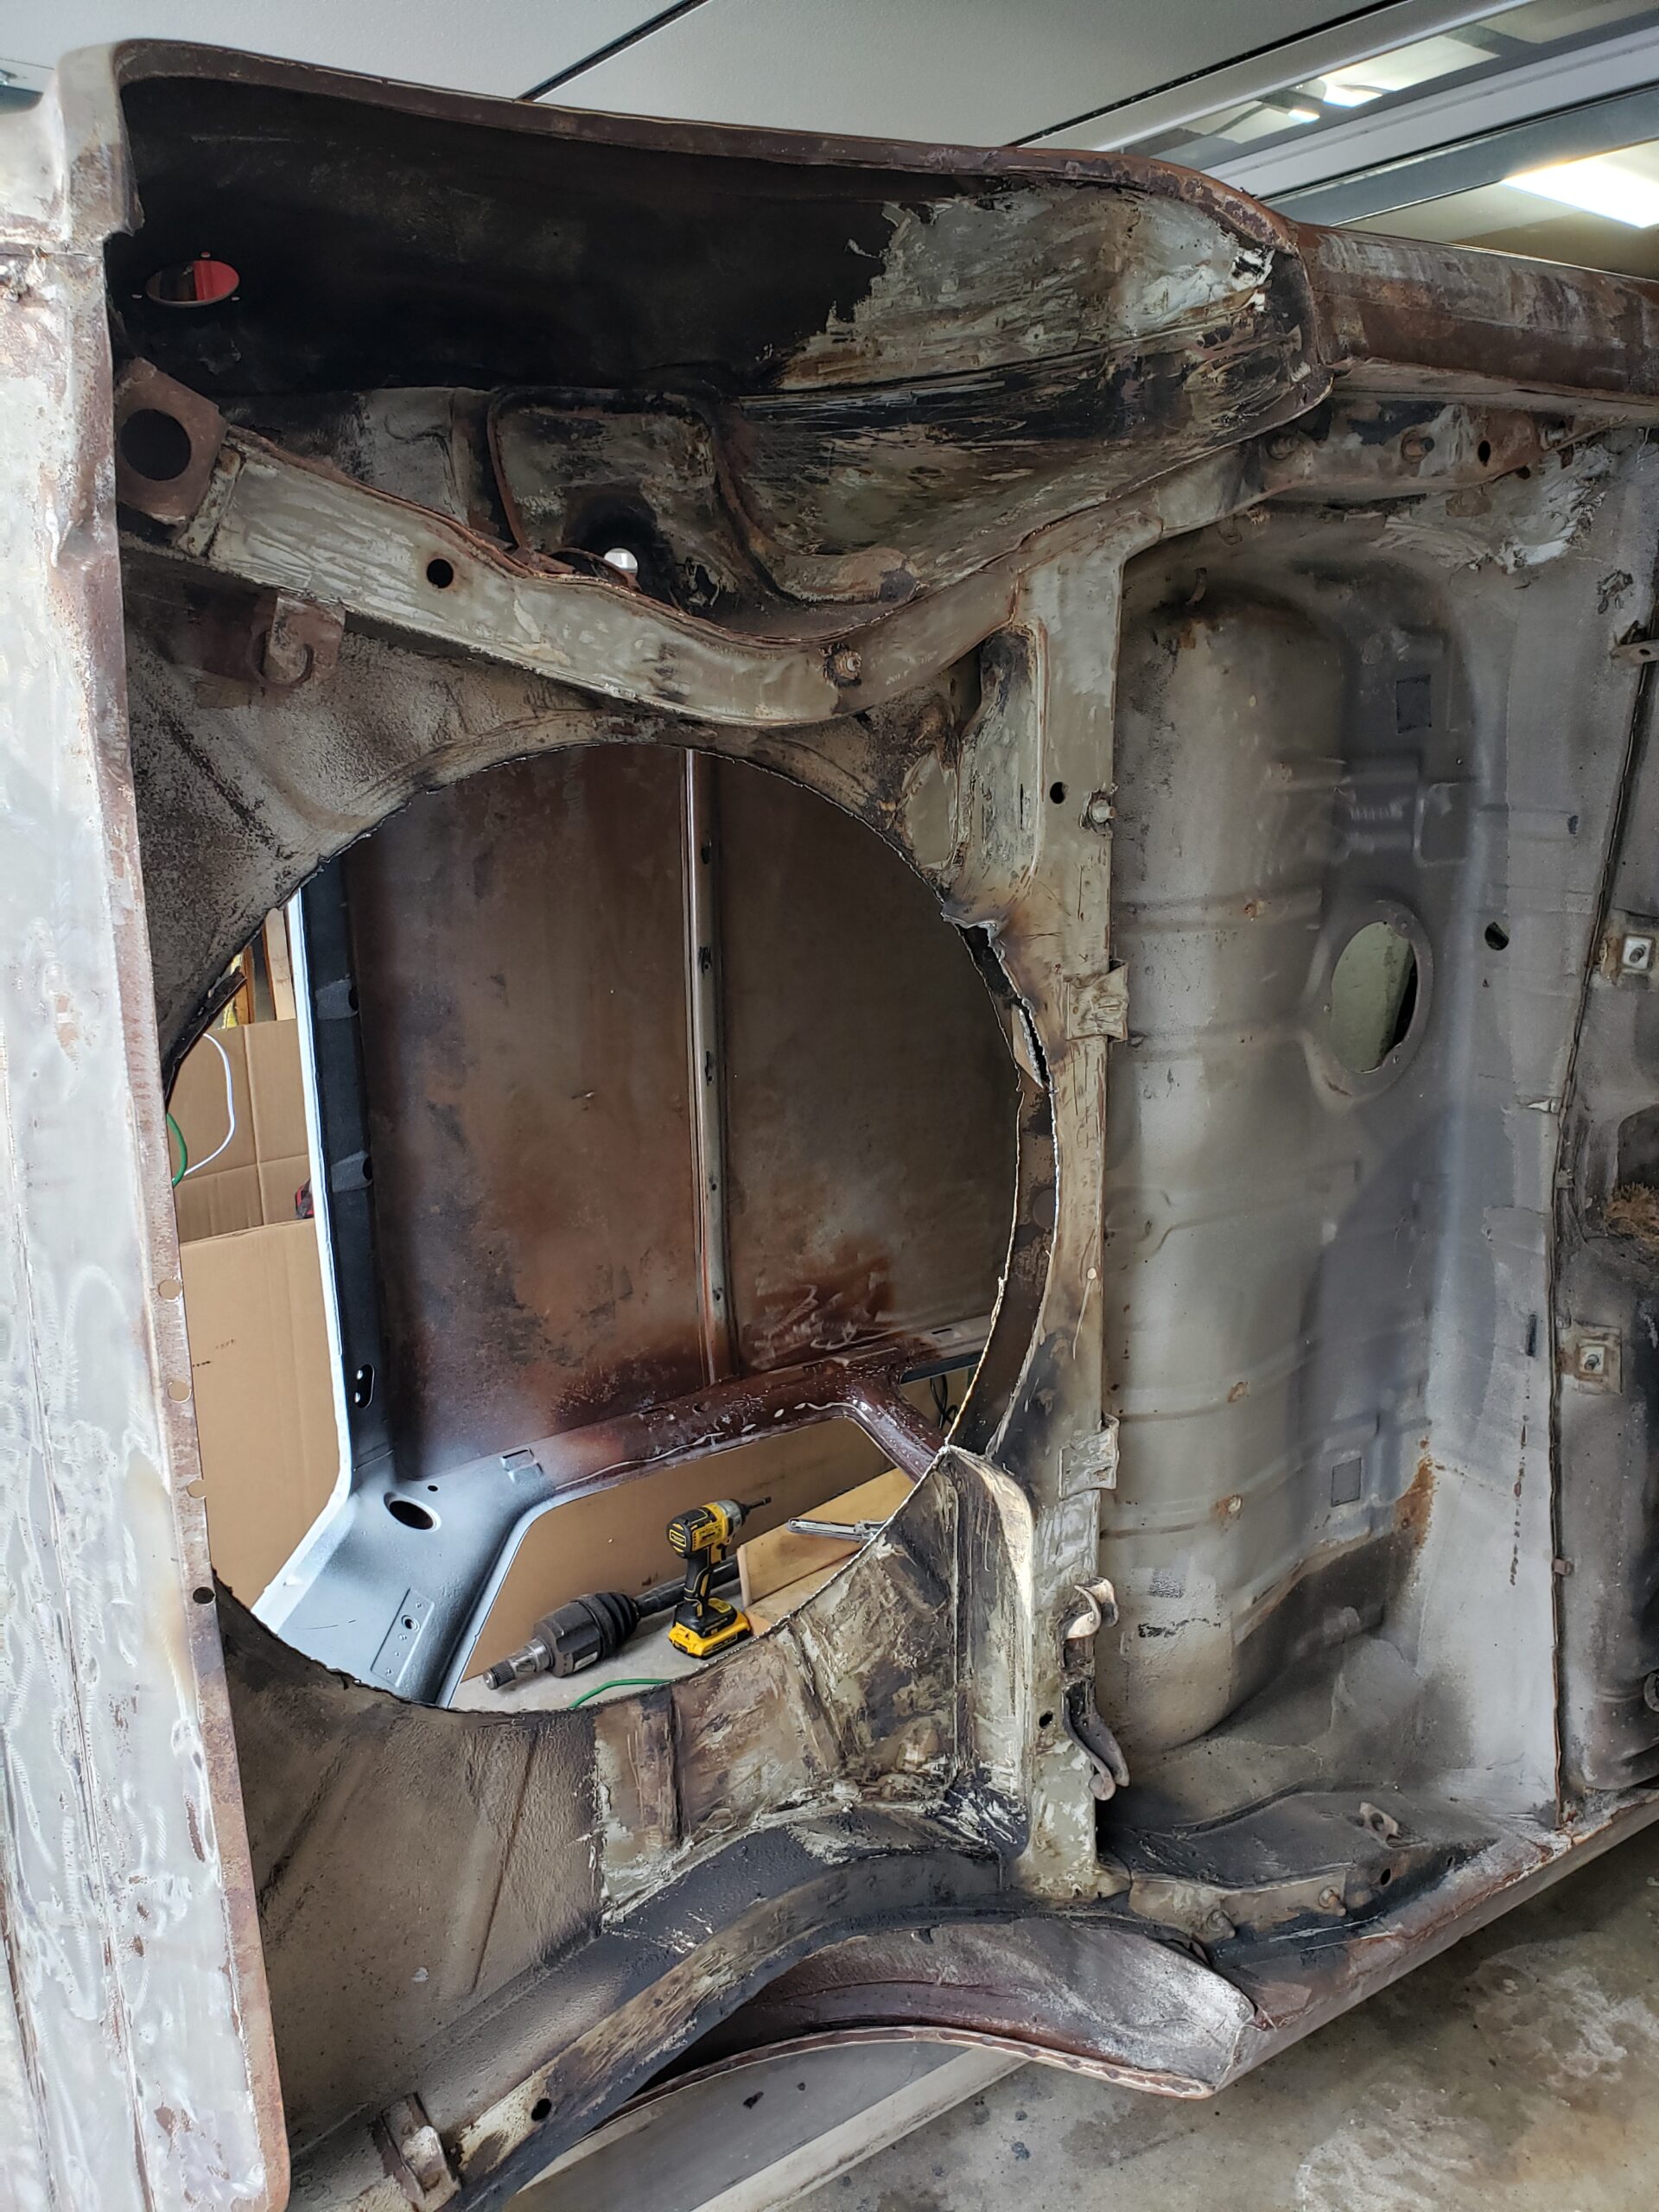
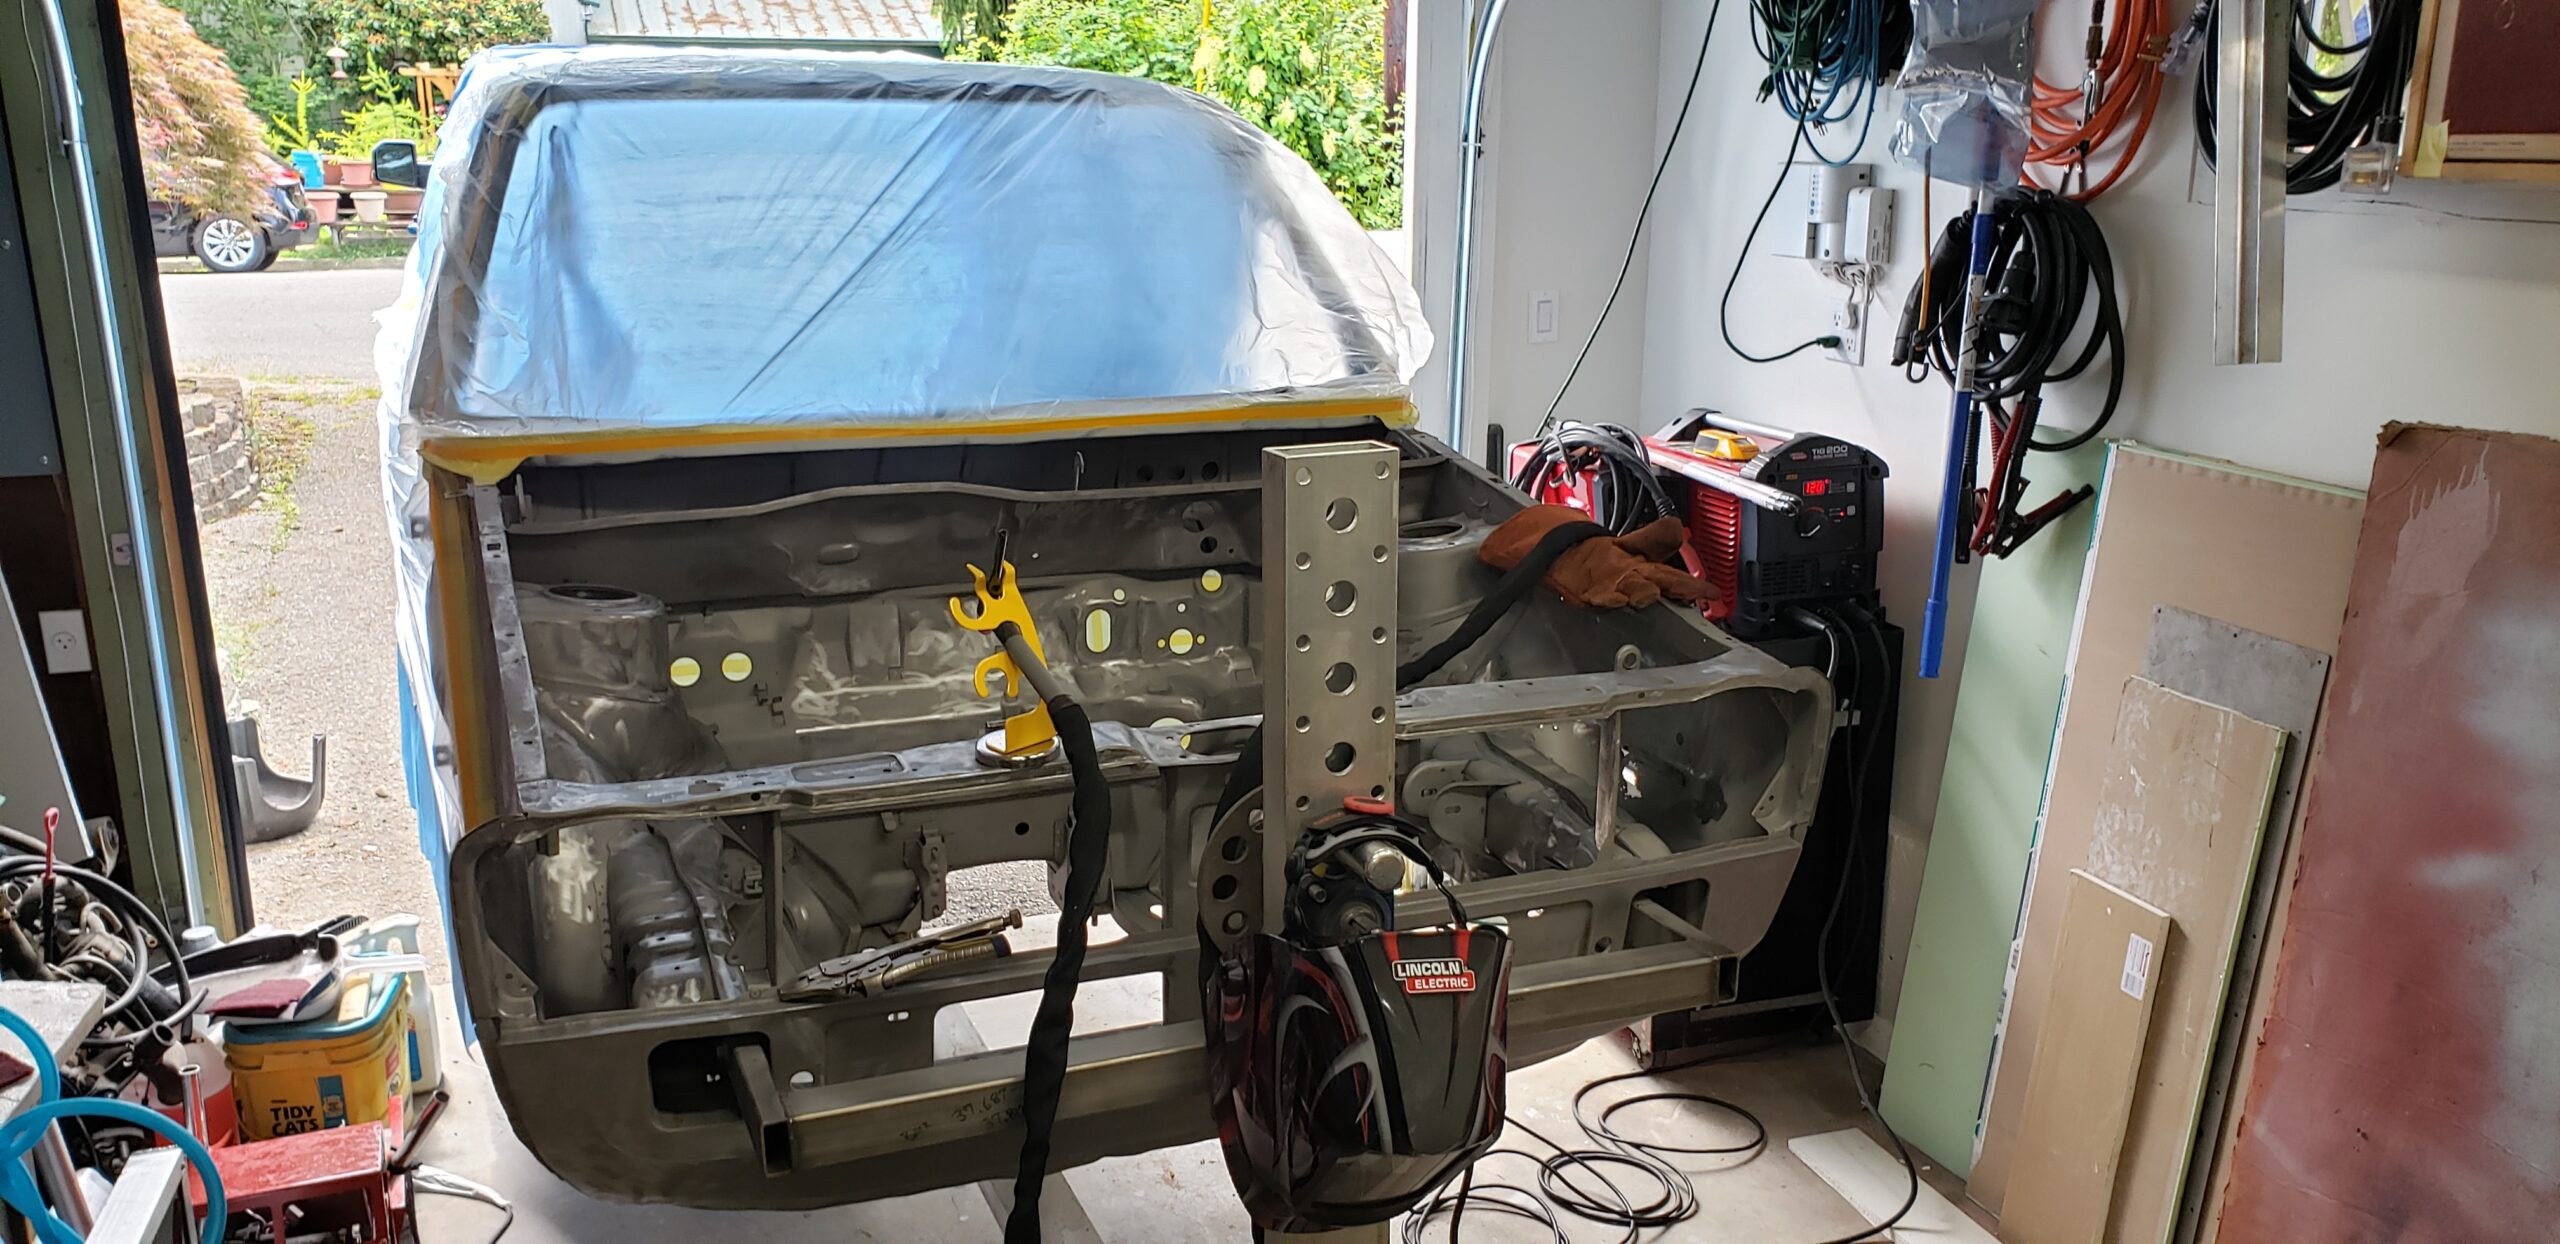
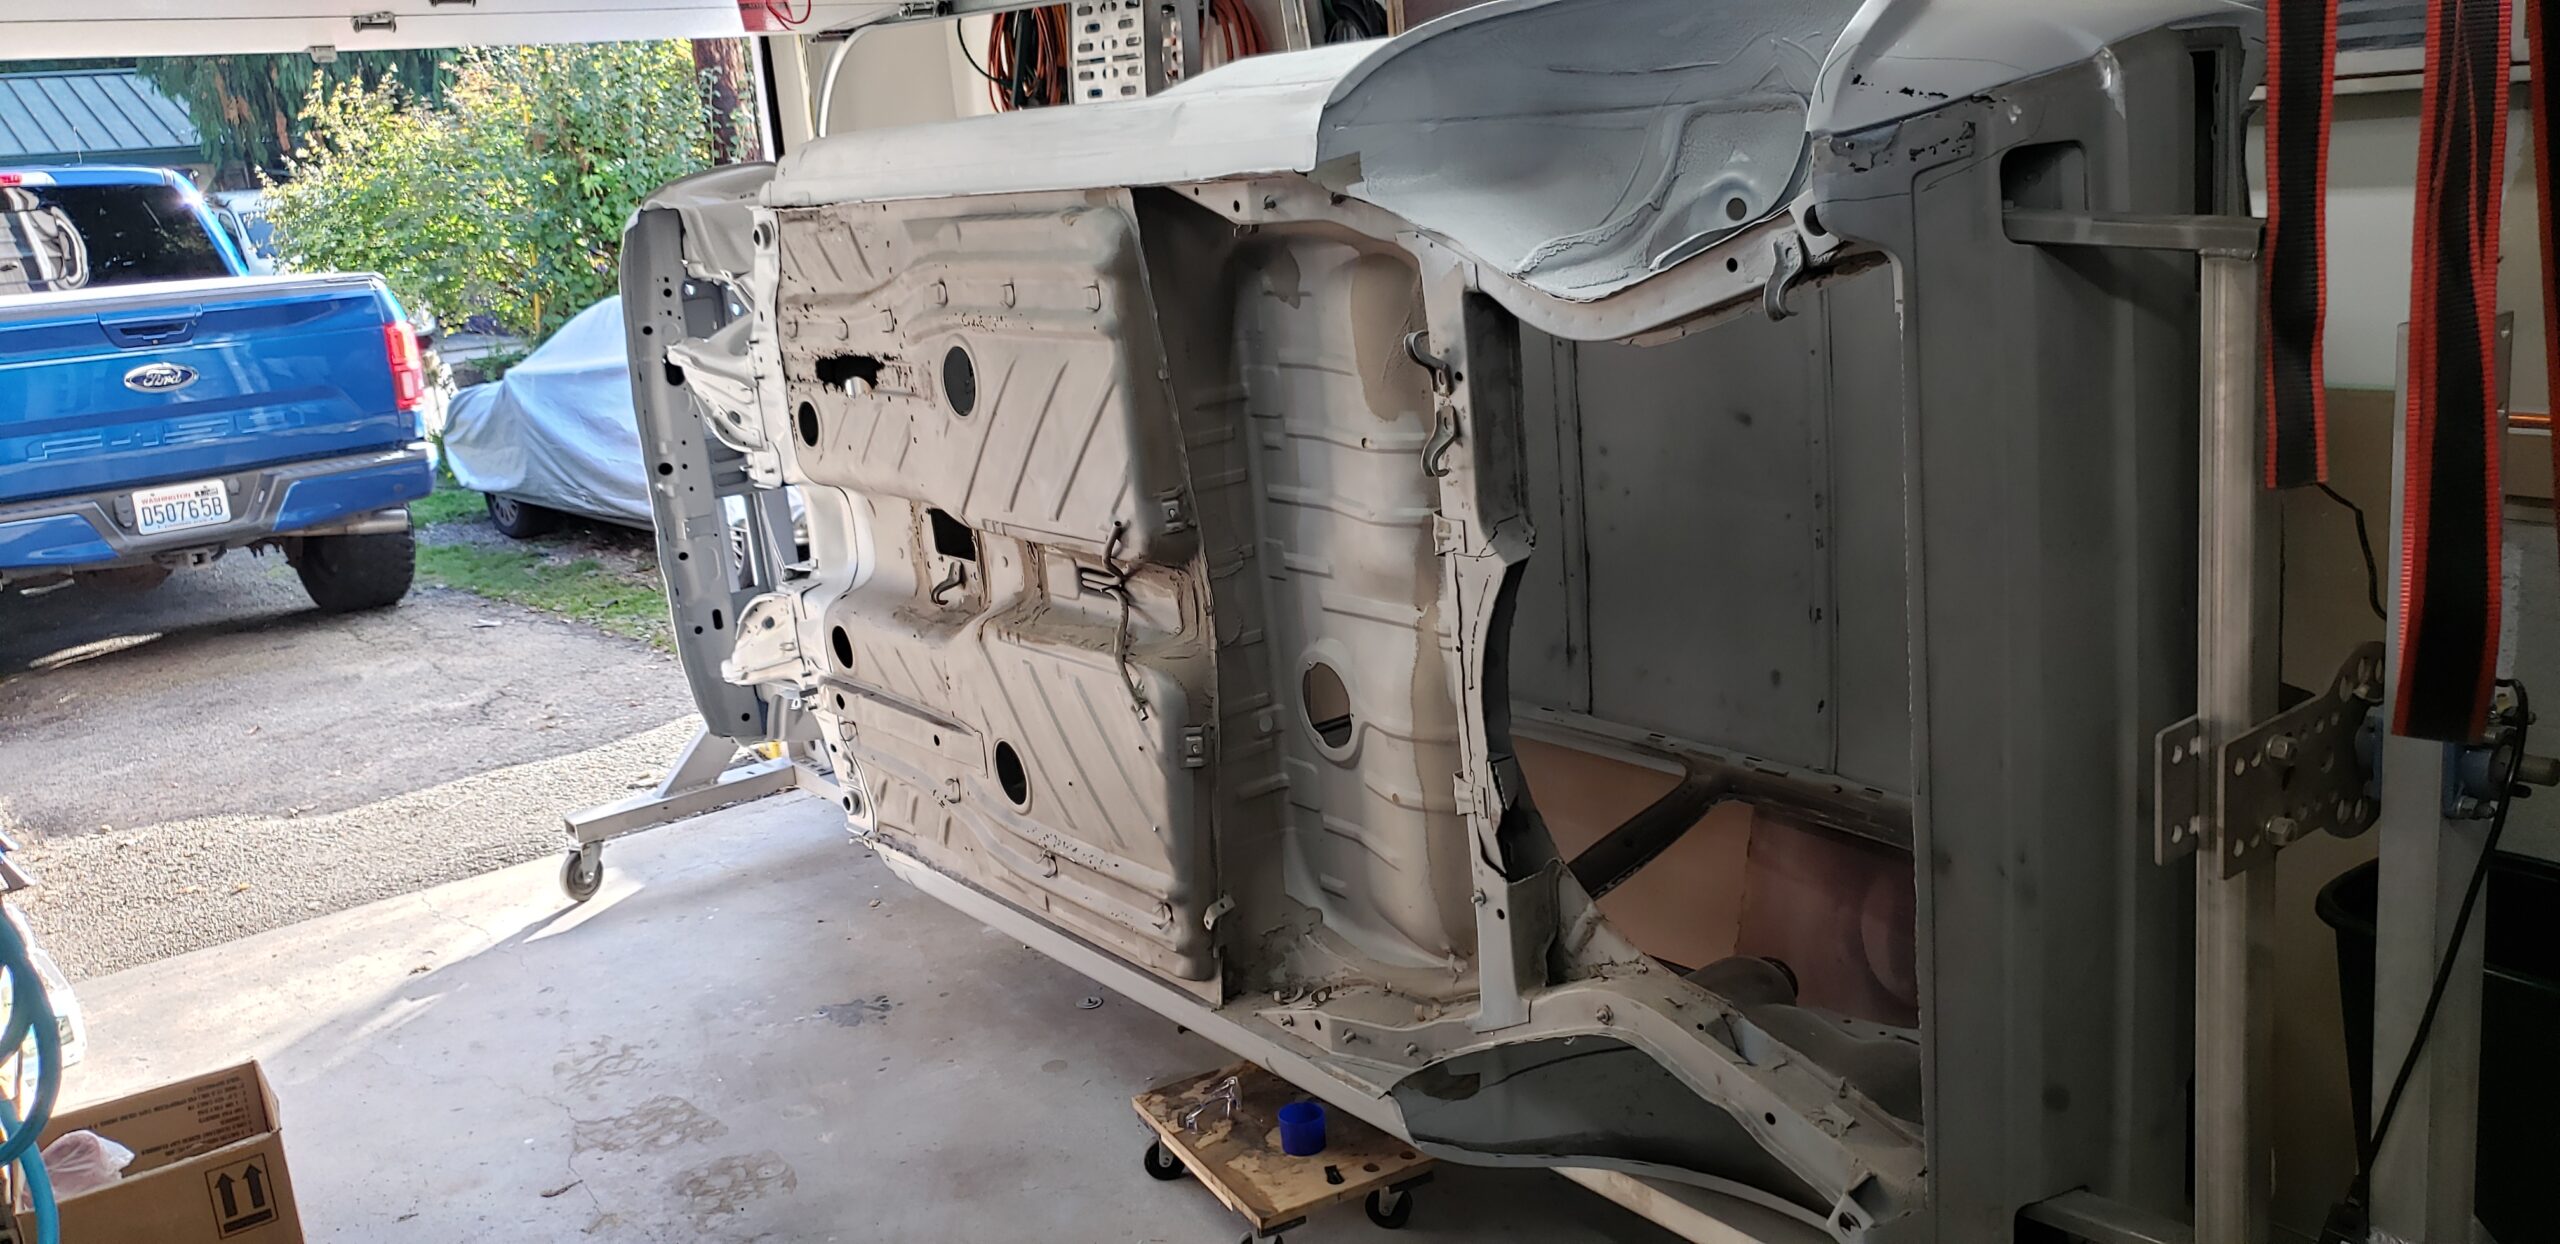
The Body
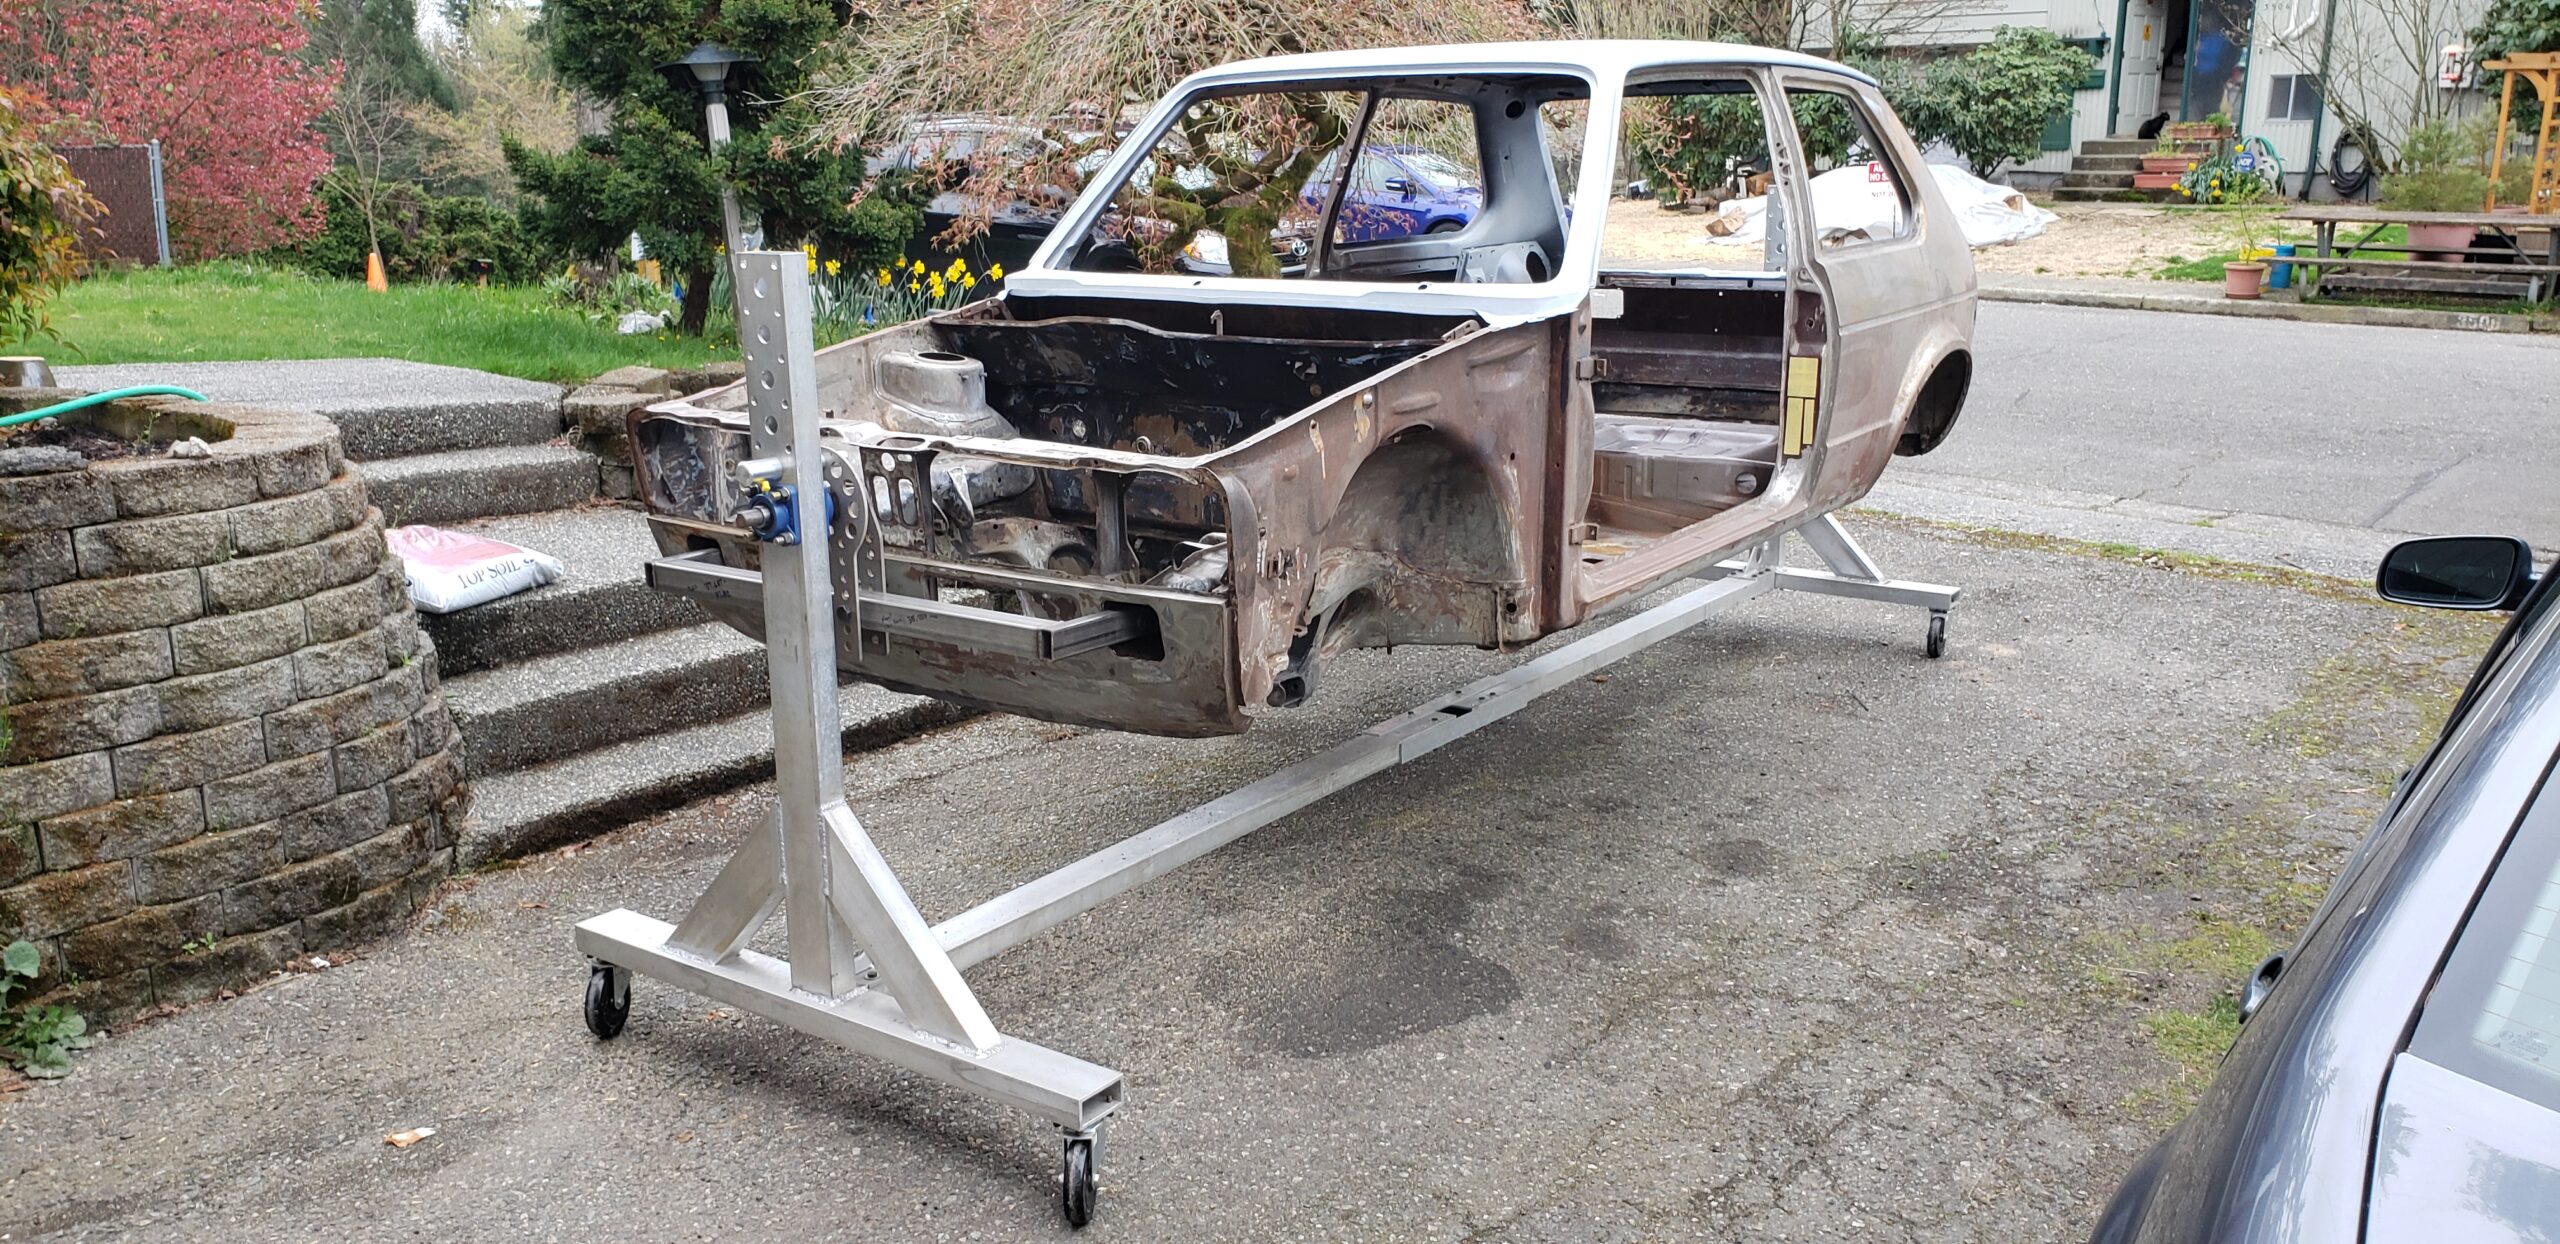
Now onto stripping the body, if only I had a rotisserie.

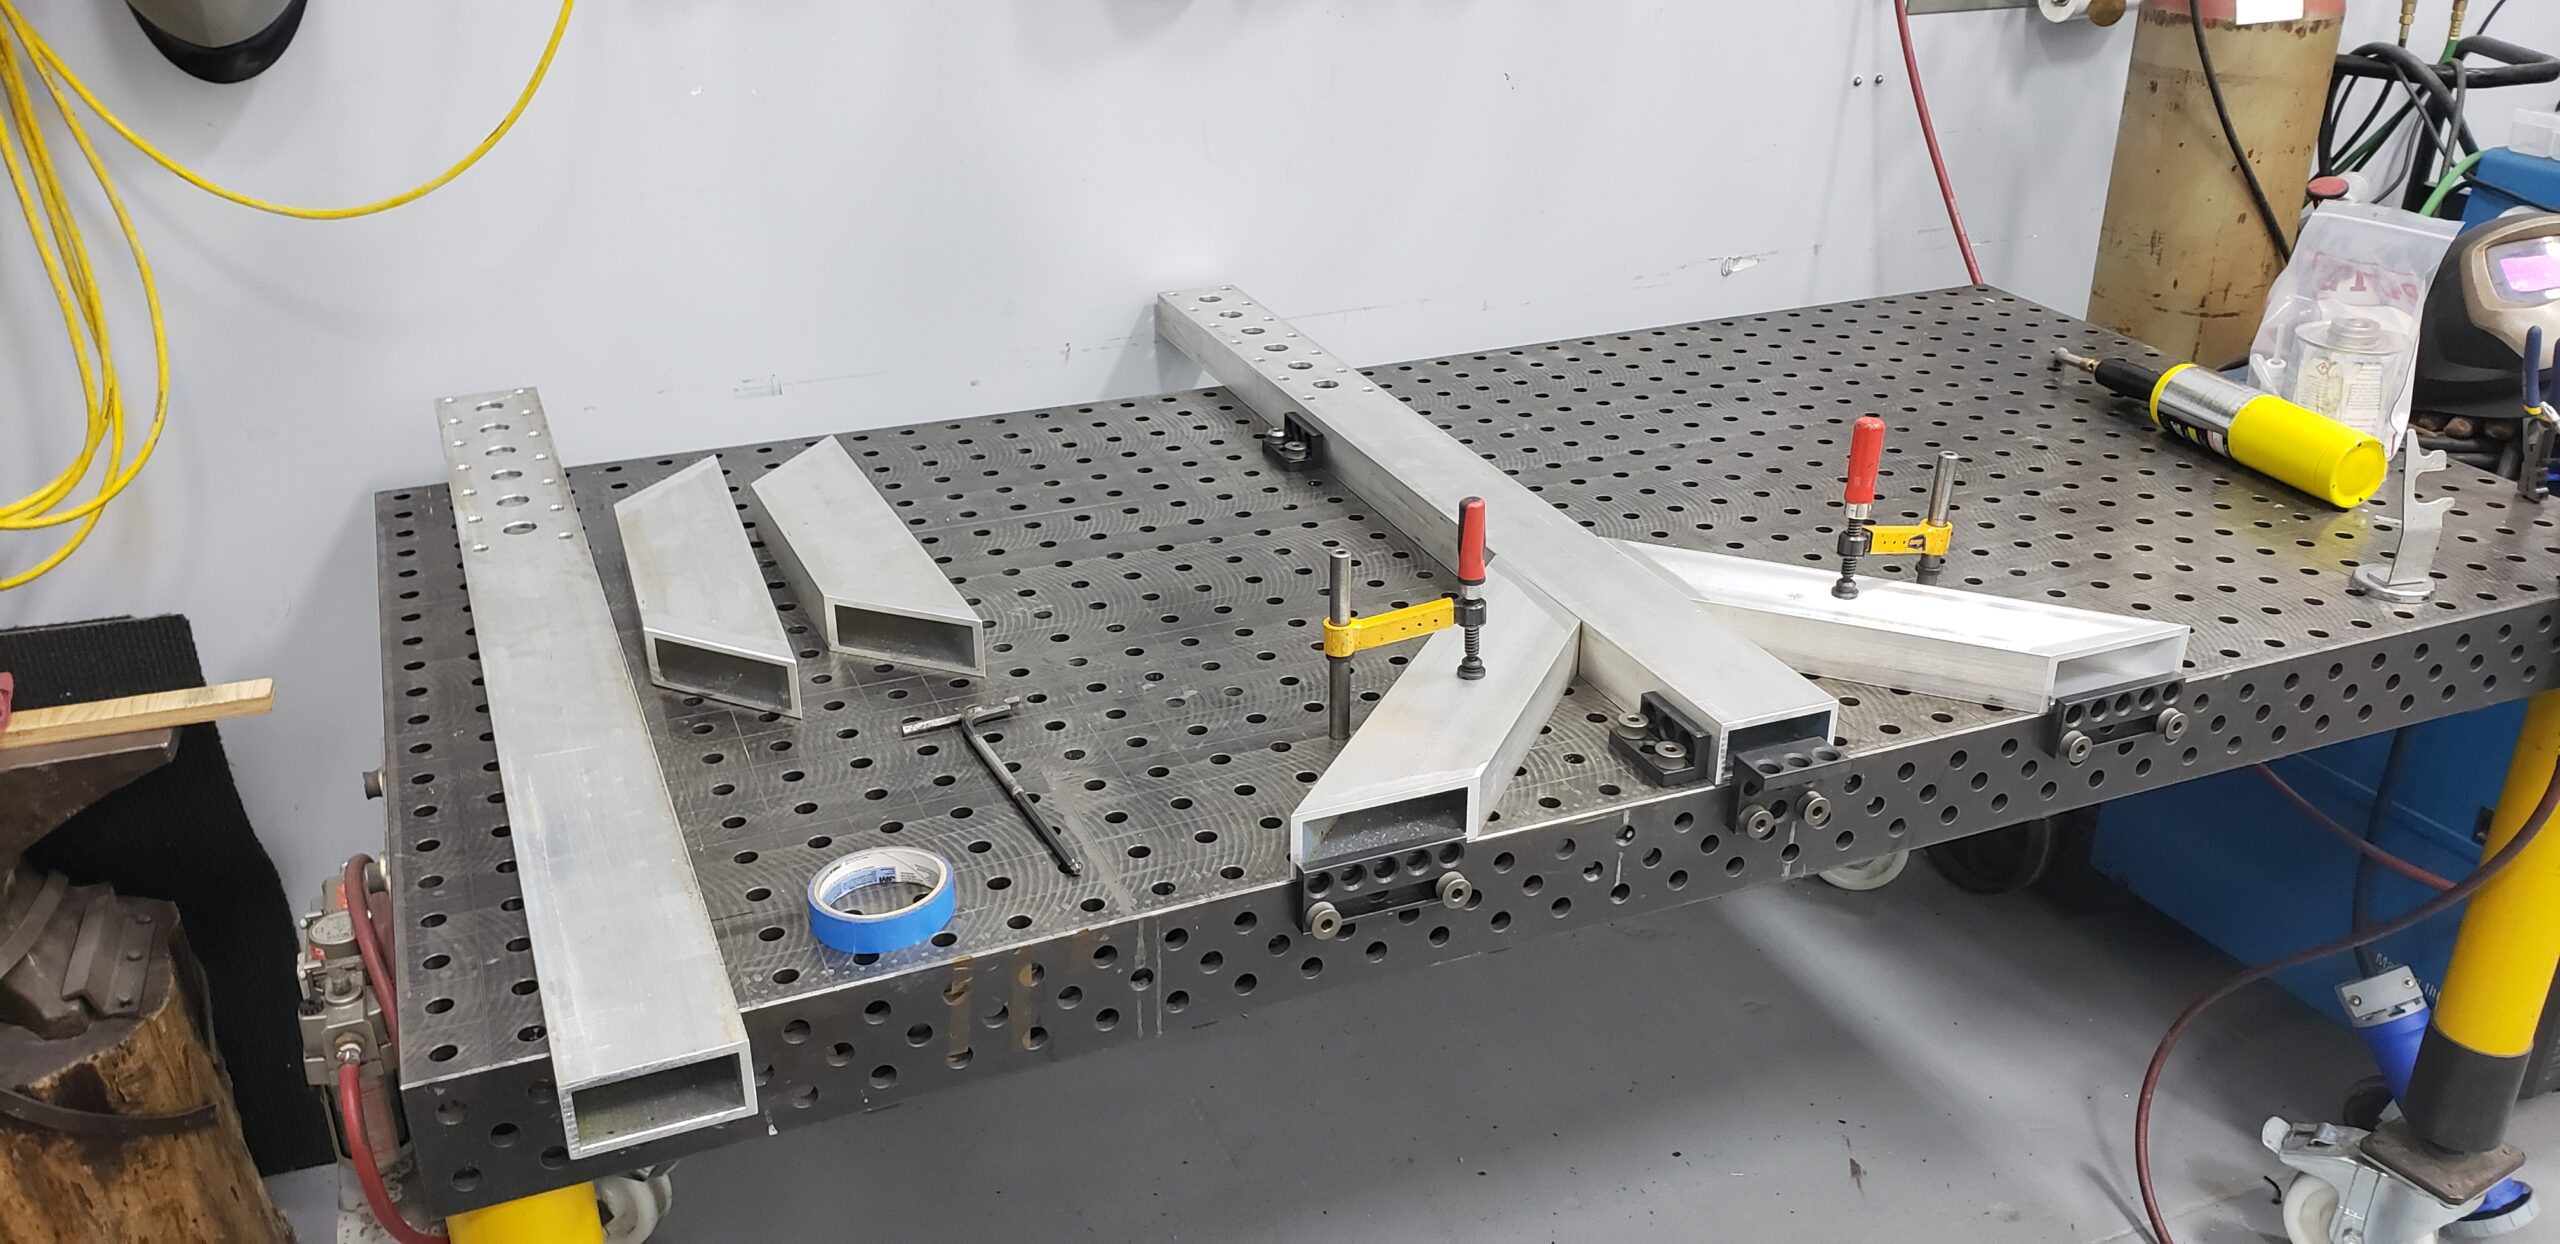
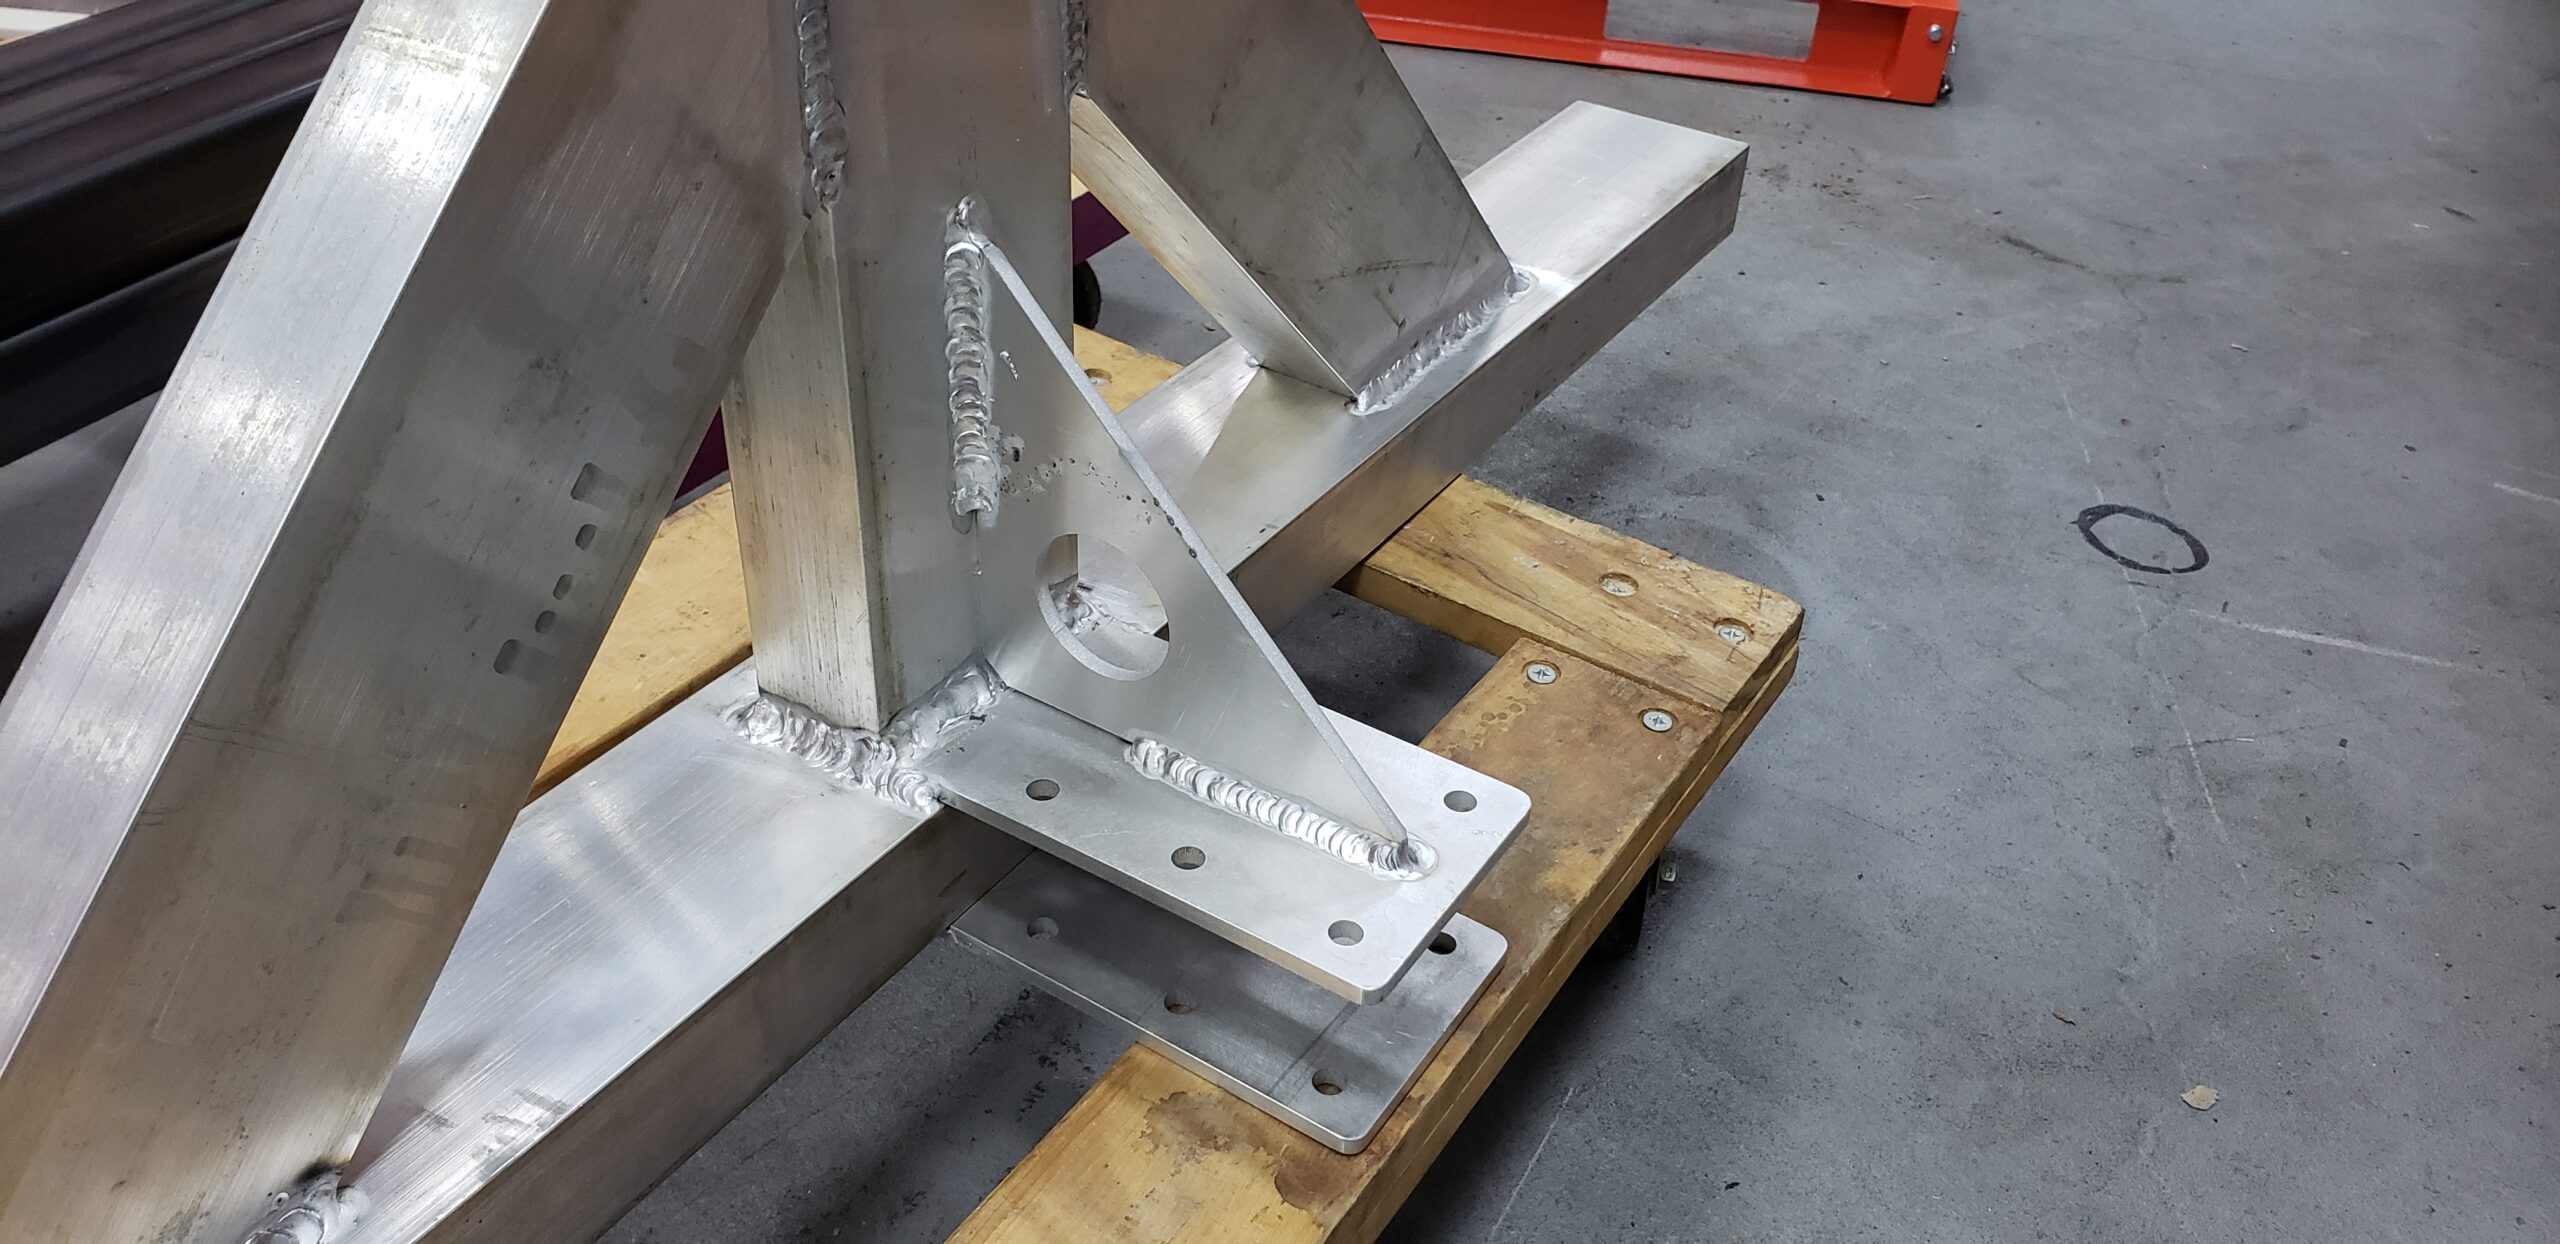
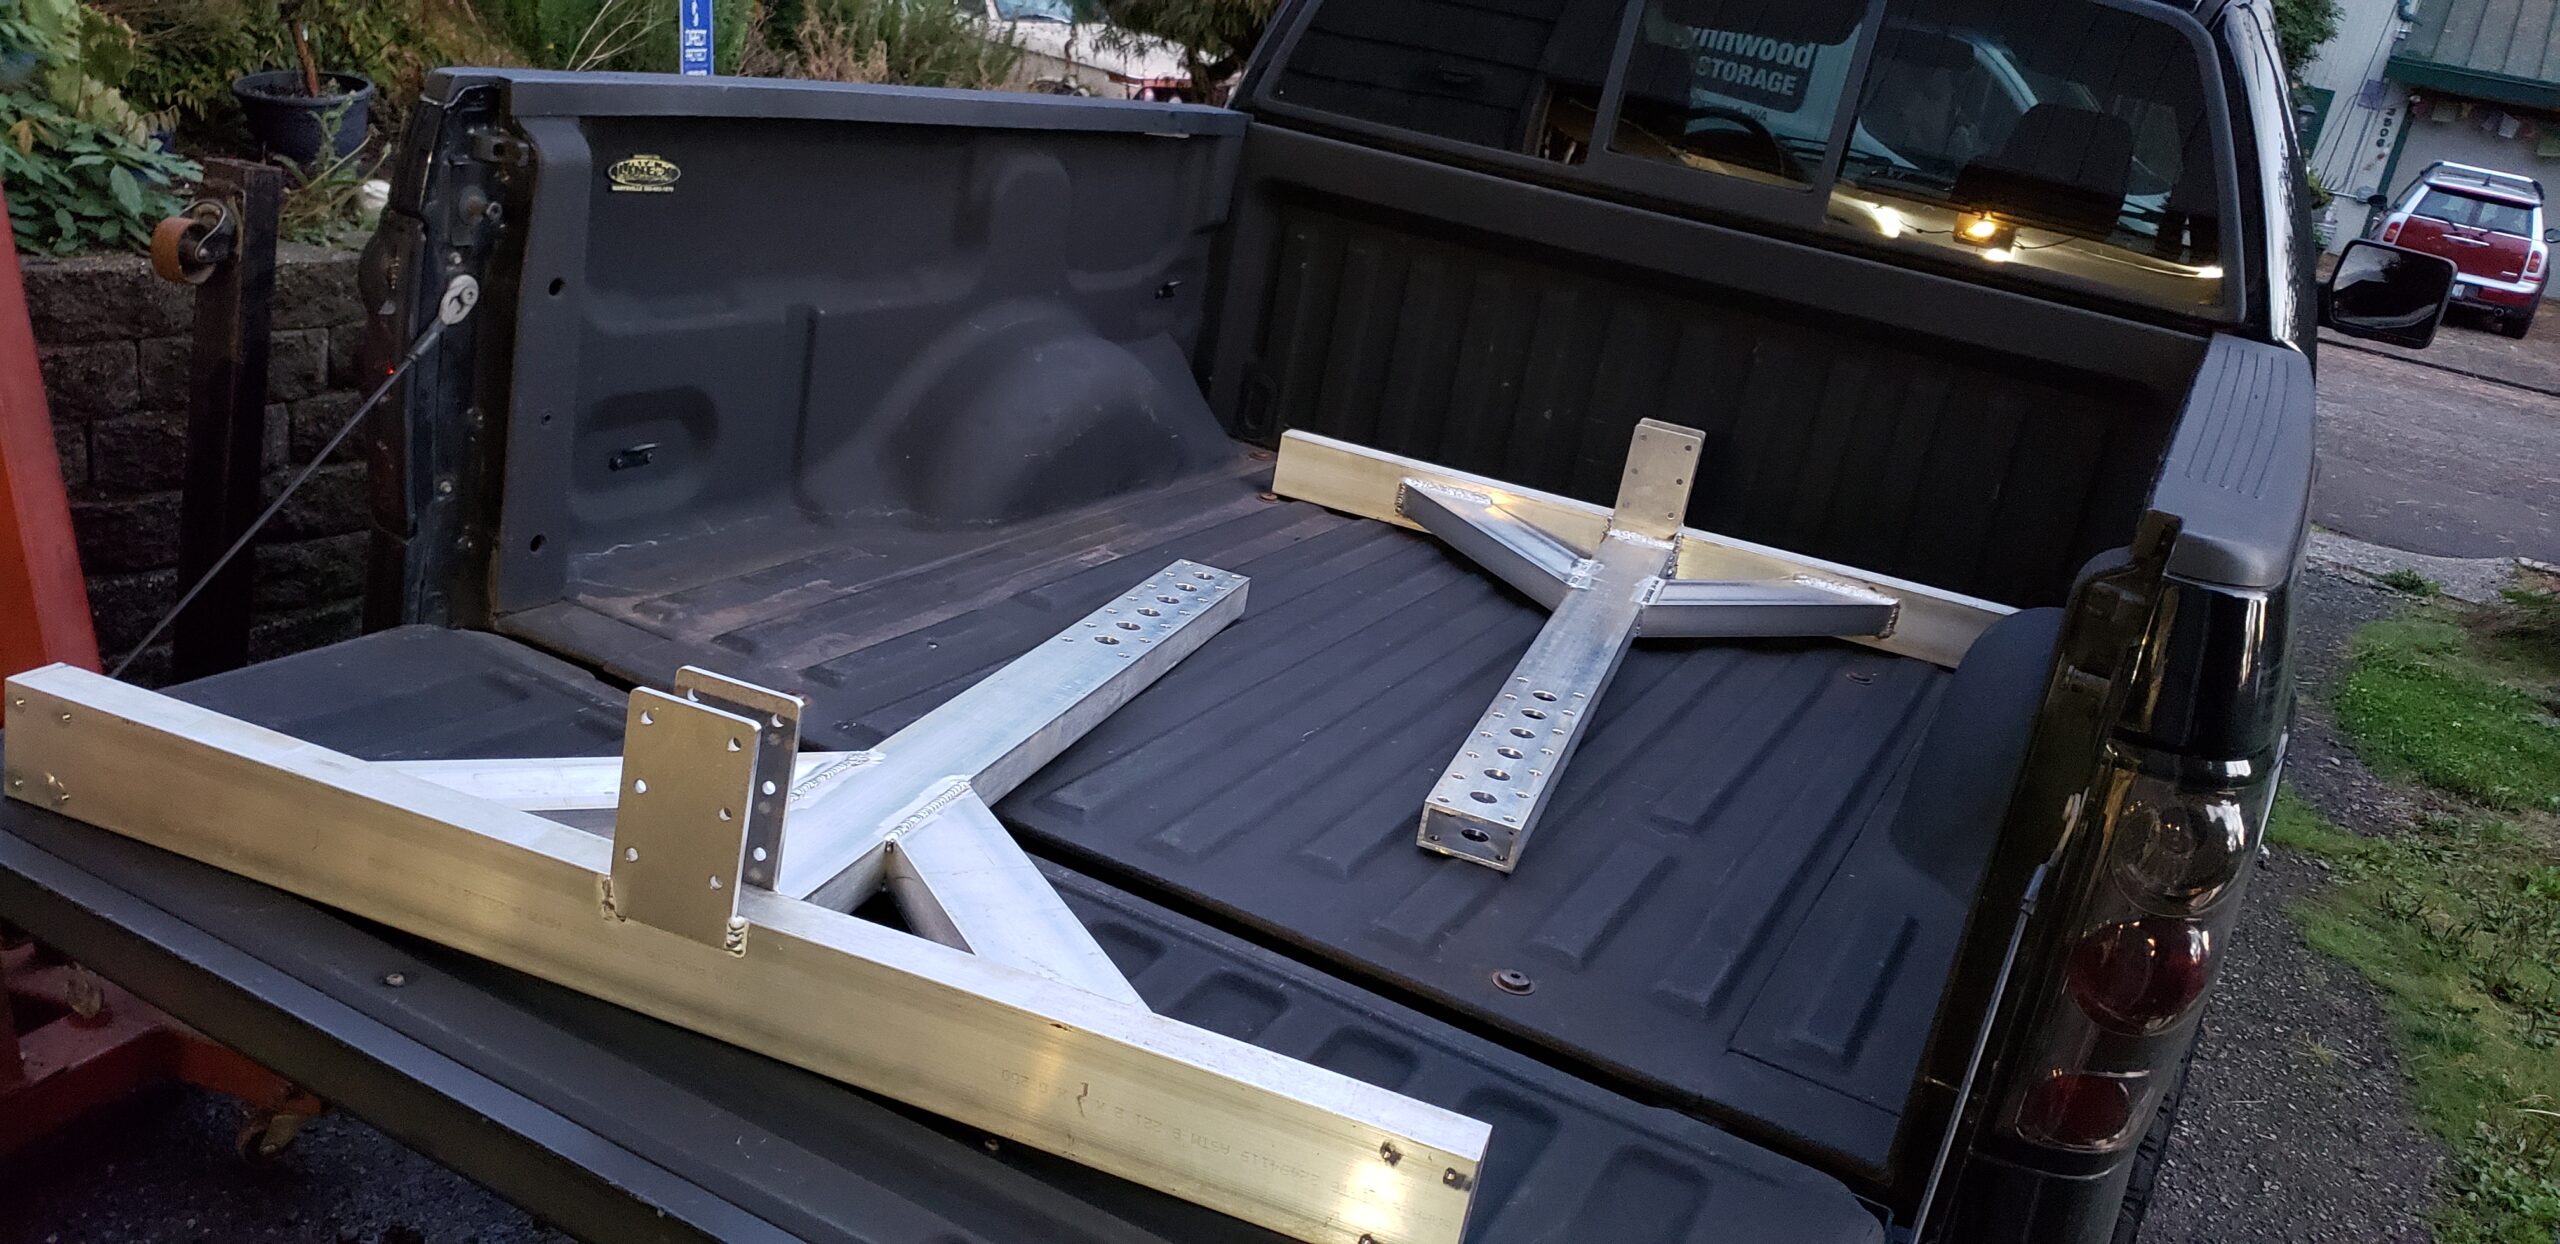
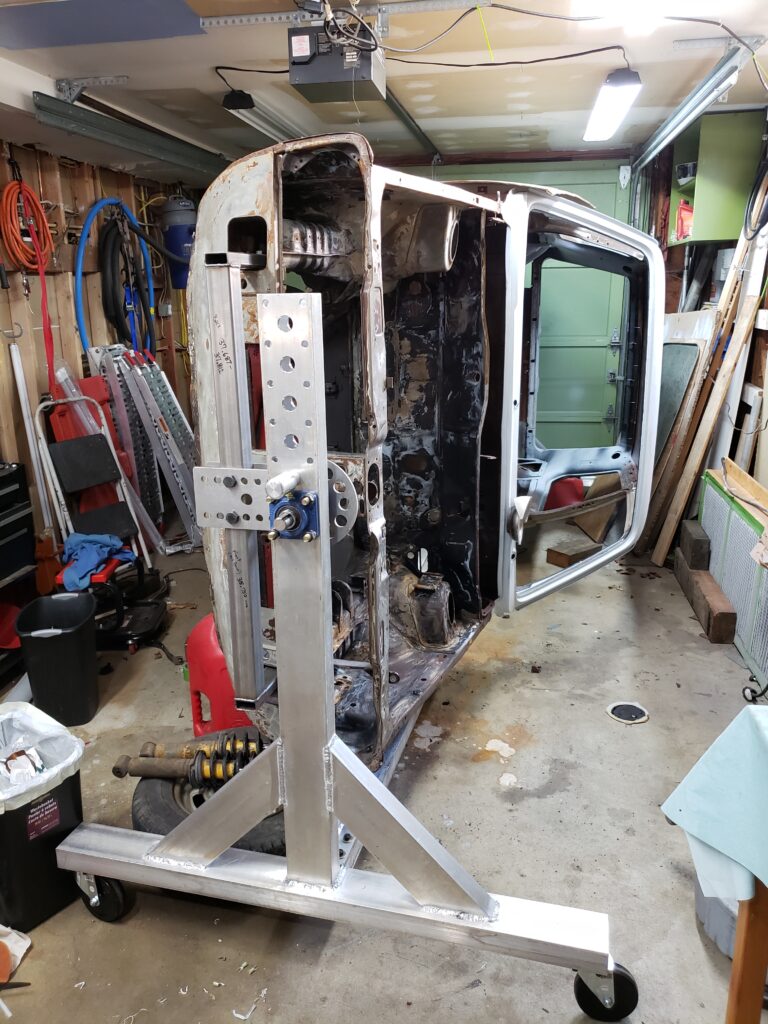
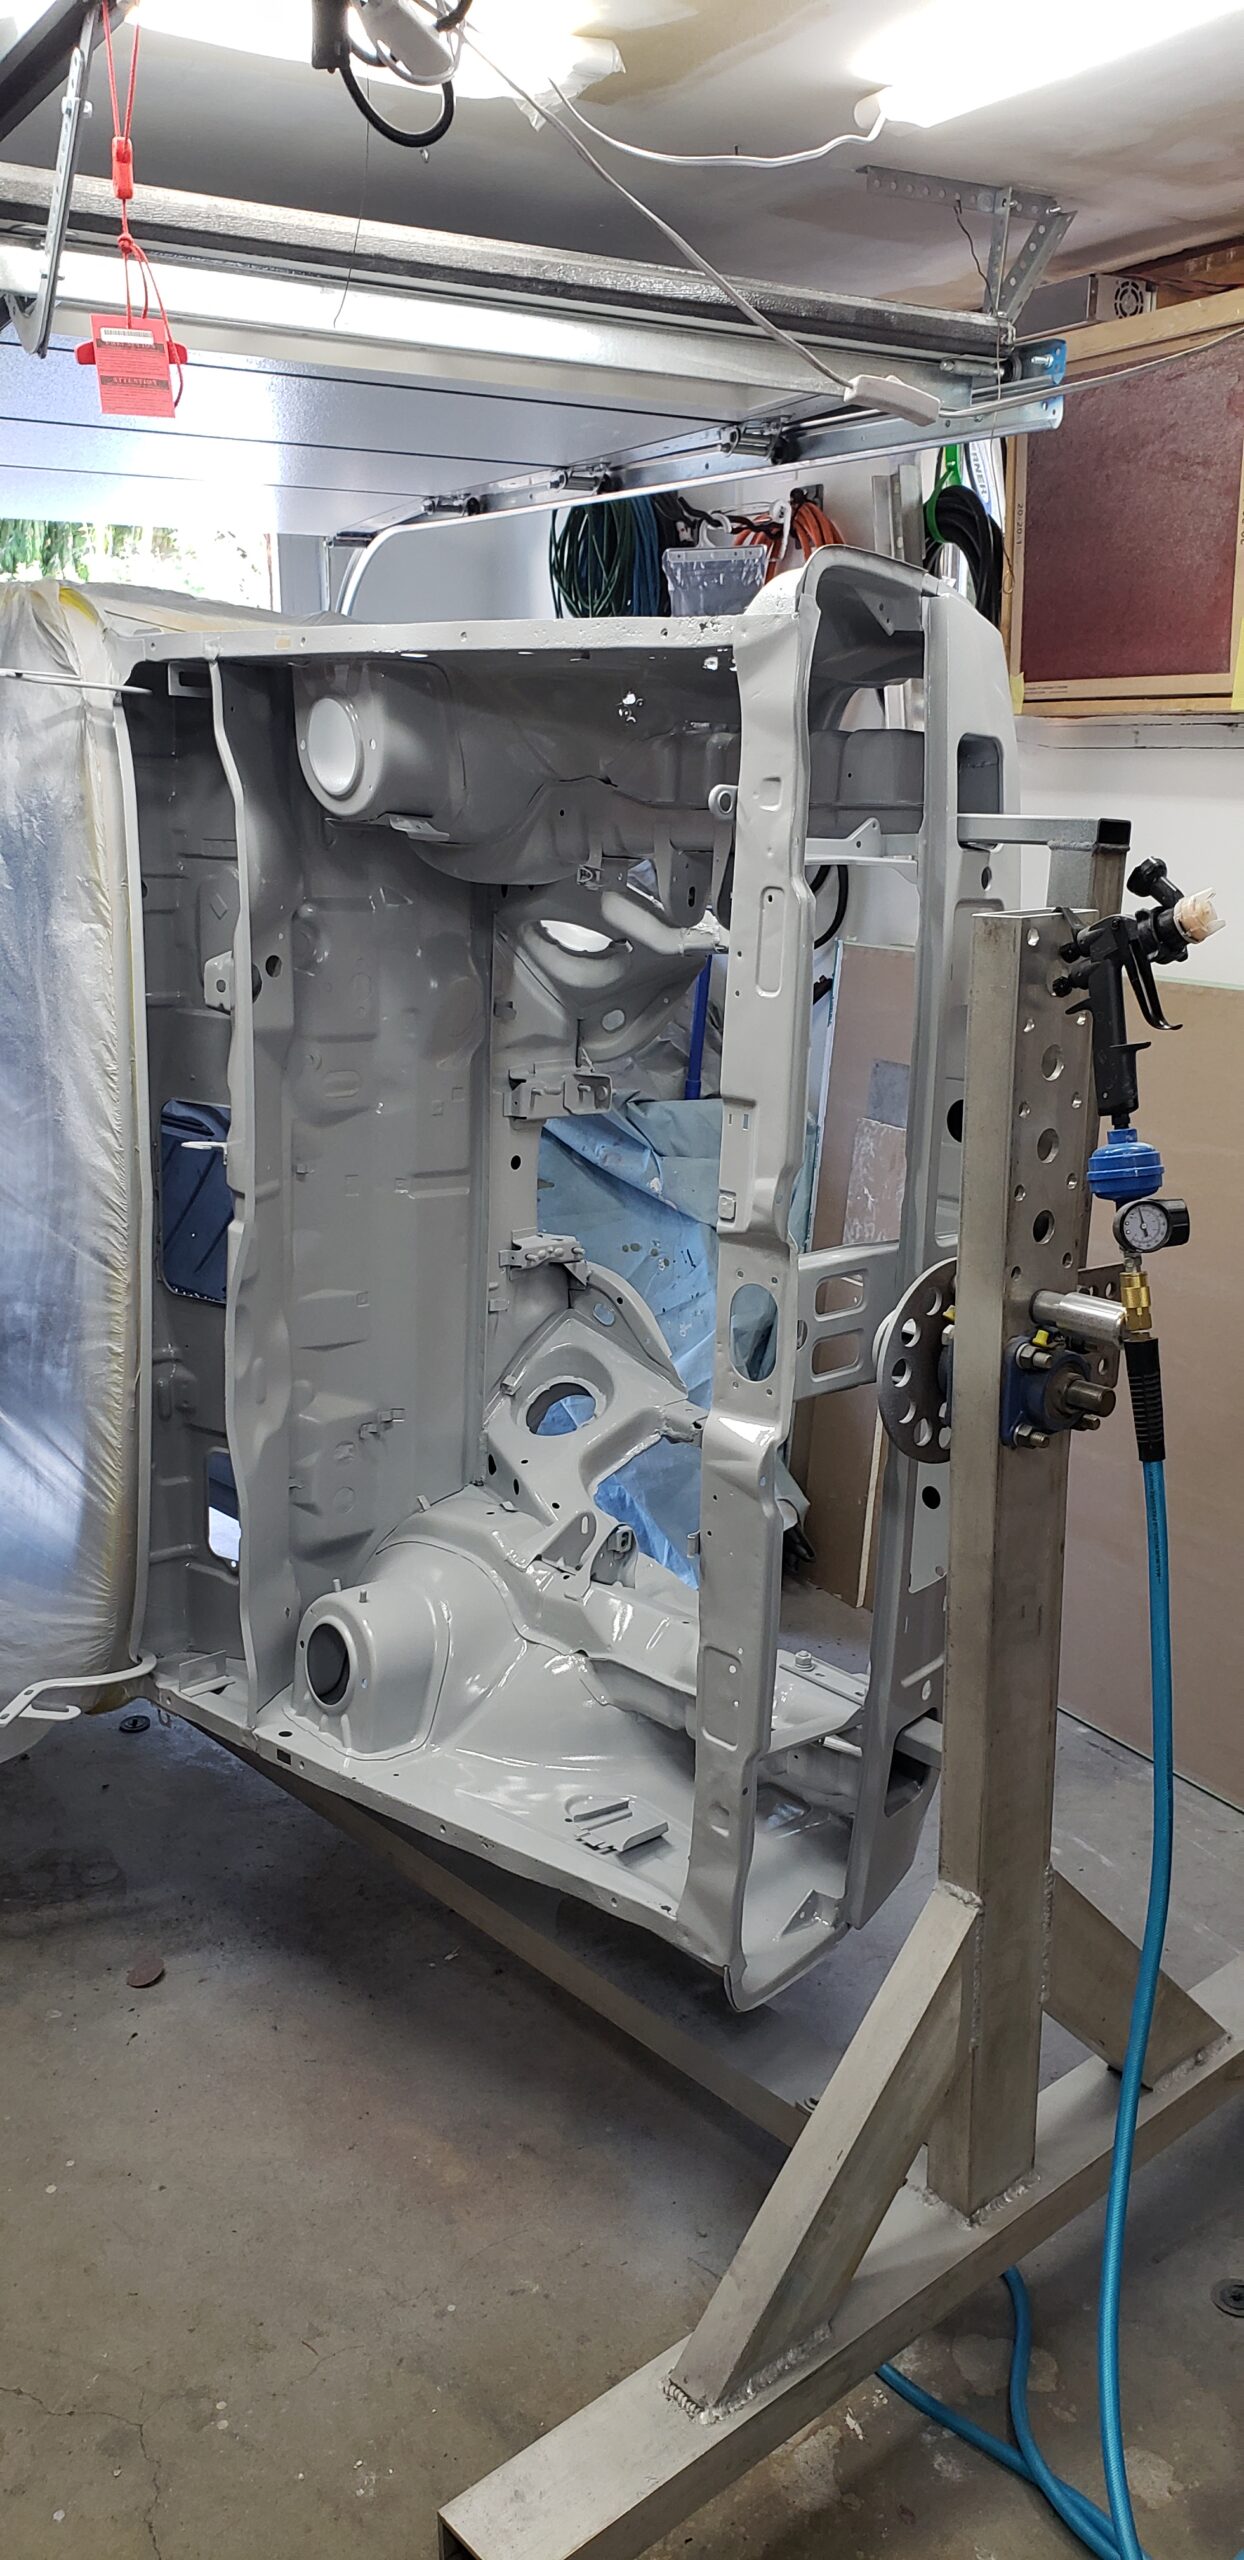
Building the Rotisserie
Some 2×4″ .250 wall aluminum was getting thrown out at my work so I could resist.
There isn’t really much to this design, I just kind of made it up as I went

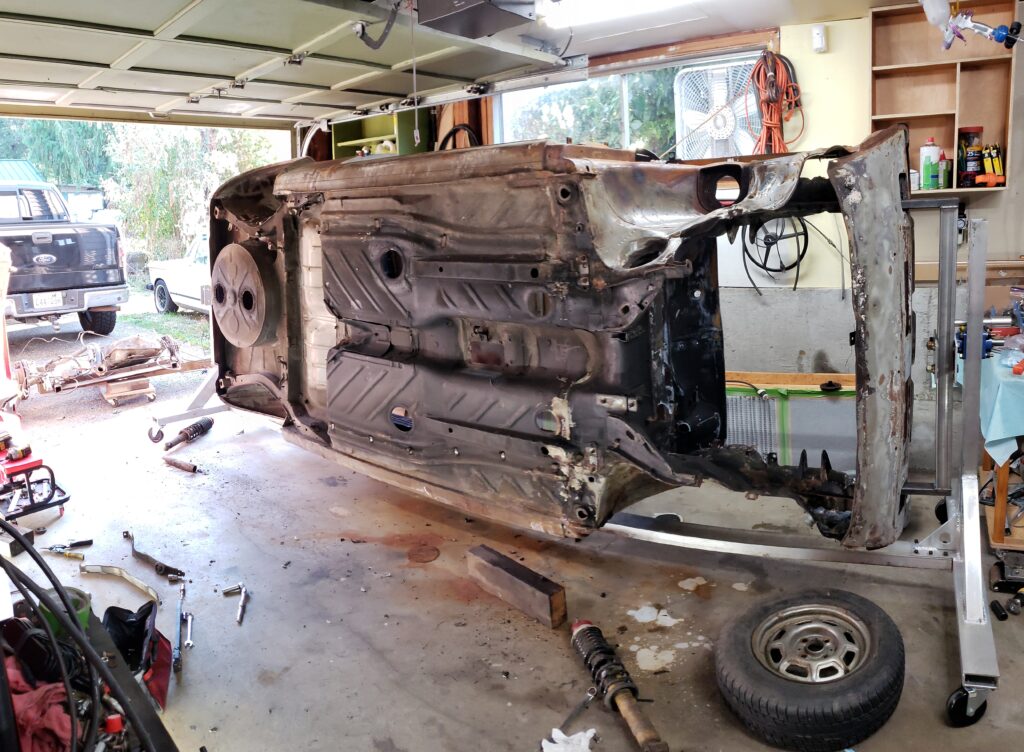
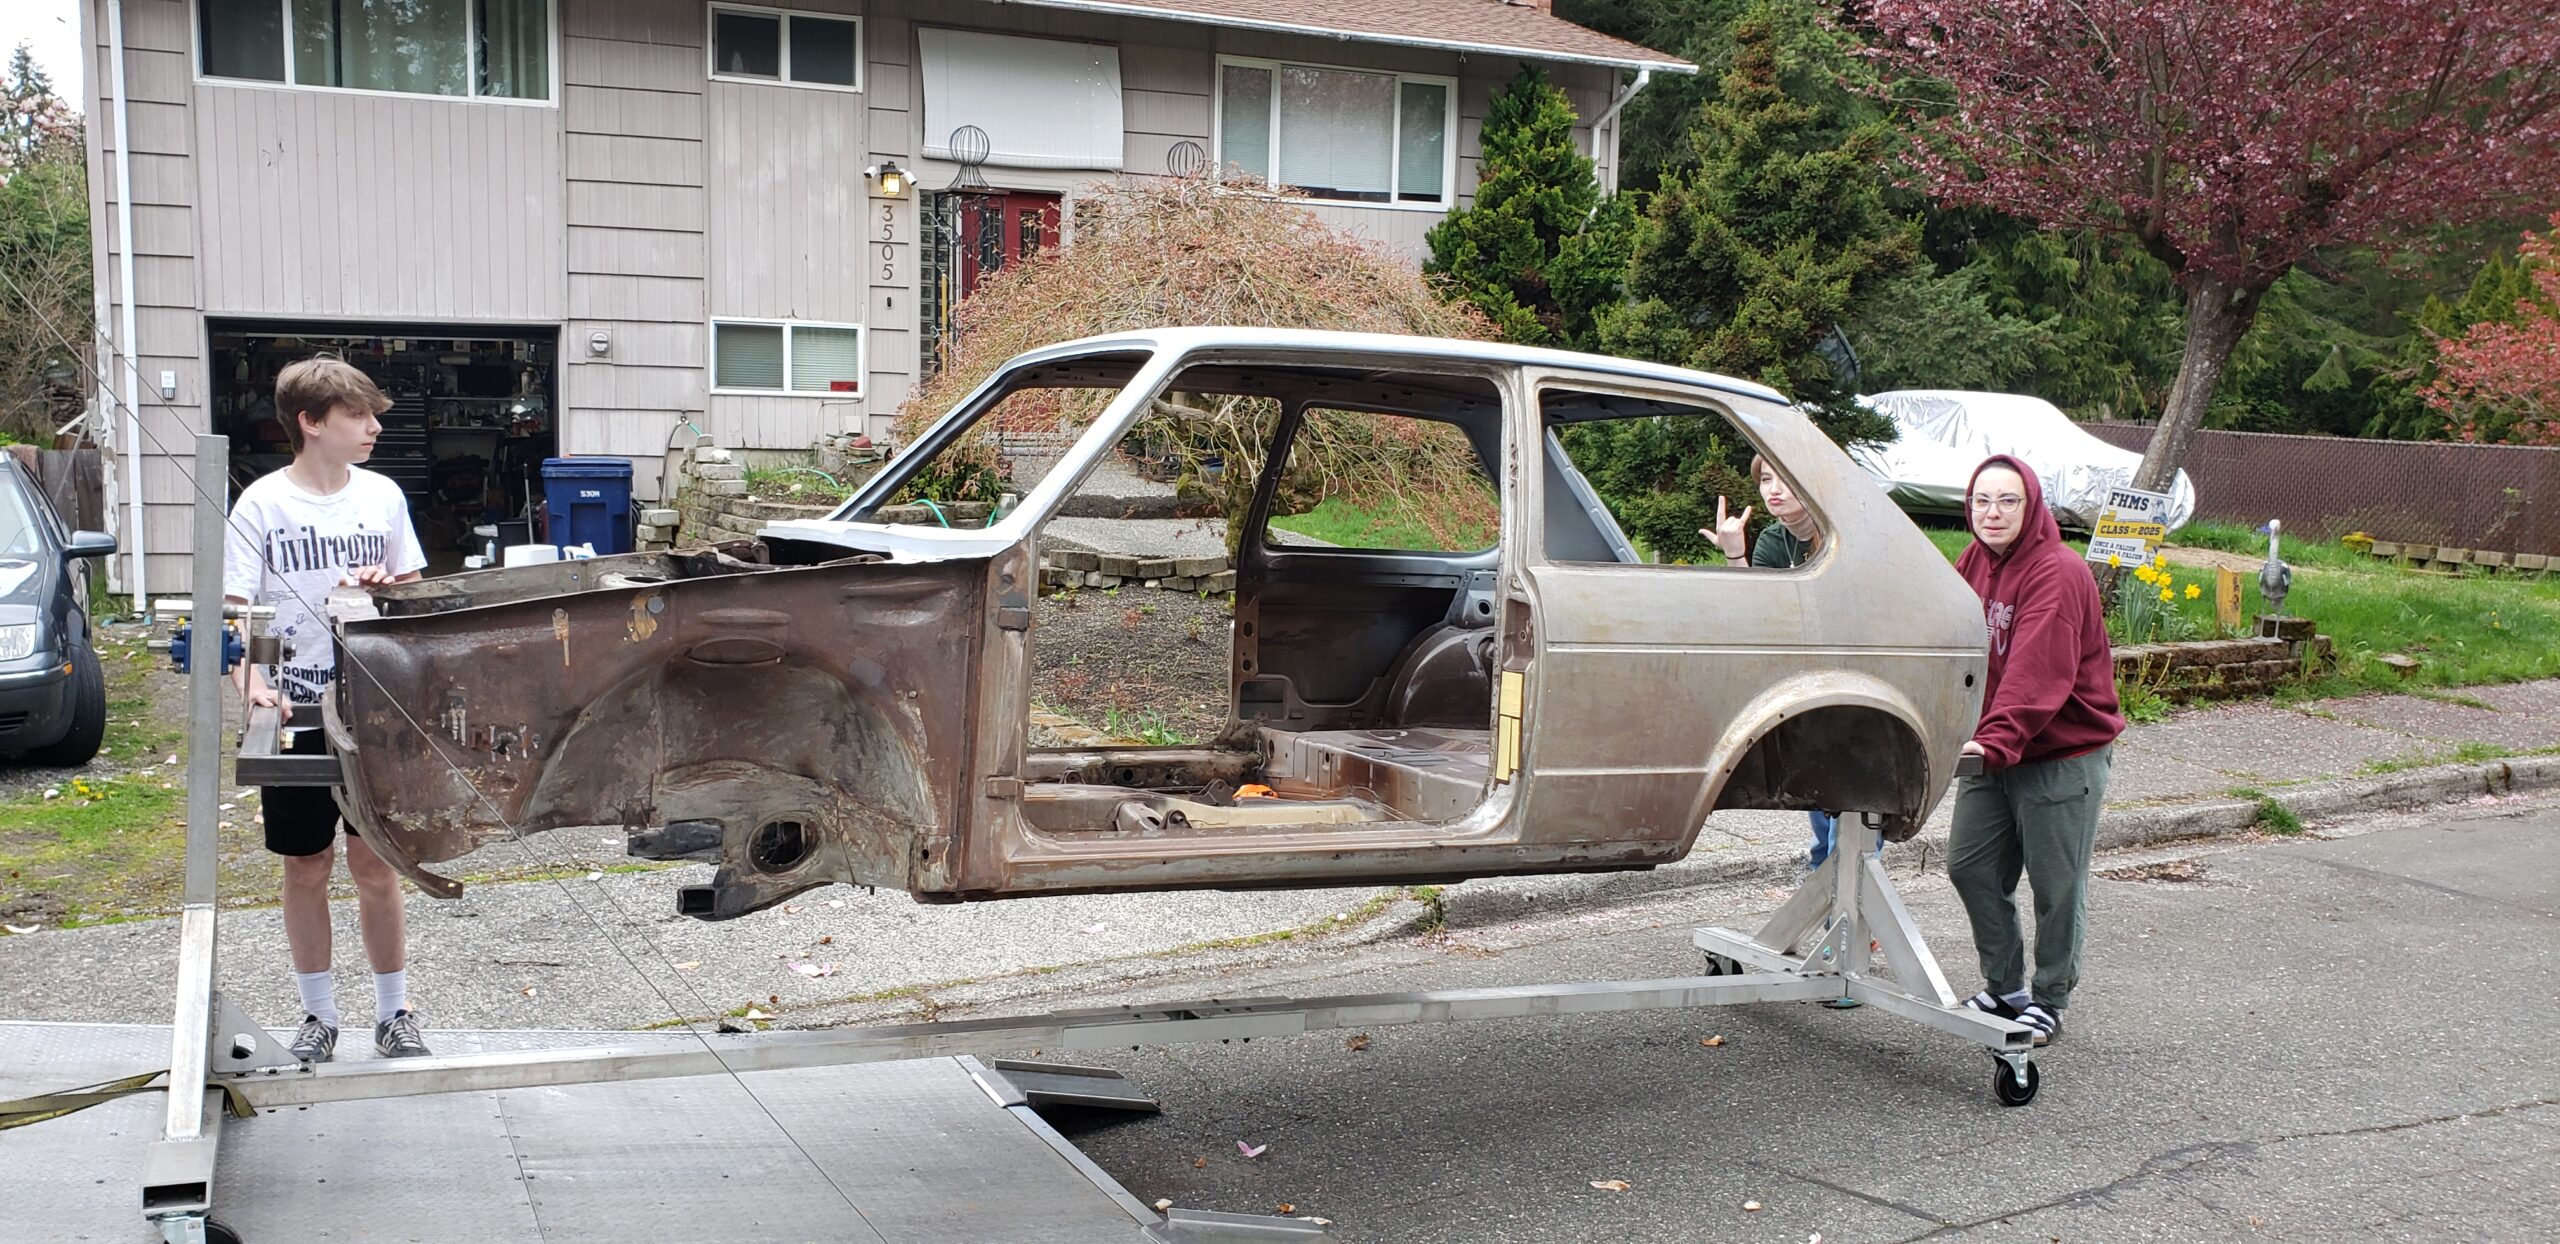
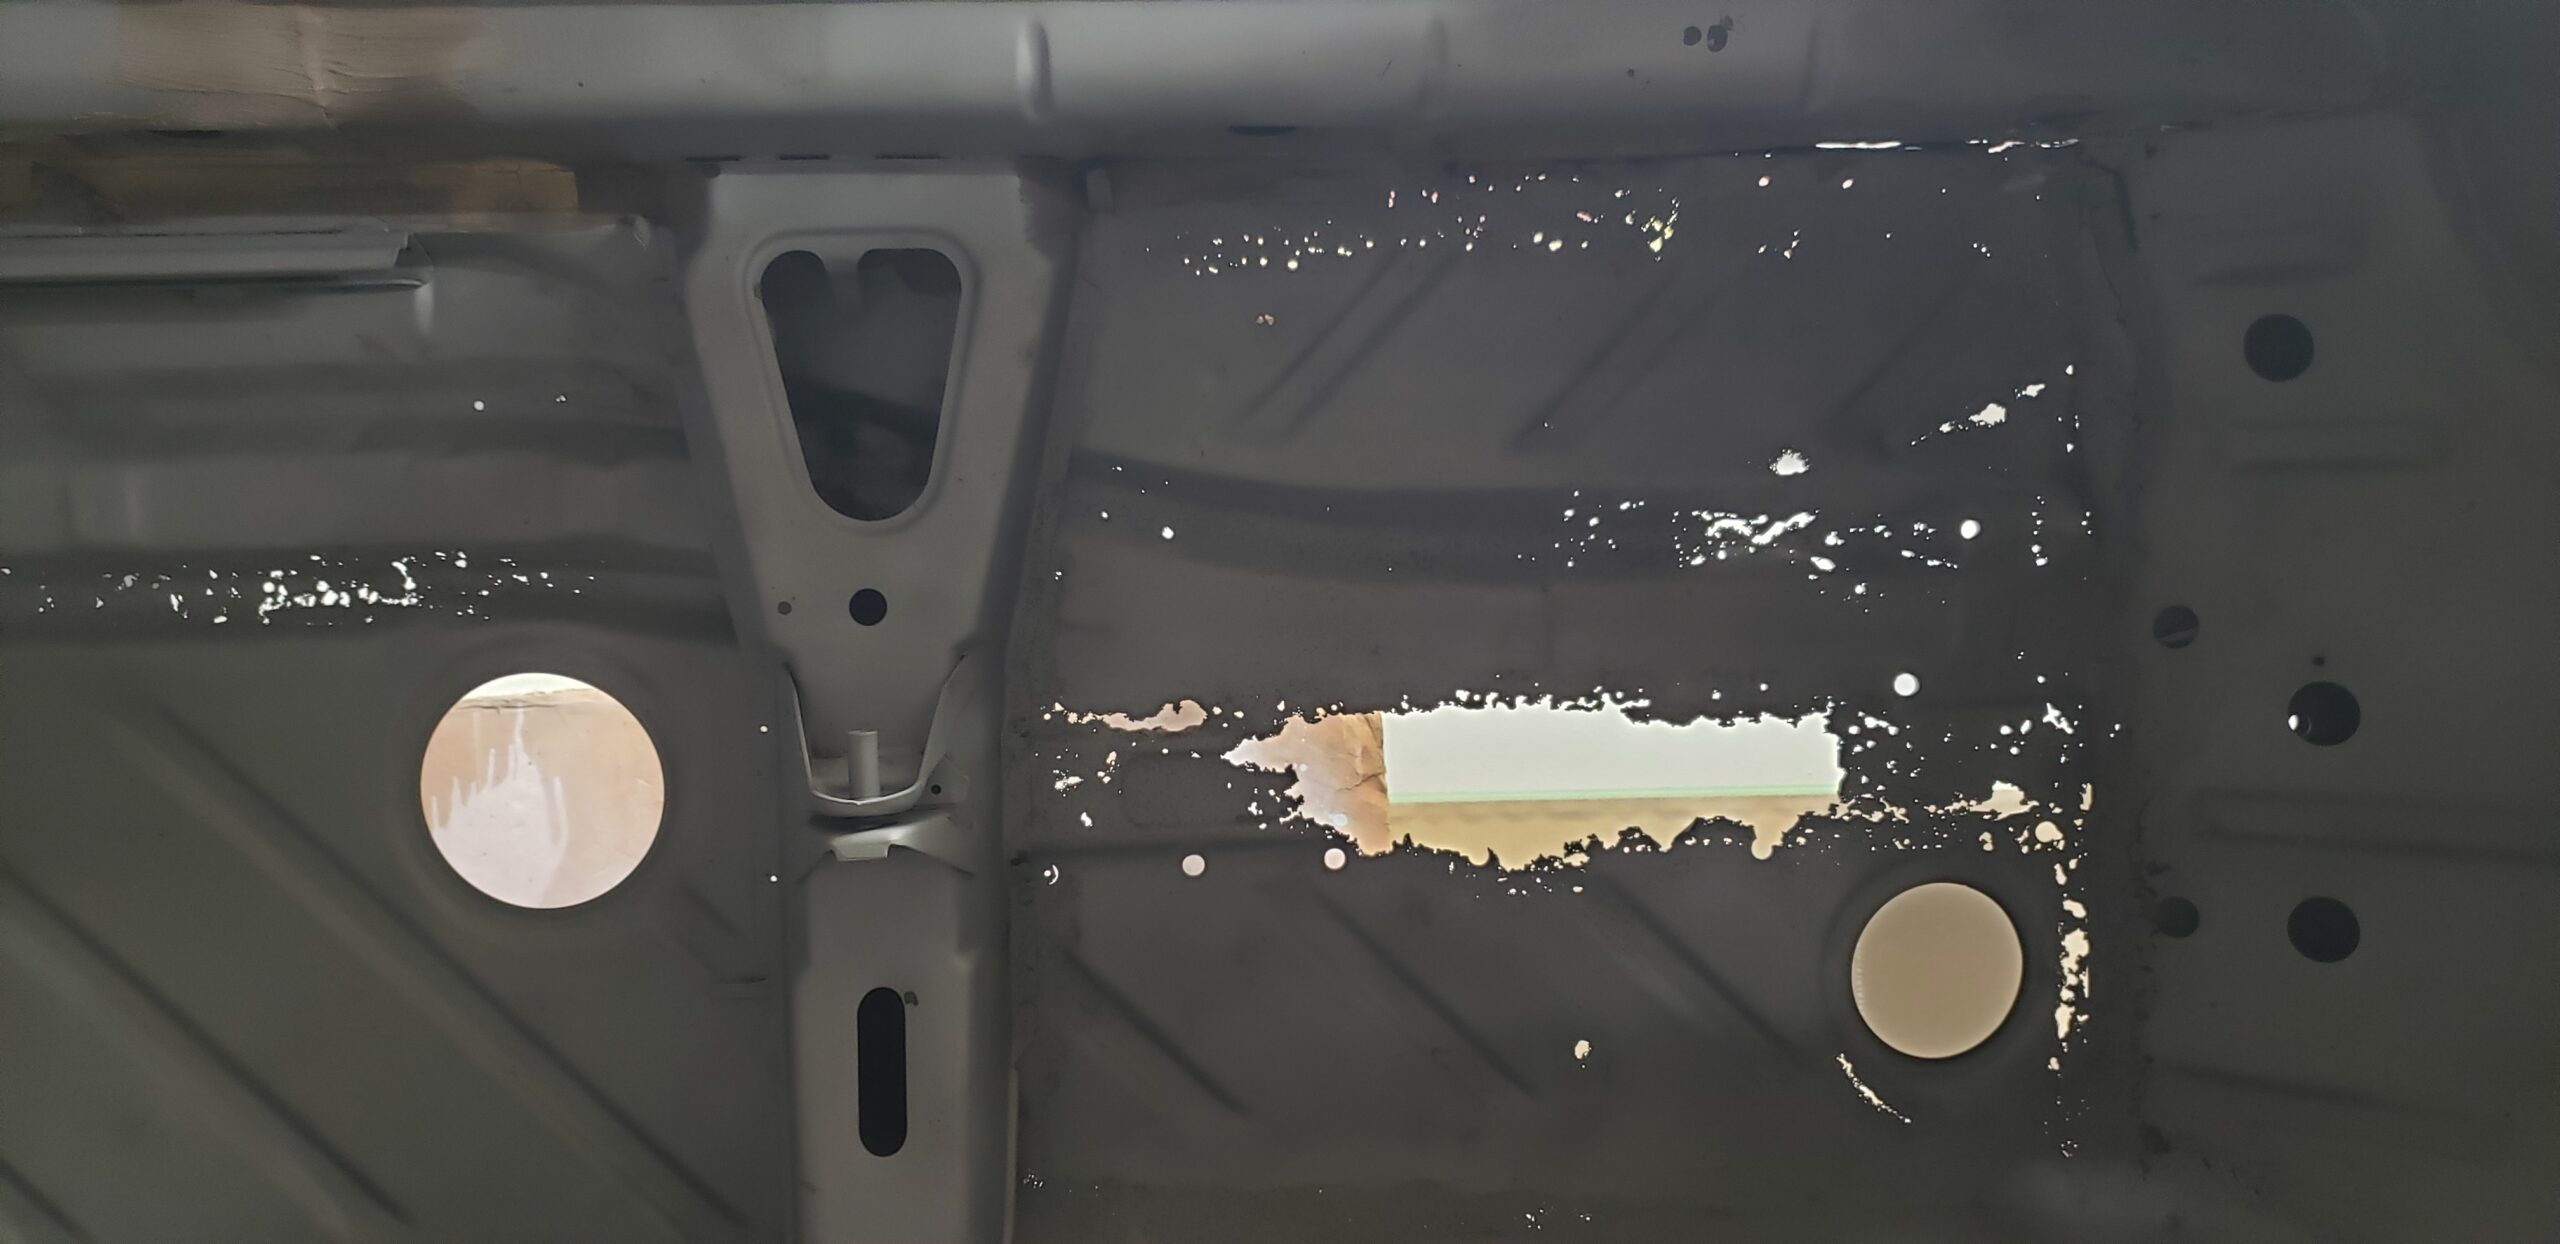
Prep for blasters
Prepping the body was a lot of work, I had to scrap off a ton on undercoating and seam sealer. I actually procrastinated so bad on this part I decided to buy another project car and proceed to restore it over the next year. Also what the hell was I supposed to do with the extra 16v that came out of the Rabbit.
Click here to check out the 1988 16v Scirocco blog.
Ok, ok… I’ll do it already.
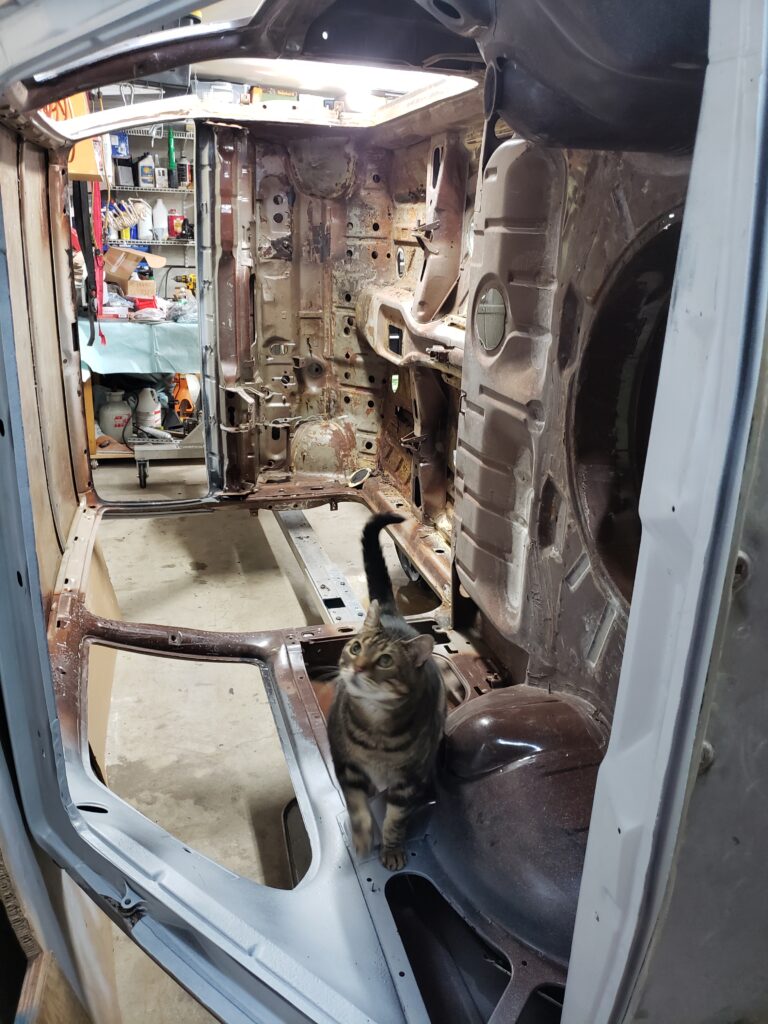
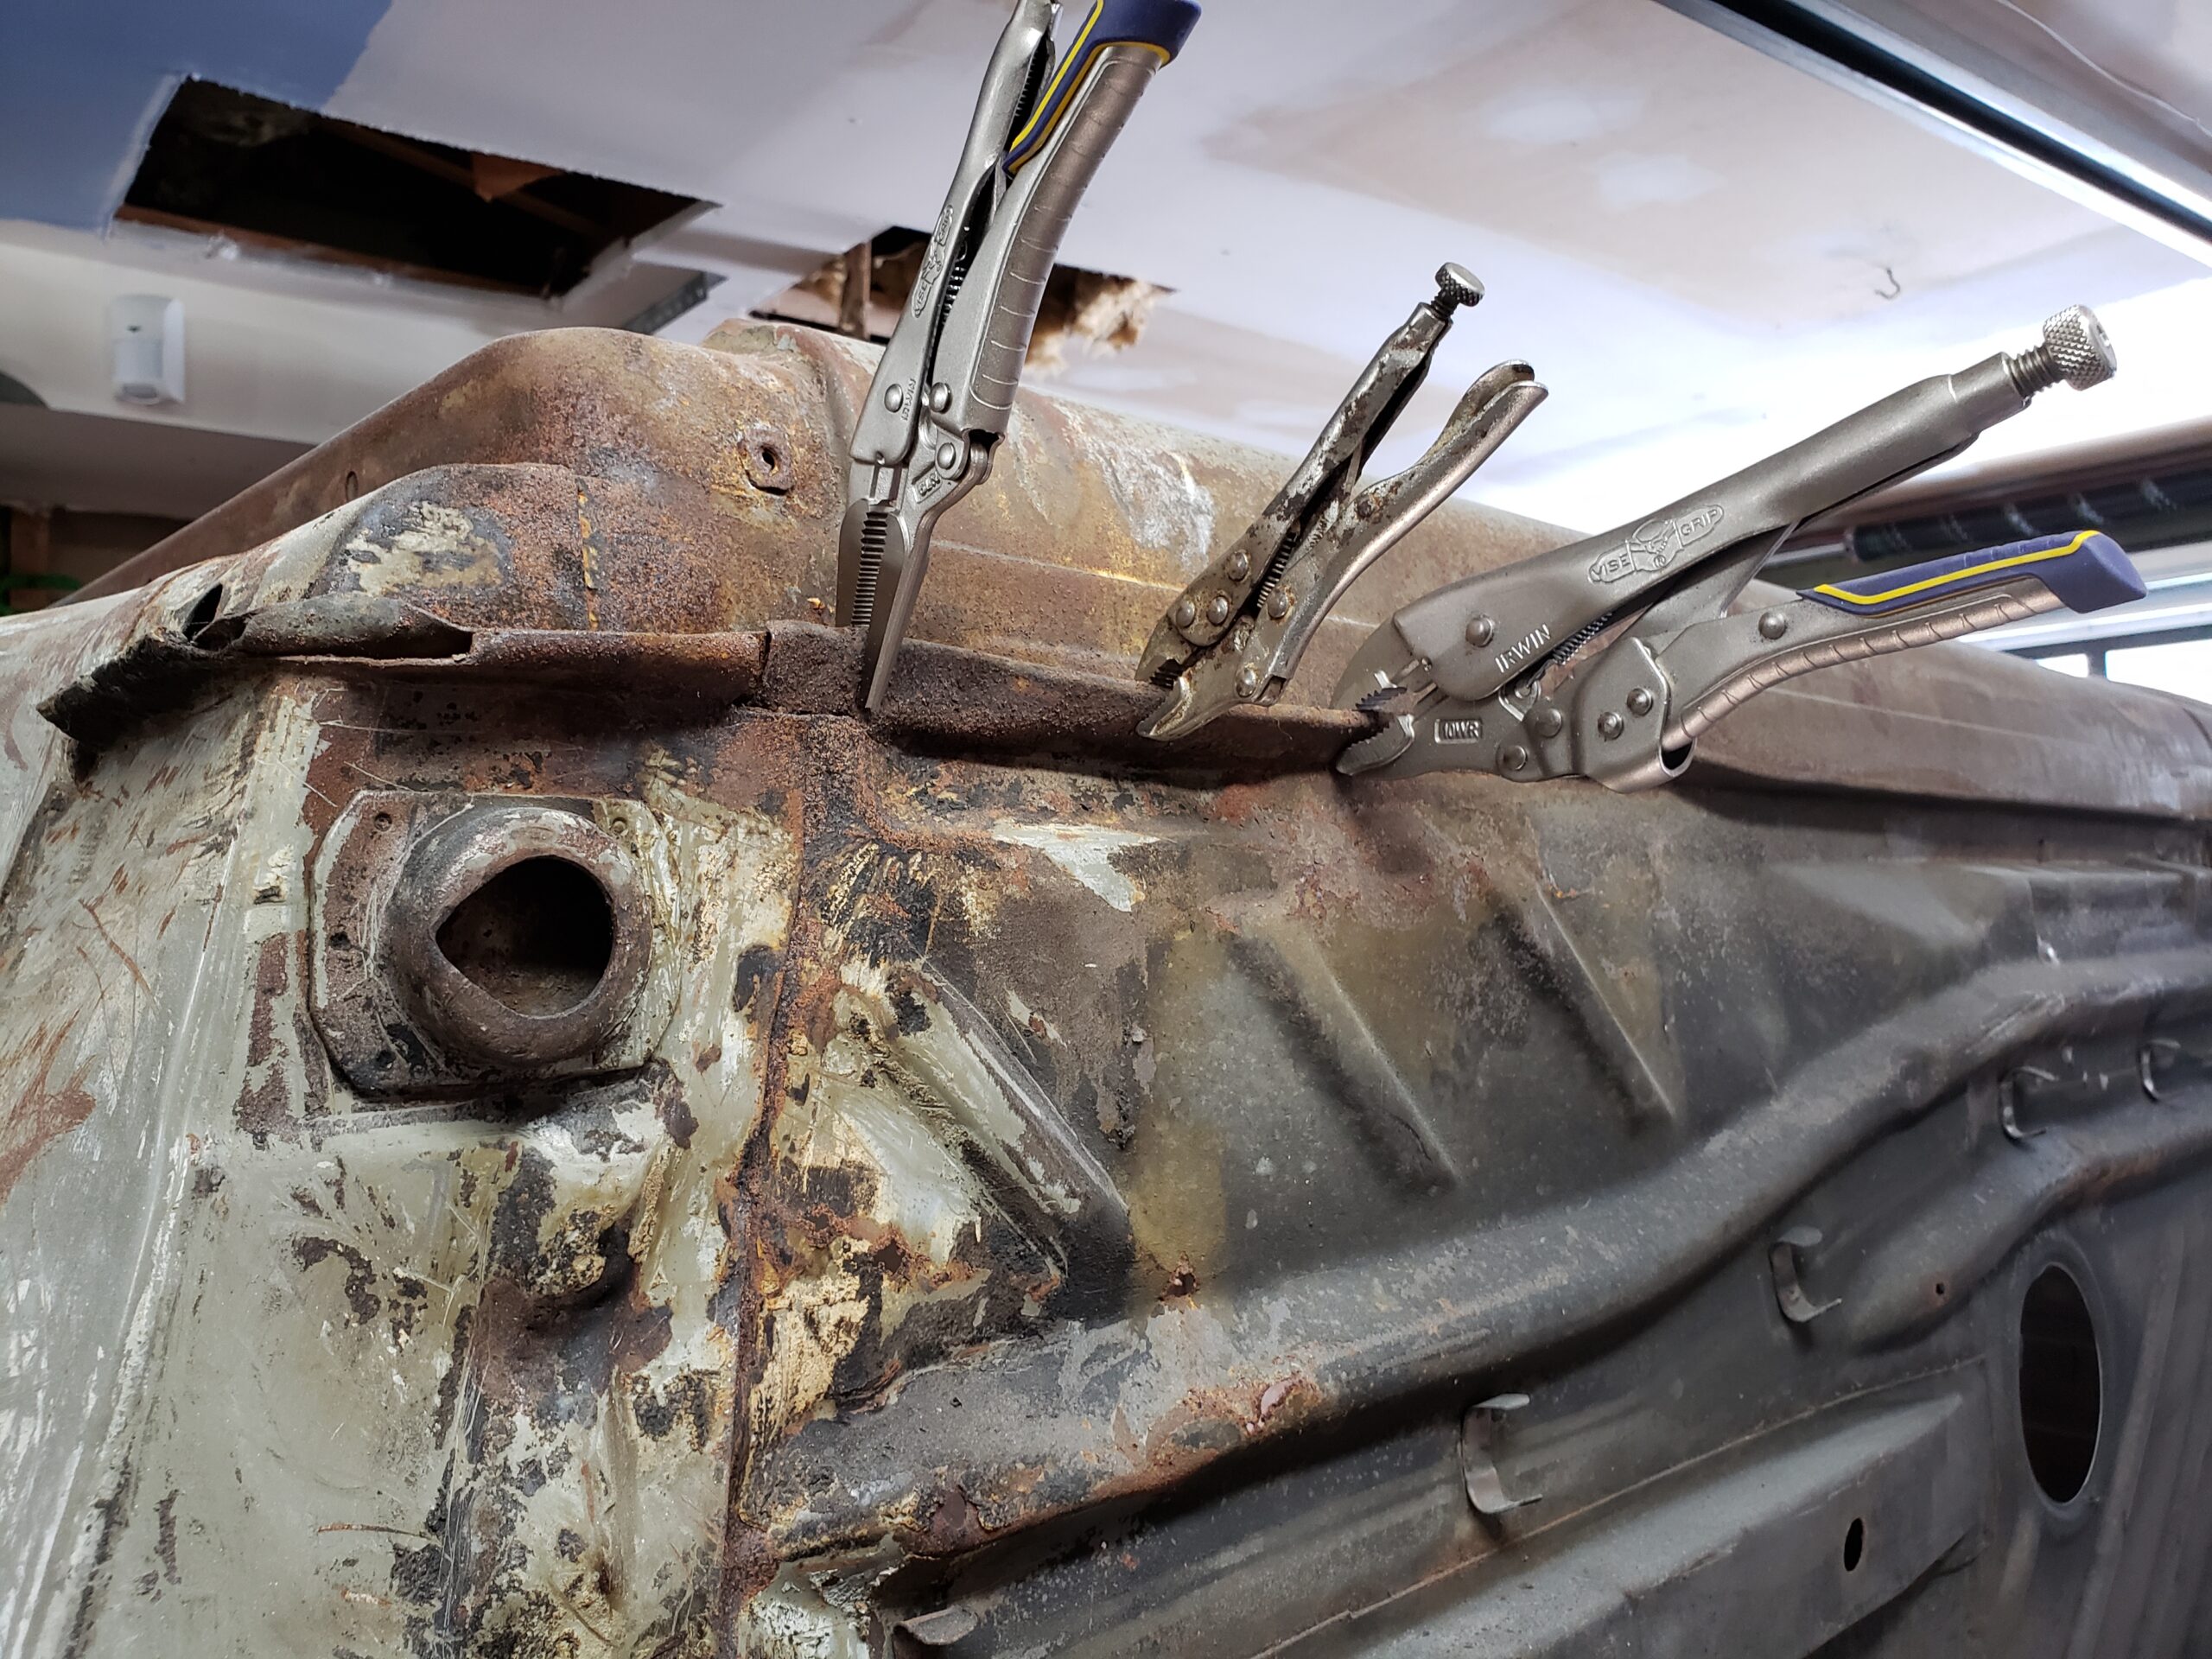
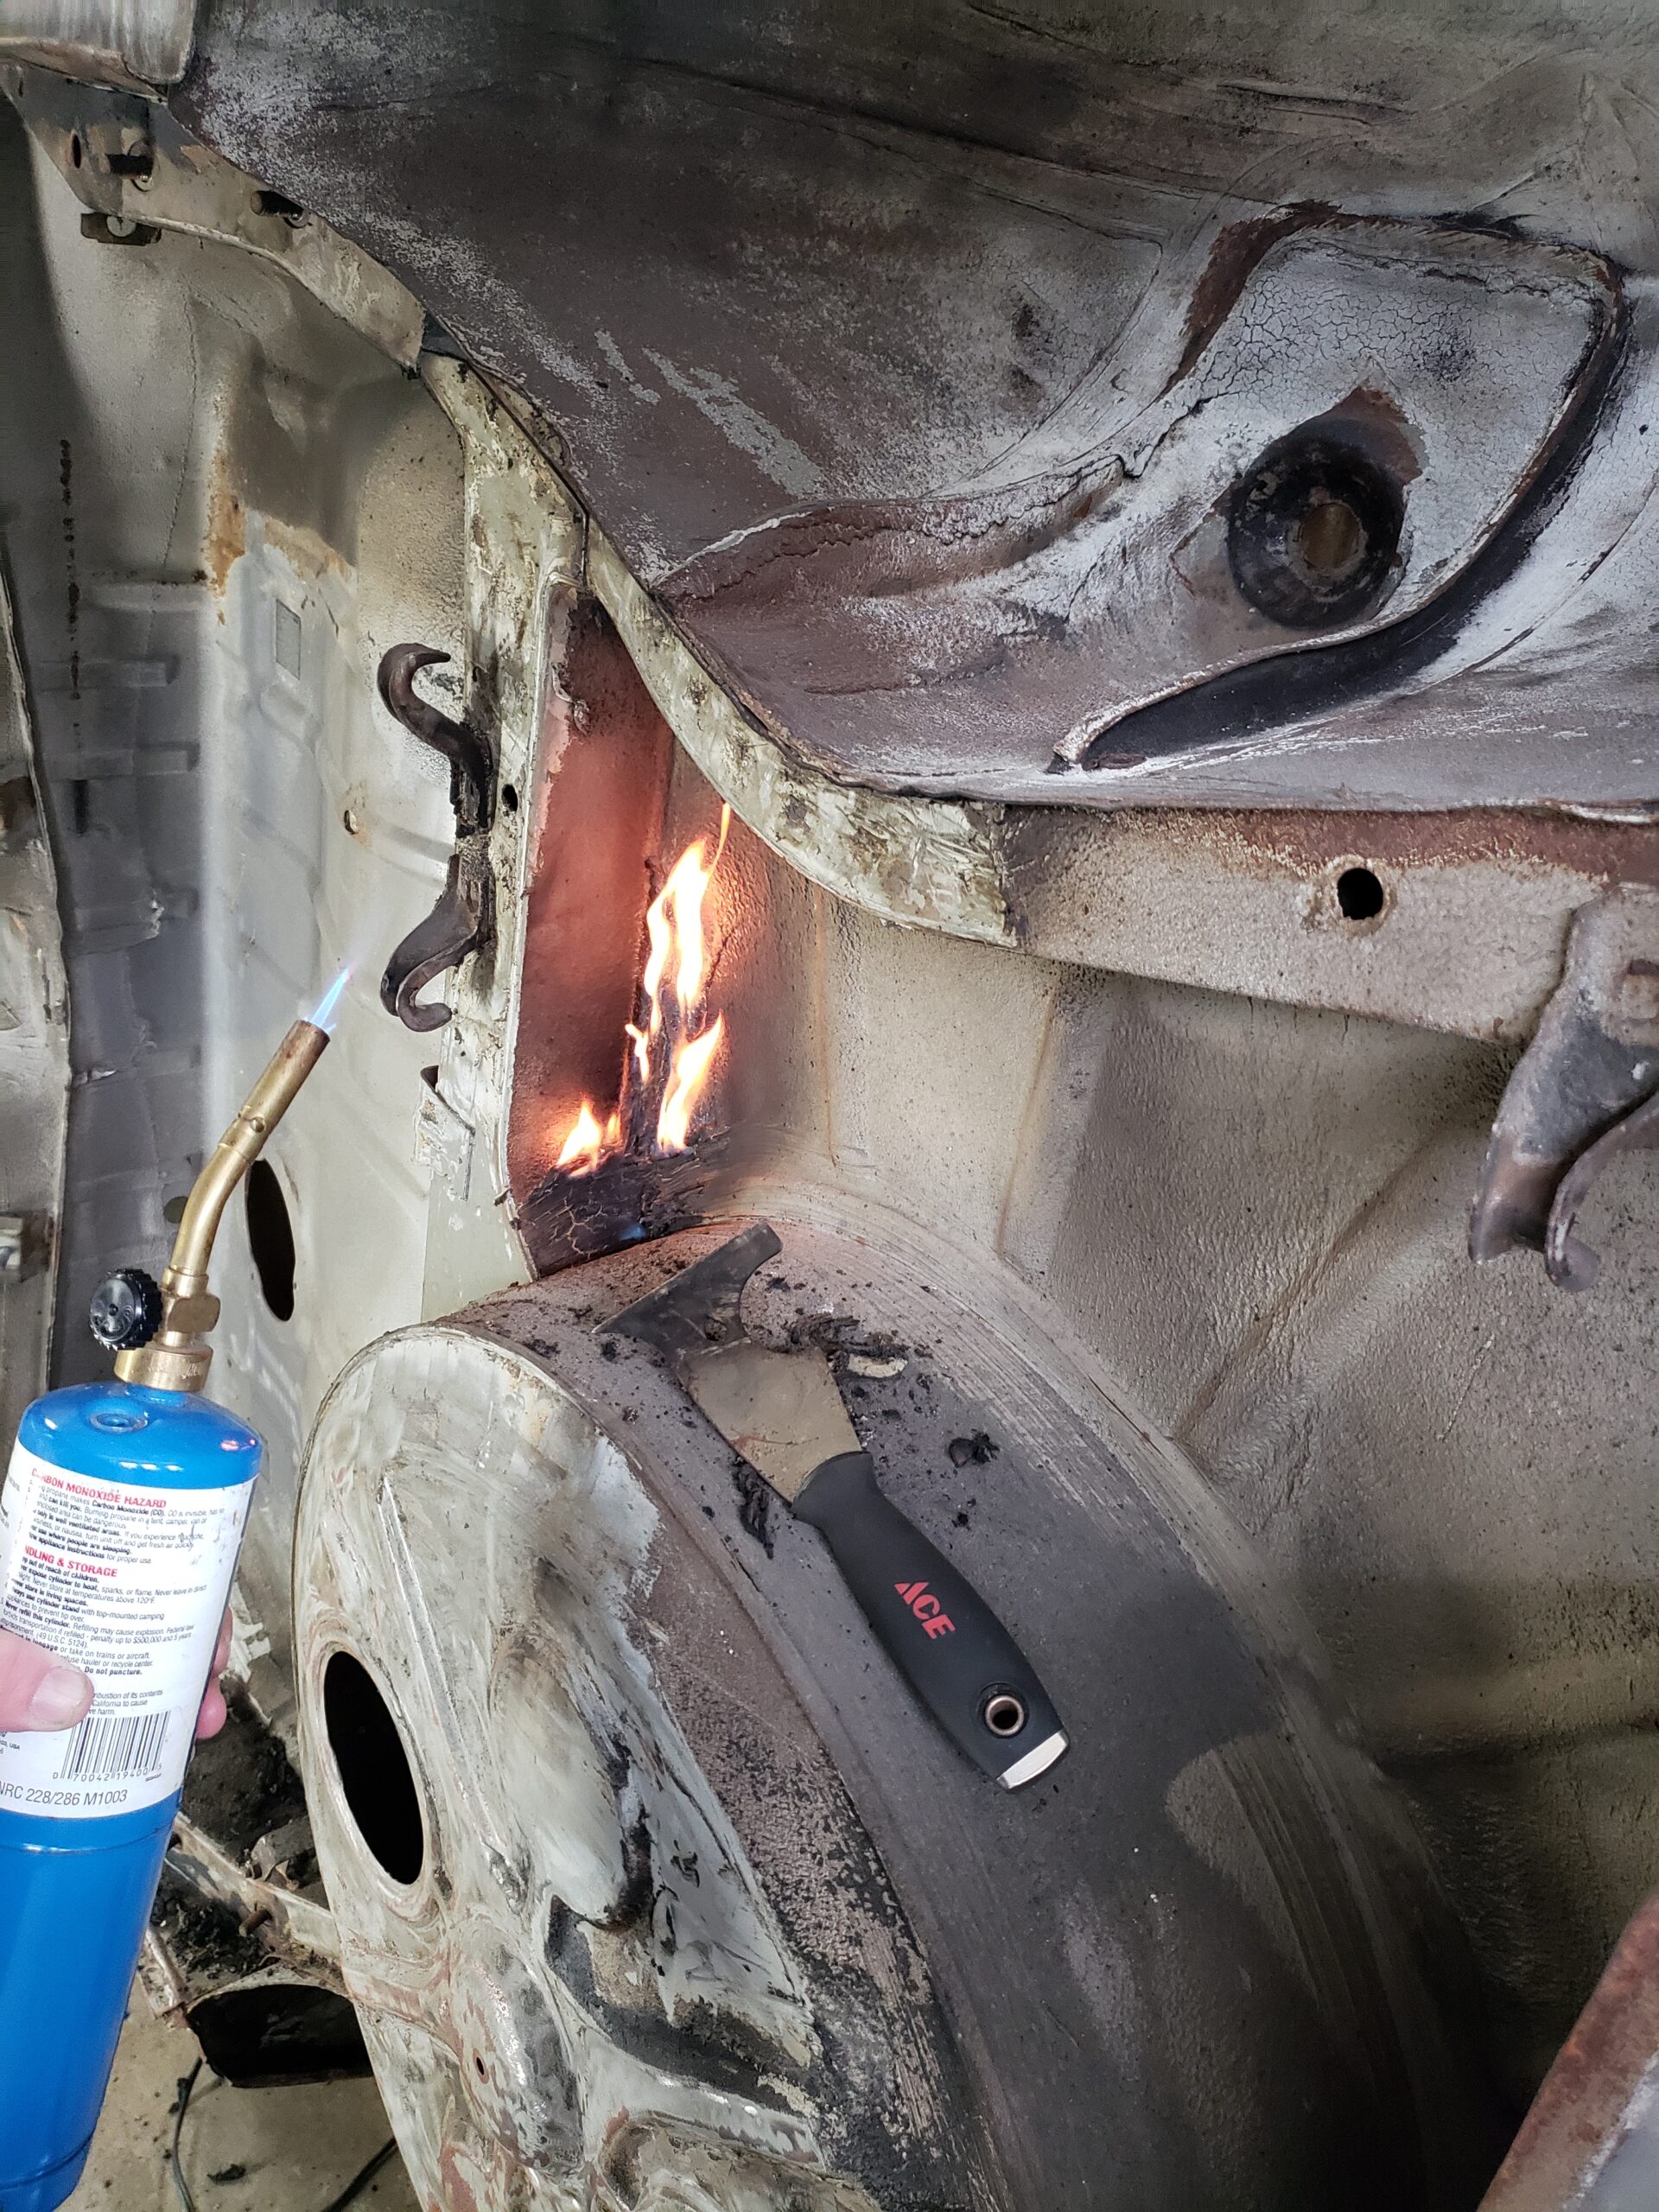
I actually did work on this during the year, I would scrap for an hour or two and then just kind of just… wander off. When I was done there was enough seam sealer to fill a one and a half 5 gallon buckets, and I still didn’t get it all. This stage is easily the worst part of restoration and I know a few people who almost gave up, I’m one of them. I chose to use fire to send this evil shit back to Hell from whence it came.
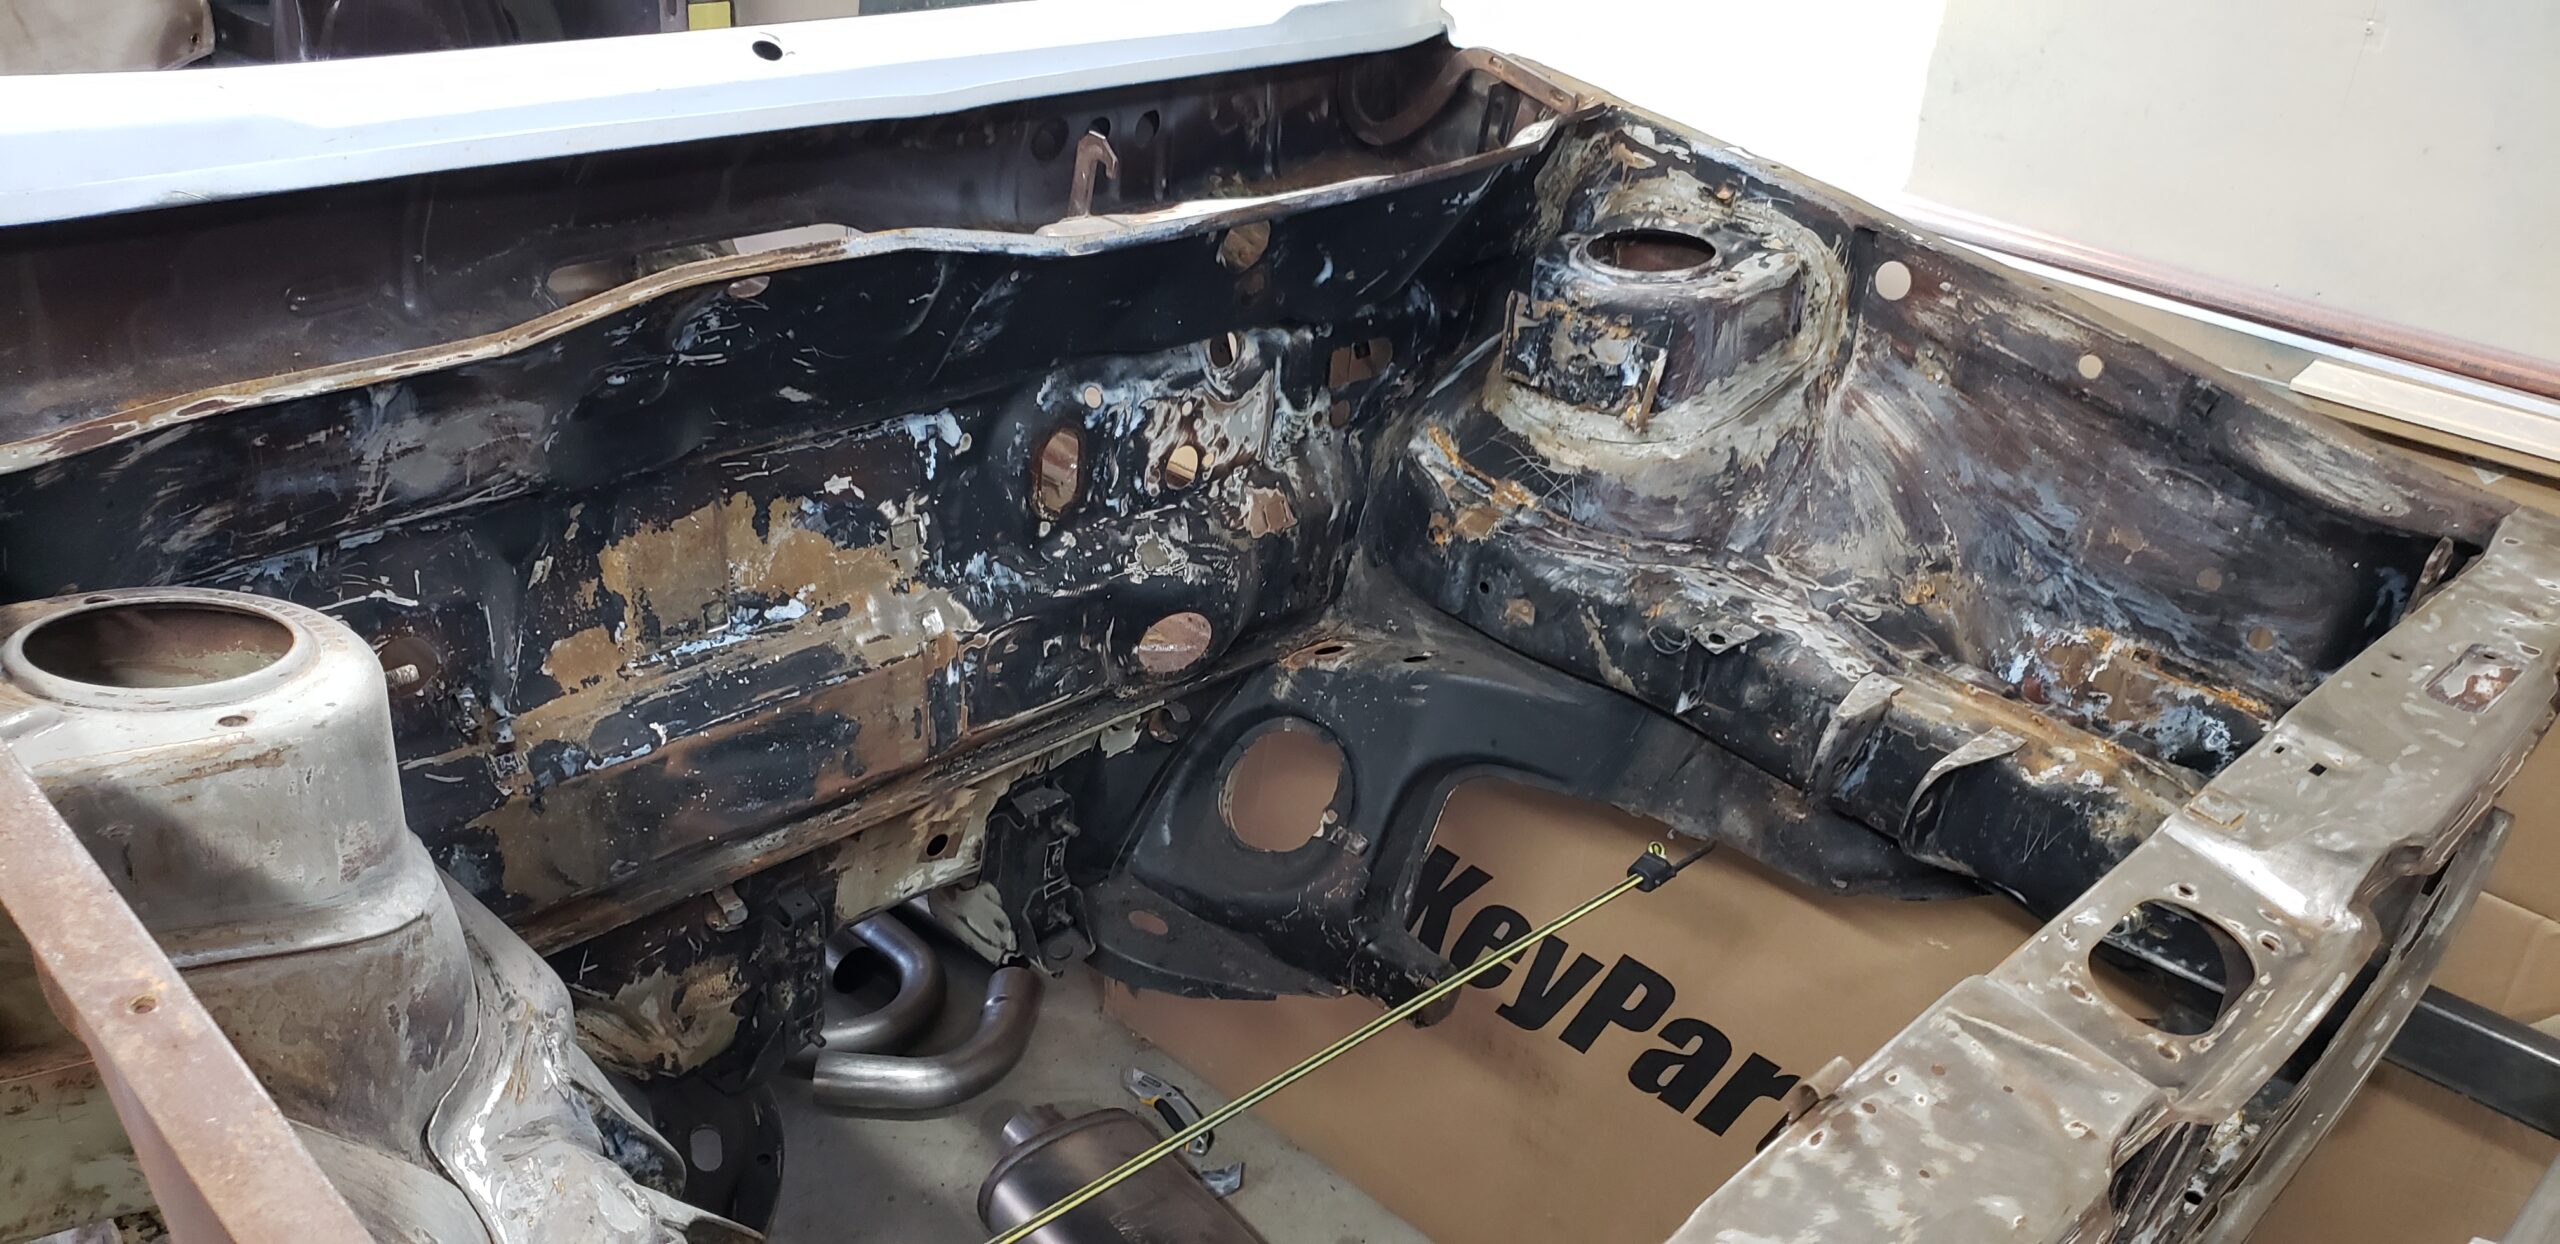
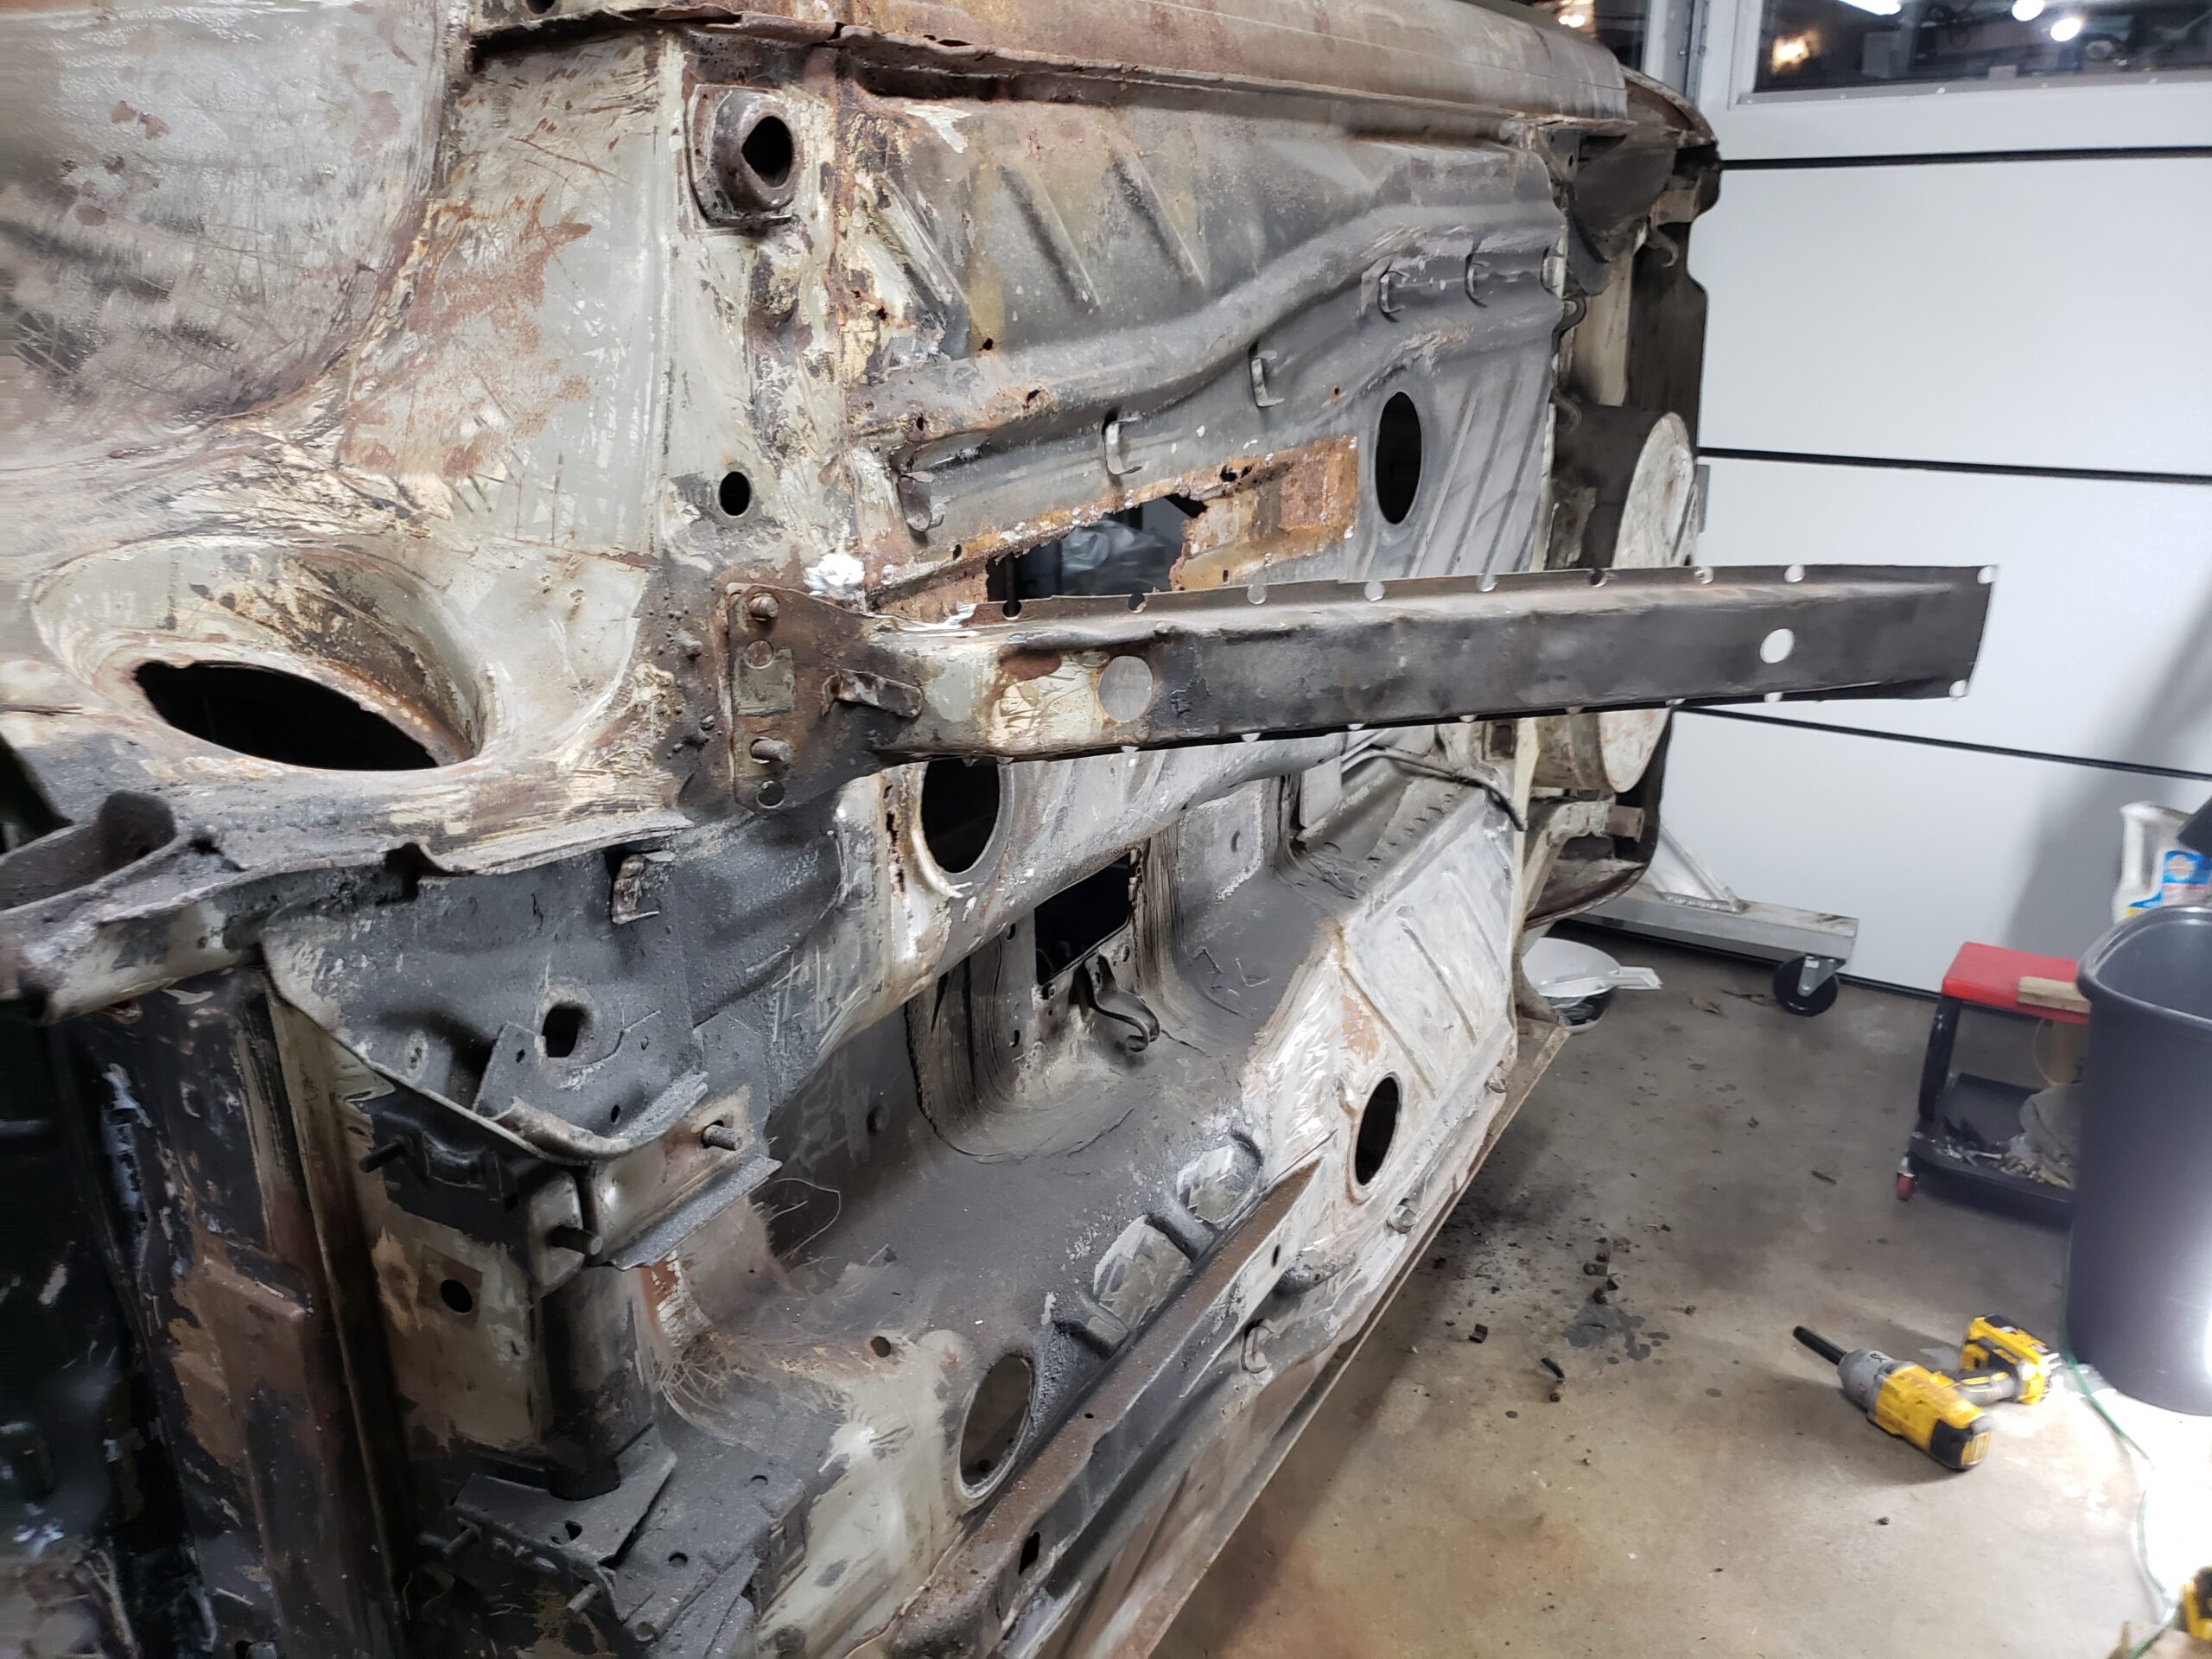

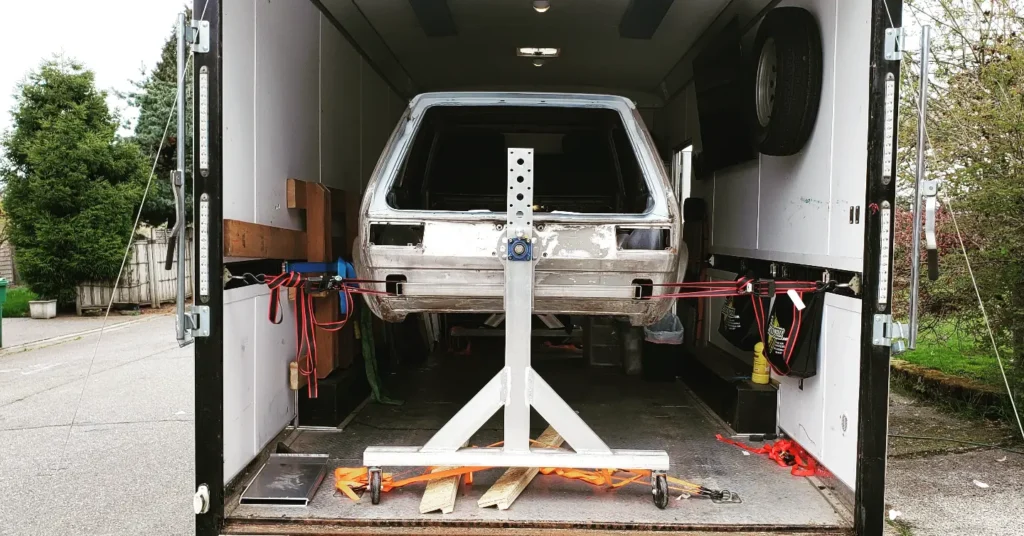
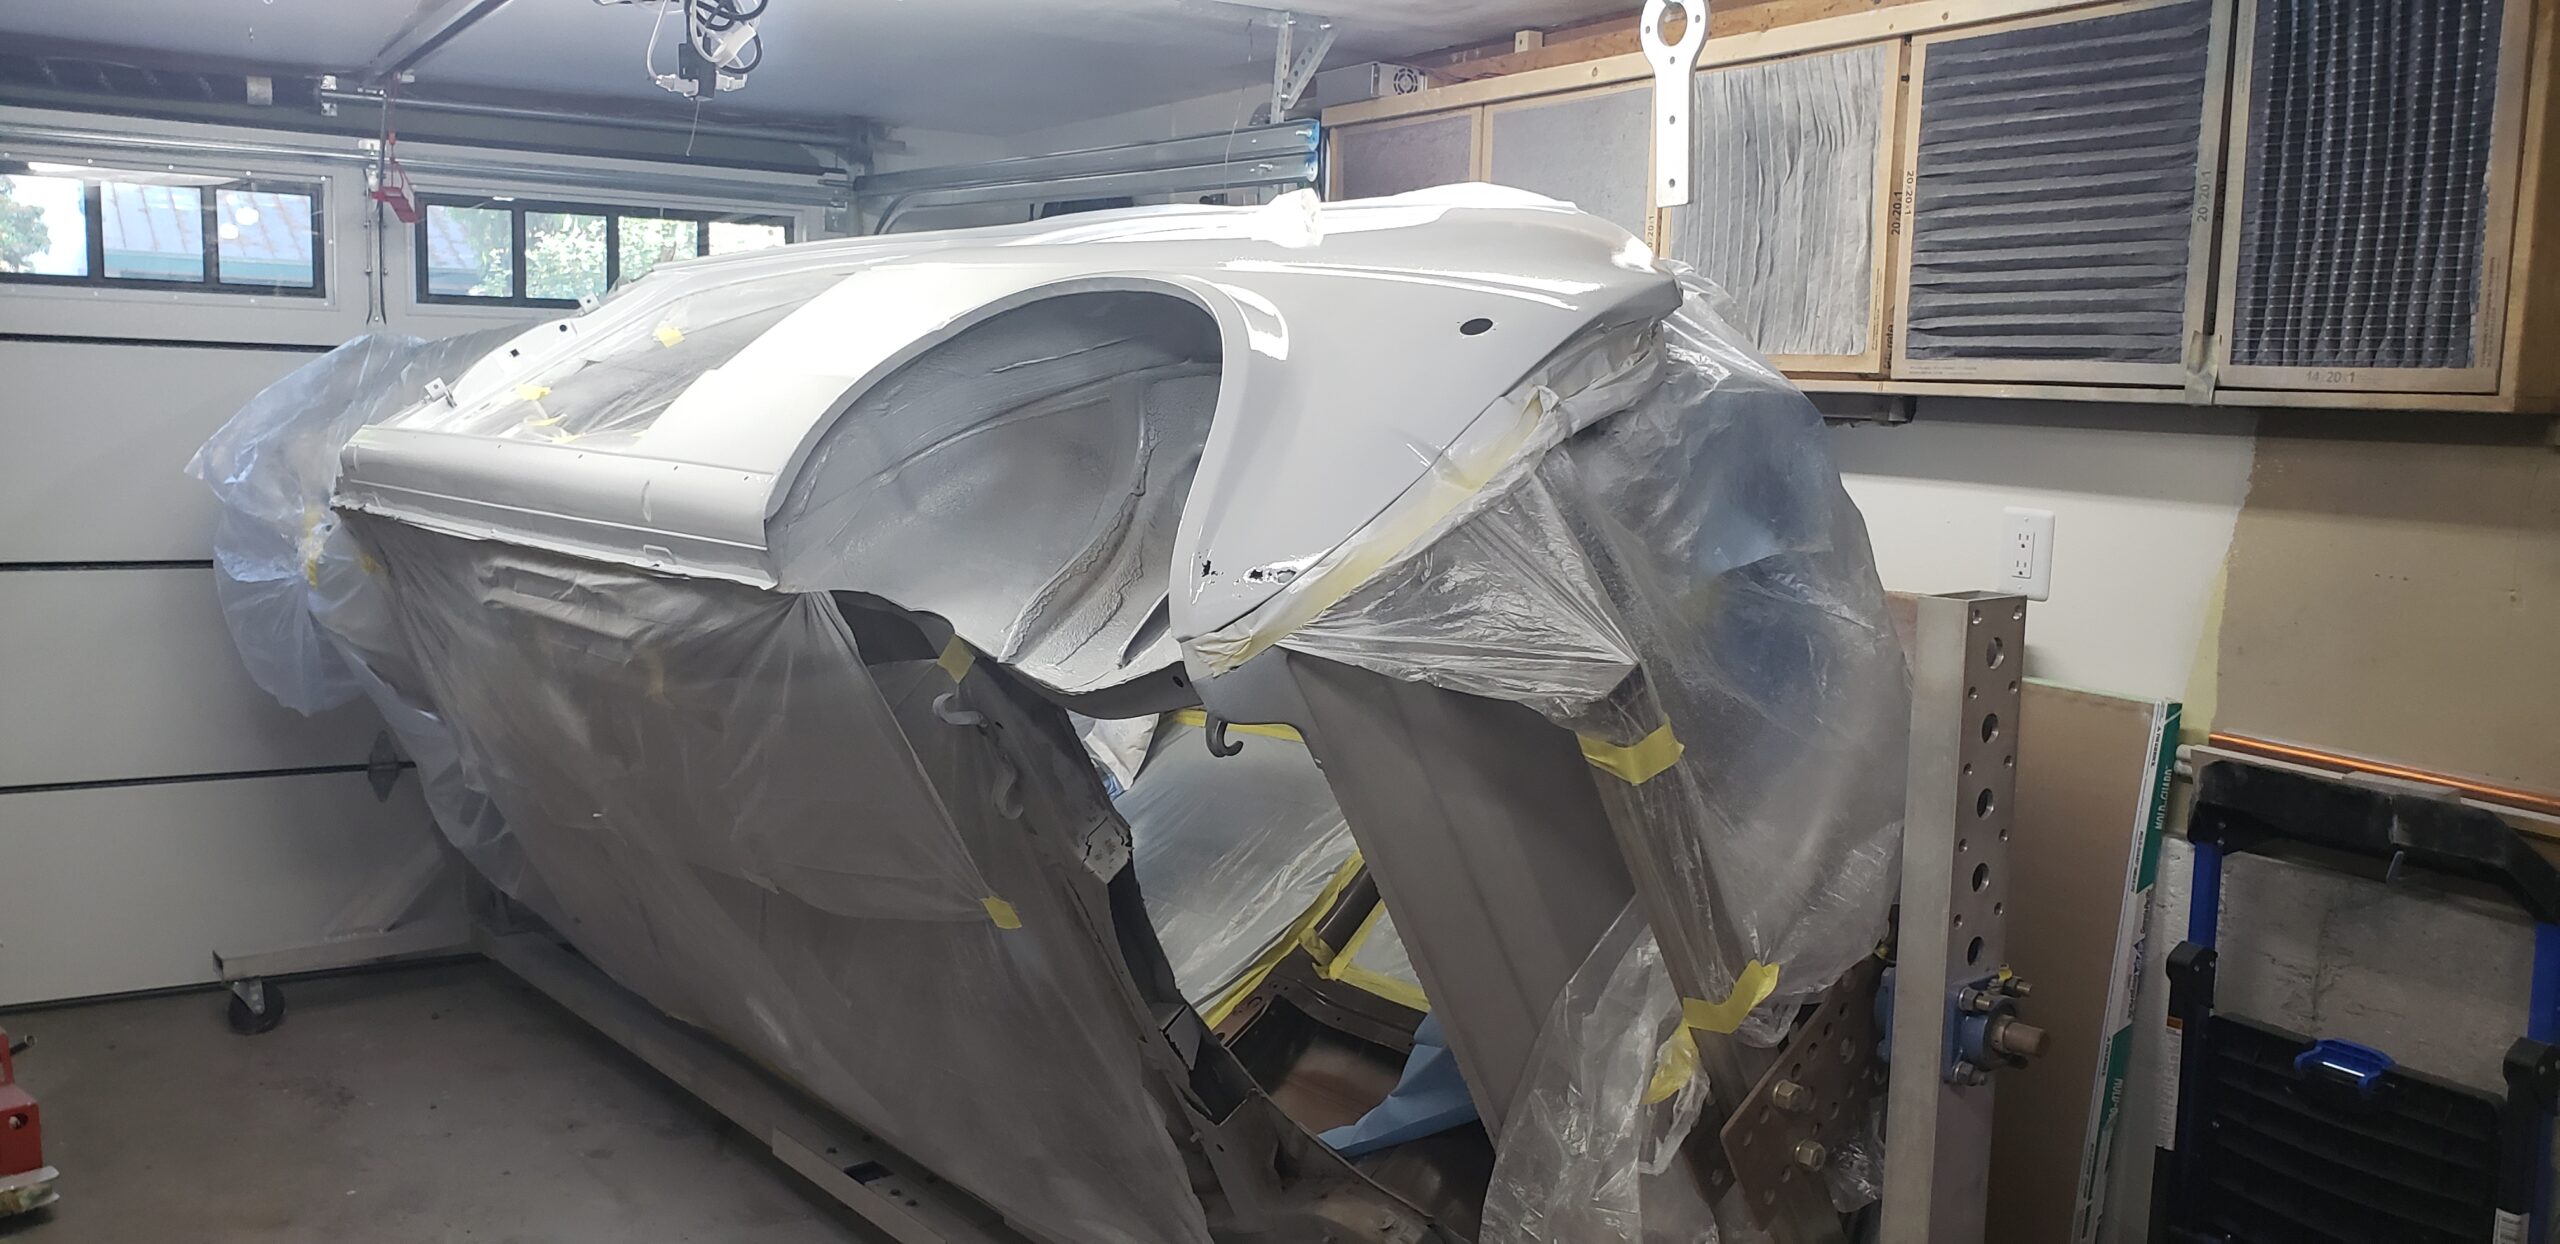
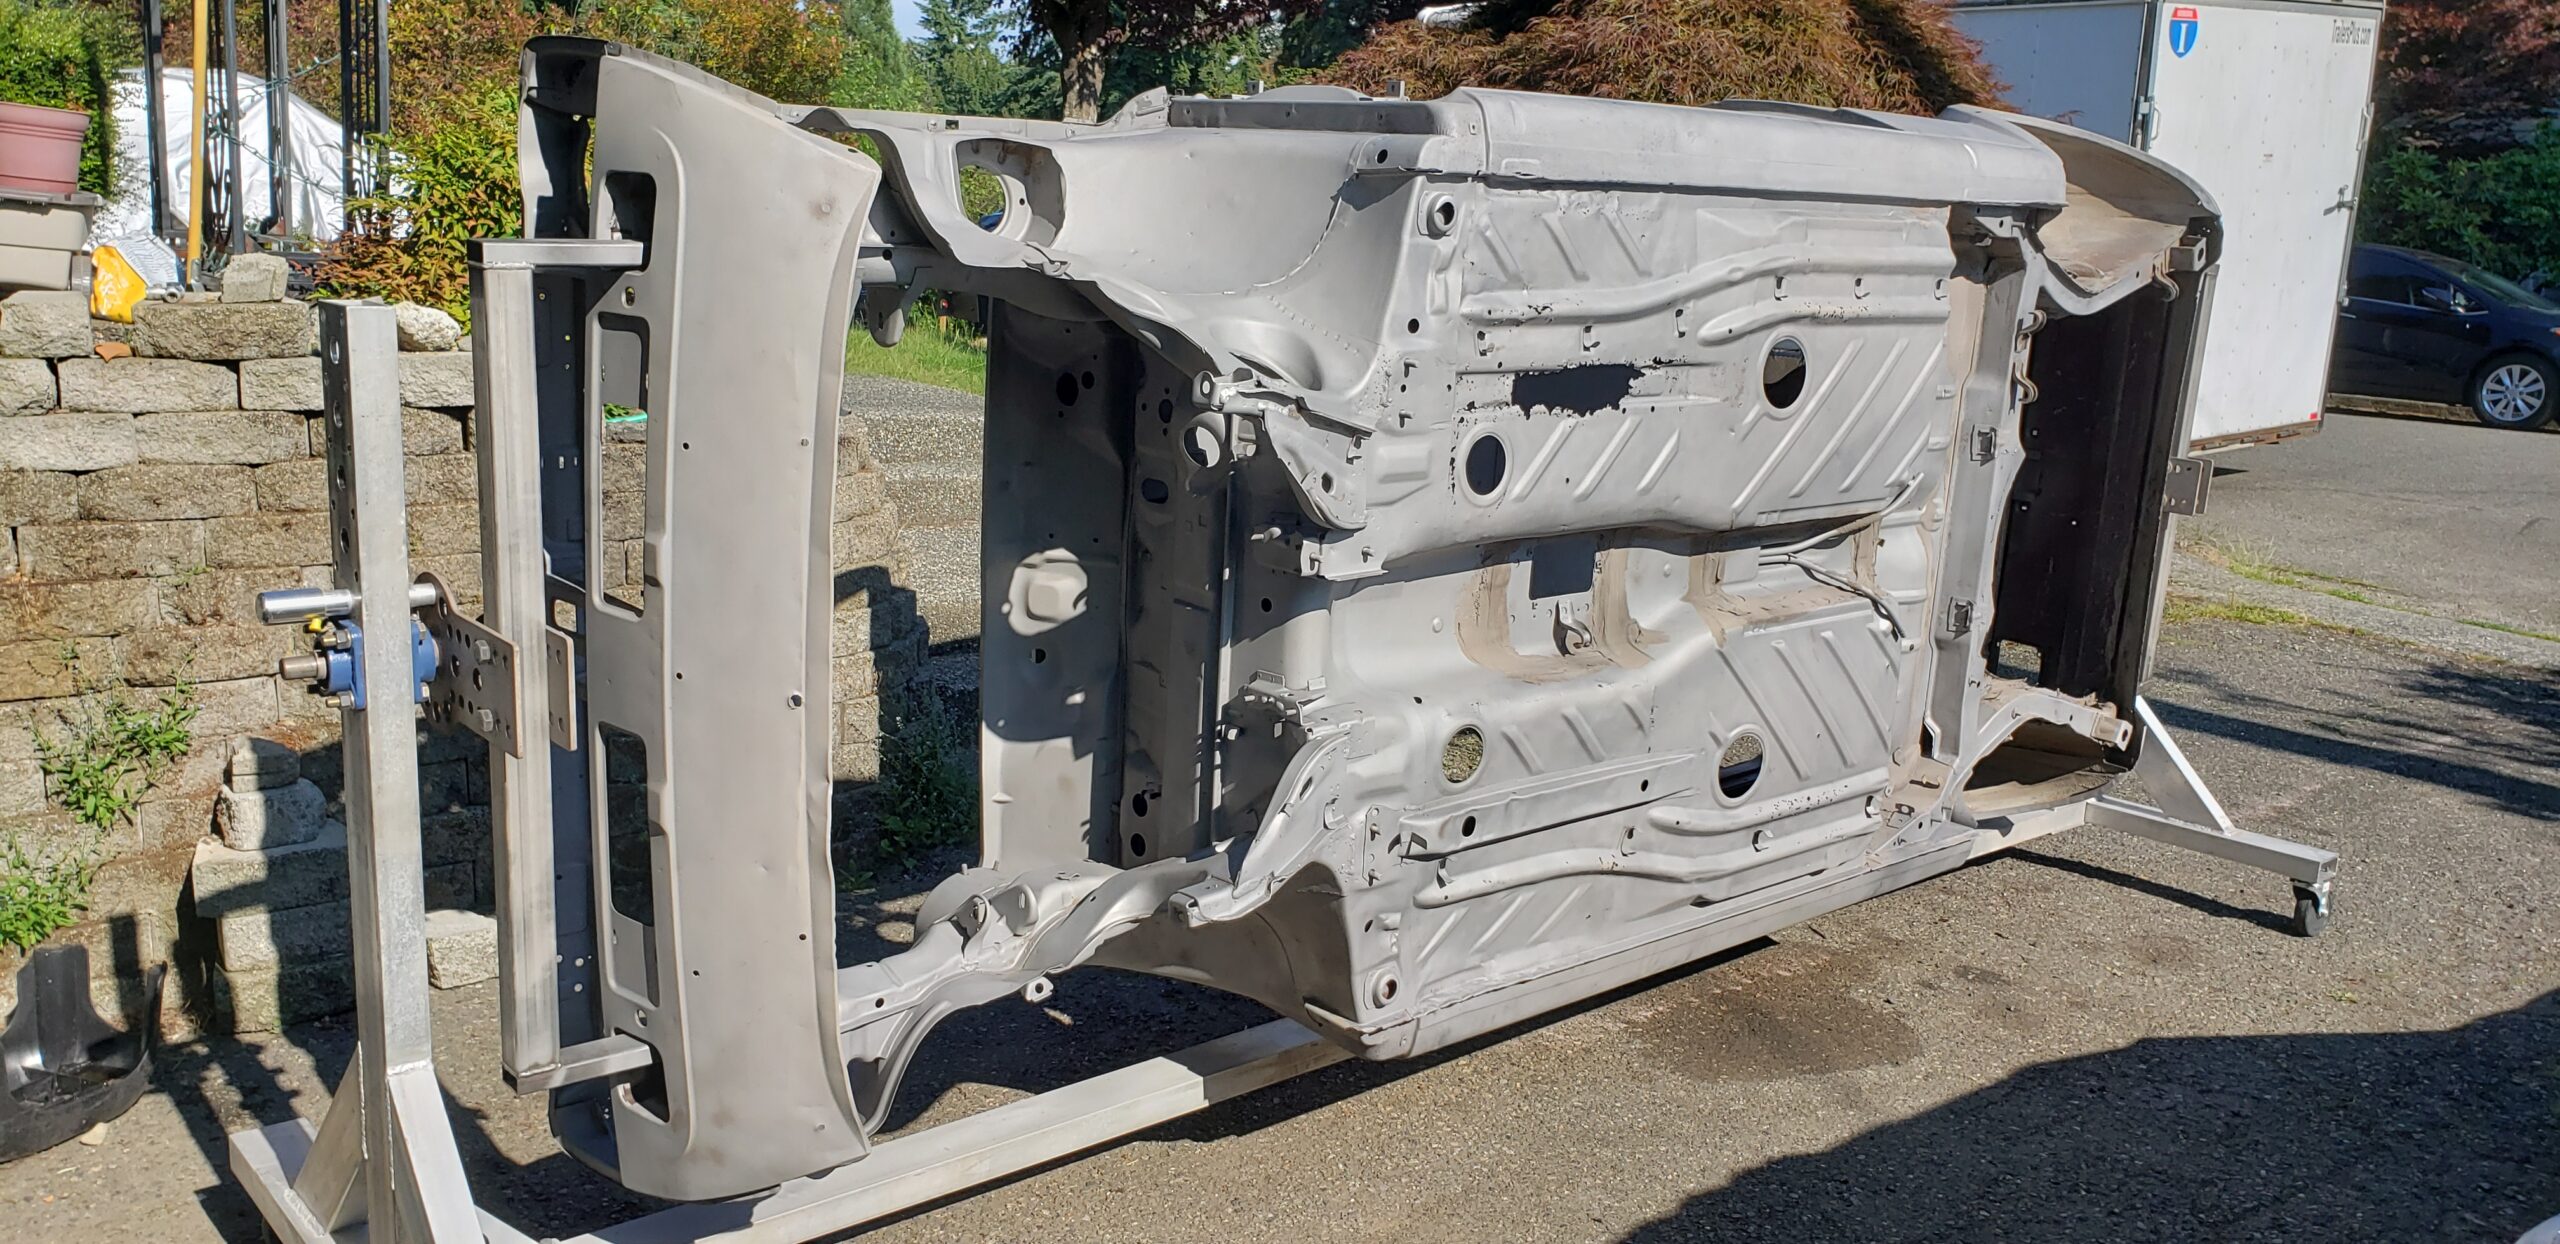
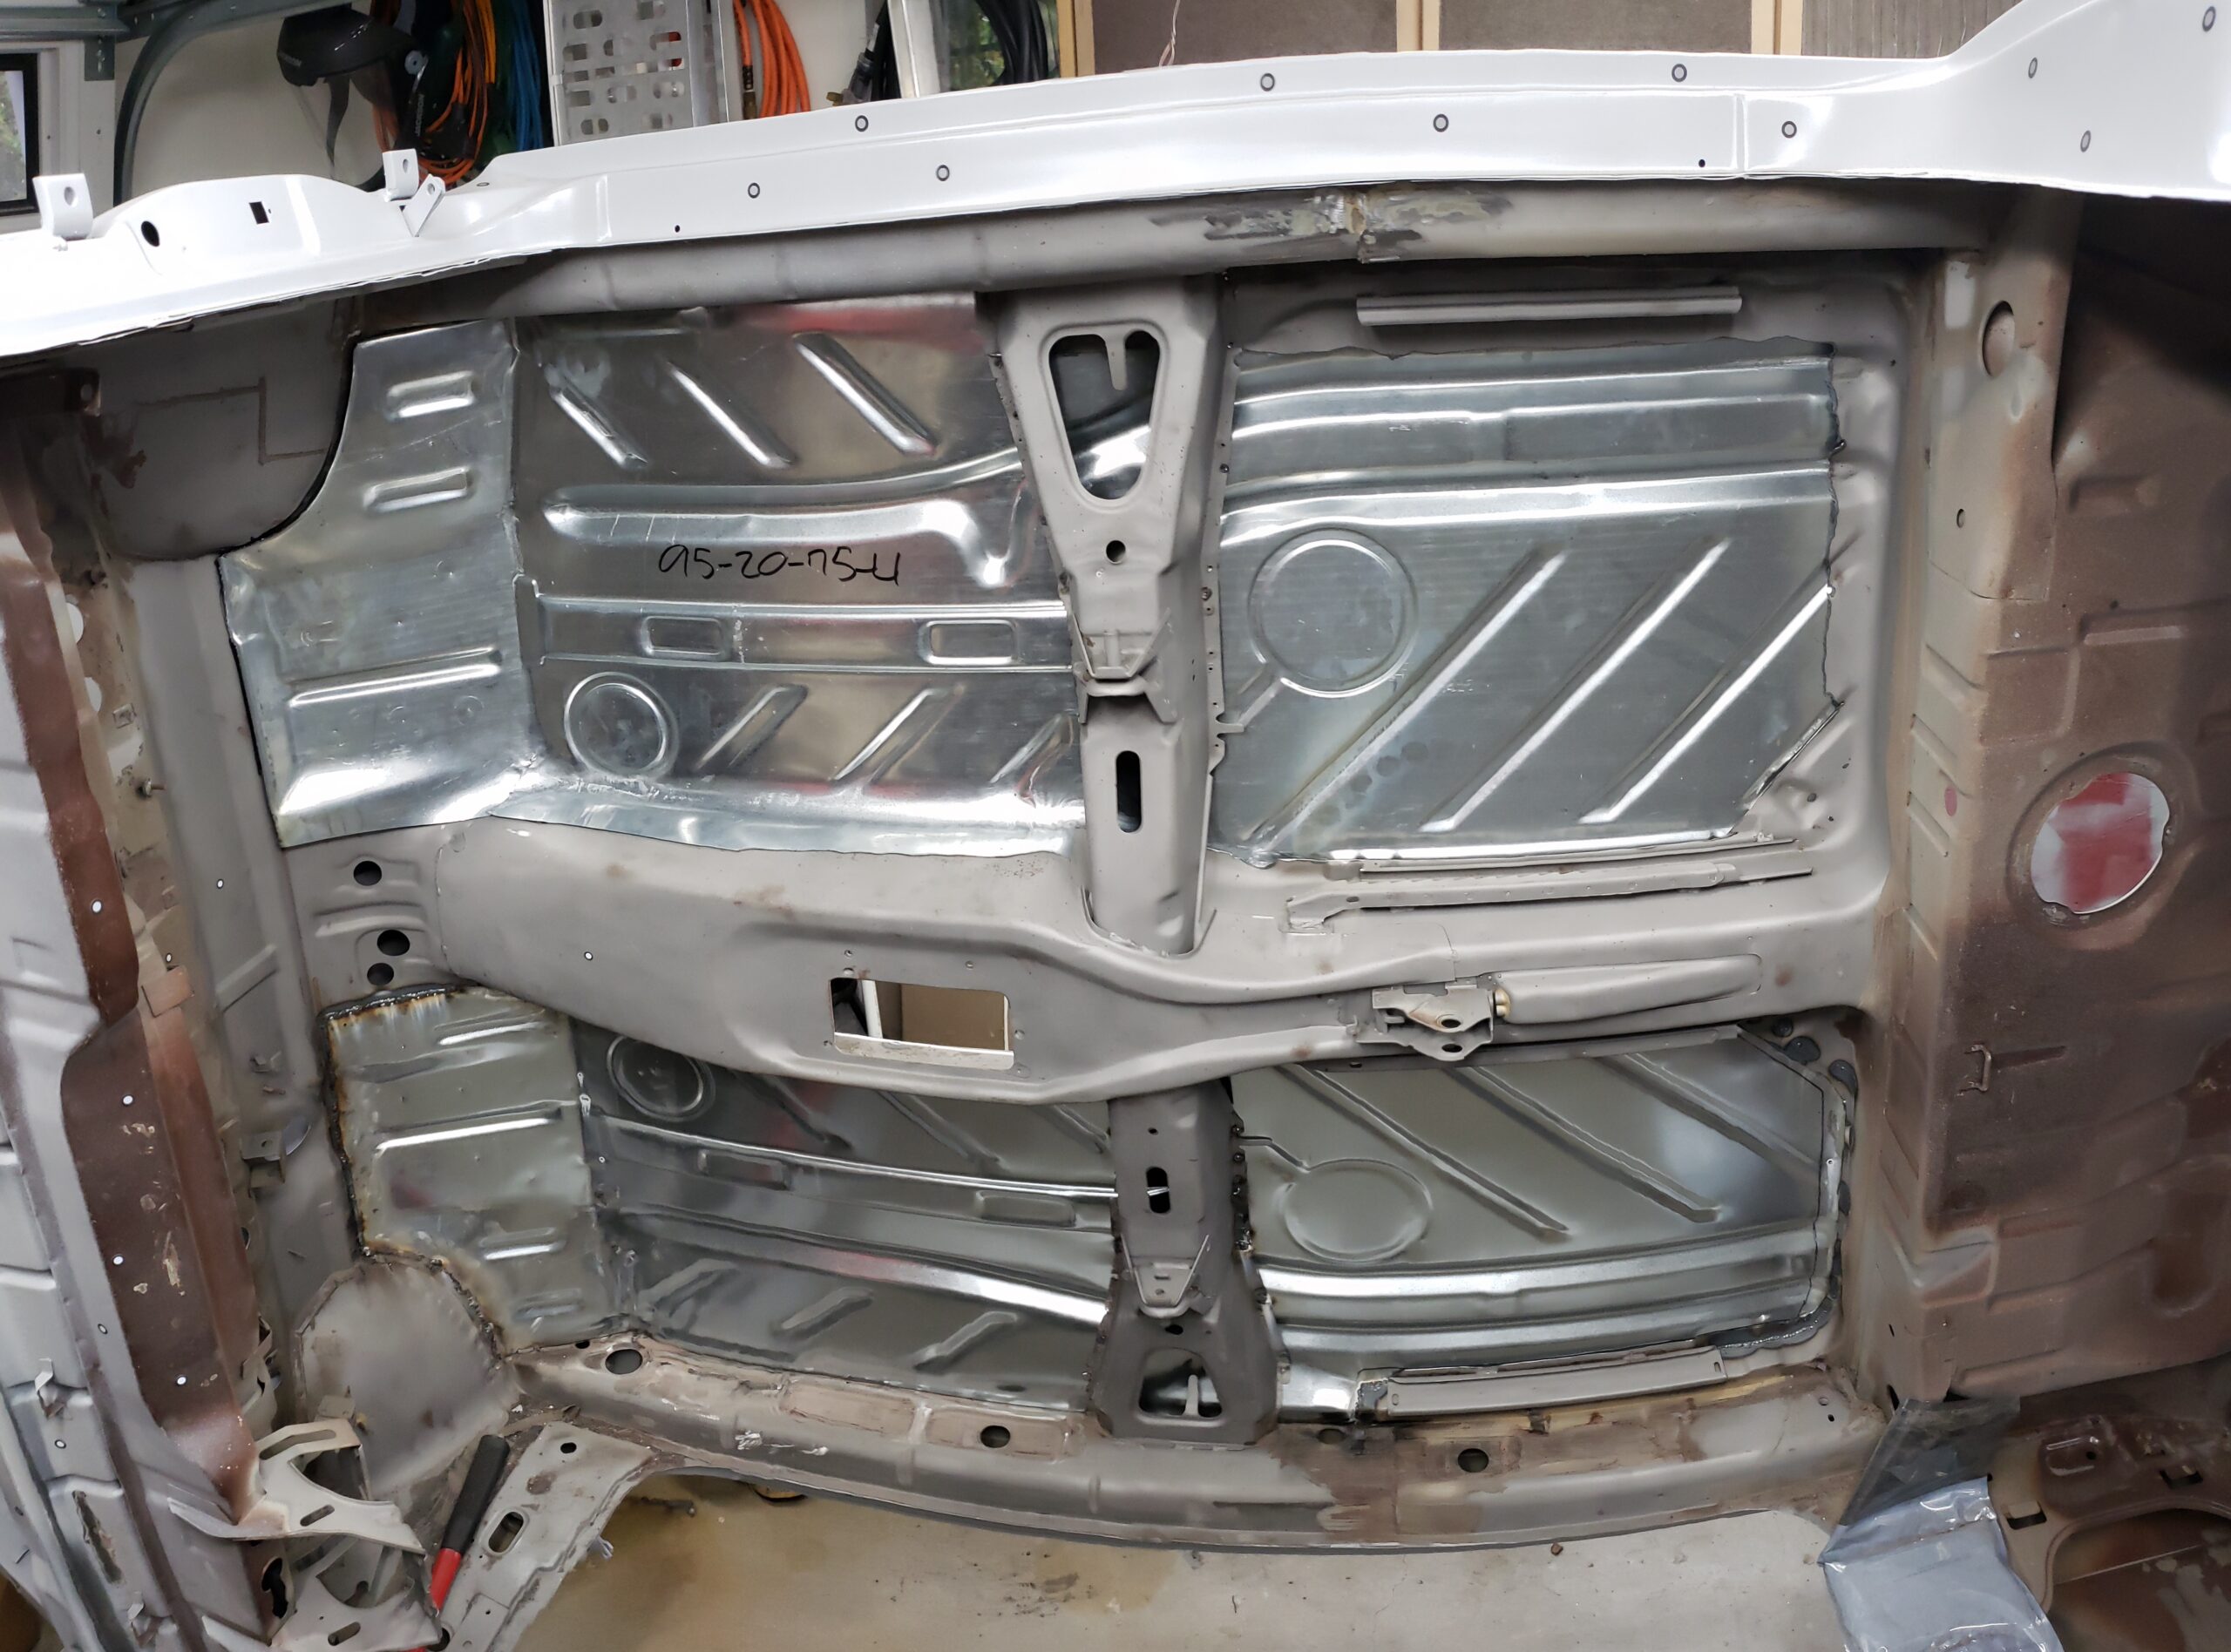
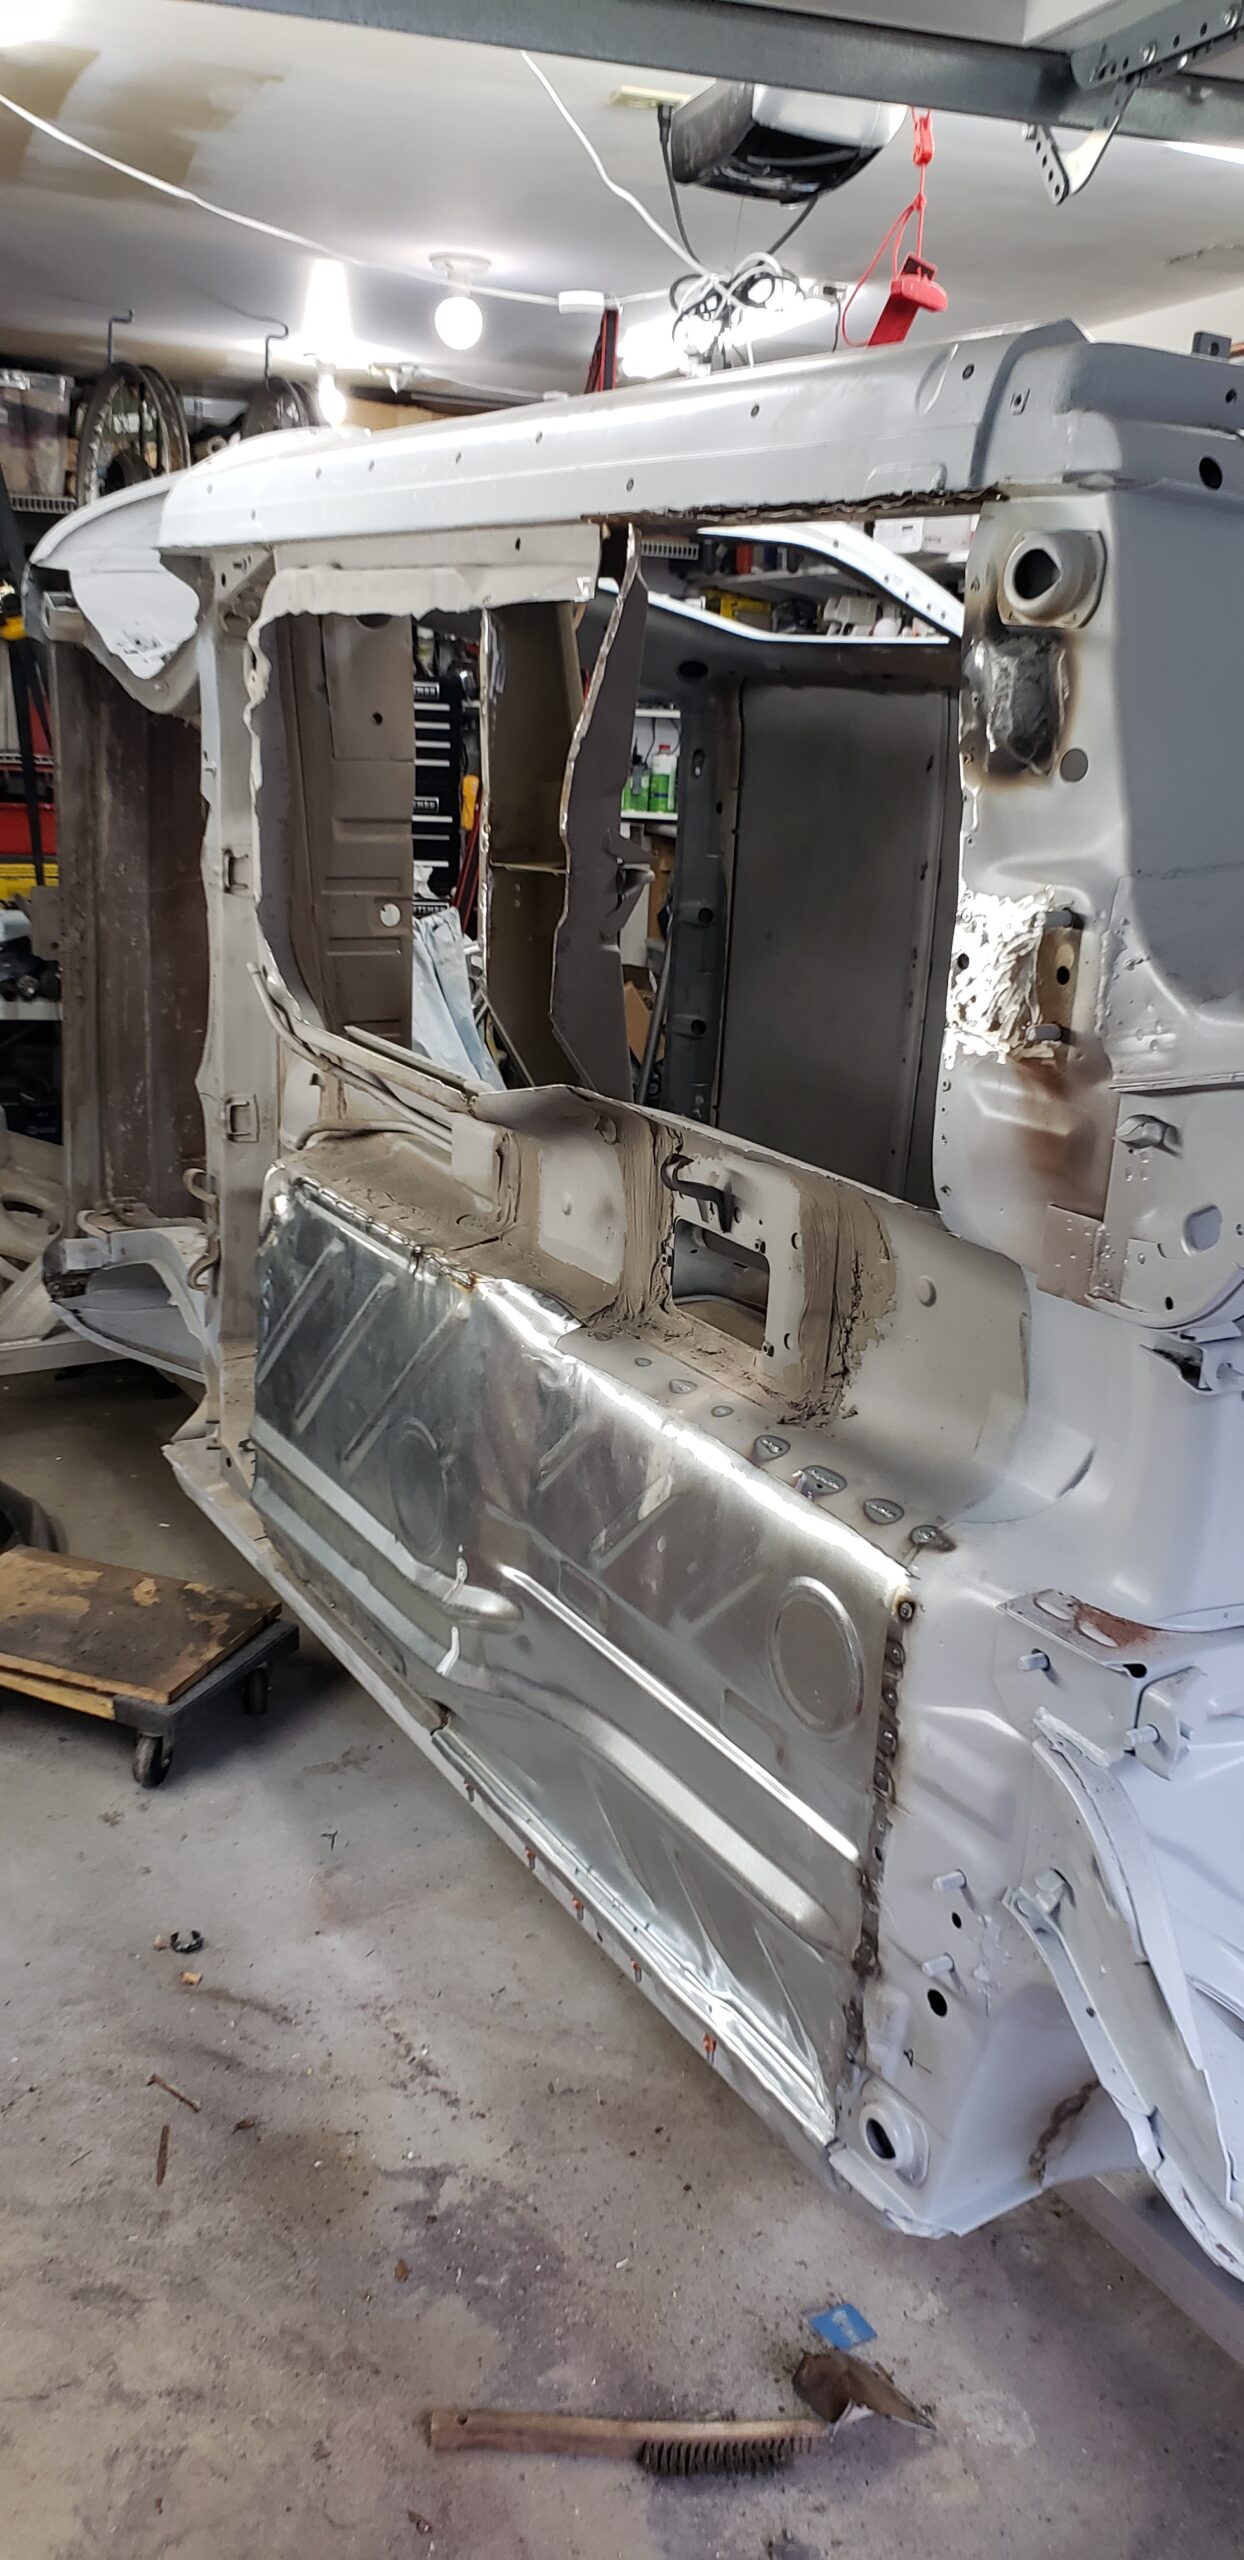
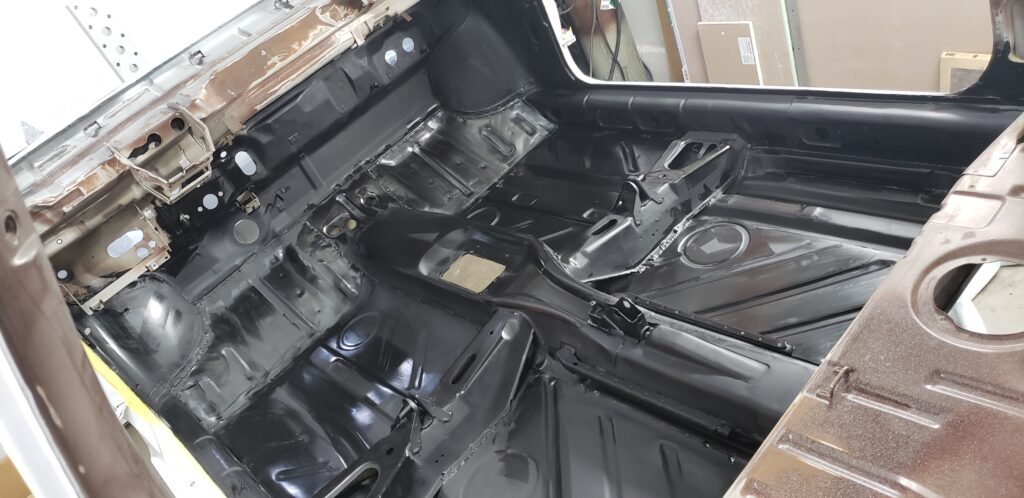
After the Blasters
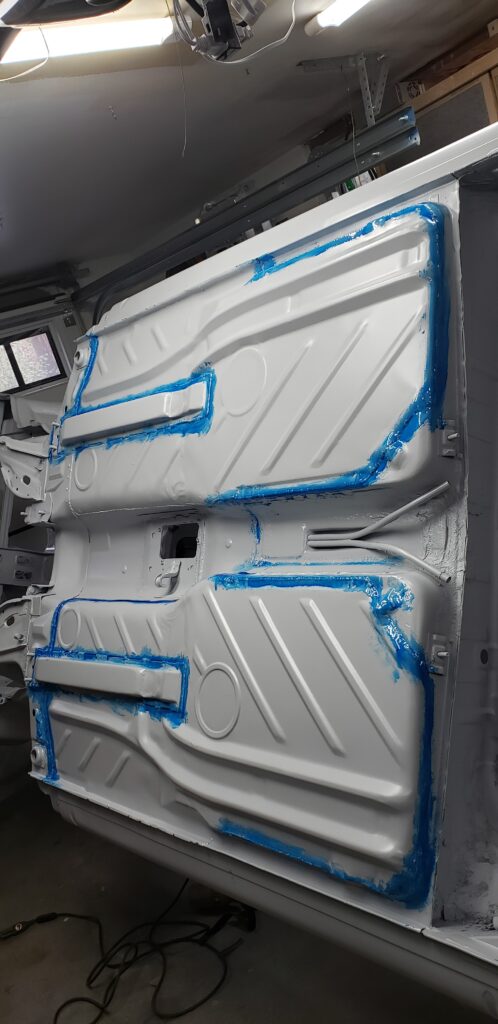
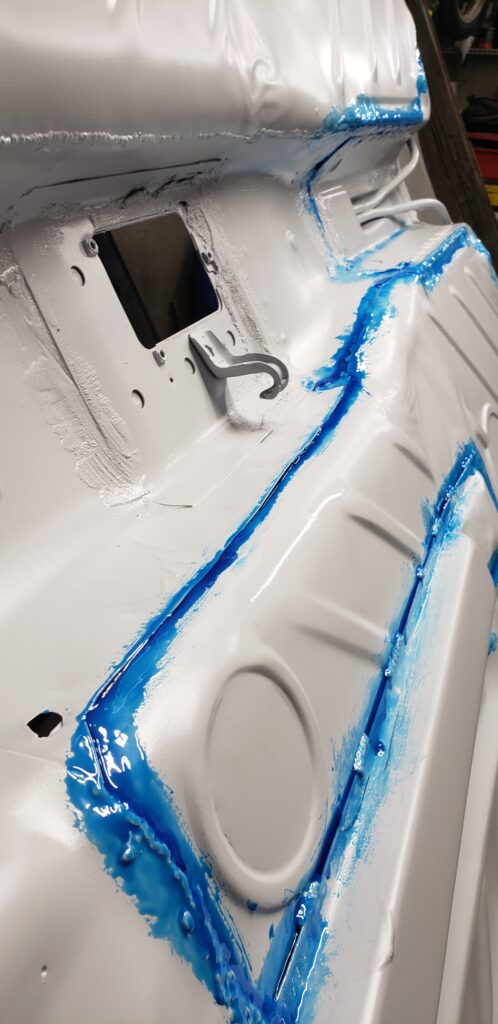
final bodywork and primer
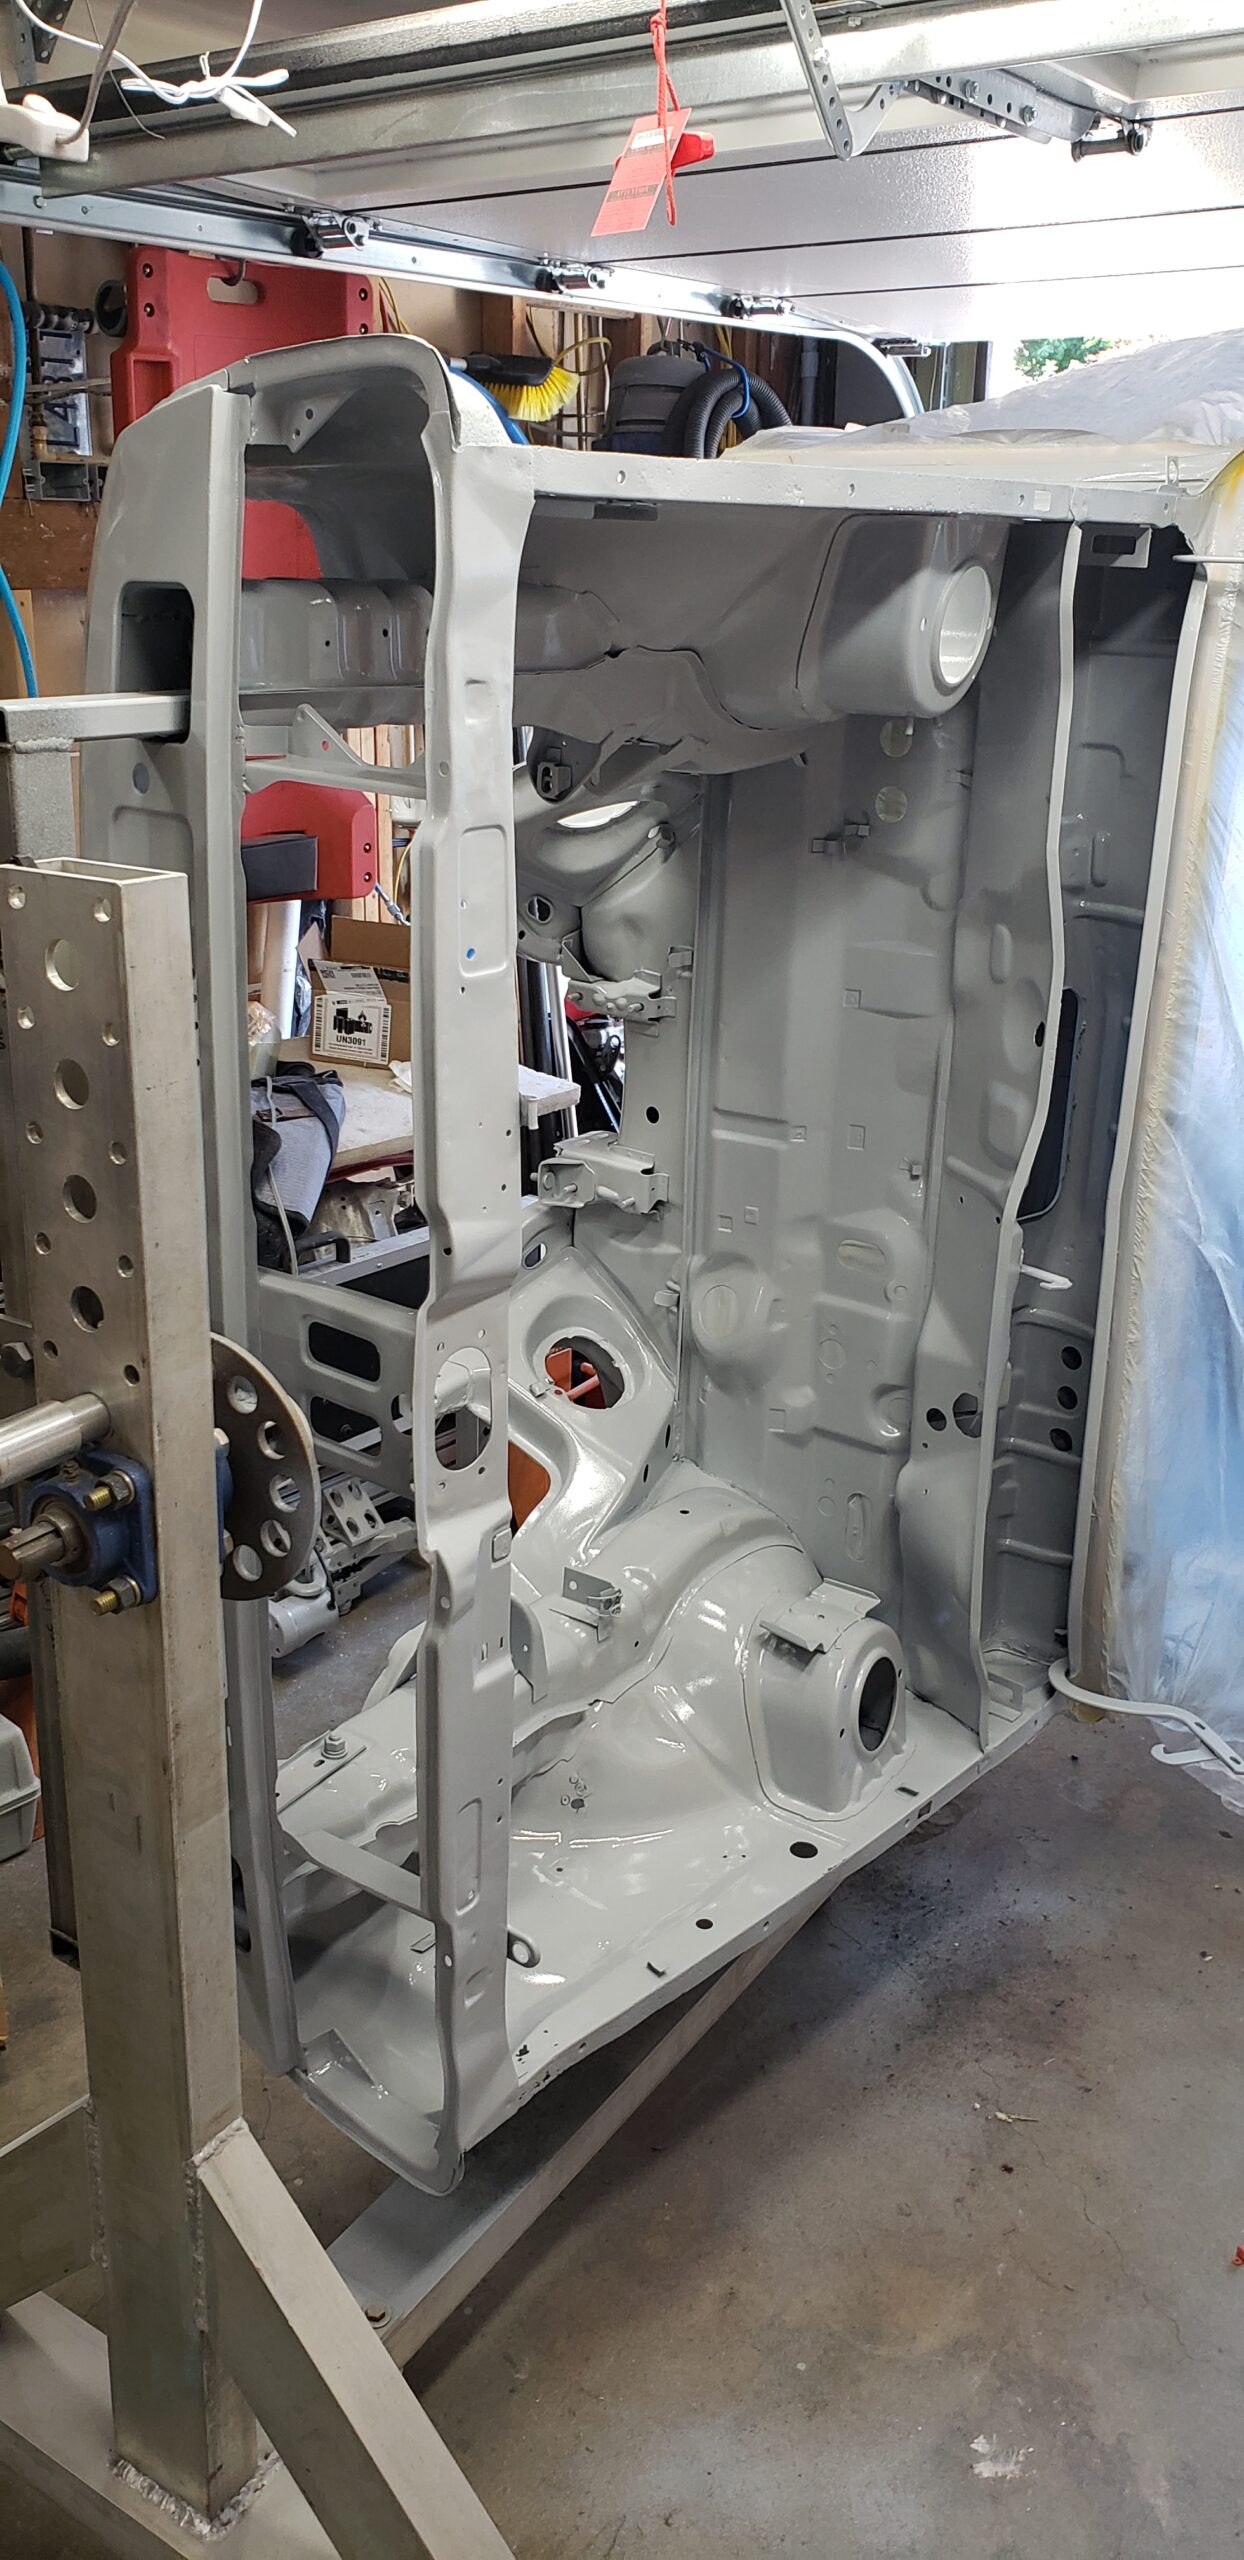

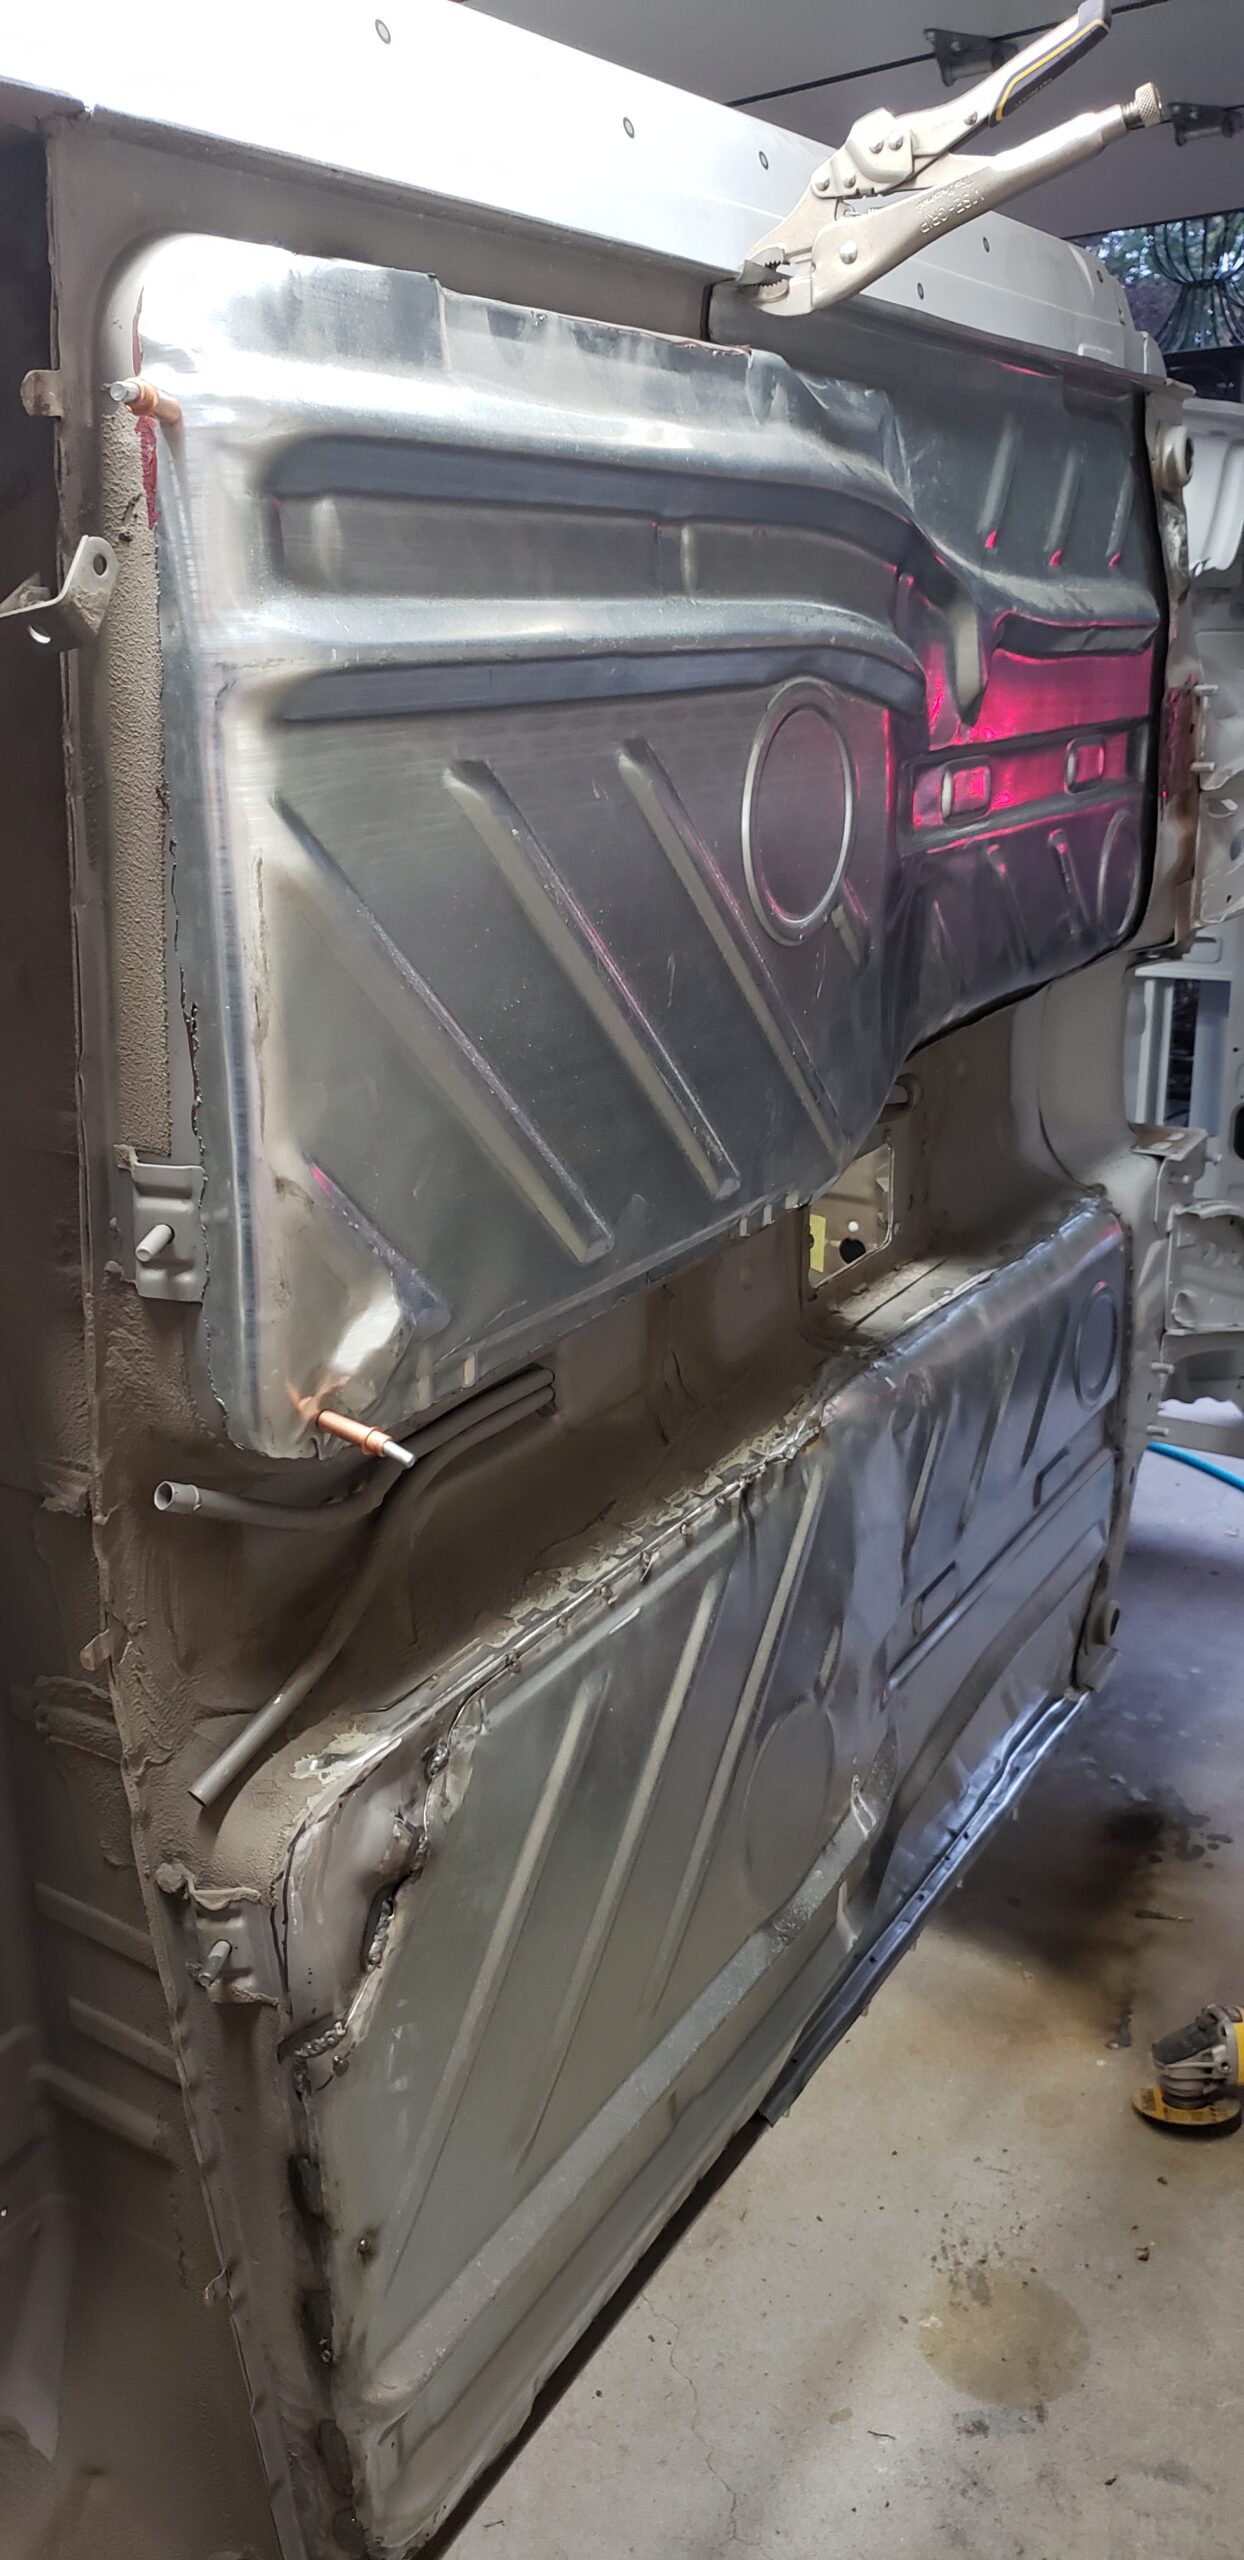
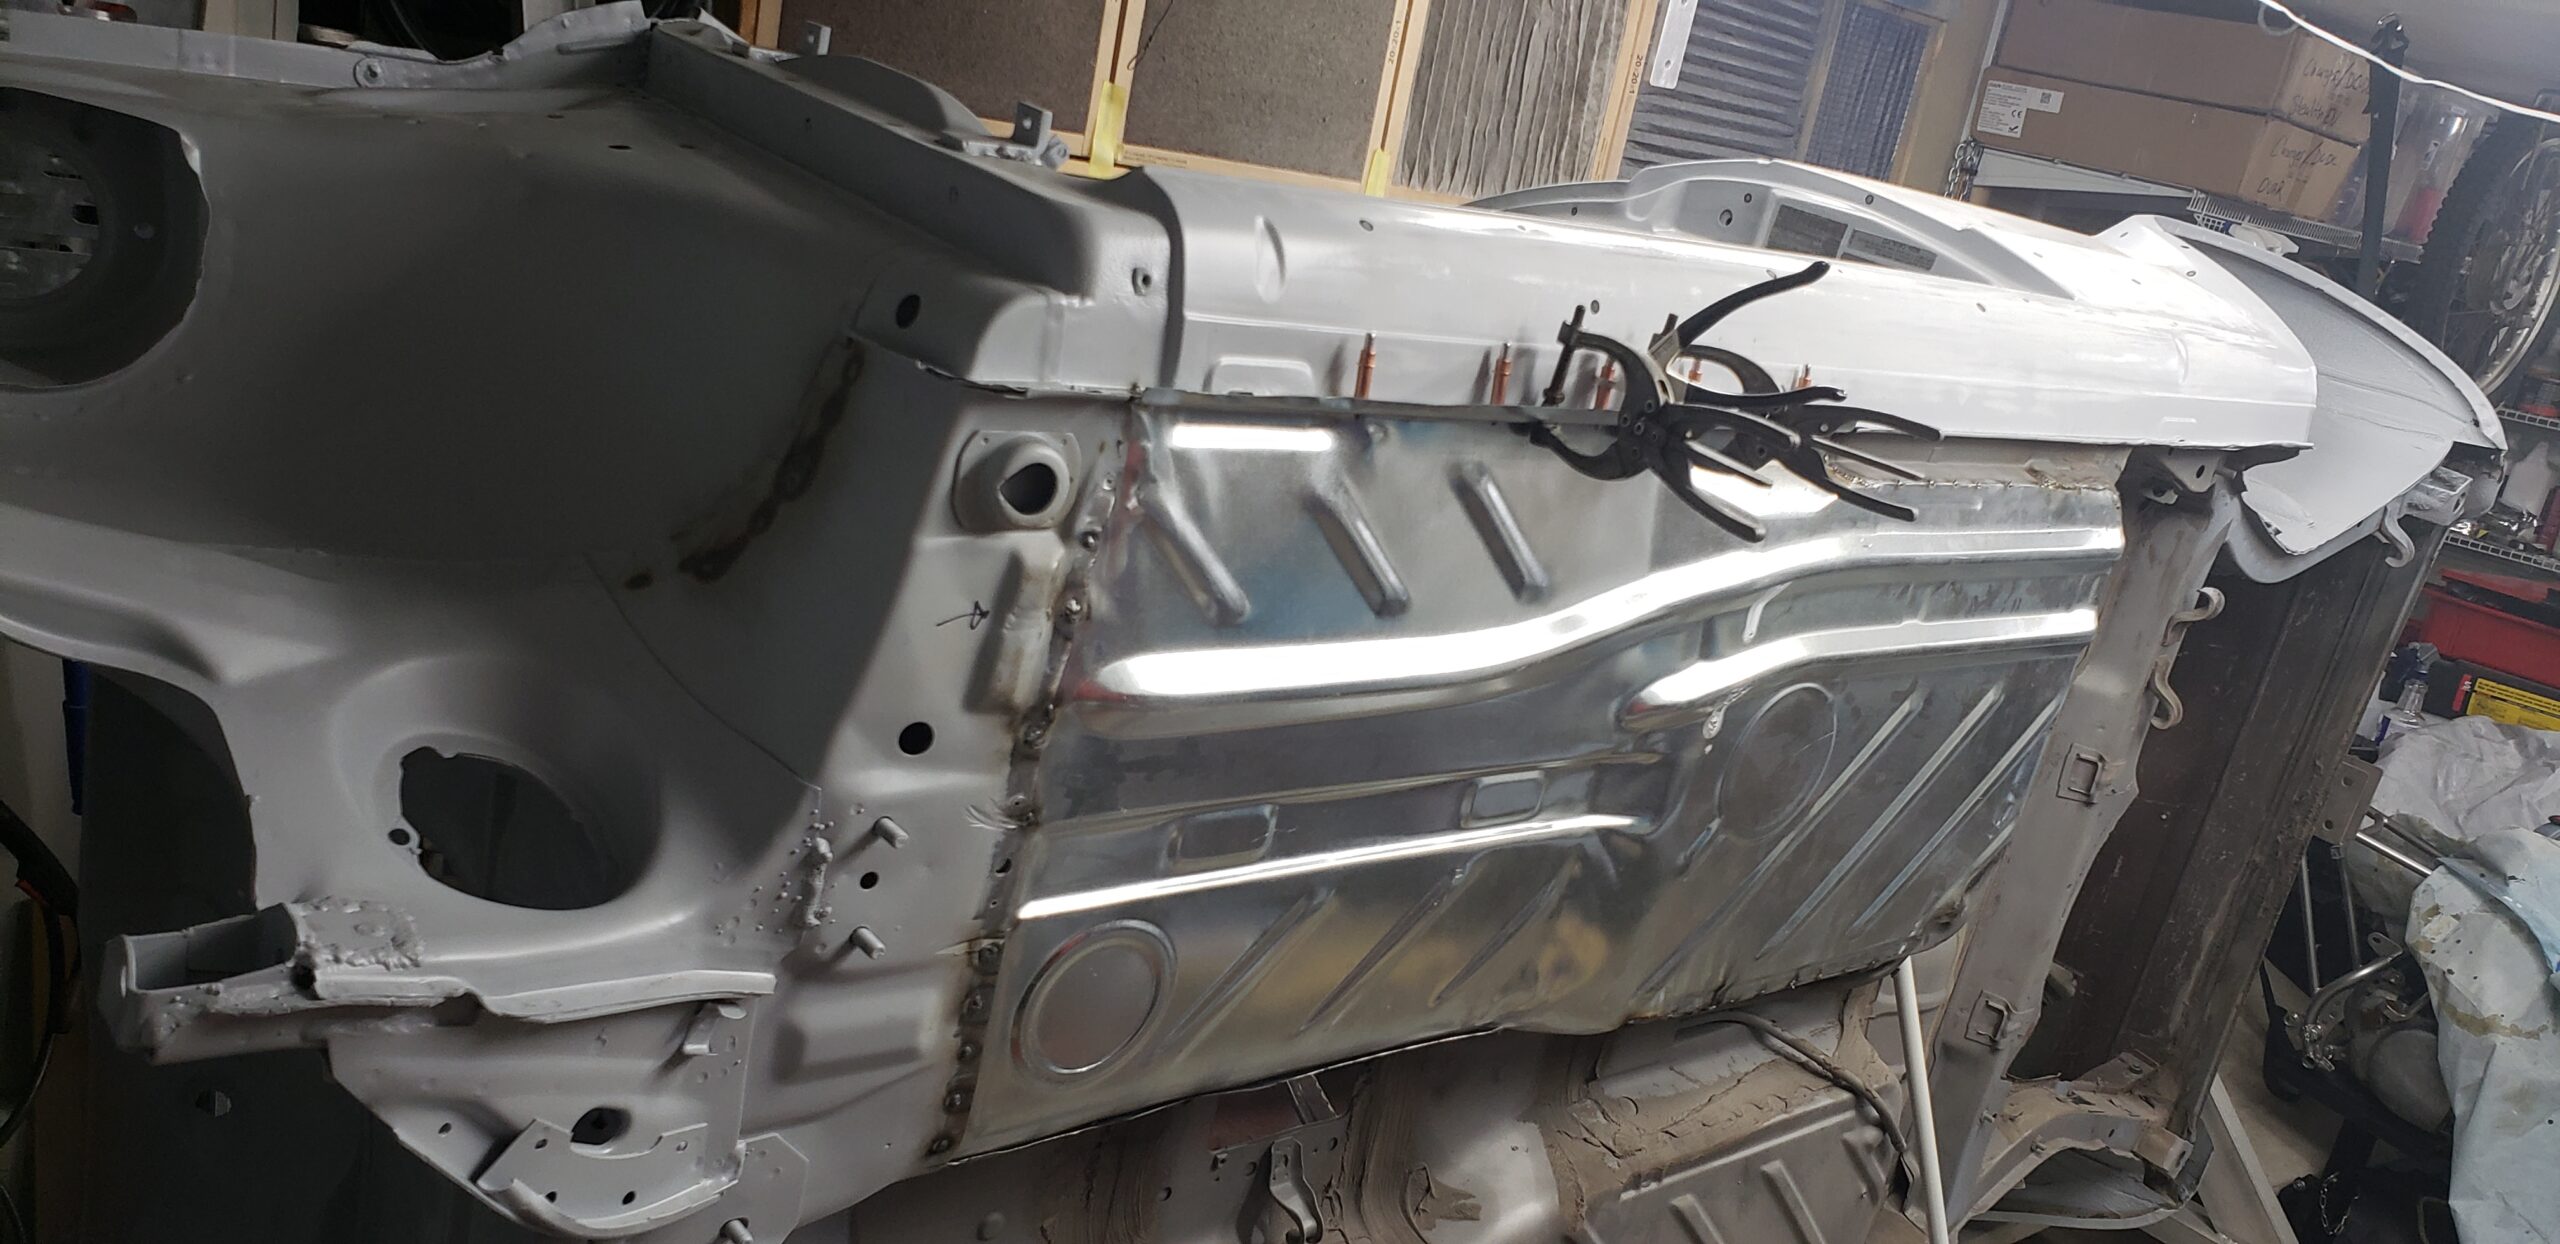
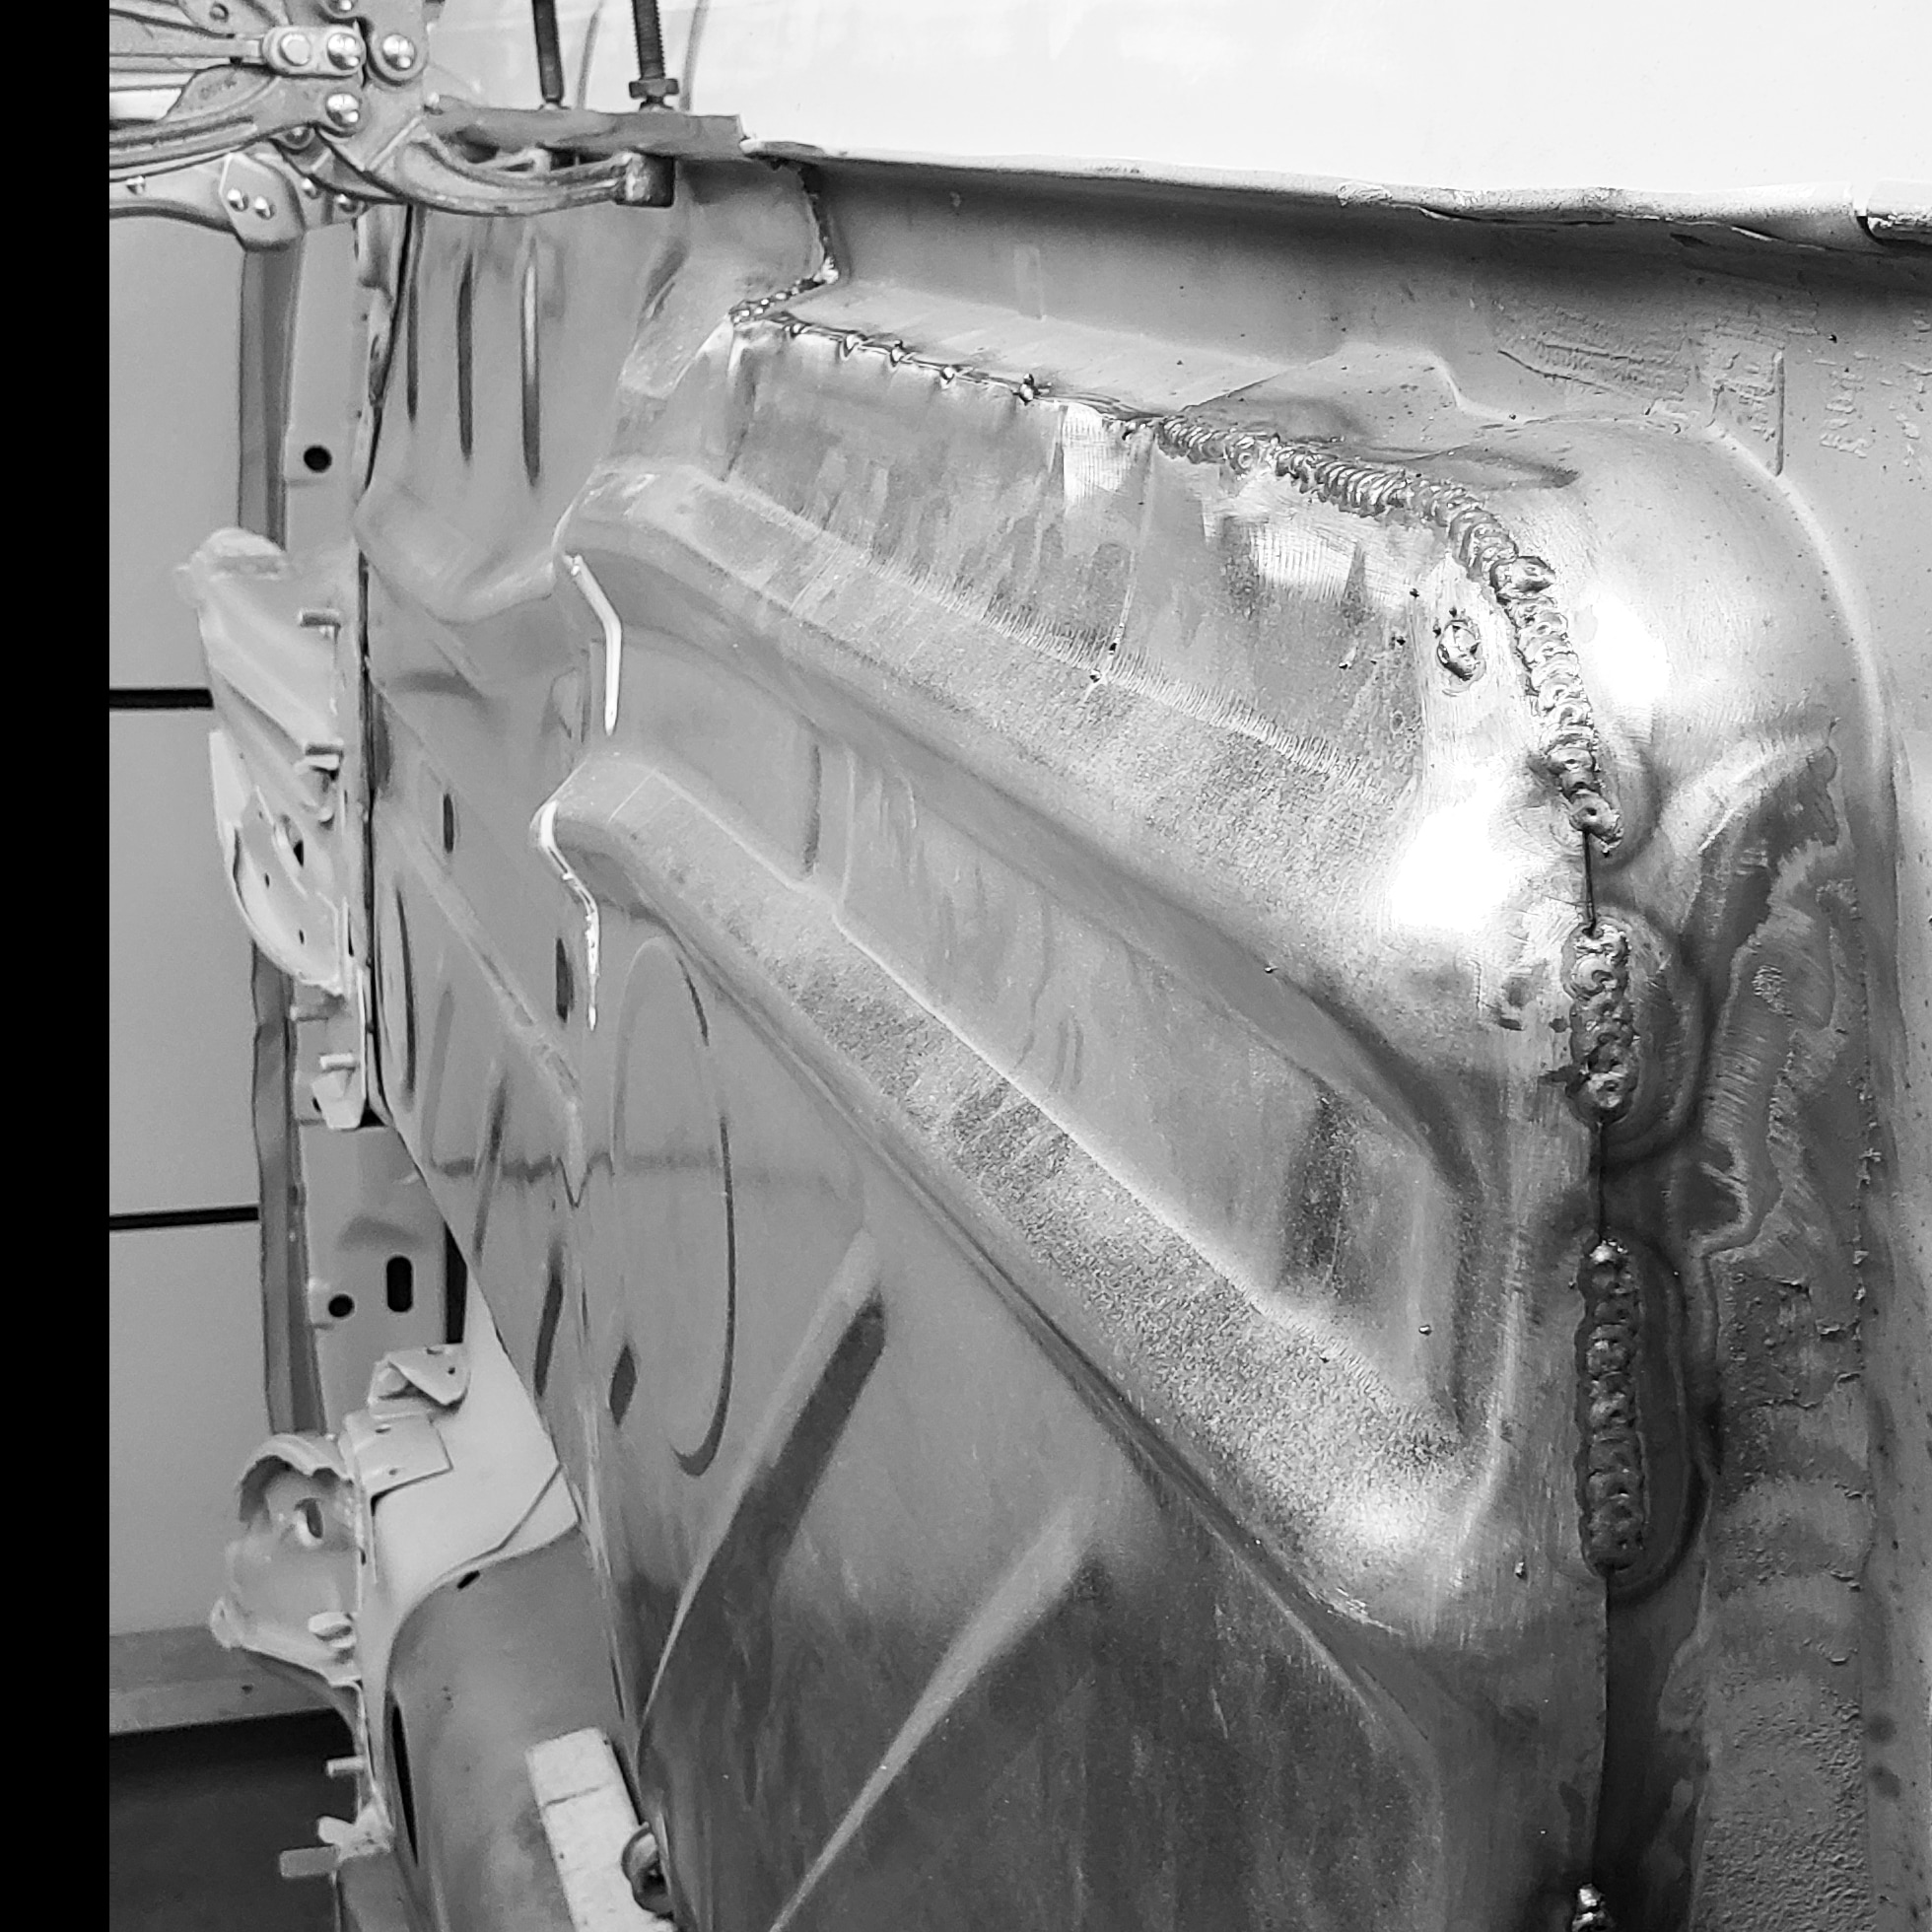
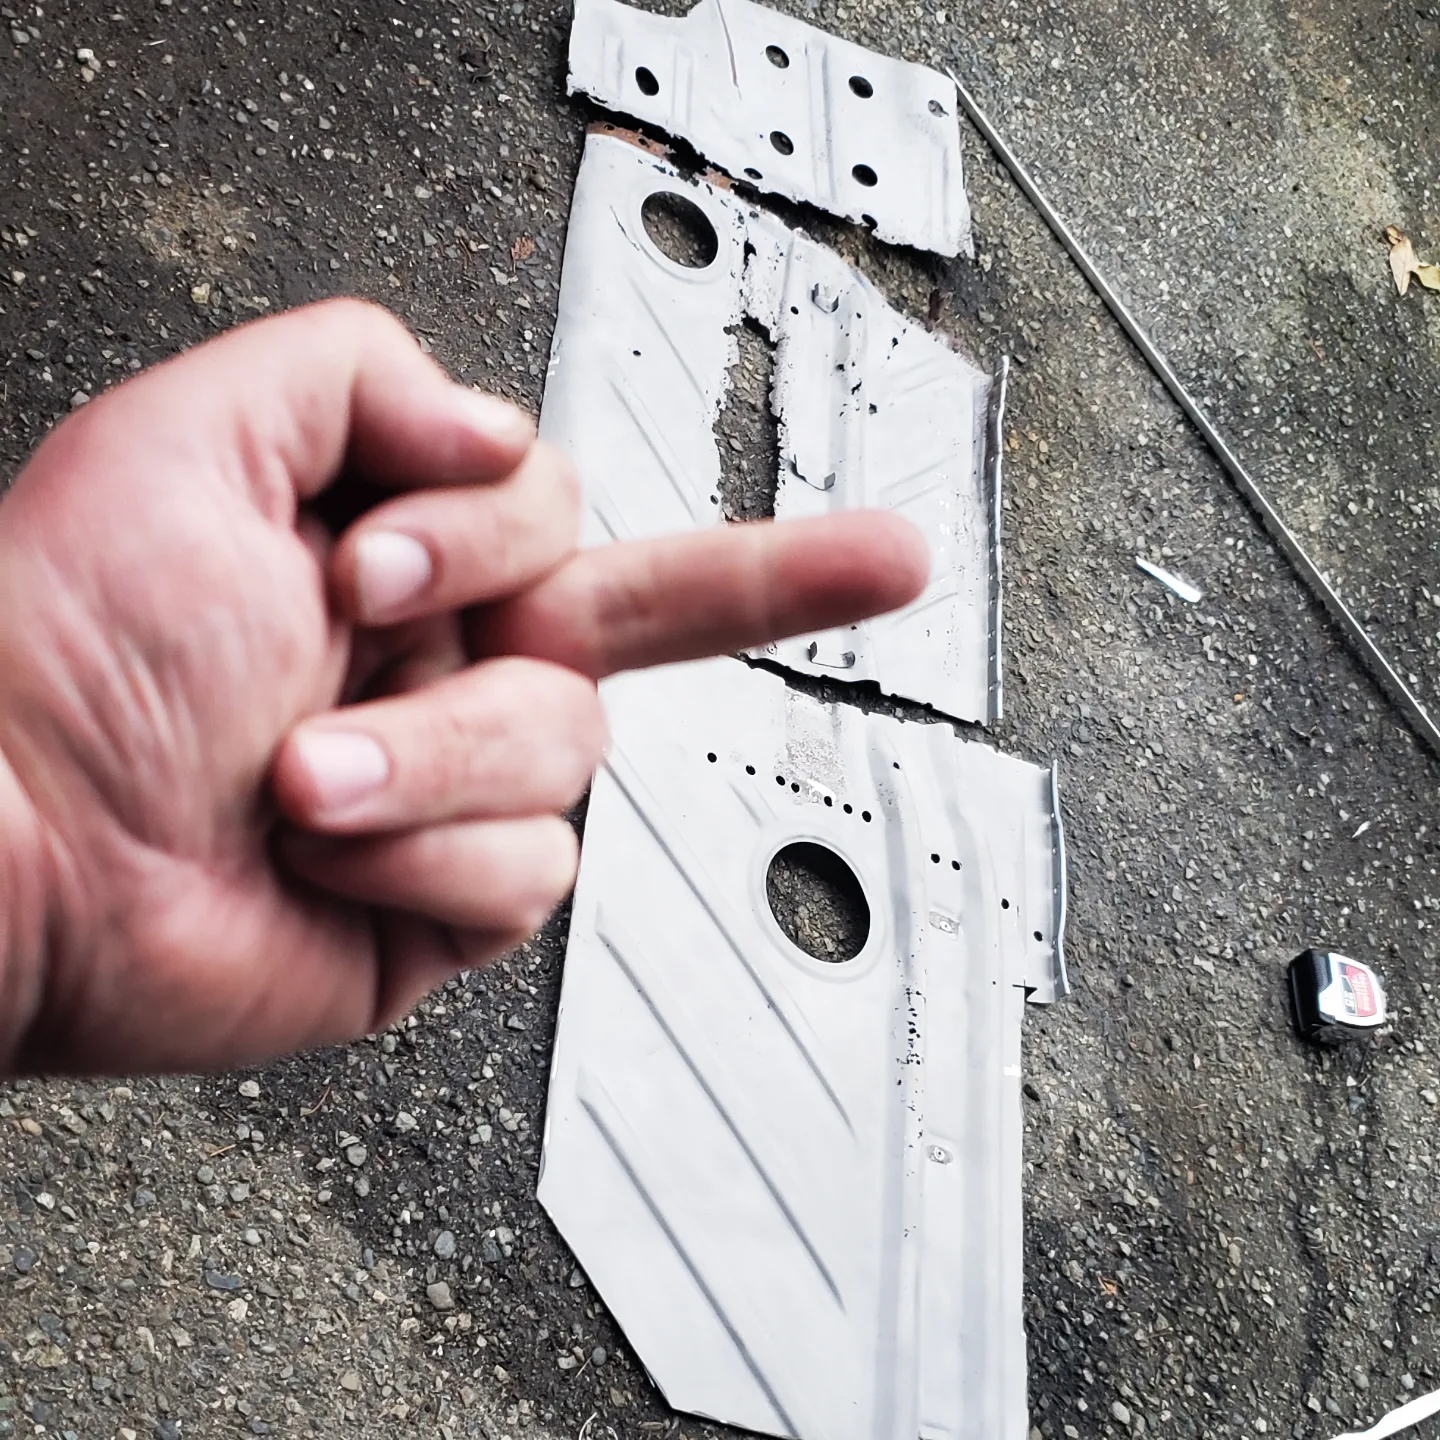
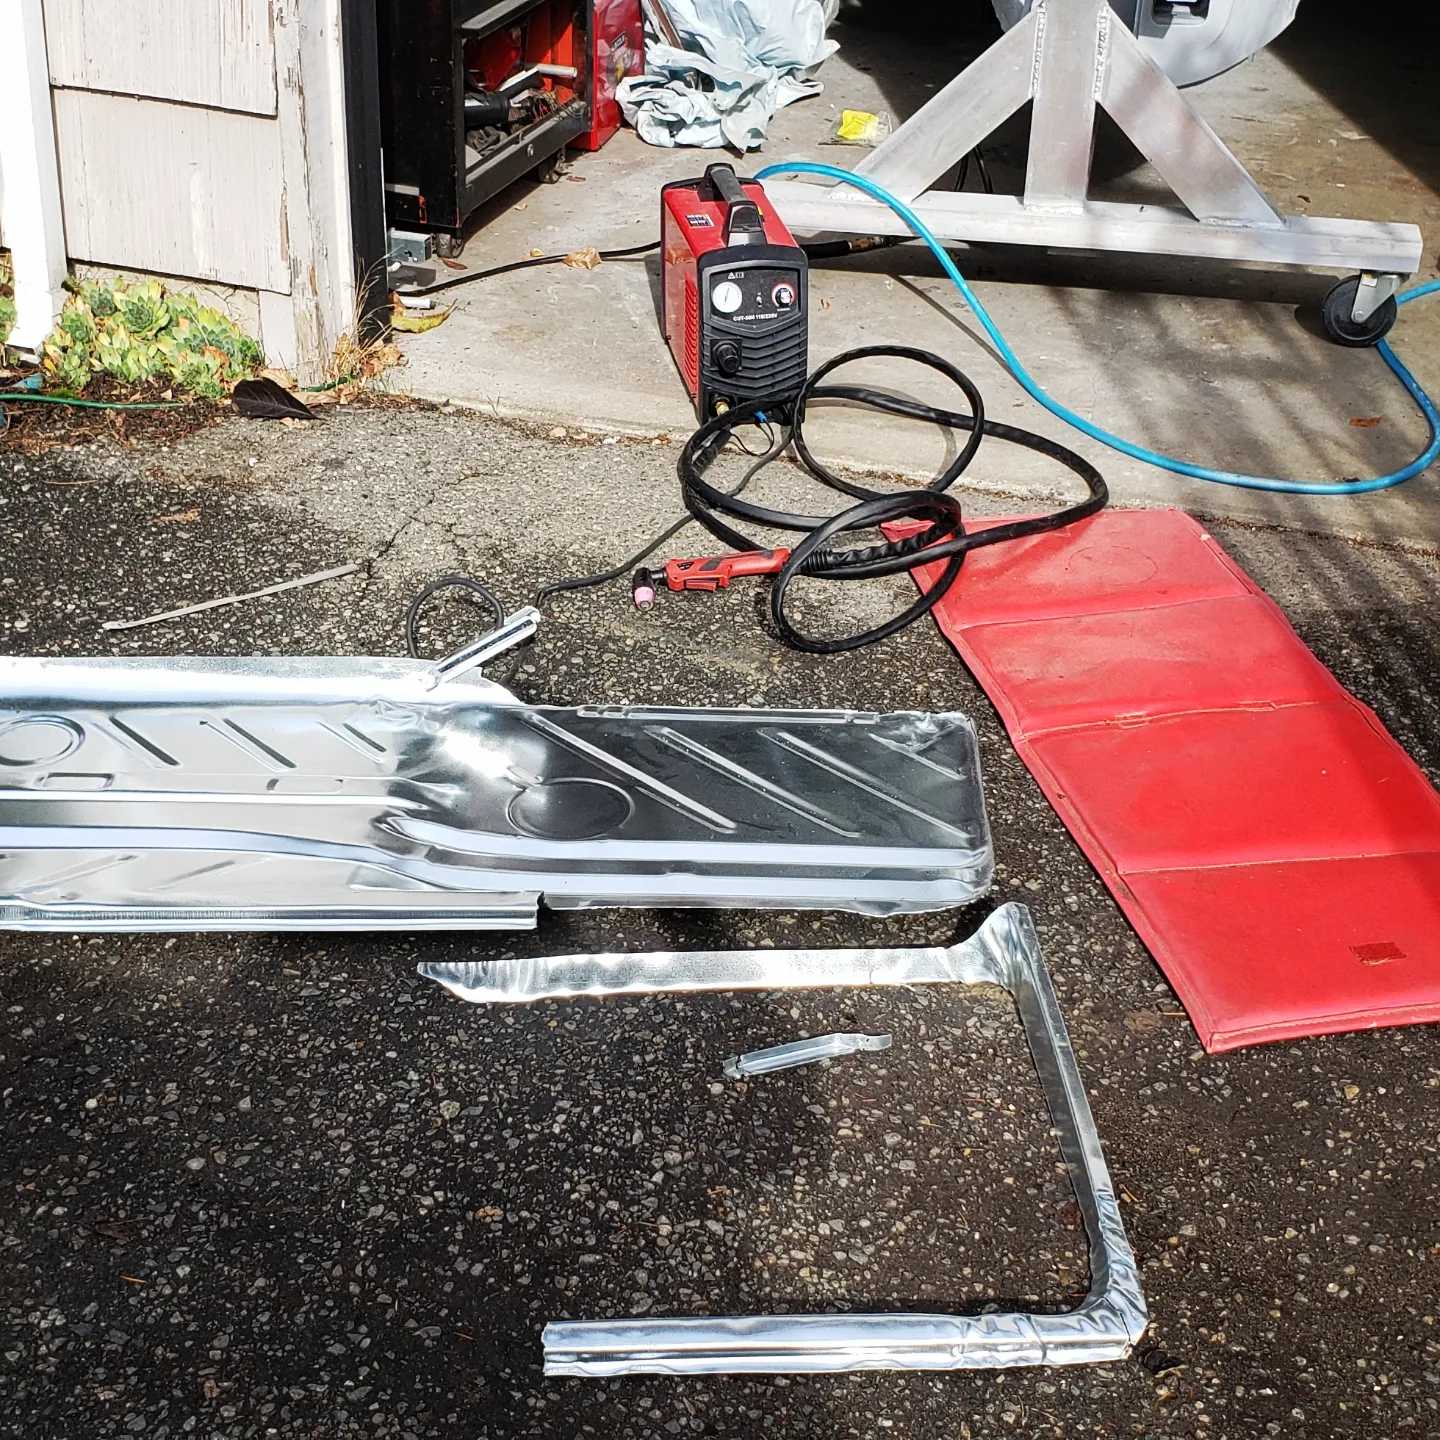
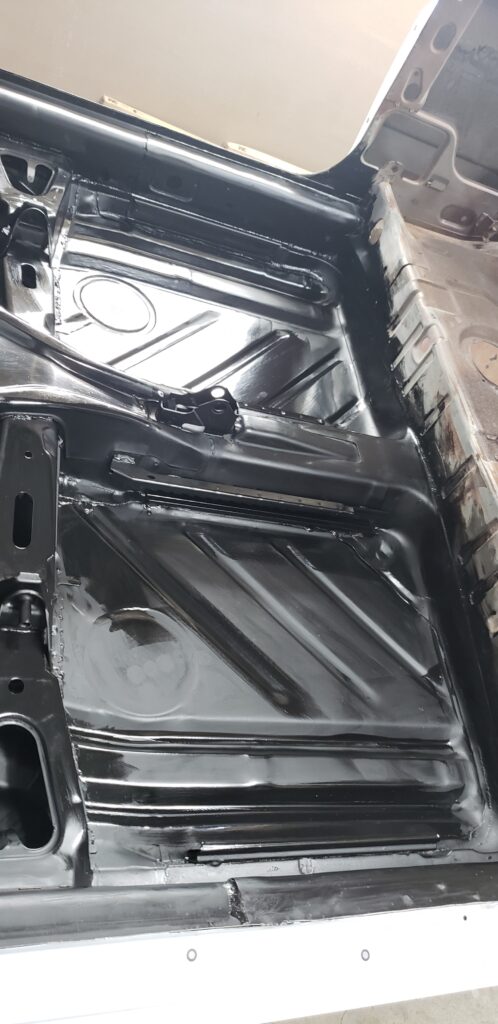
Floor pans


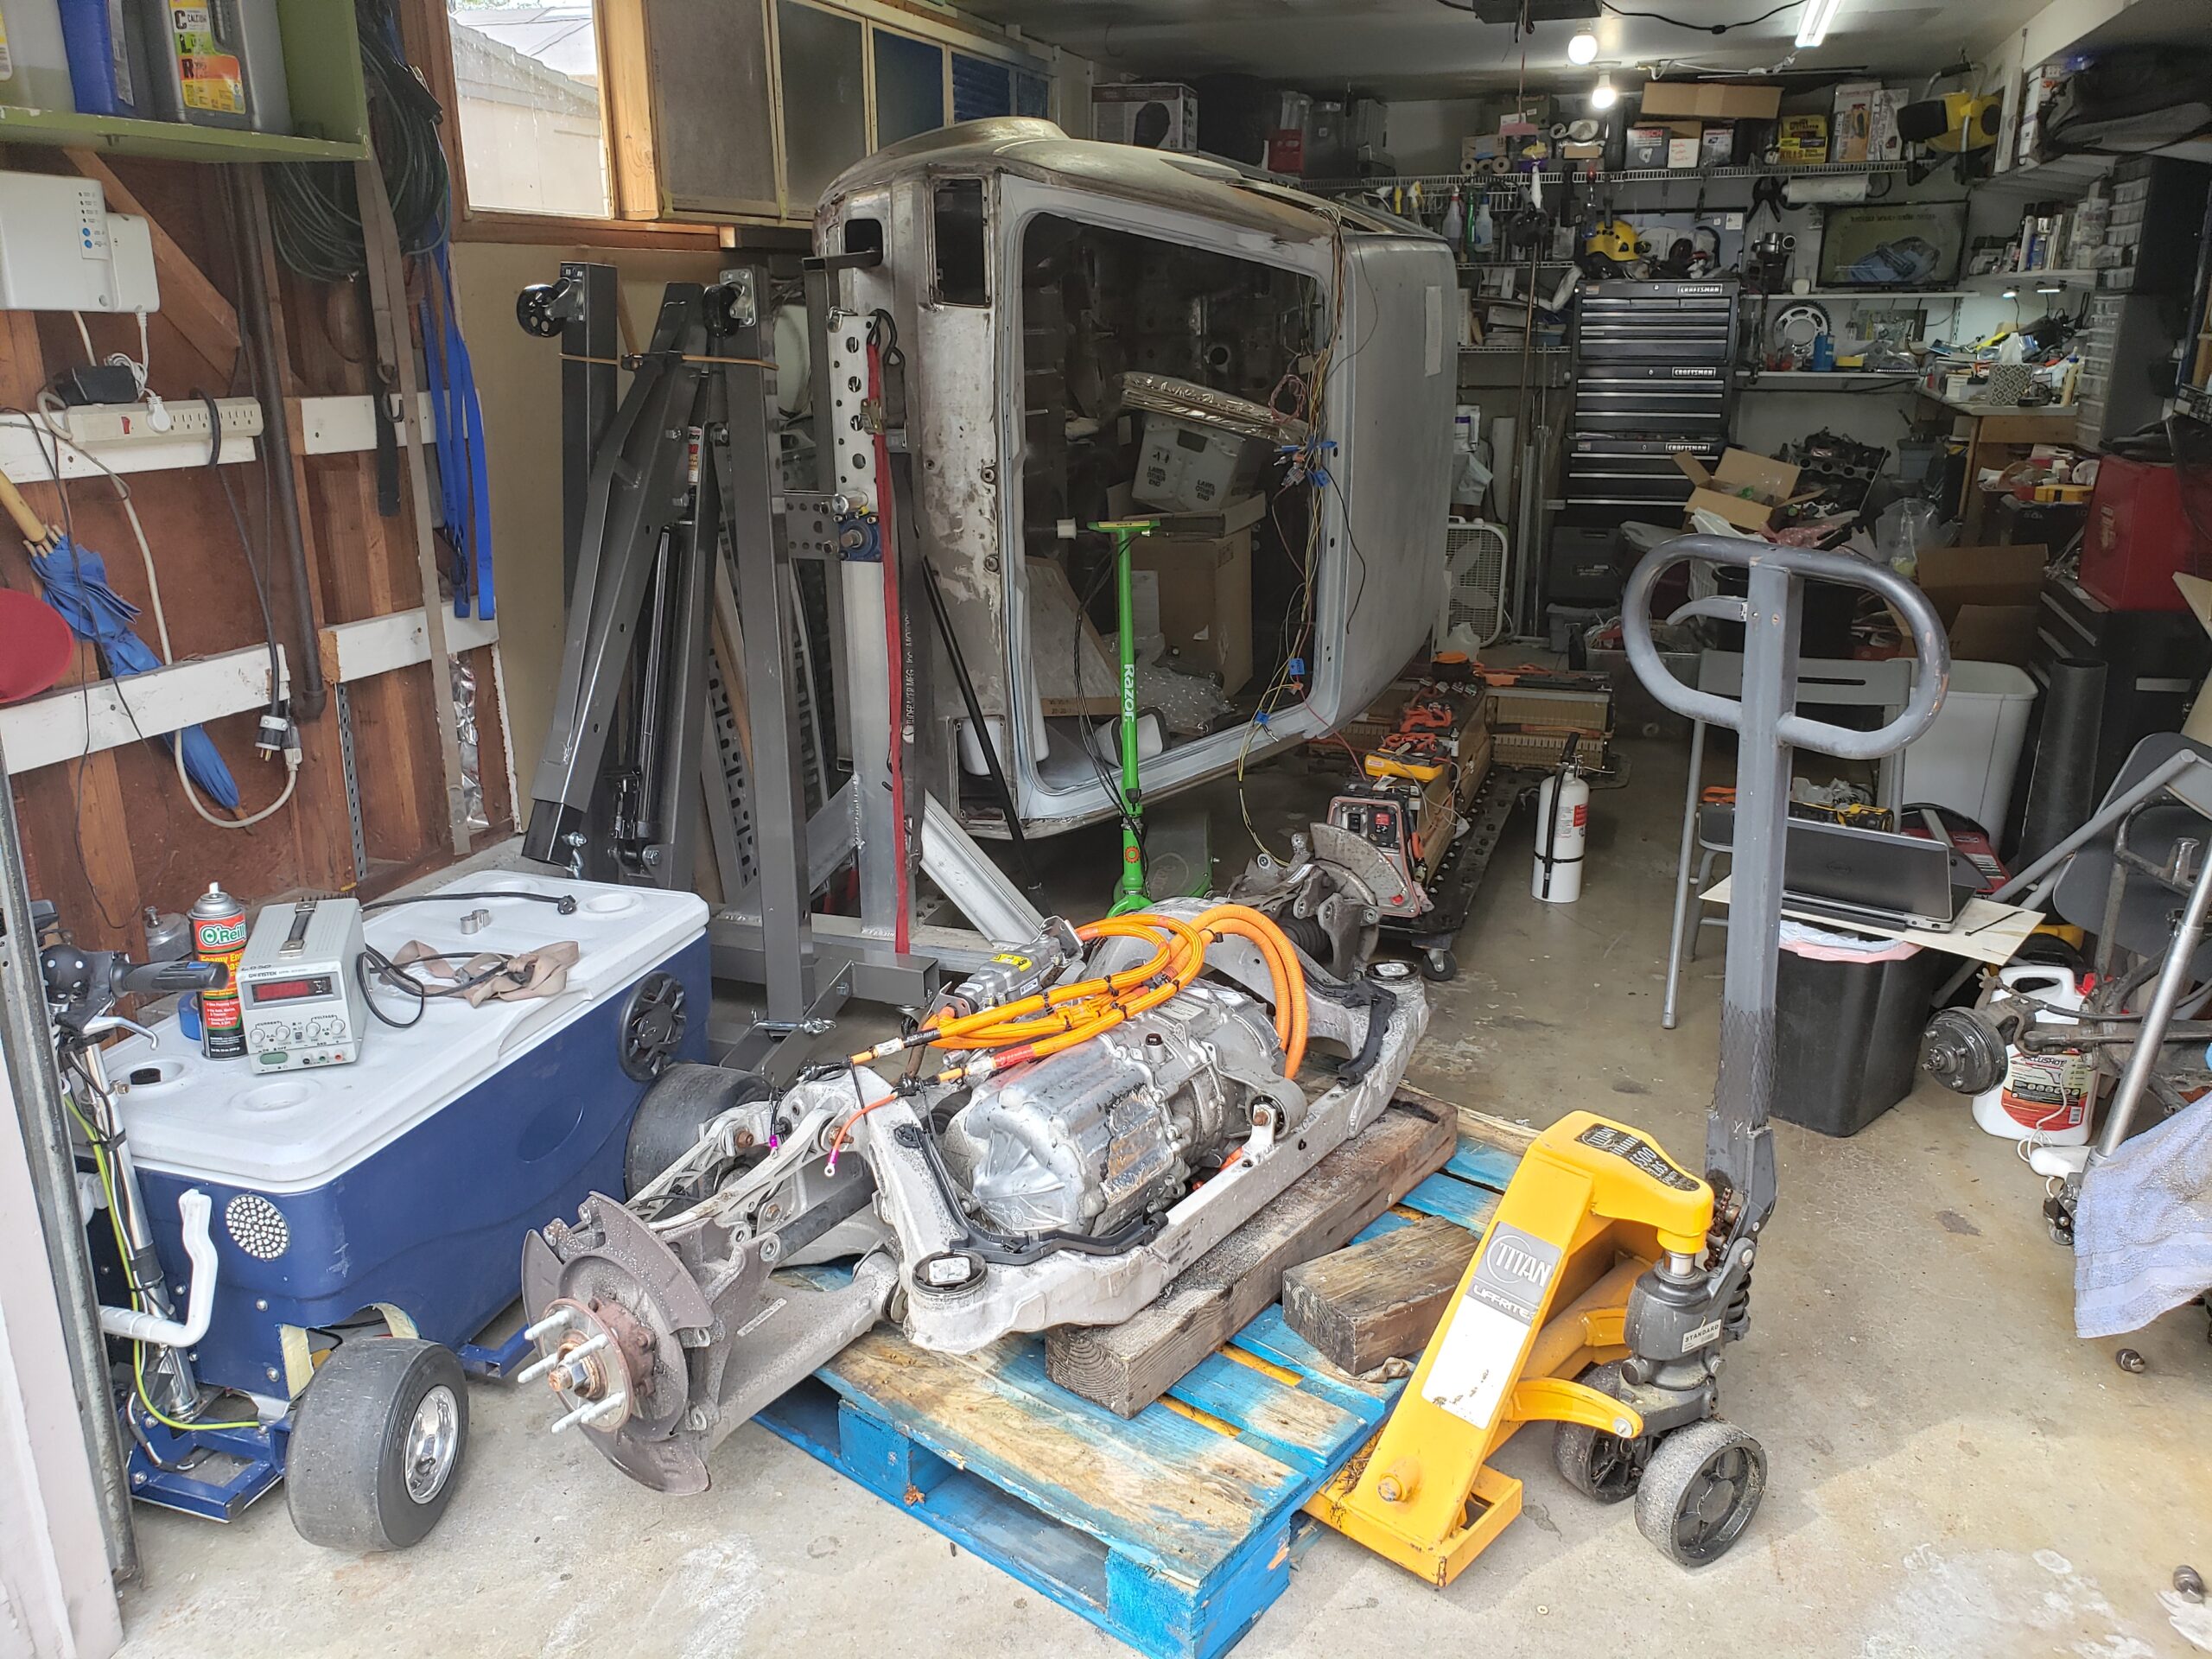
The Tesla Swap
Ok, ok… Now onto the fun stuff.
Buying salvaged EV parts
I looking into parting out vehicles myself but that is a ton of extra work, Ebay is your friend.
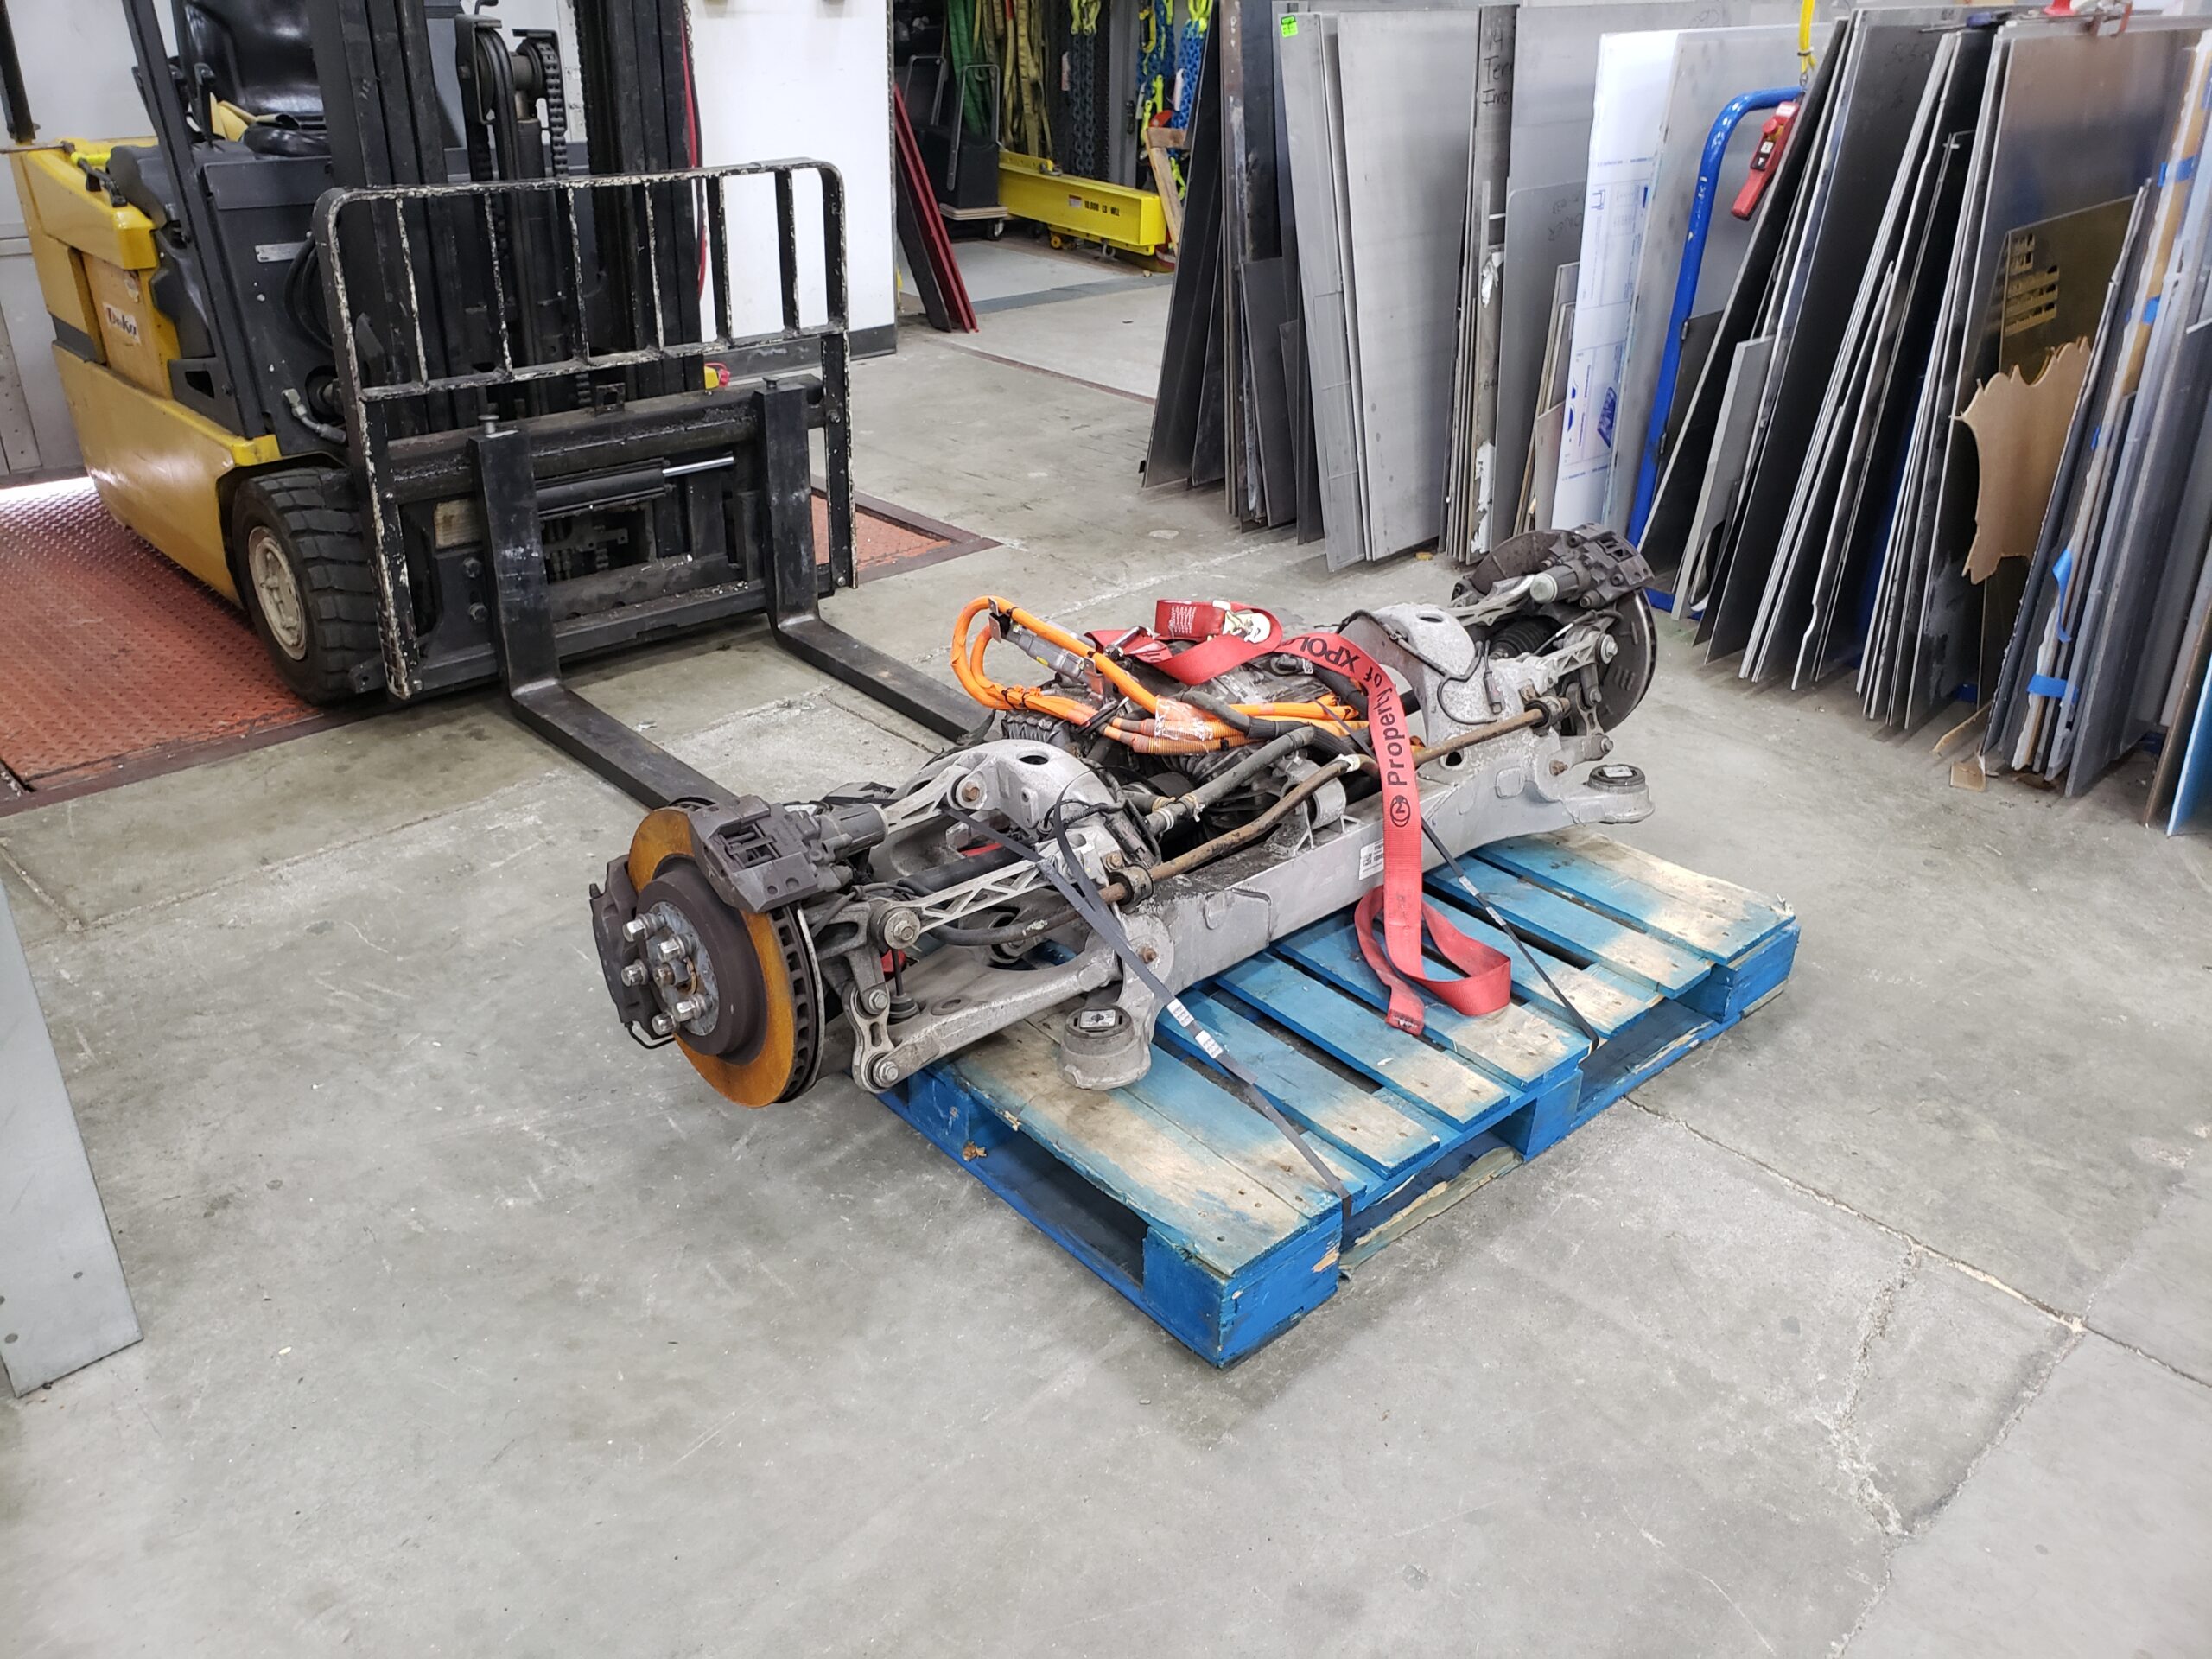
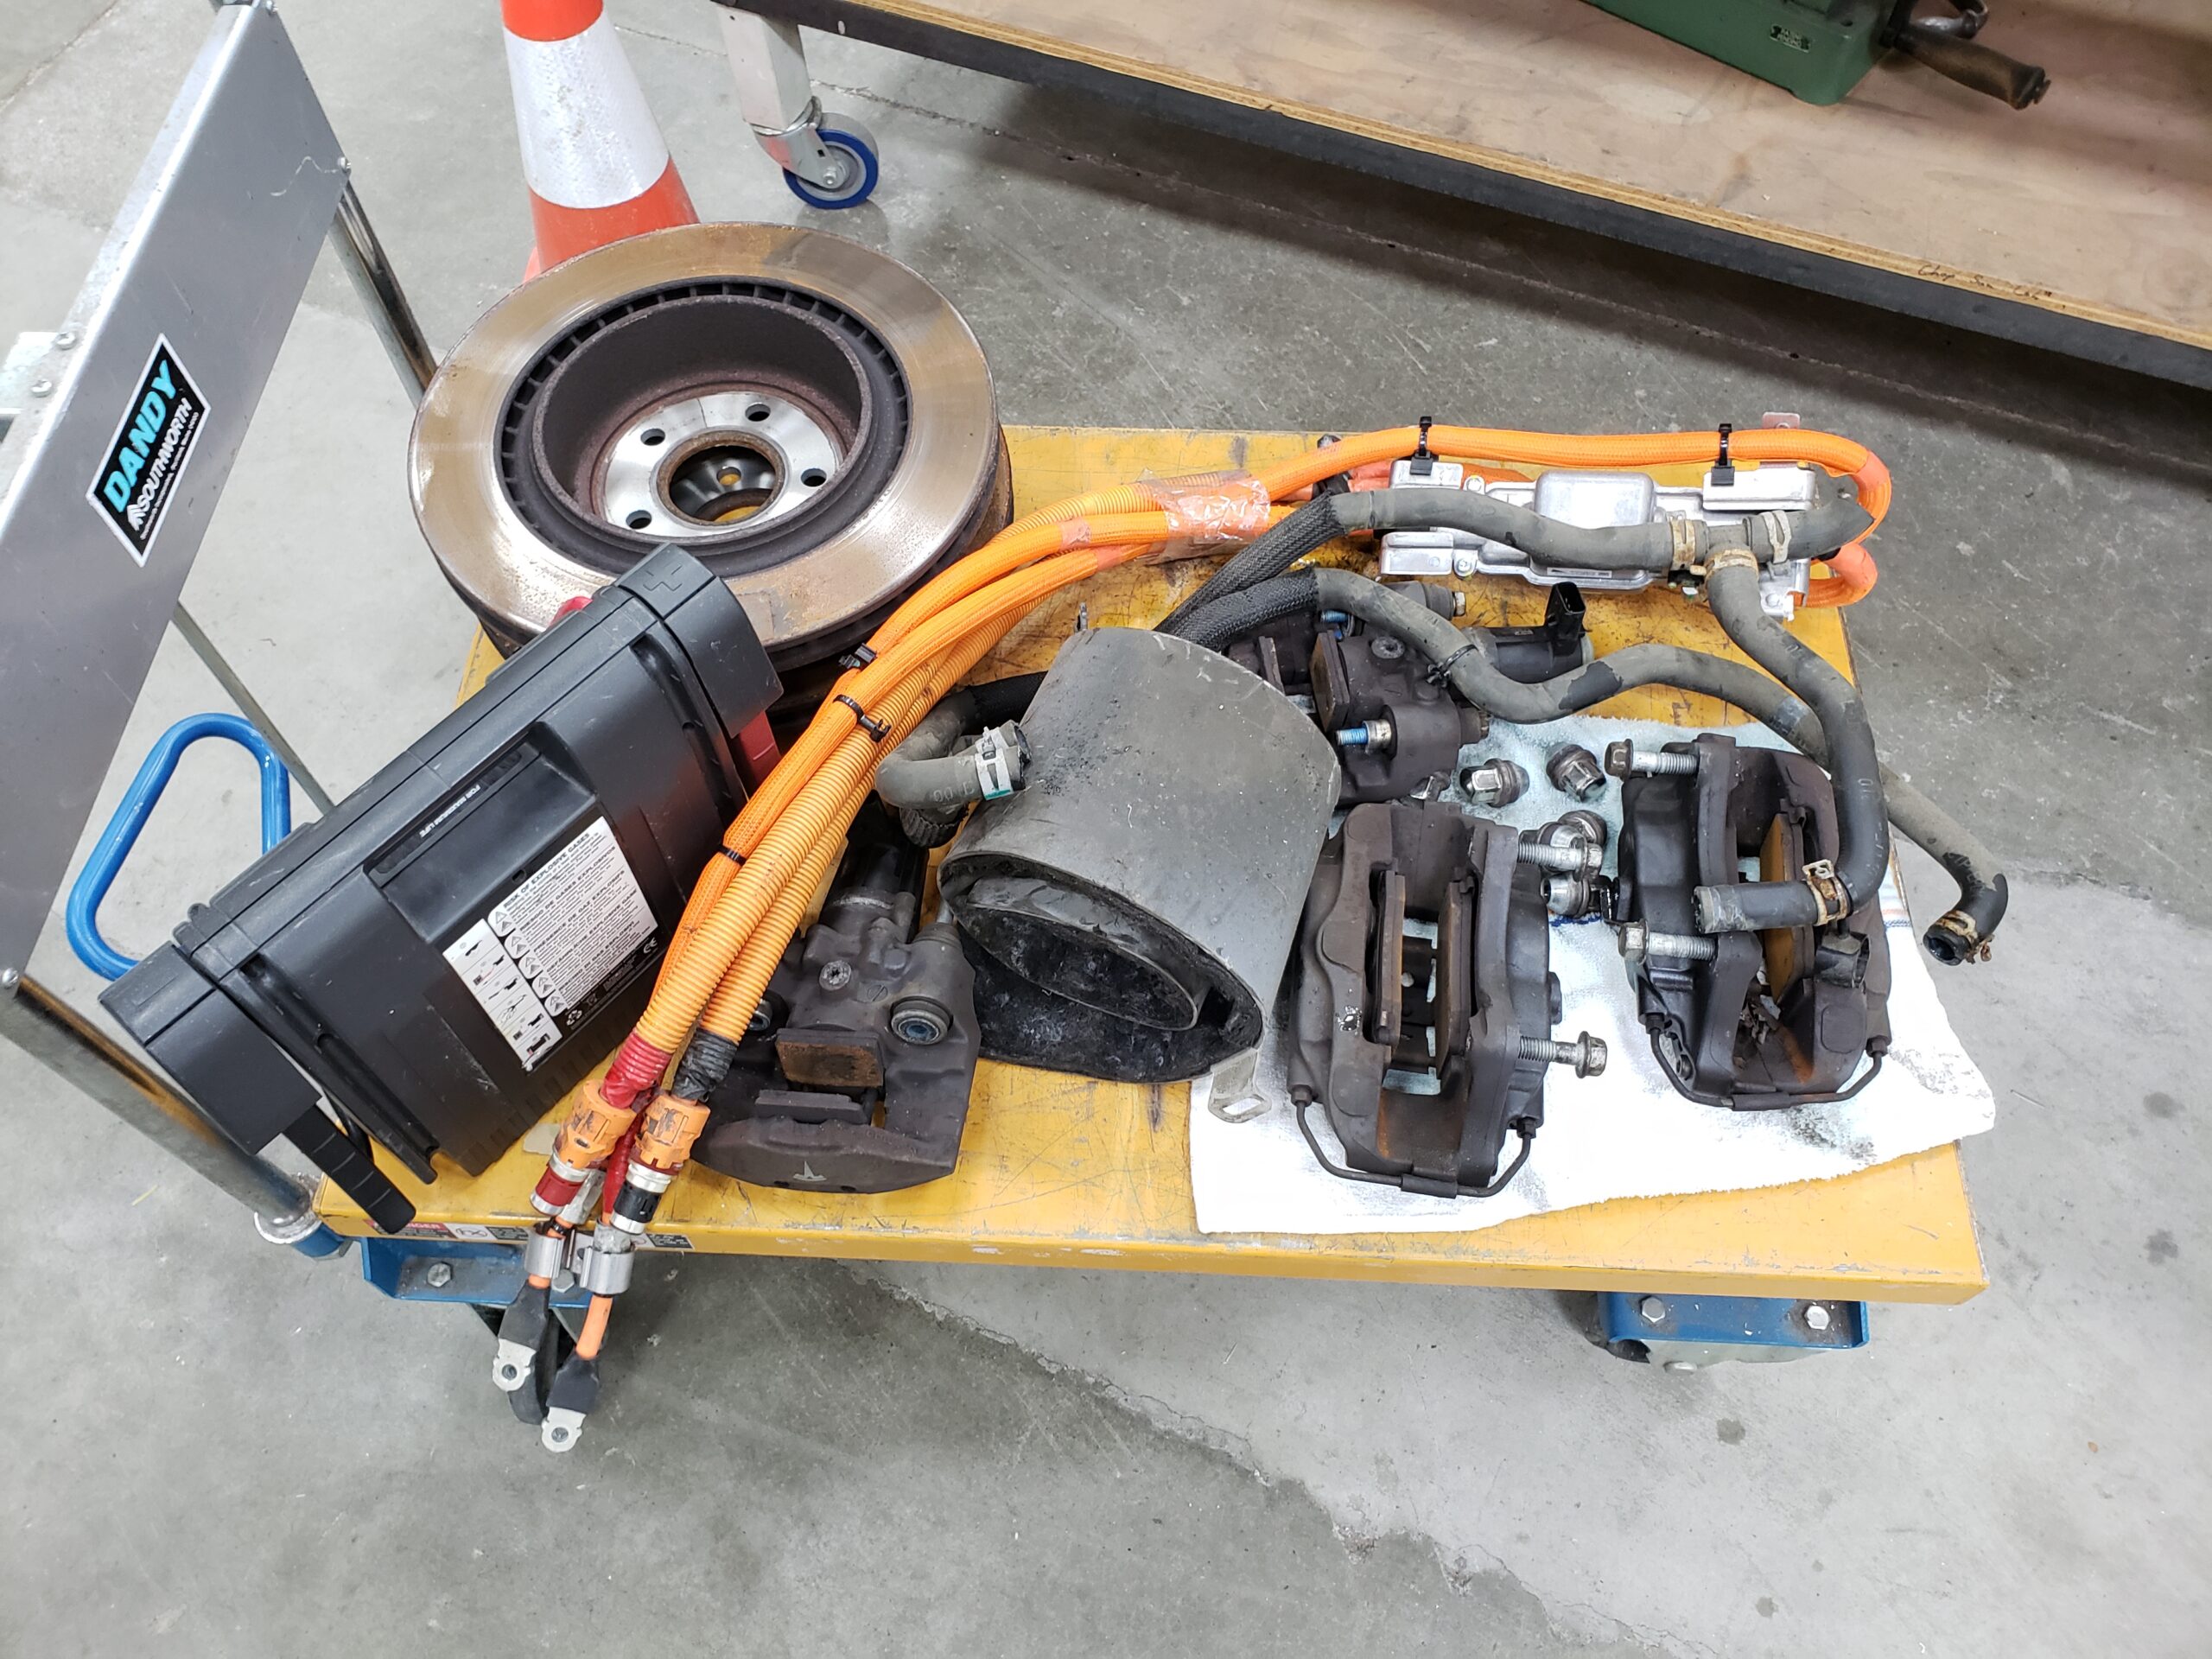
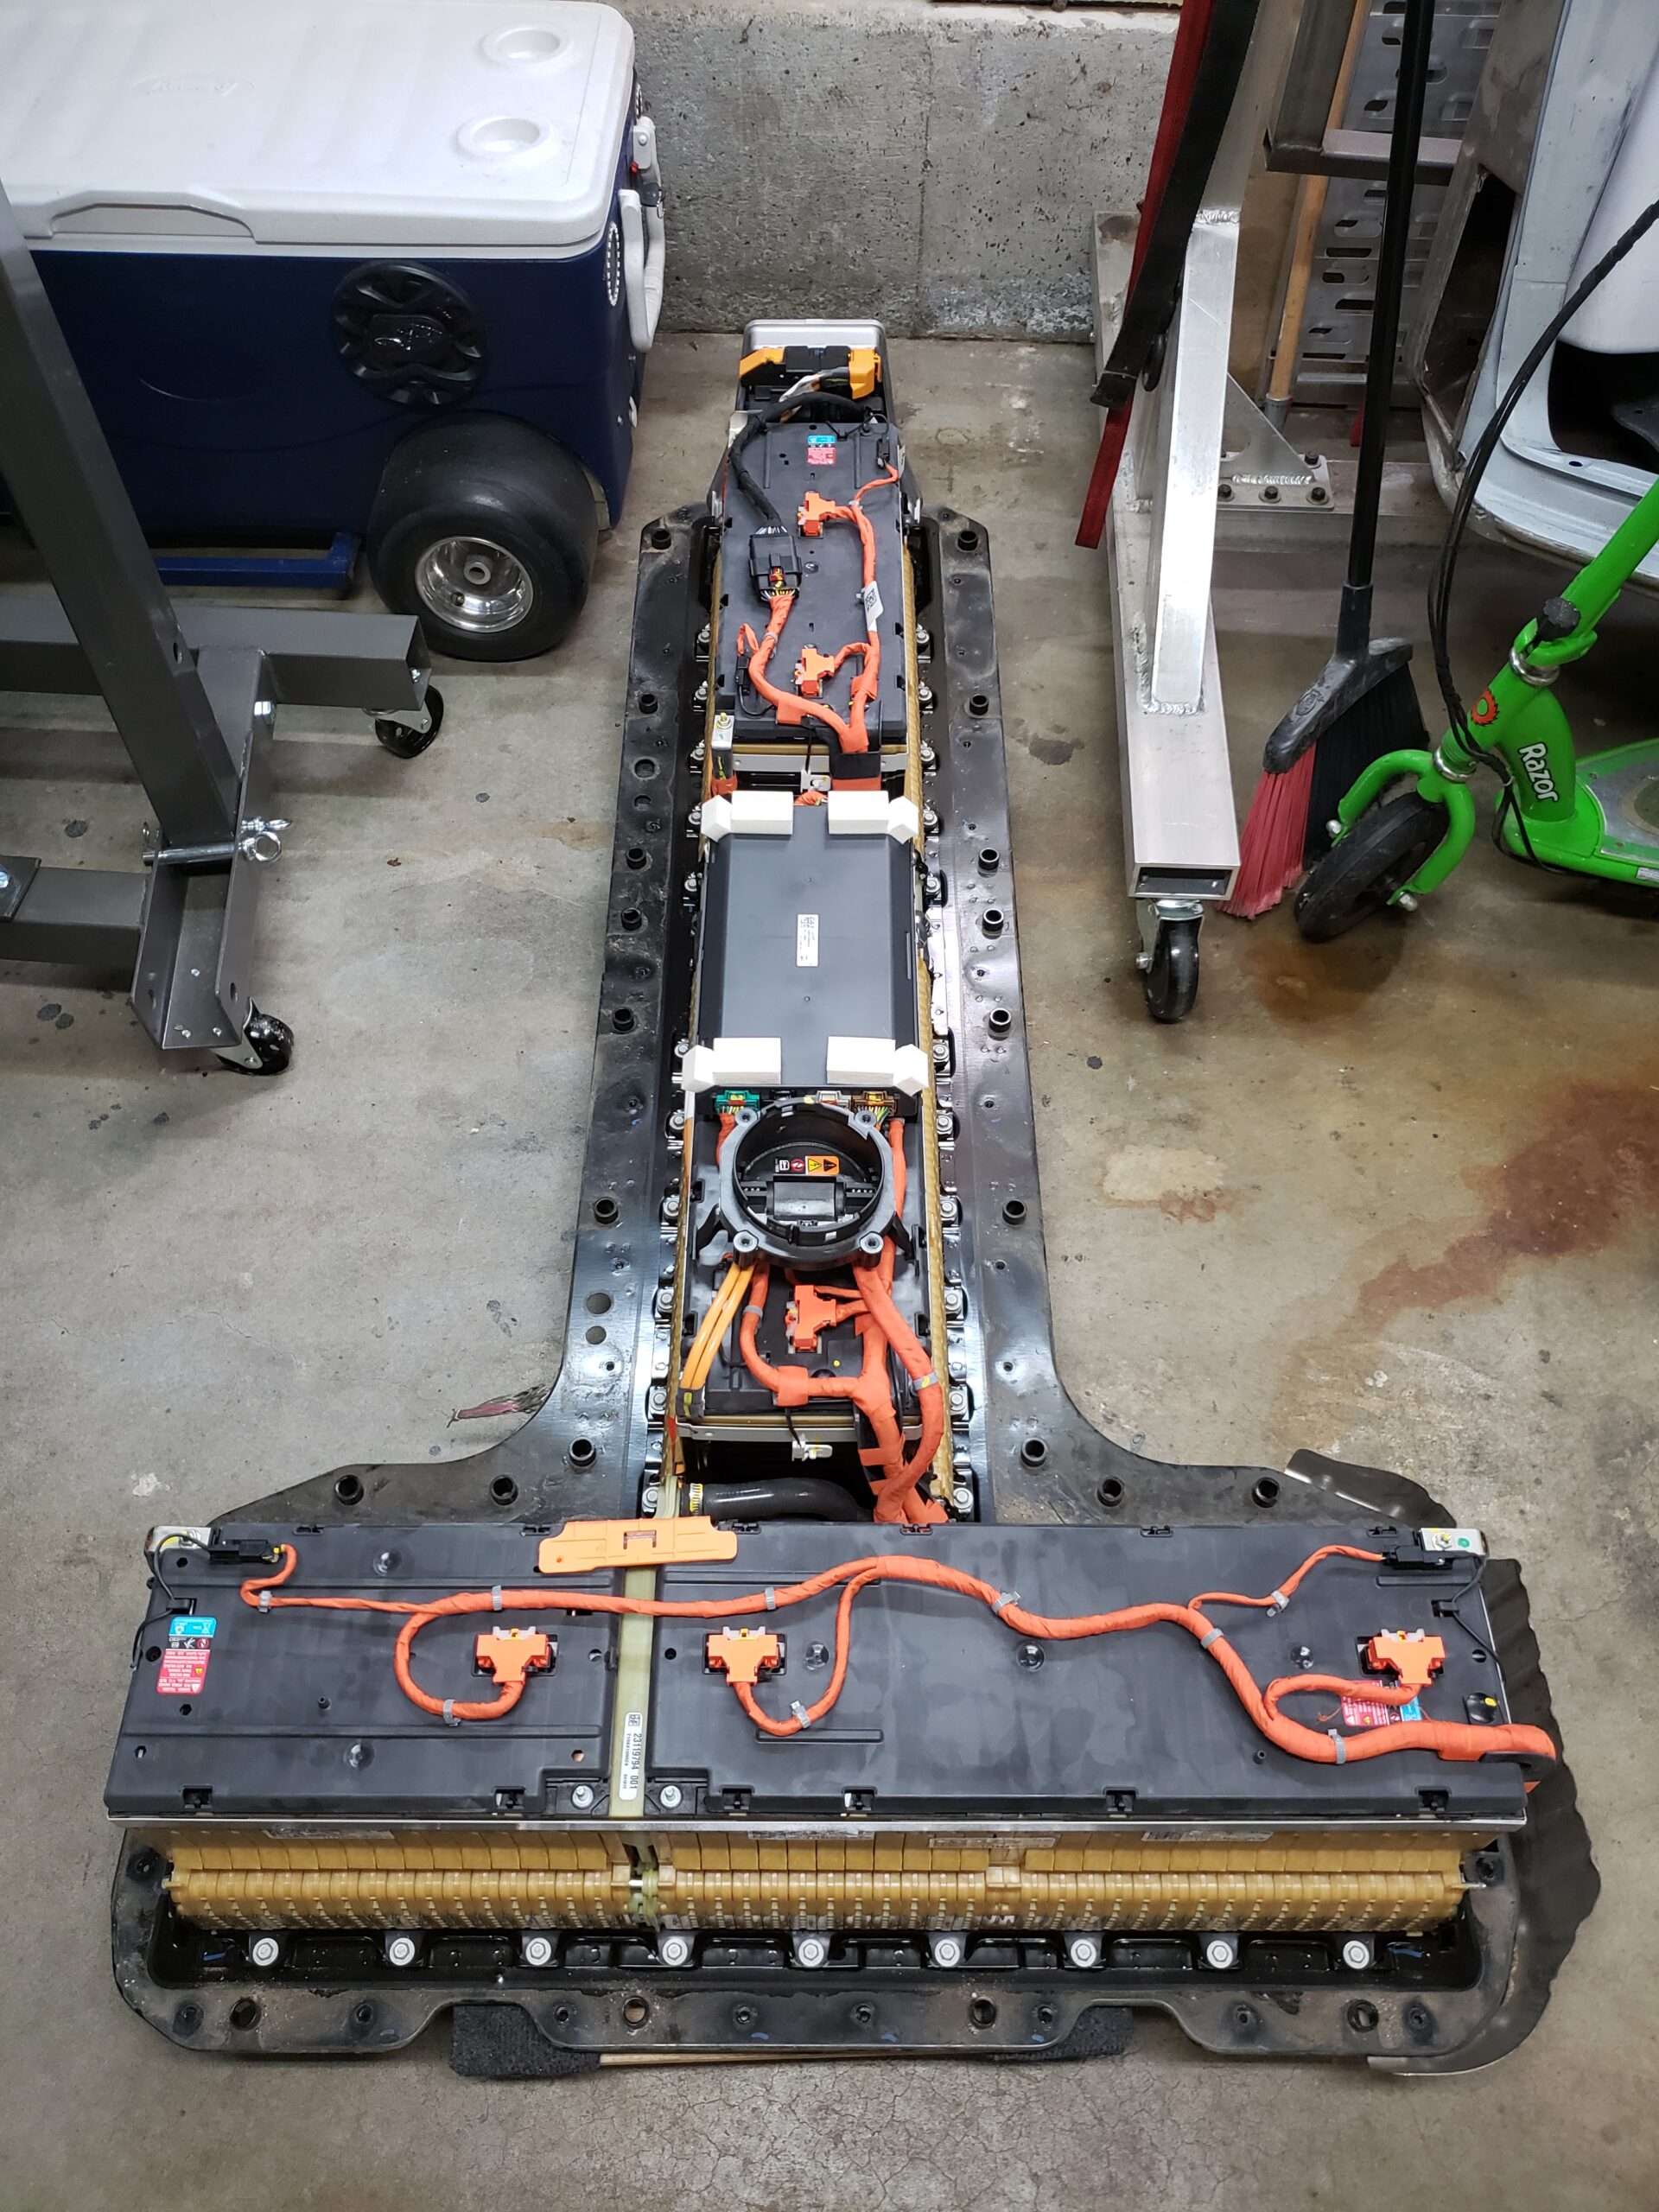
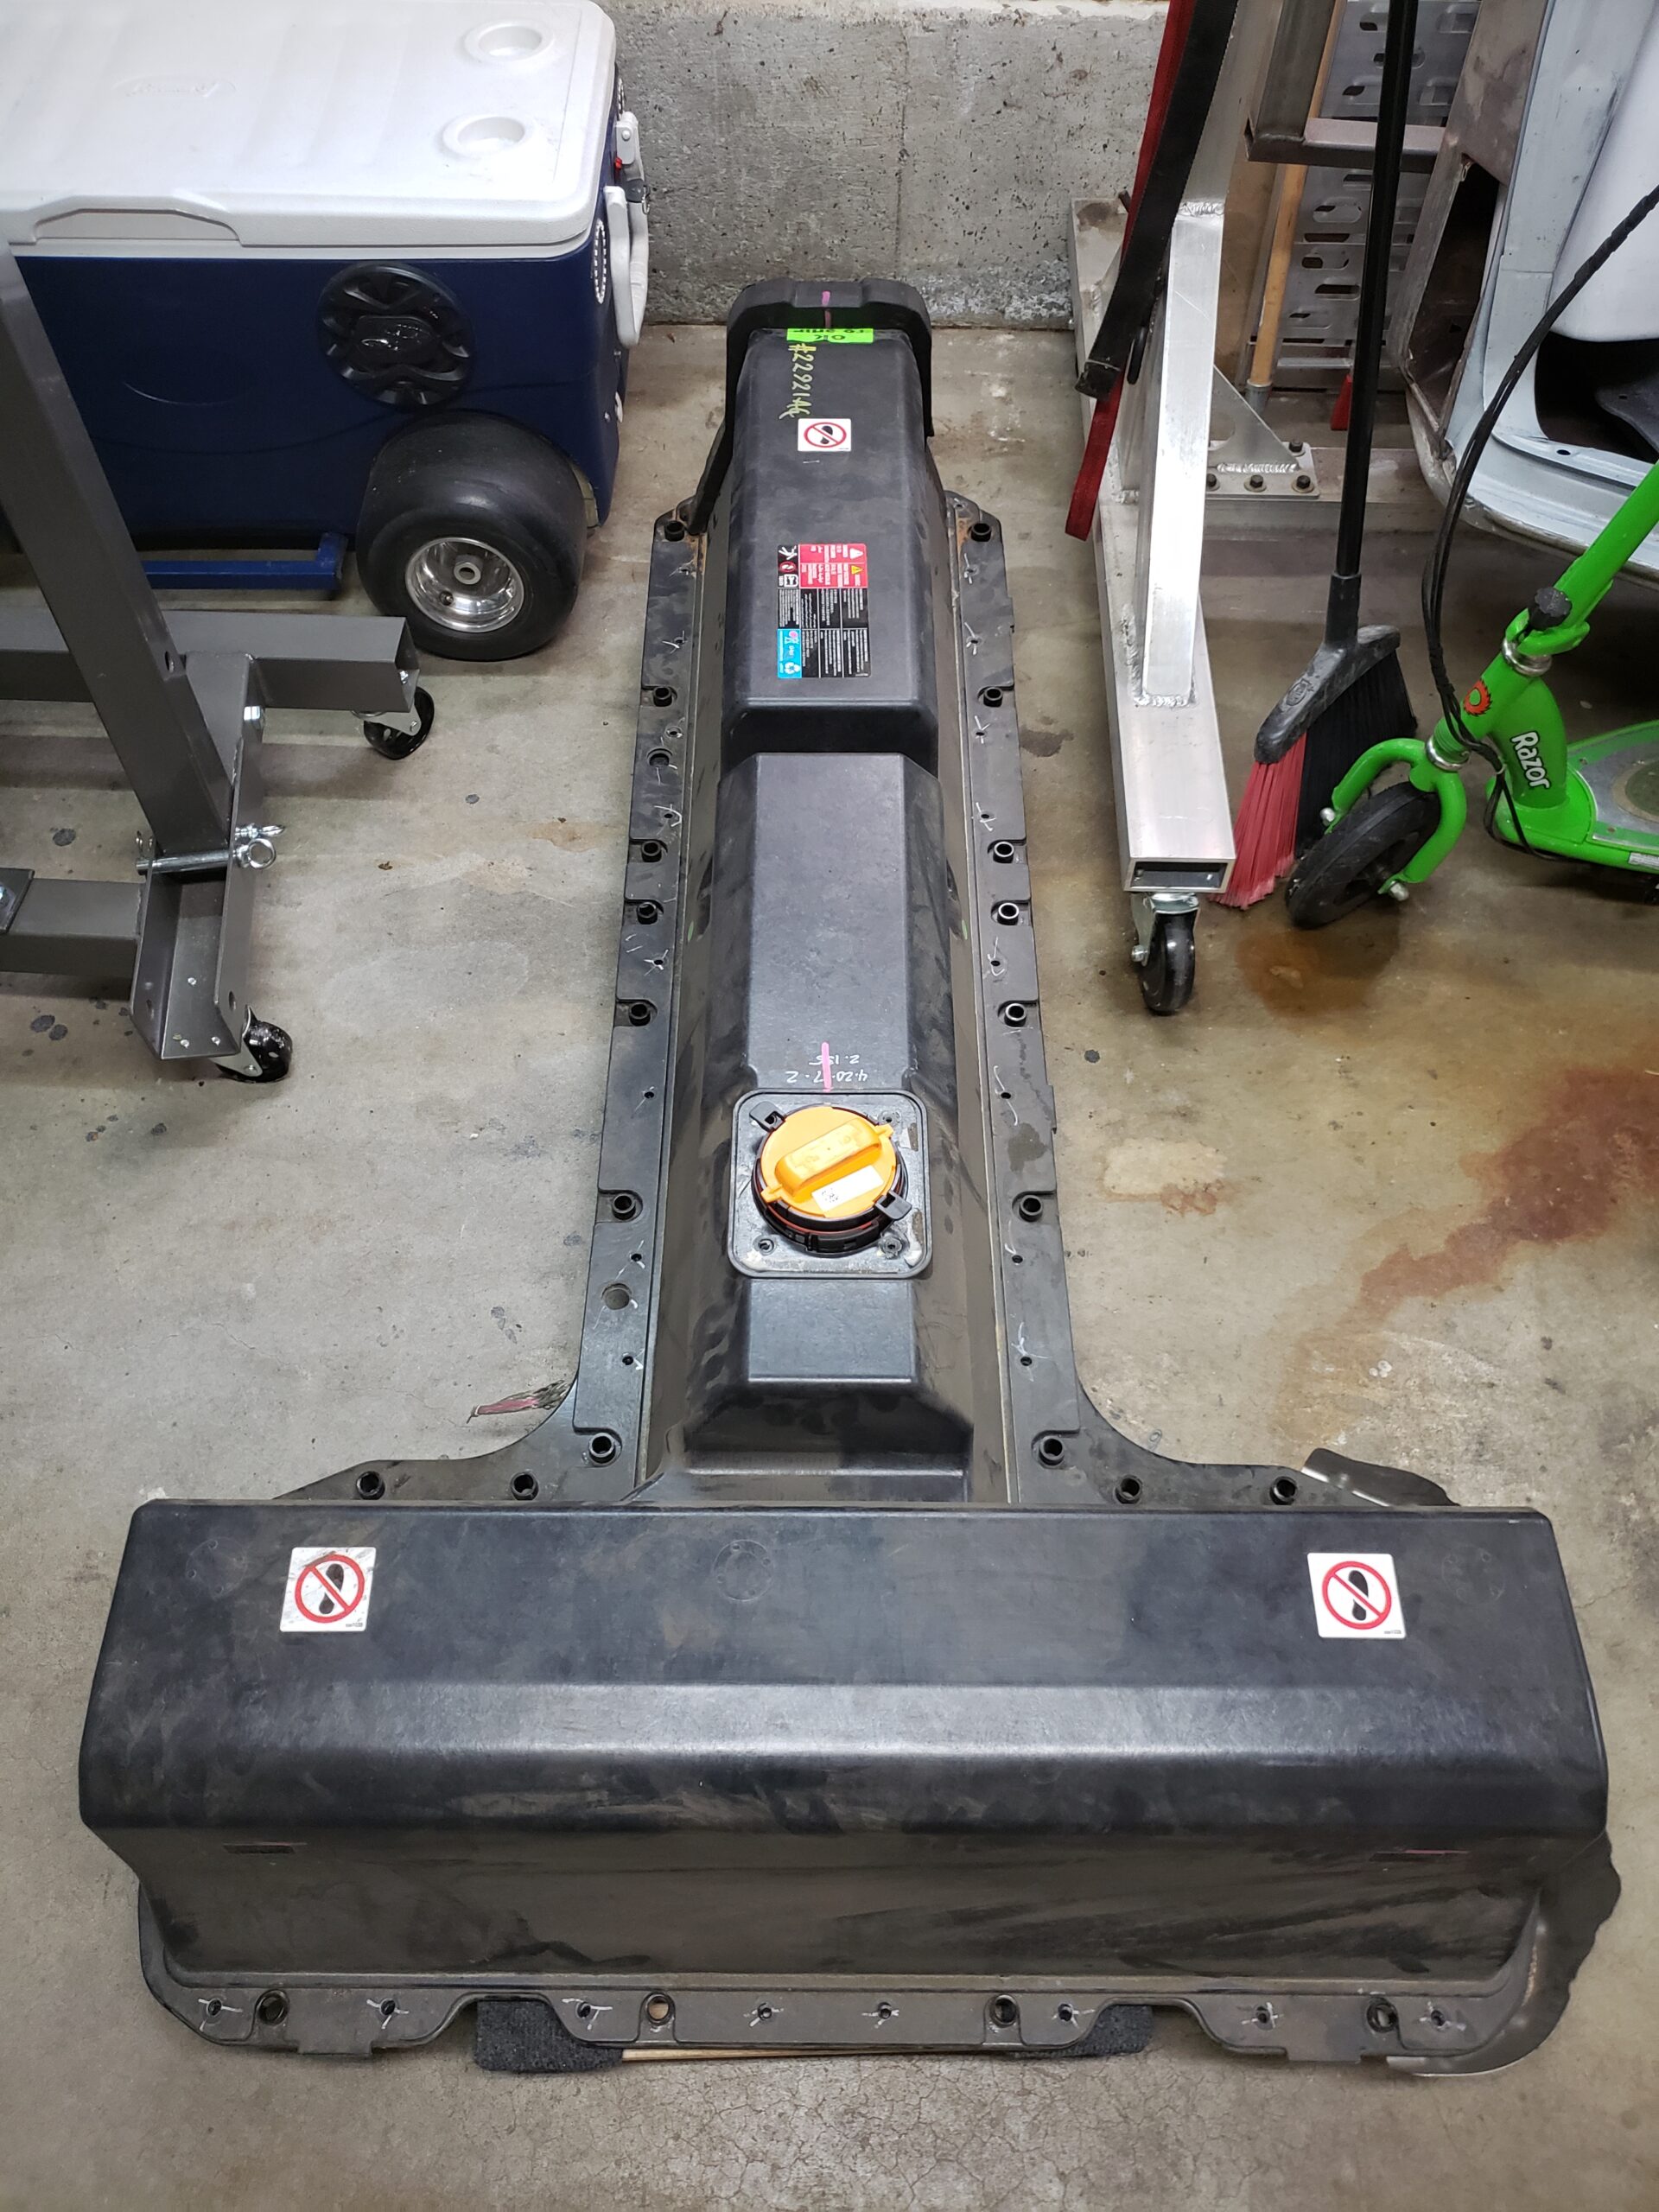
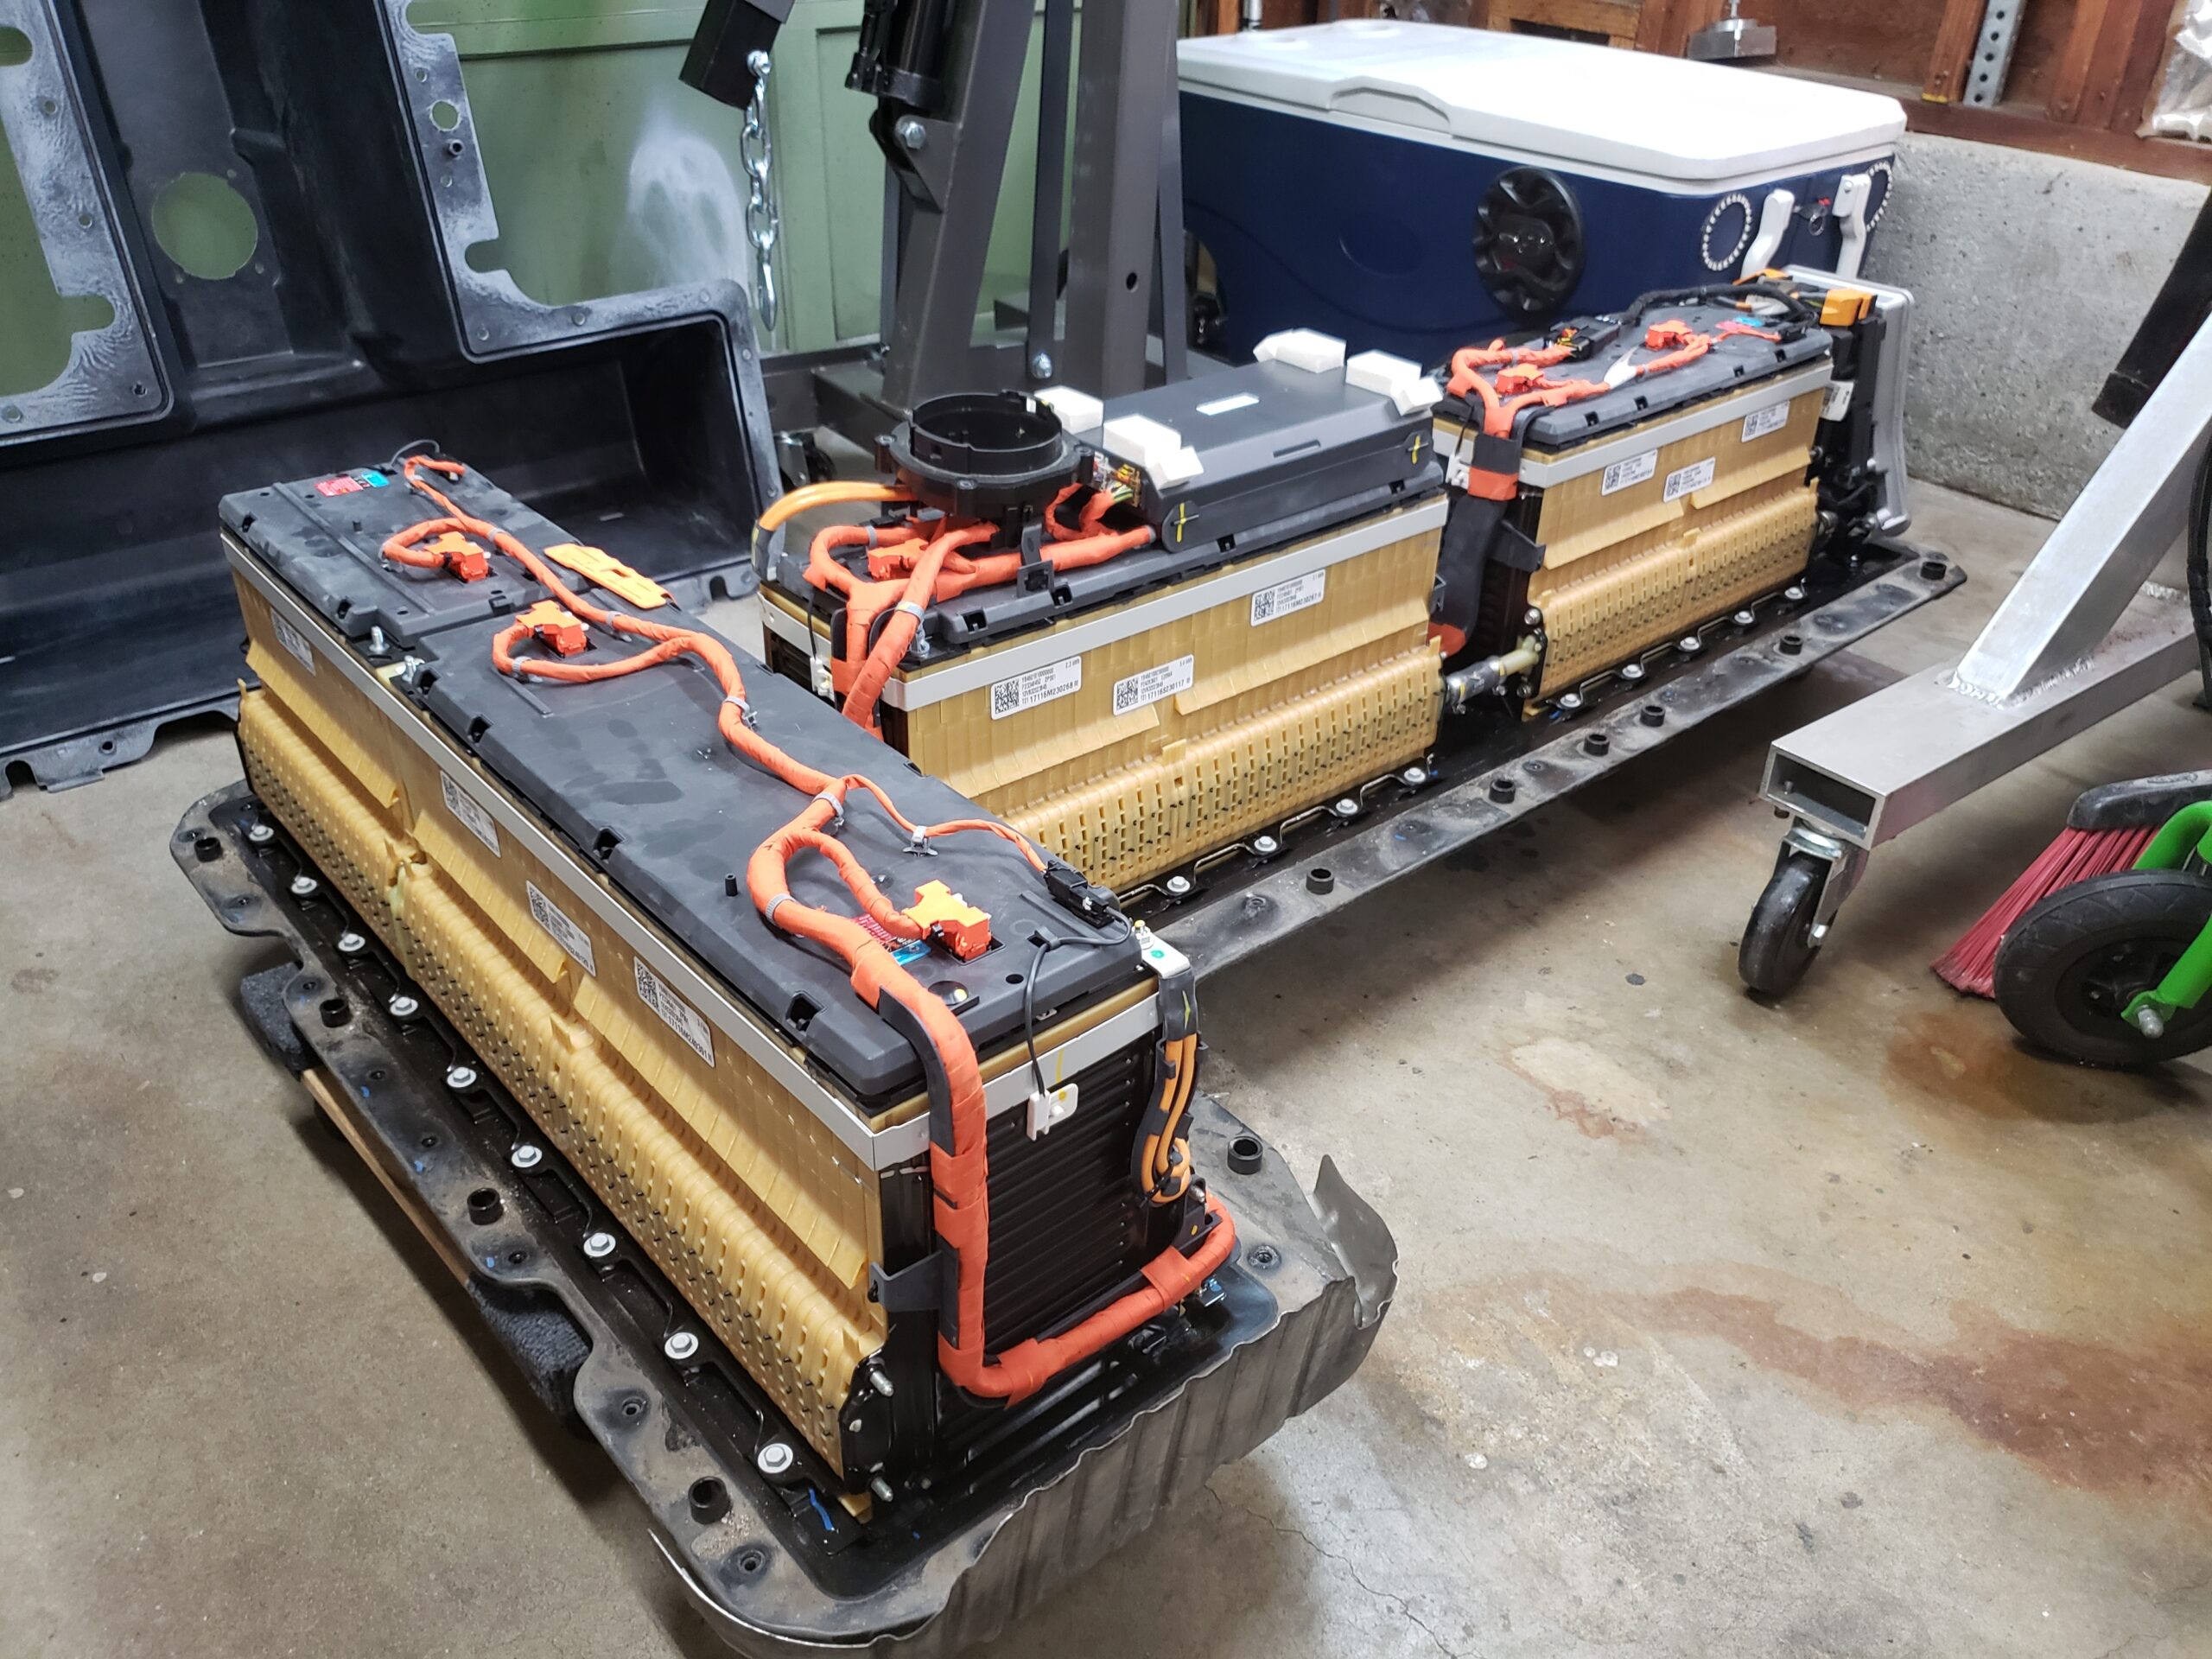
I Purchased a 2012 Tesla Model S full rear dropout for about $3200 and the battery for a Chevy Volt for around $2500.

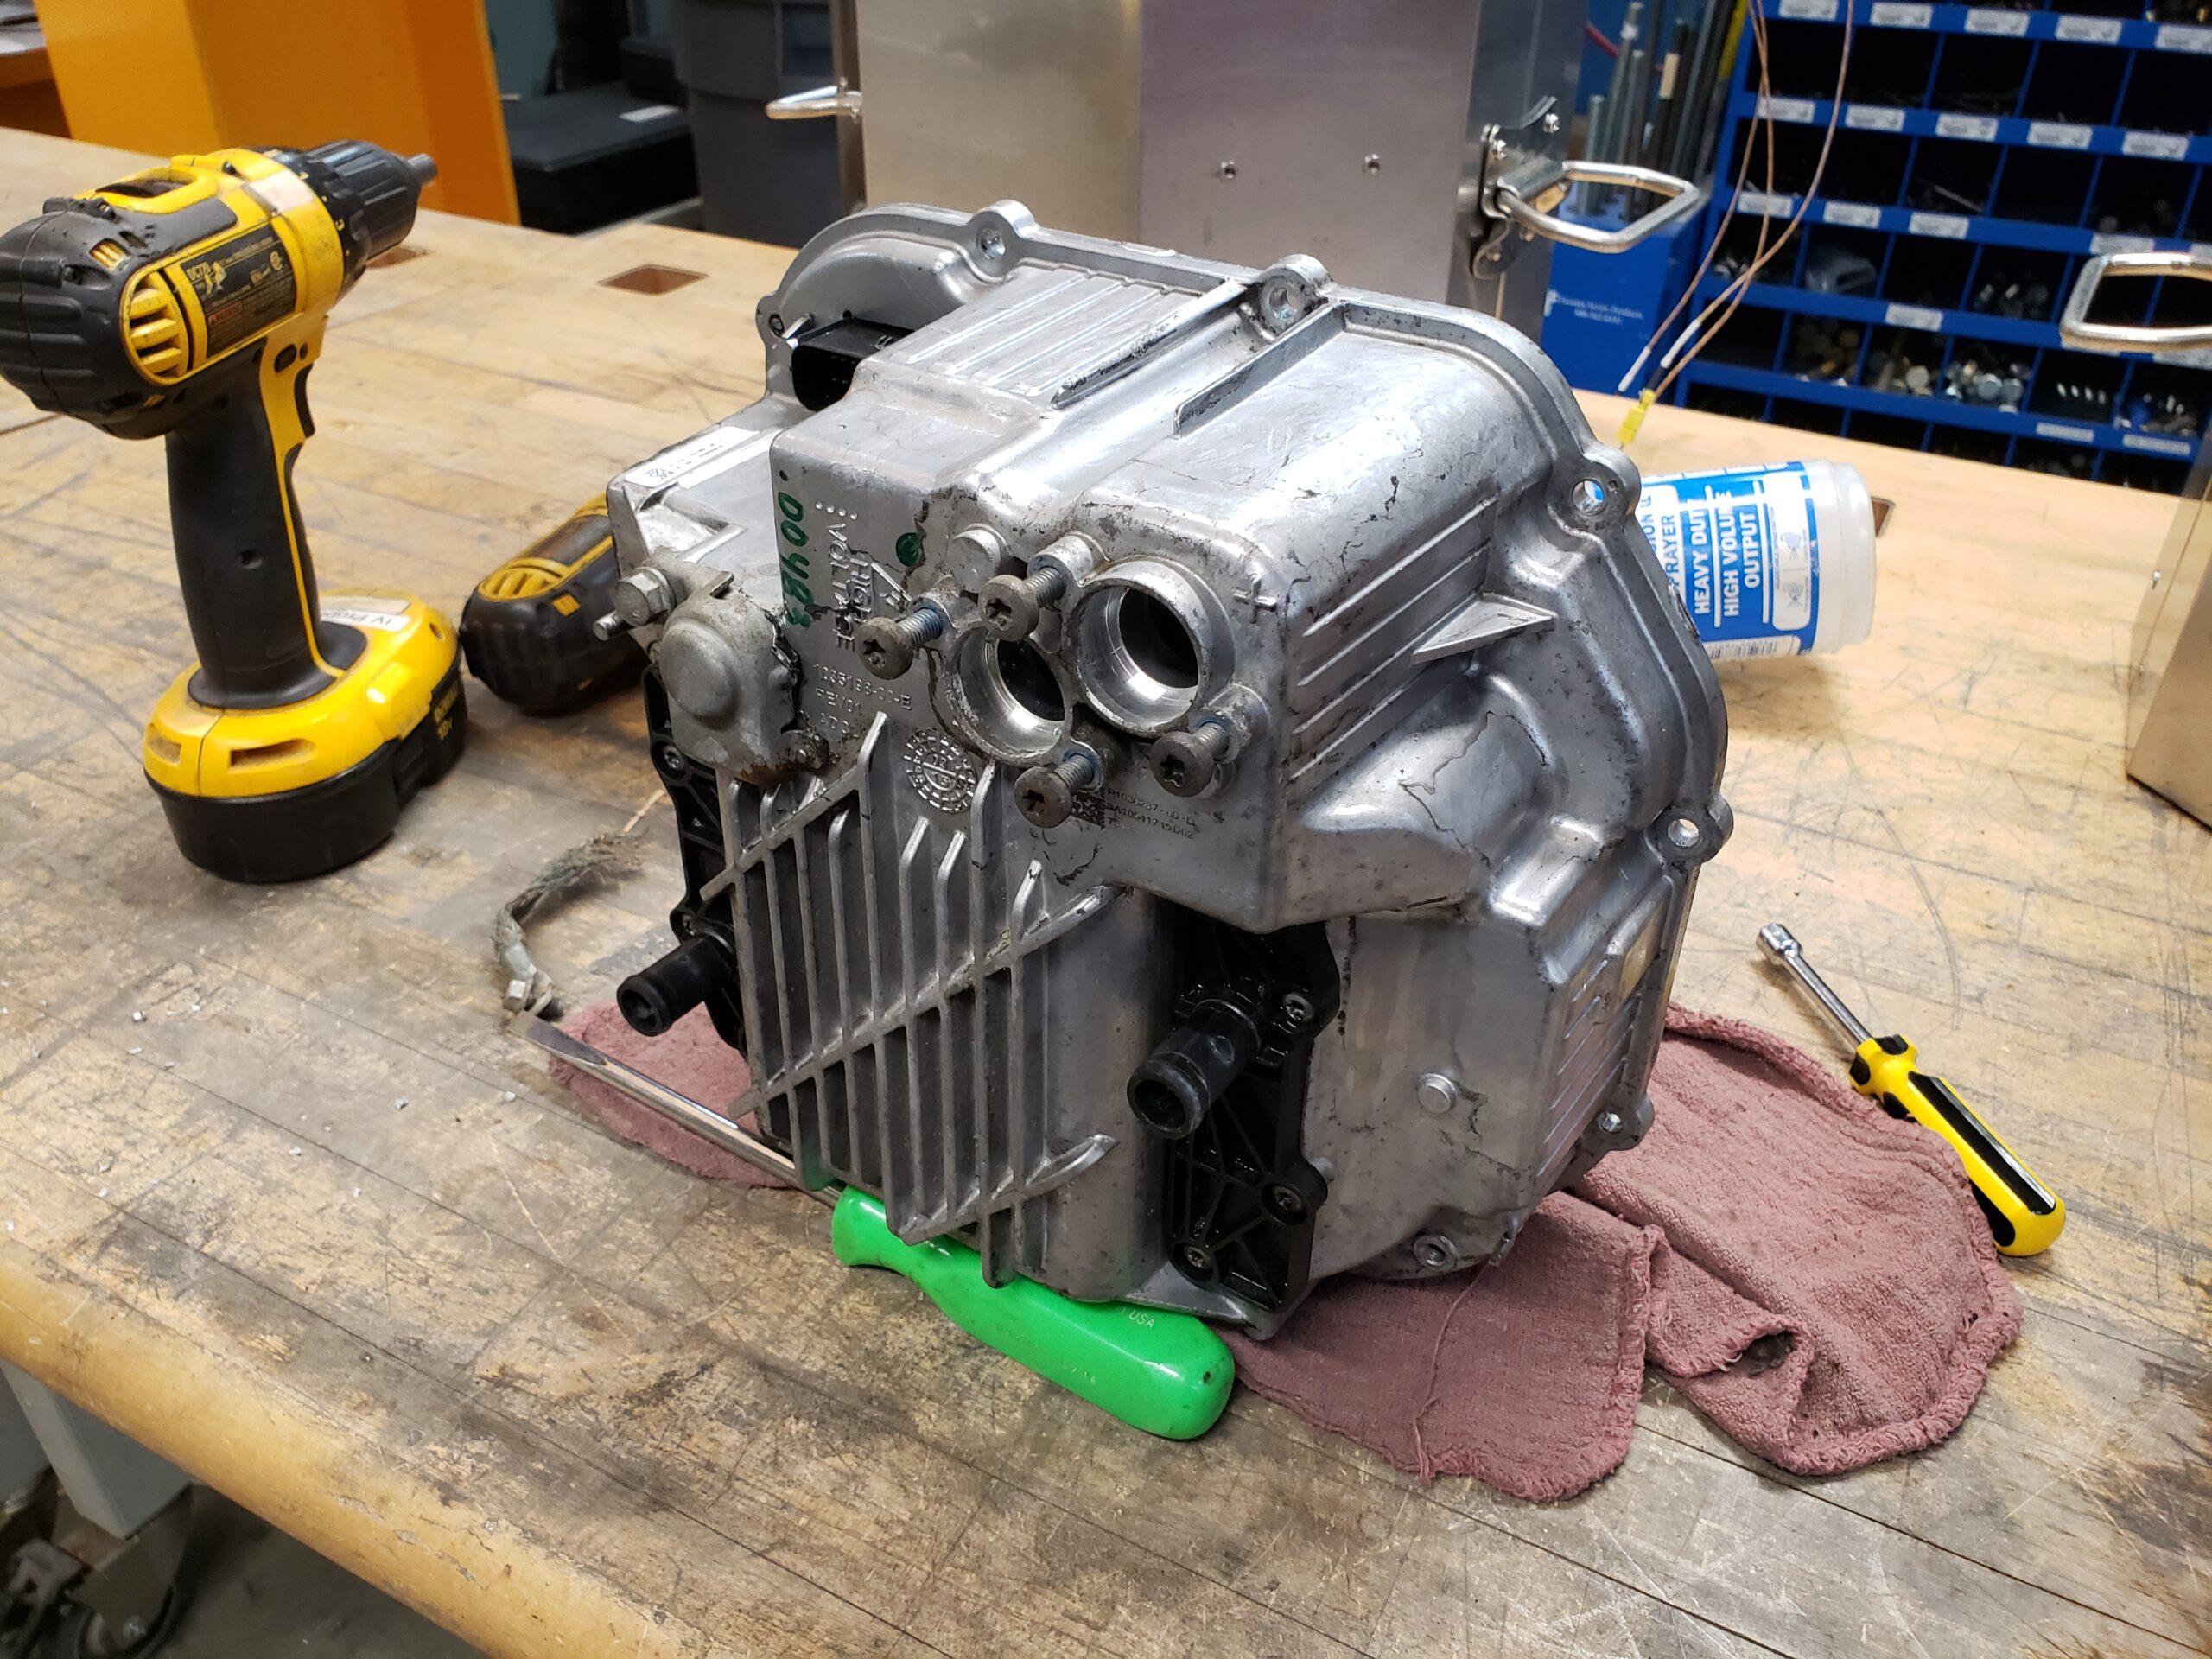
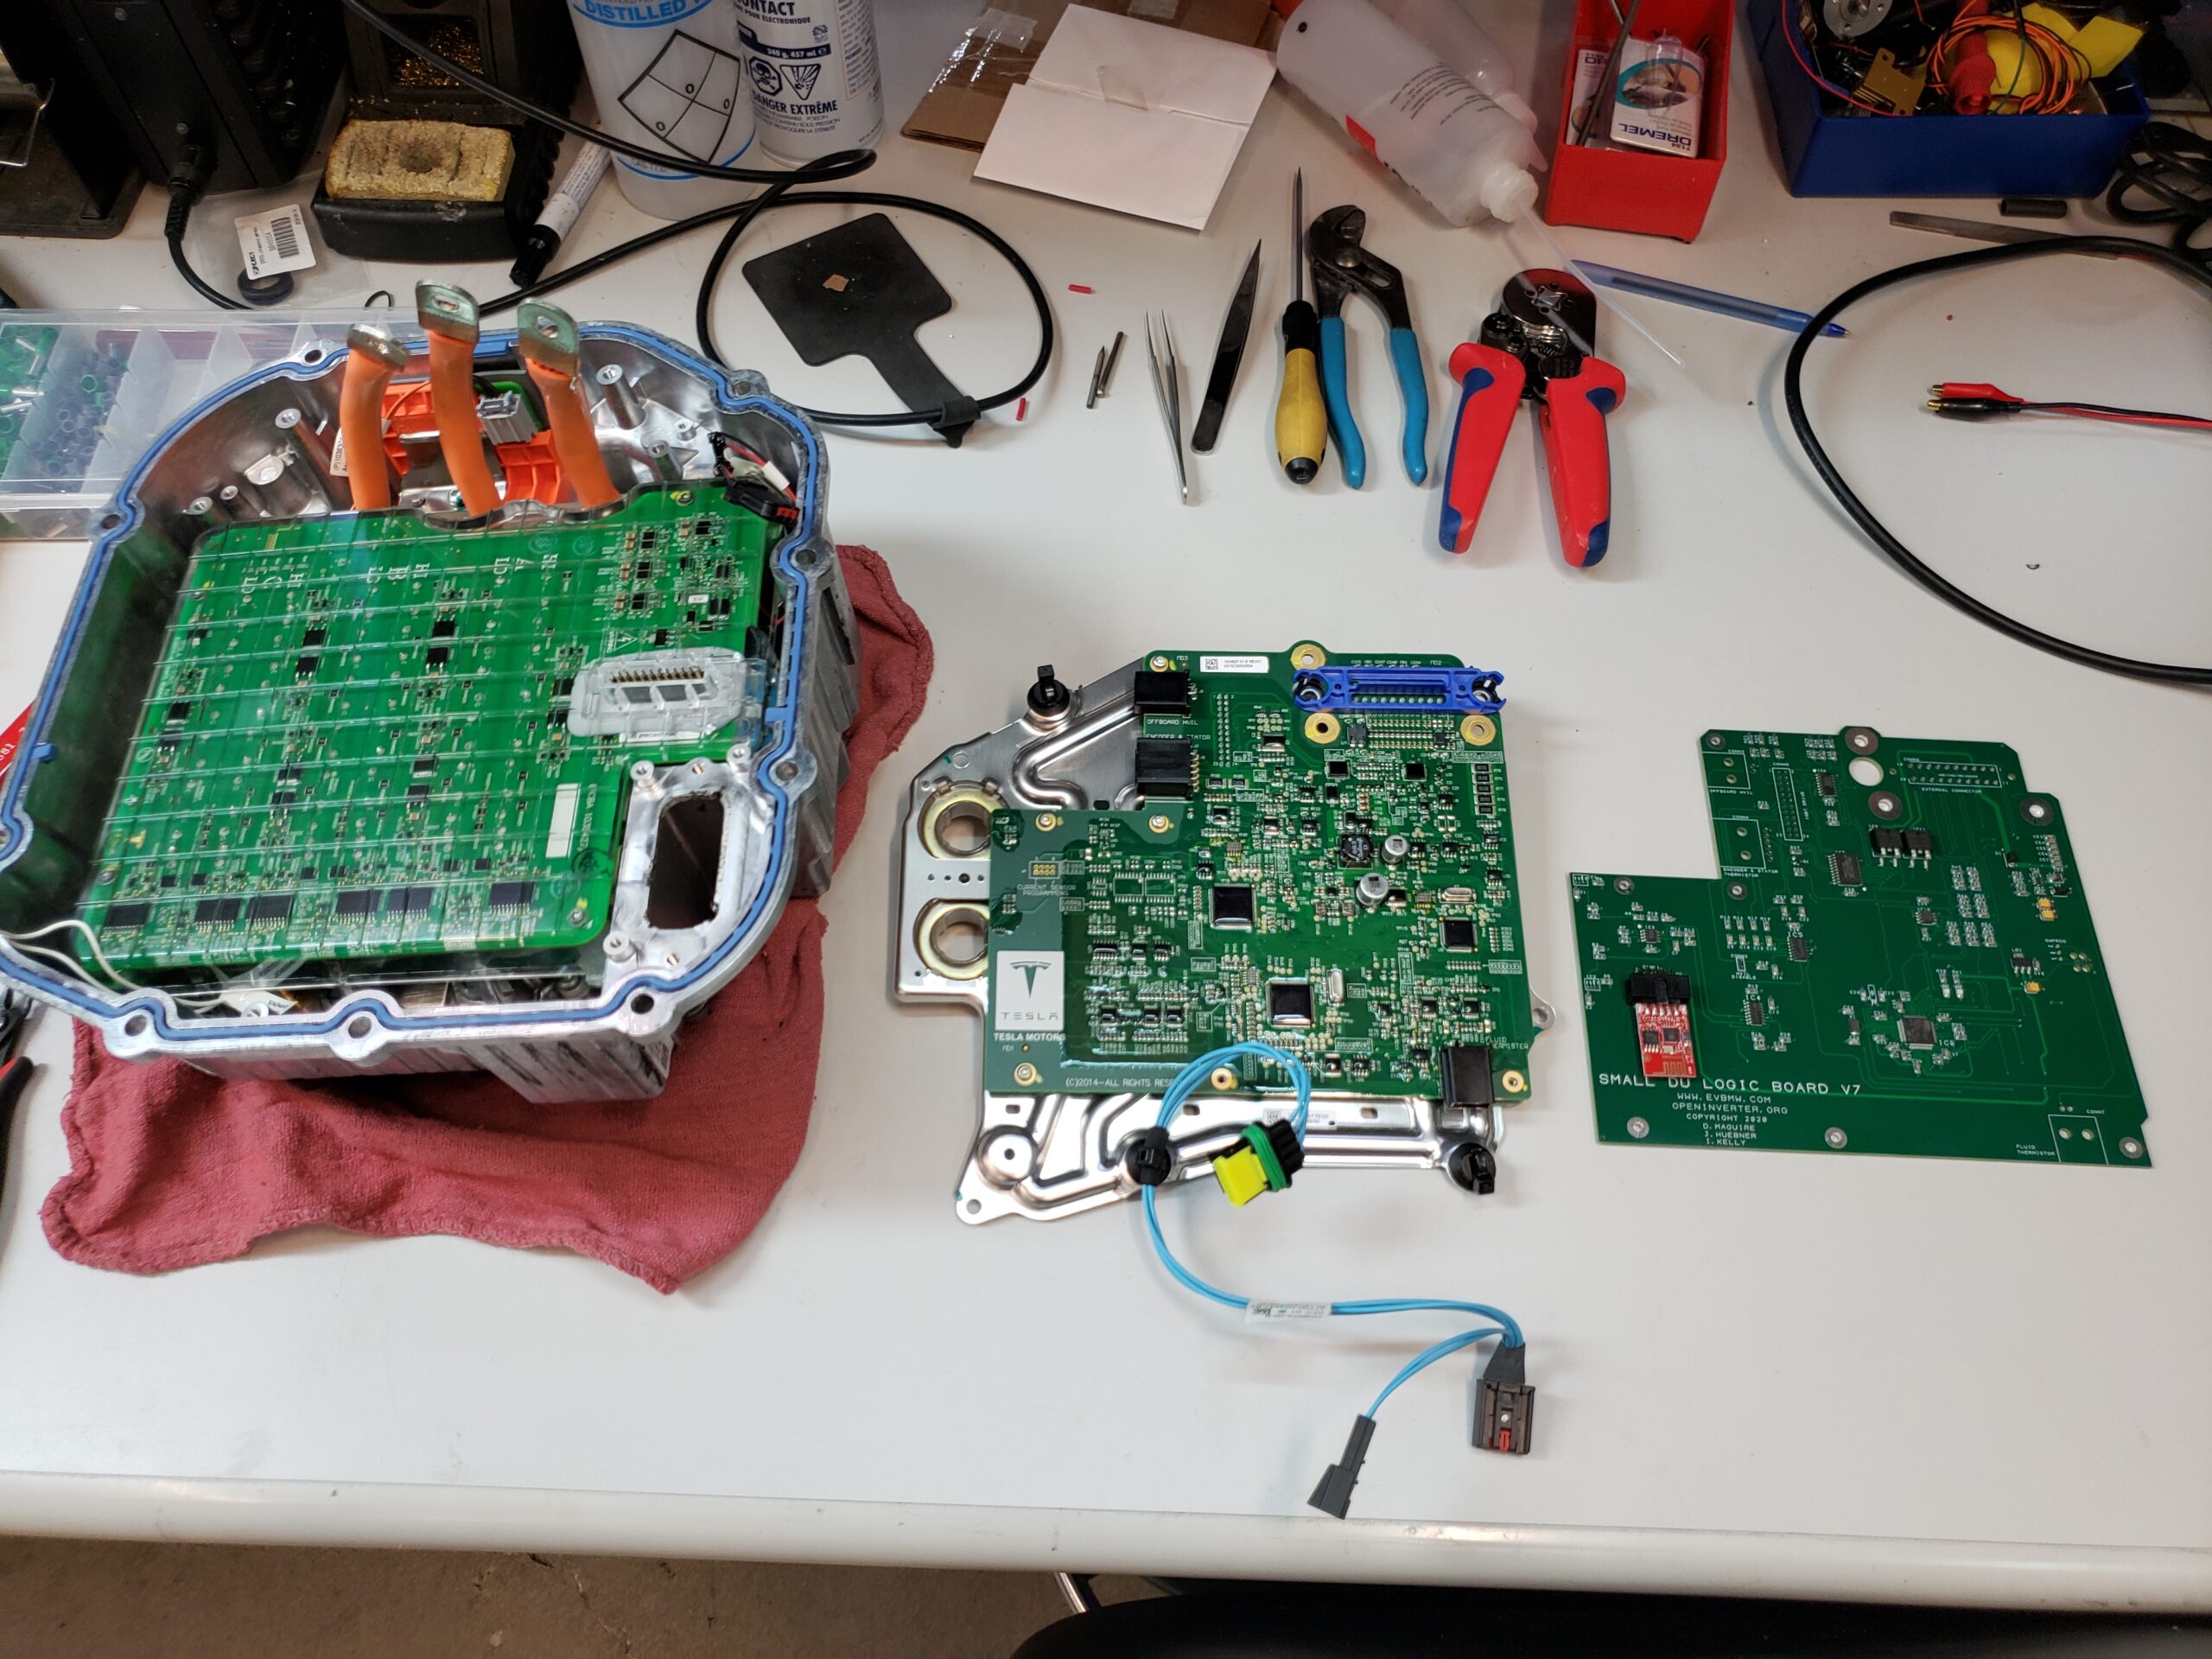
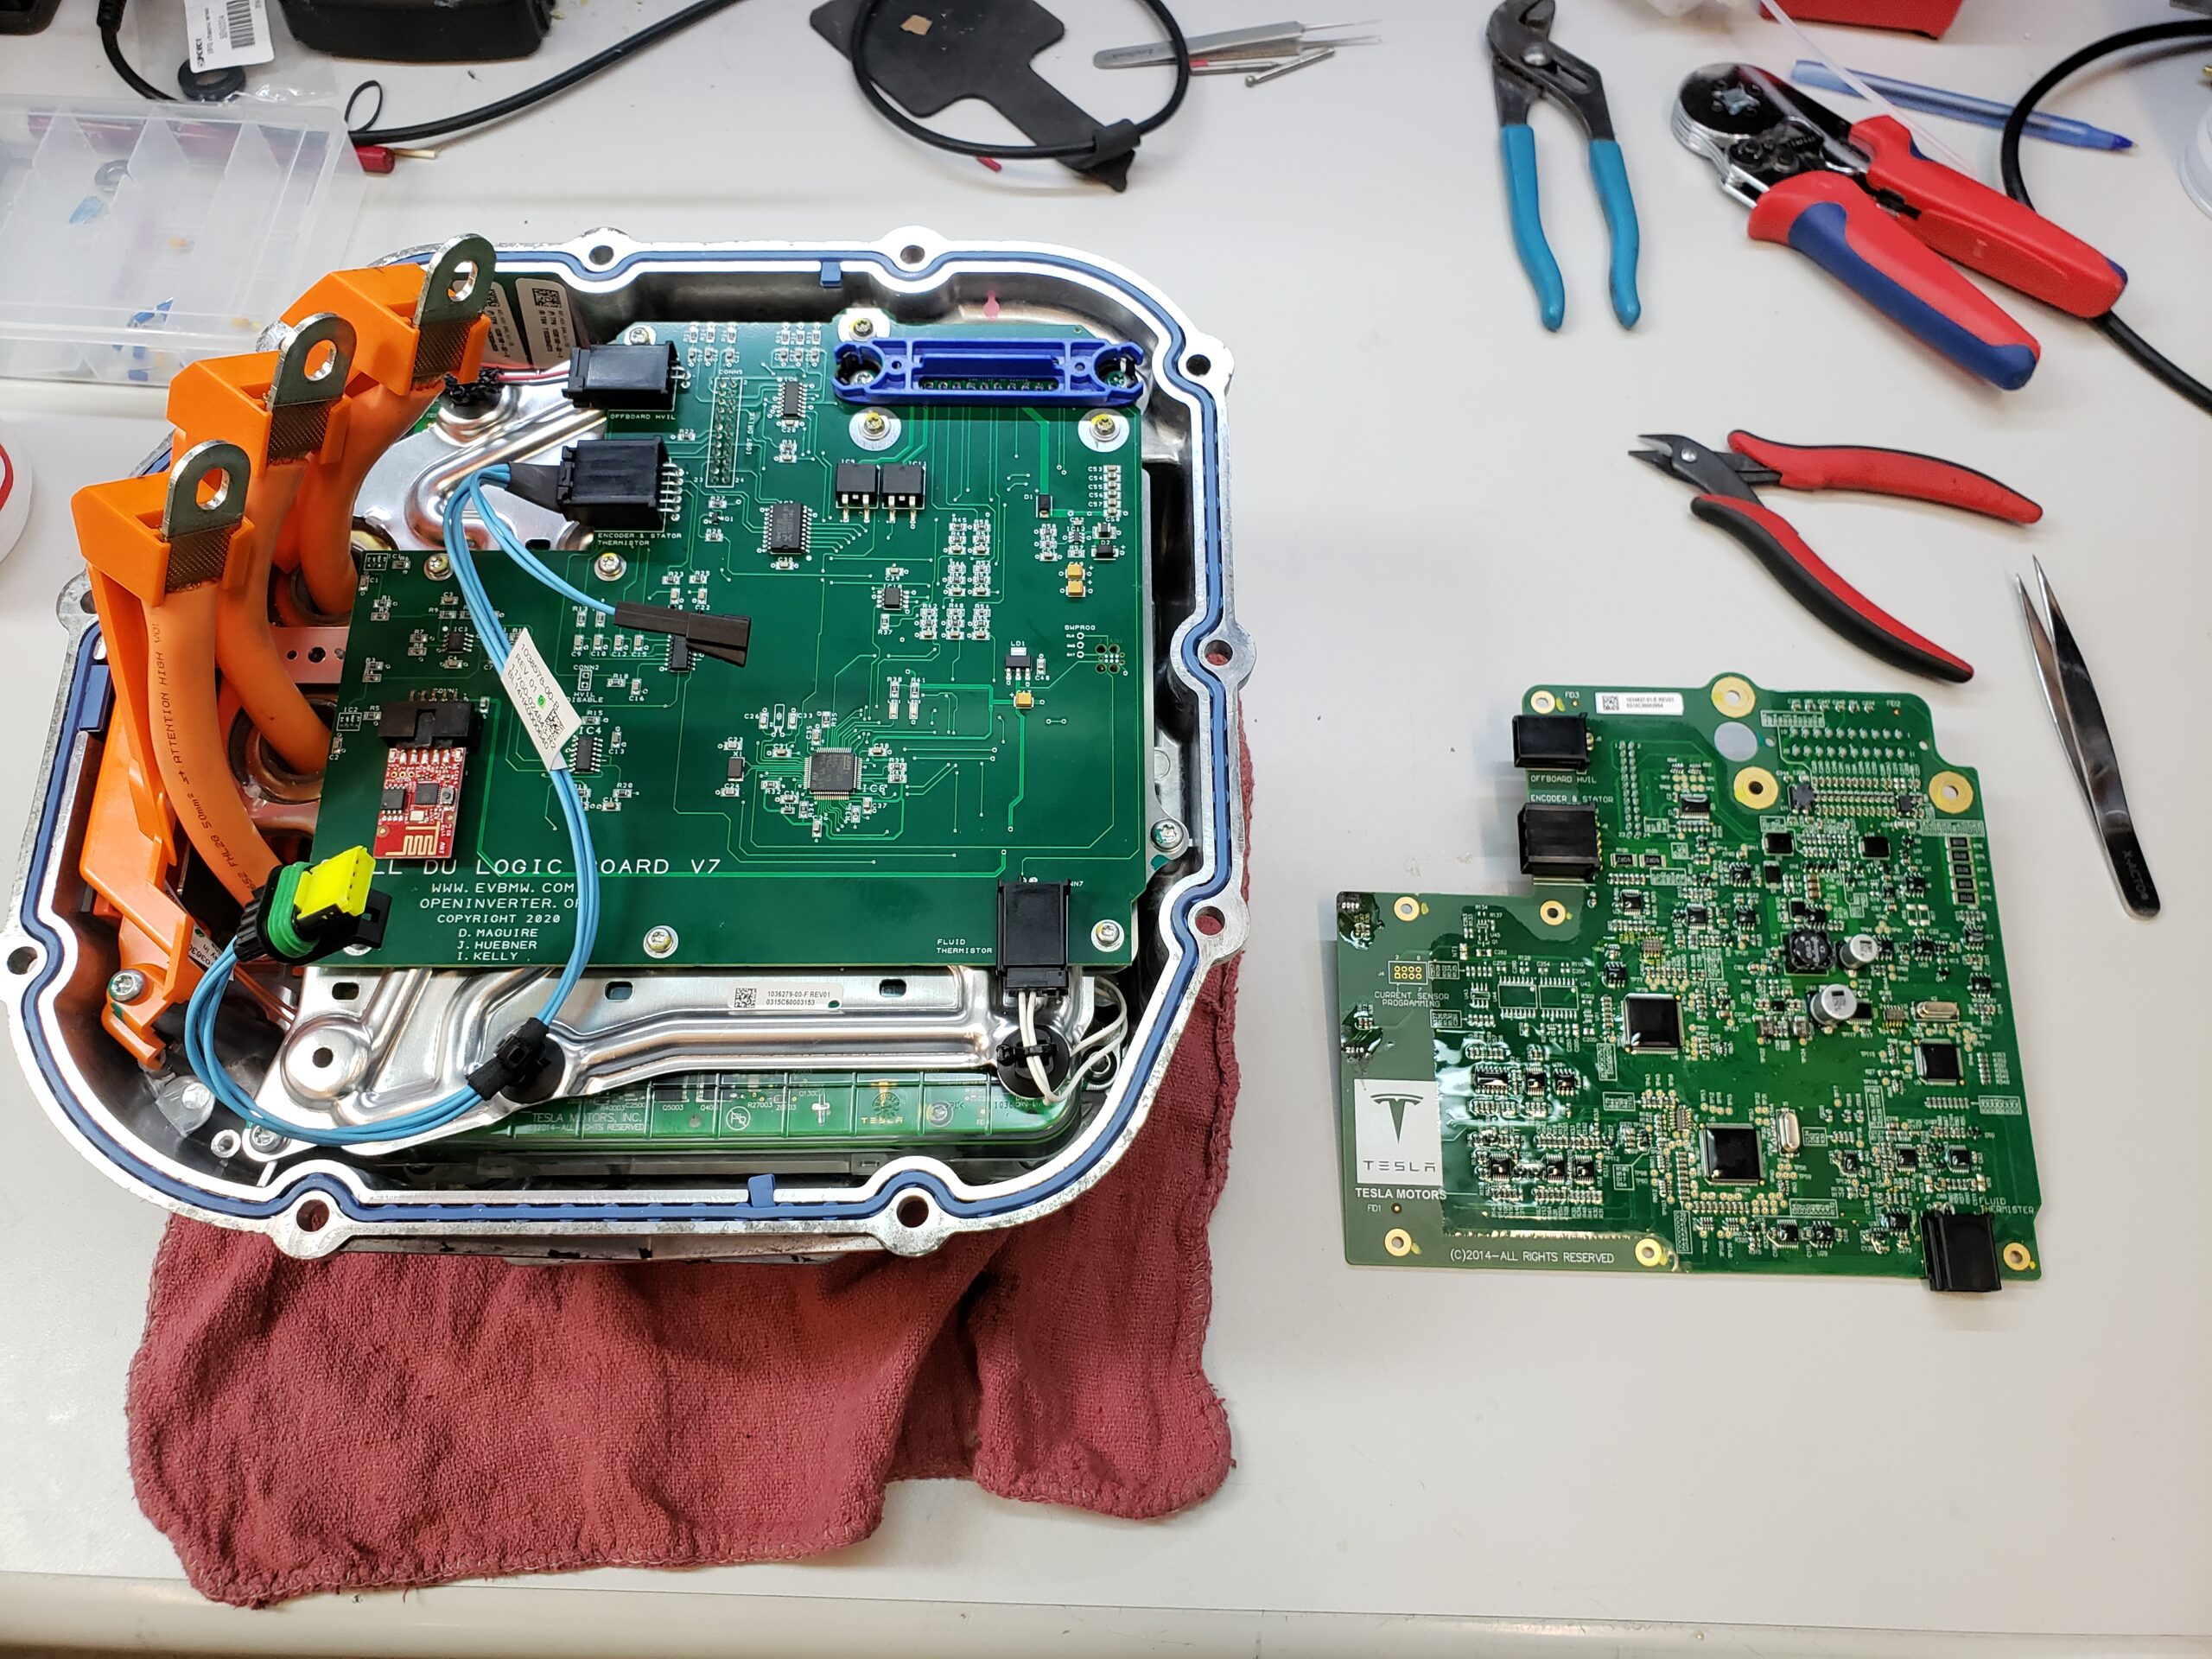
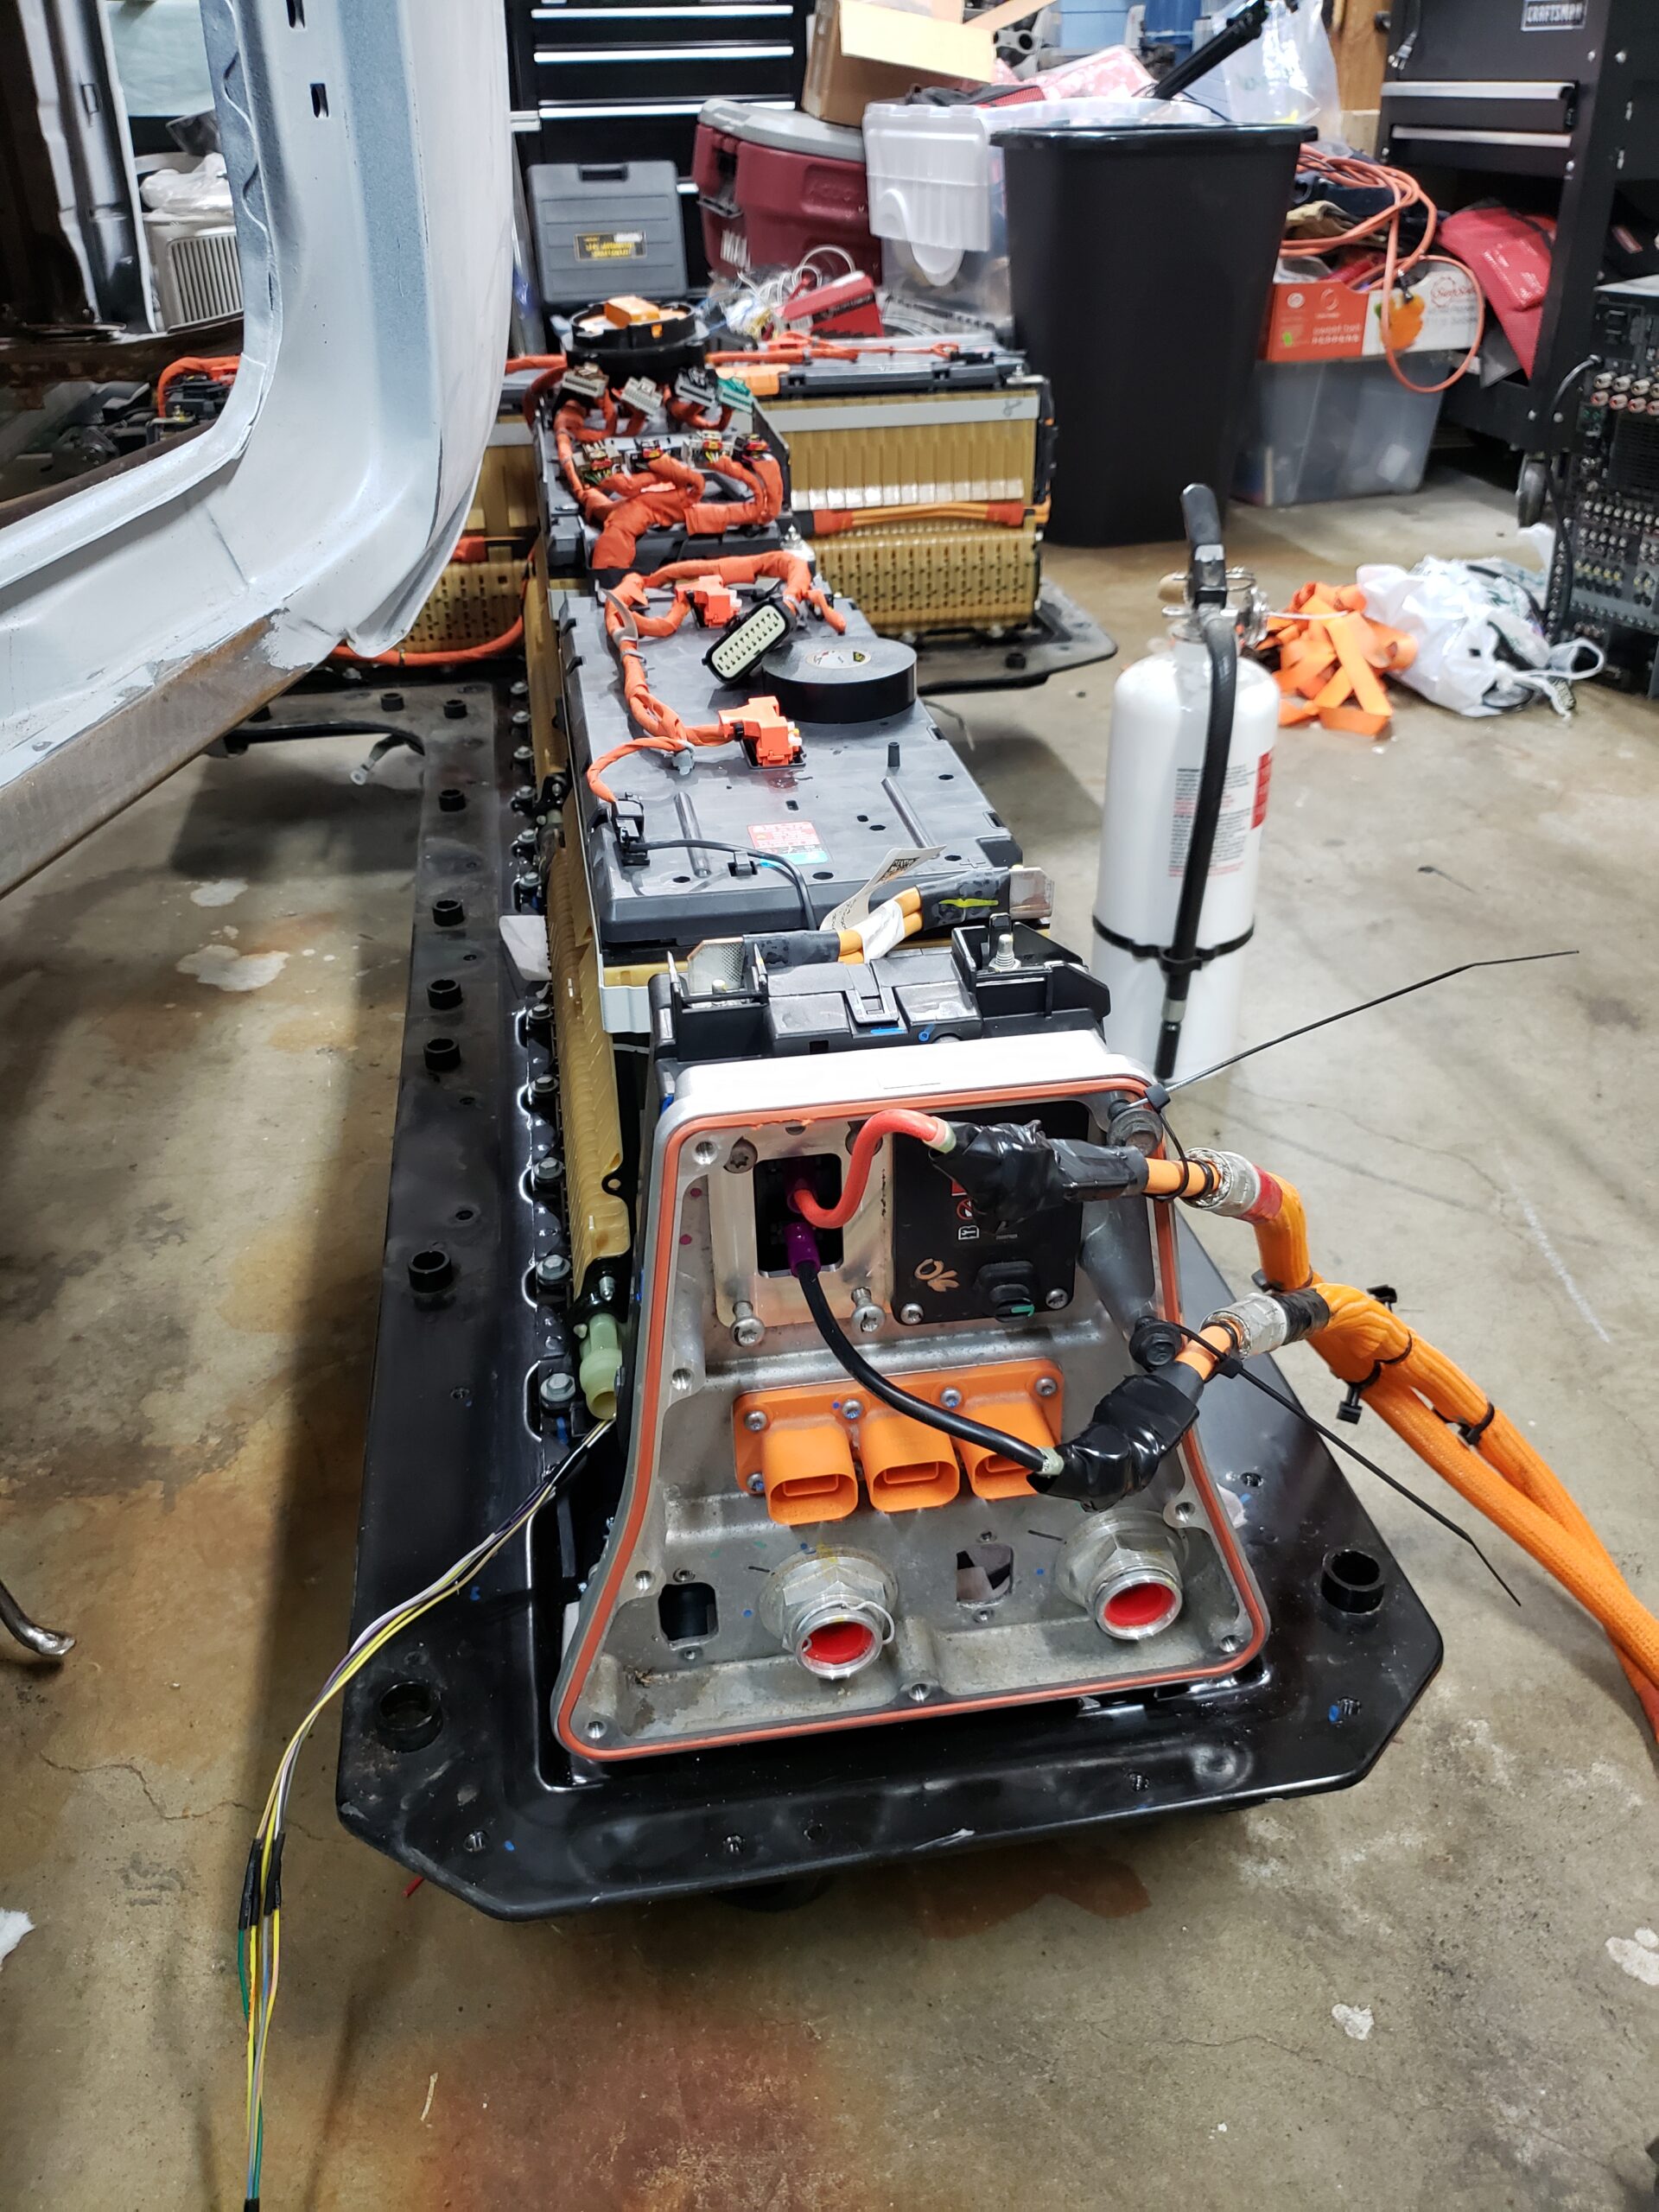
Inverter Board Swap
The inverter (motor speed controller) from a Tesla can’t just be operated outside of the car it came from without either tricking it with an expensive aftermarket controller or in my case, completely swapping out the brain with an aftermarket open source board.
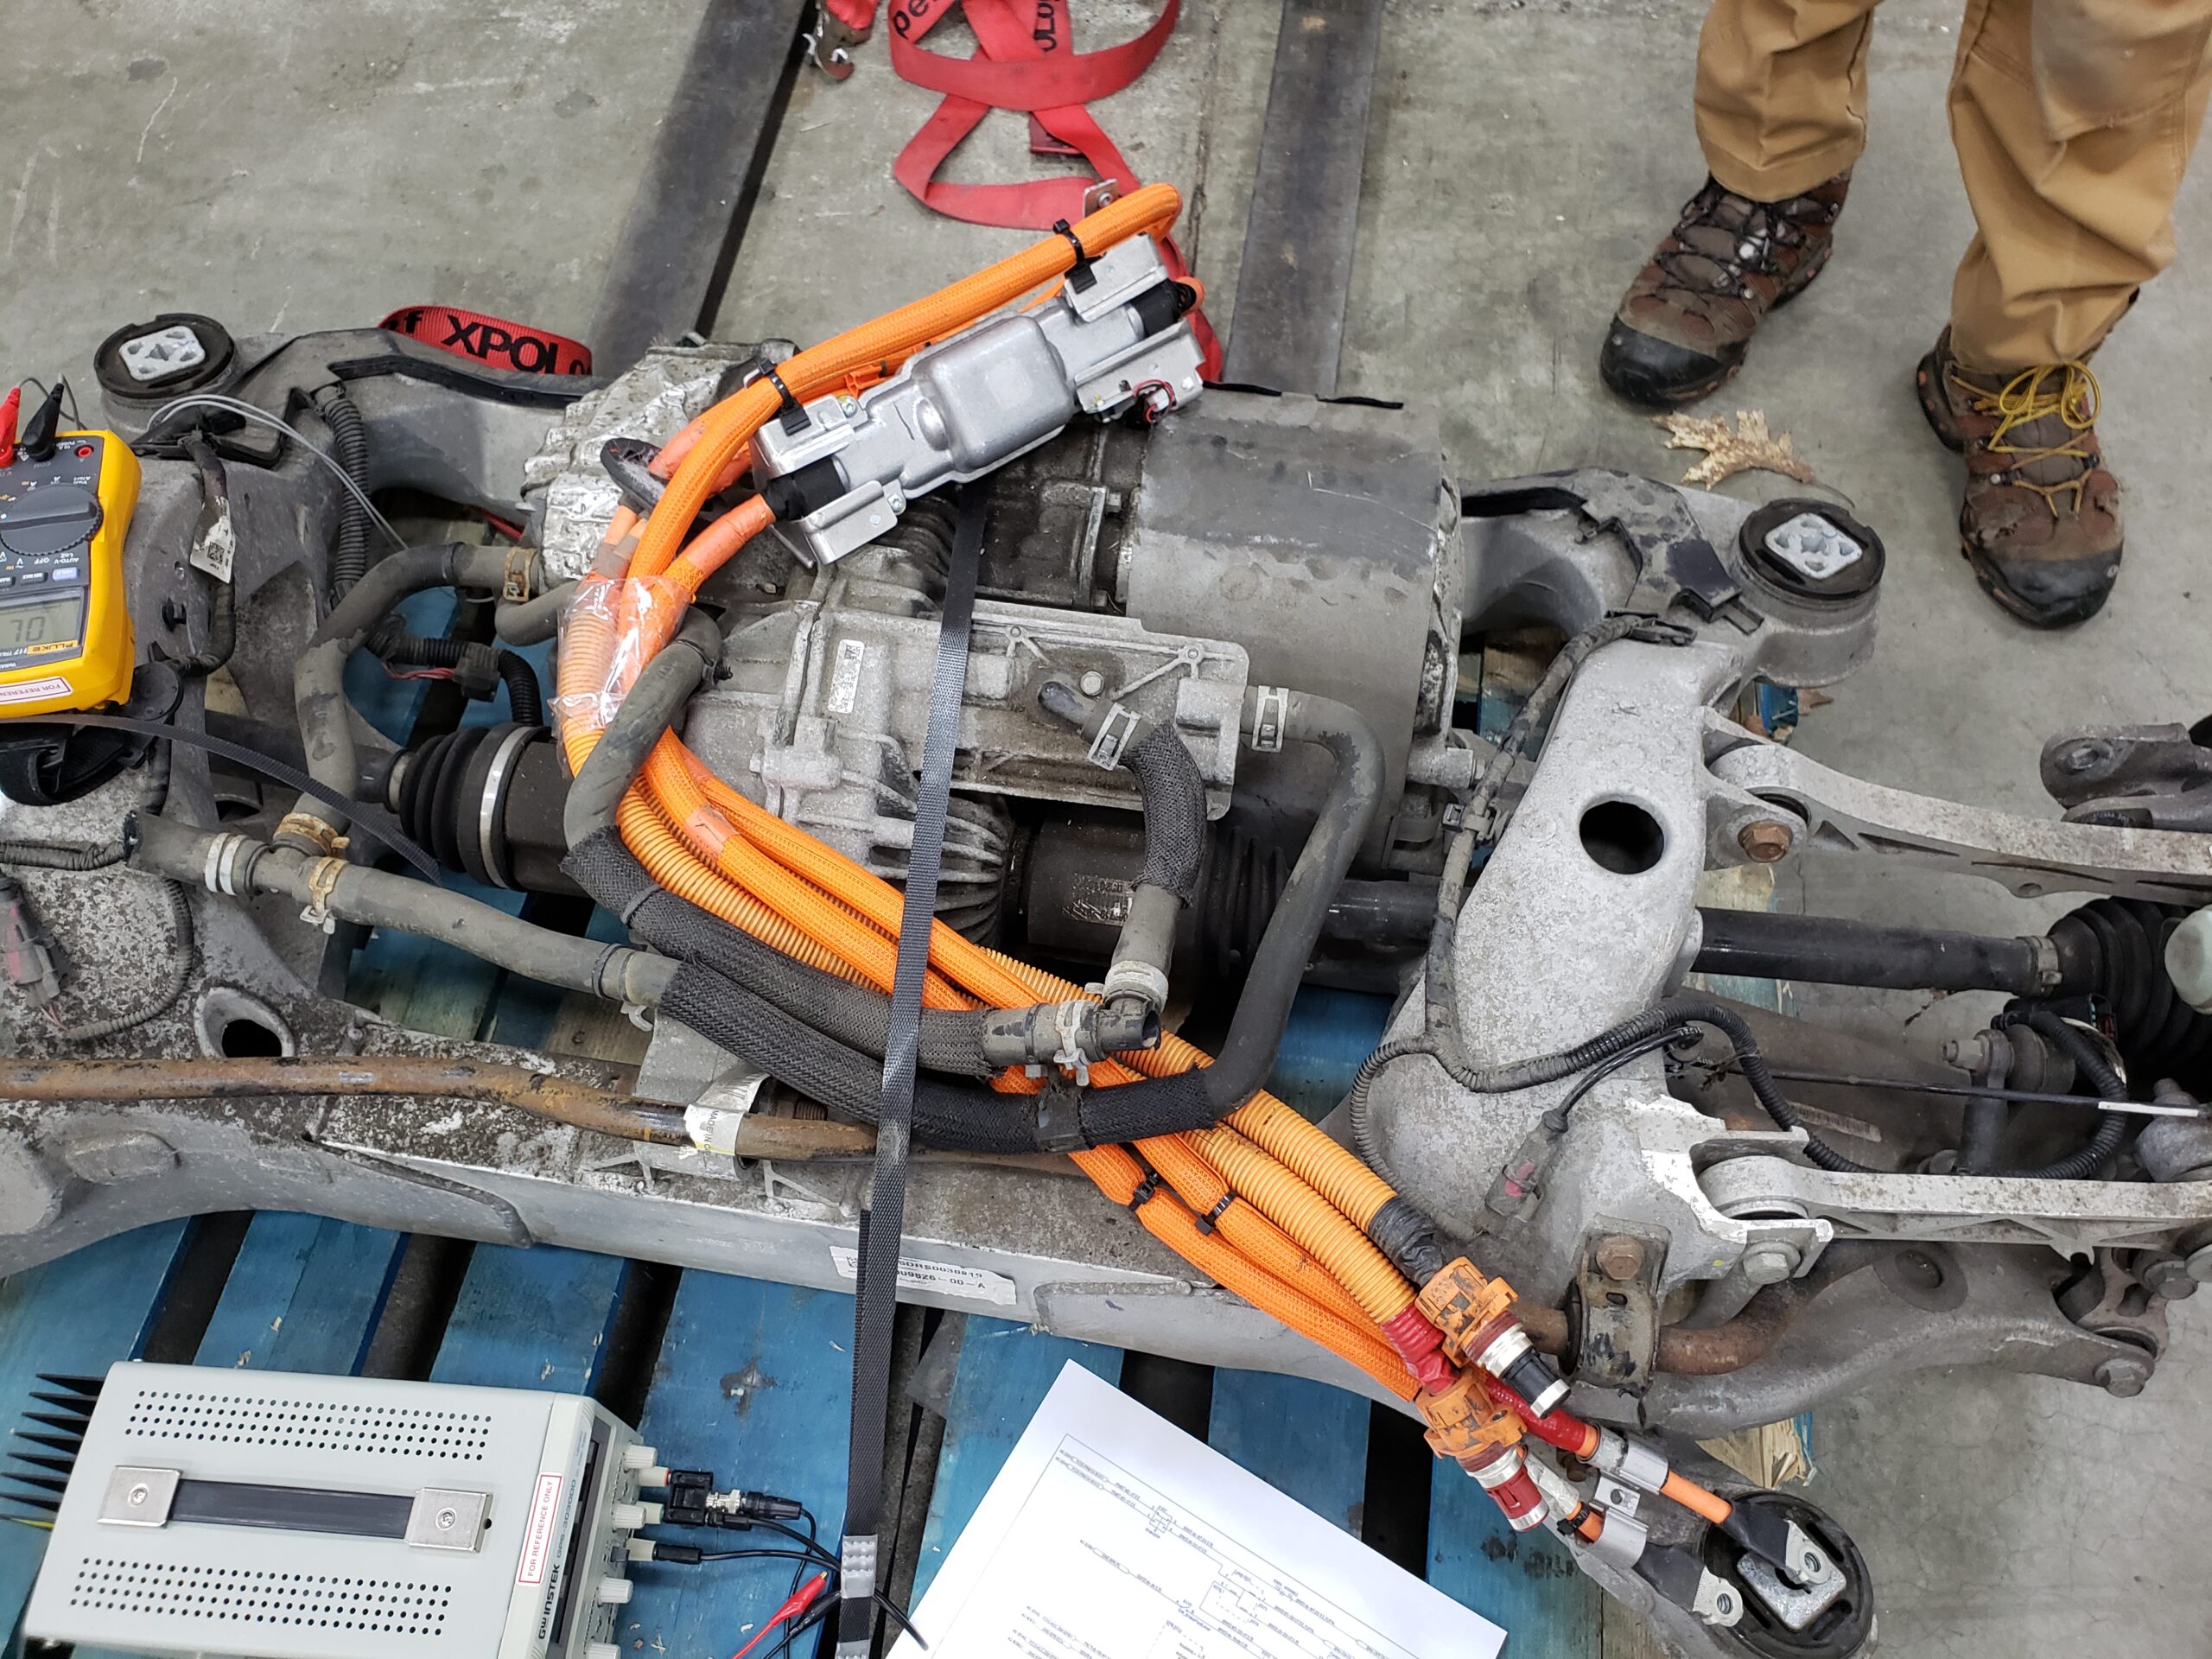
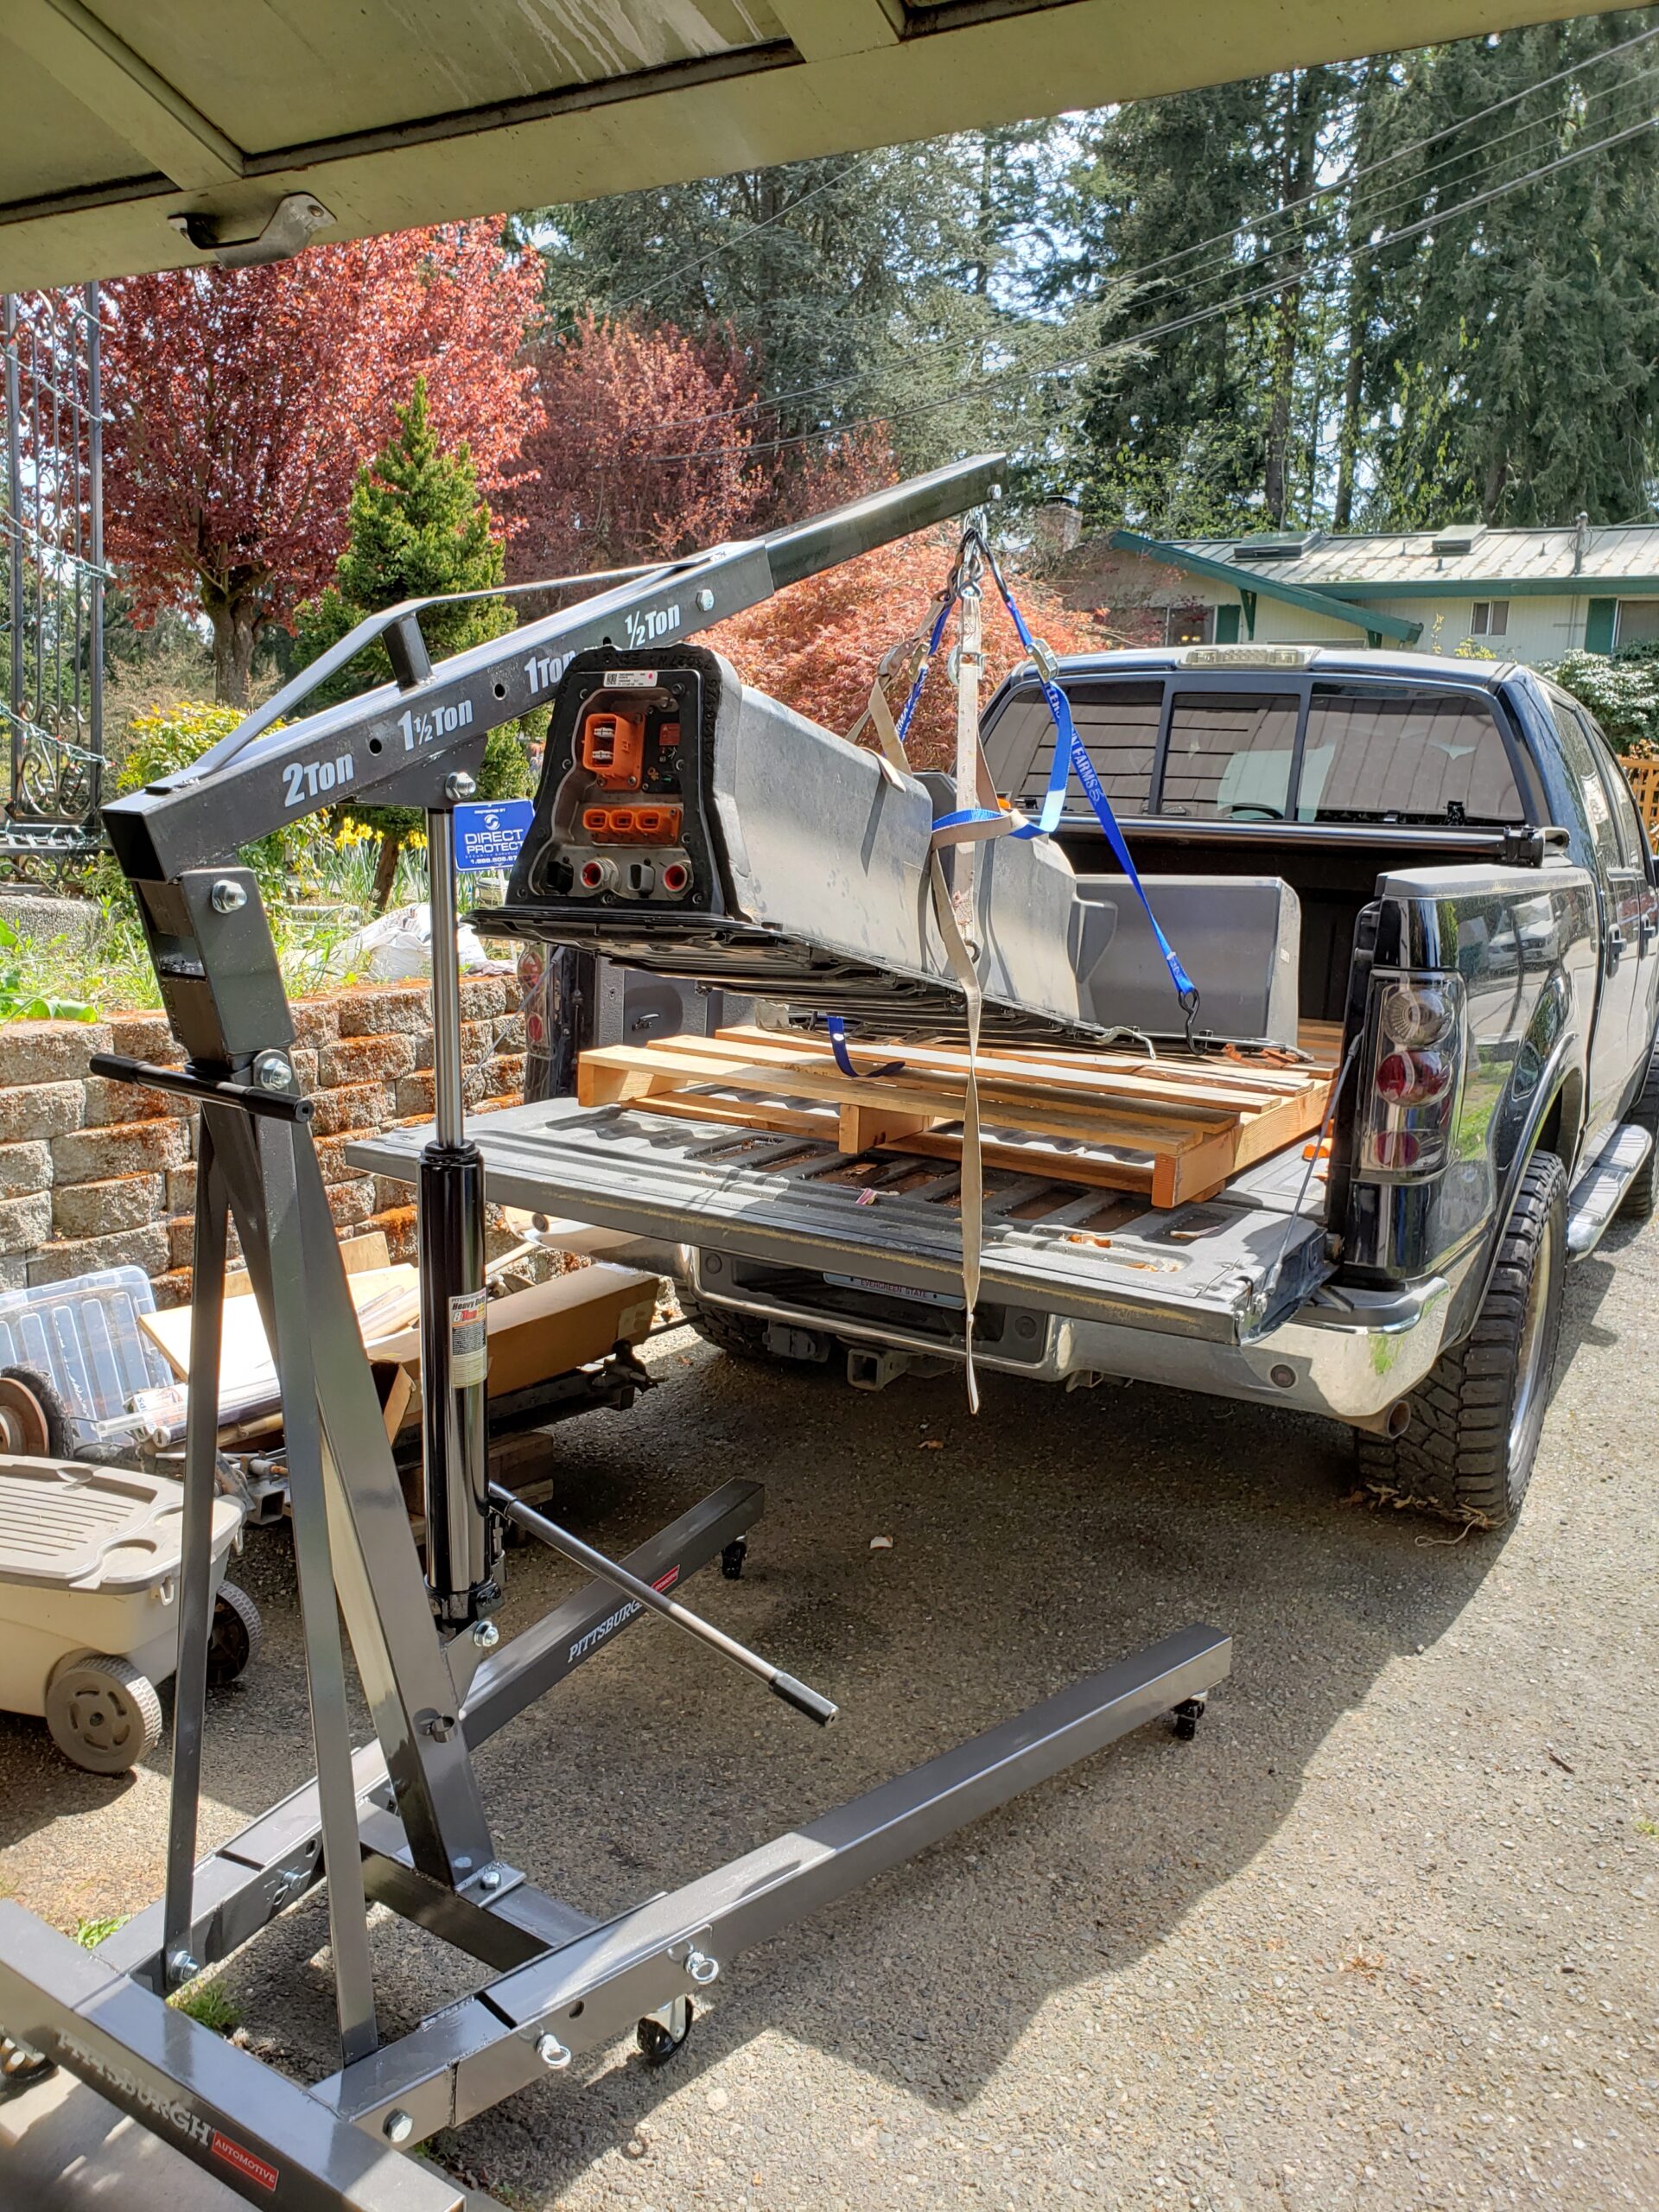
First test of the battery and rear drive unit
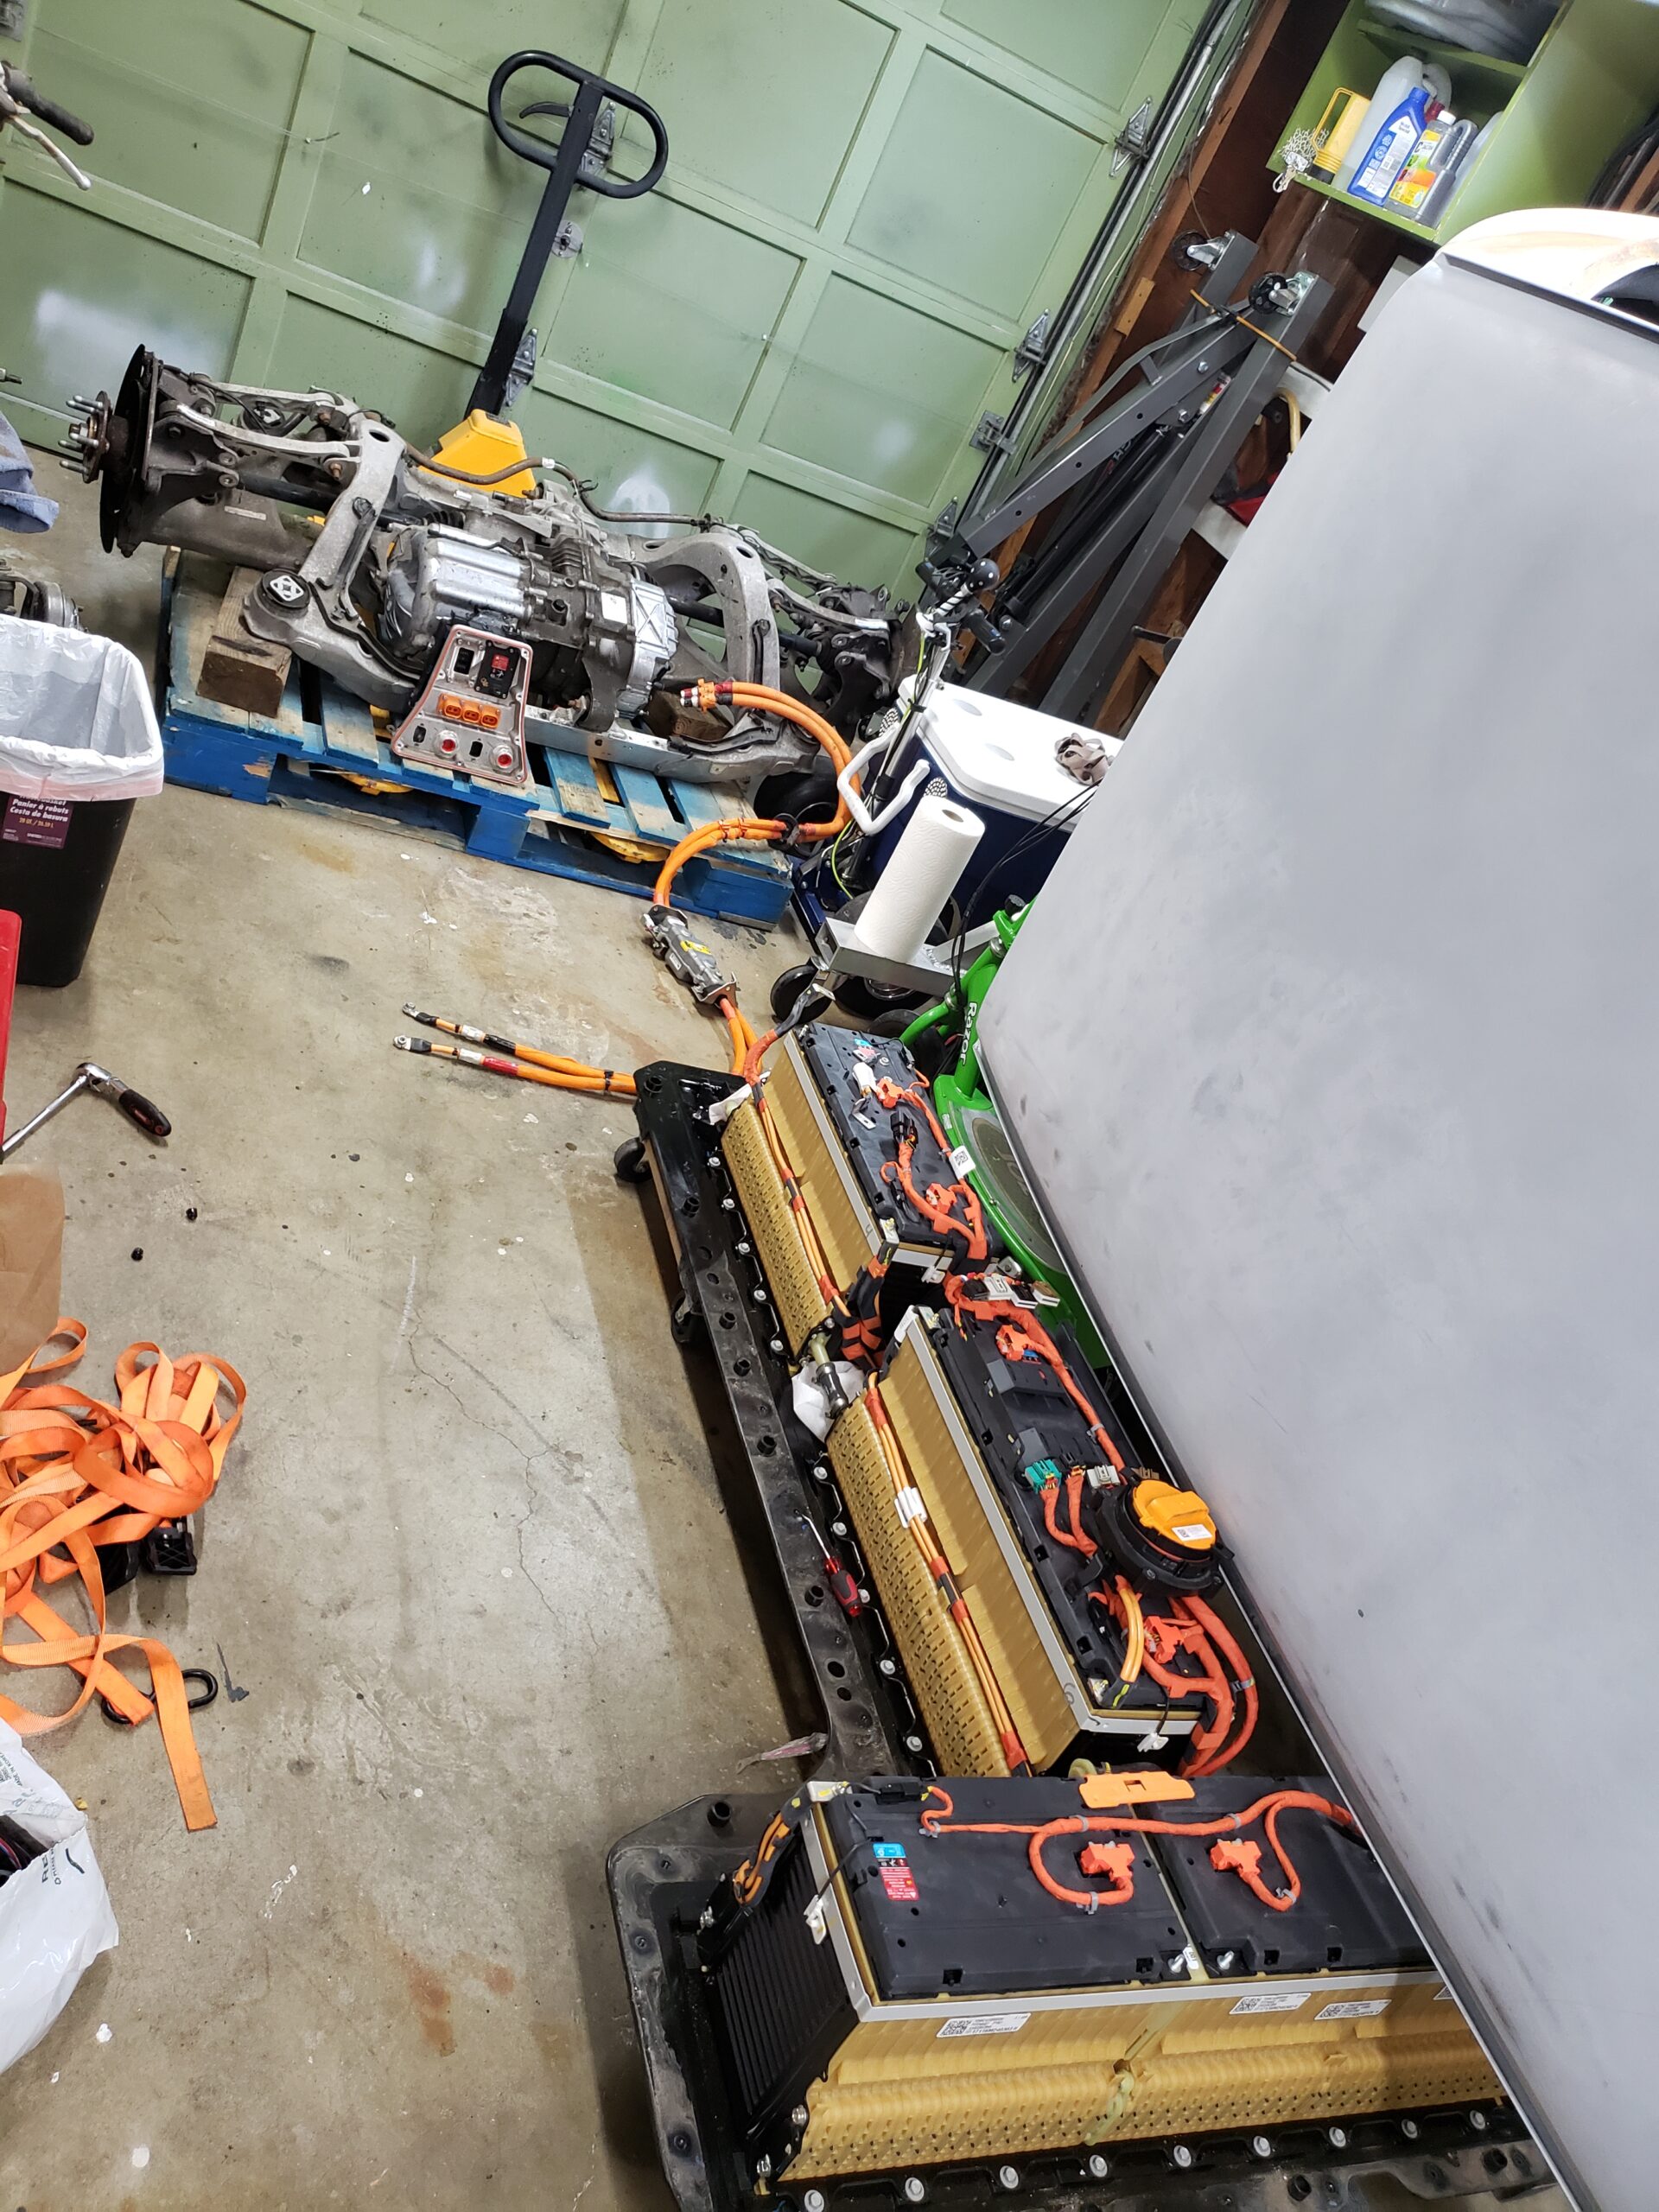
First Test Video, you can hear me breathing hard because my heart was pounding have 400VDC live for the first time.
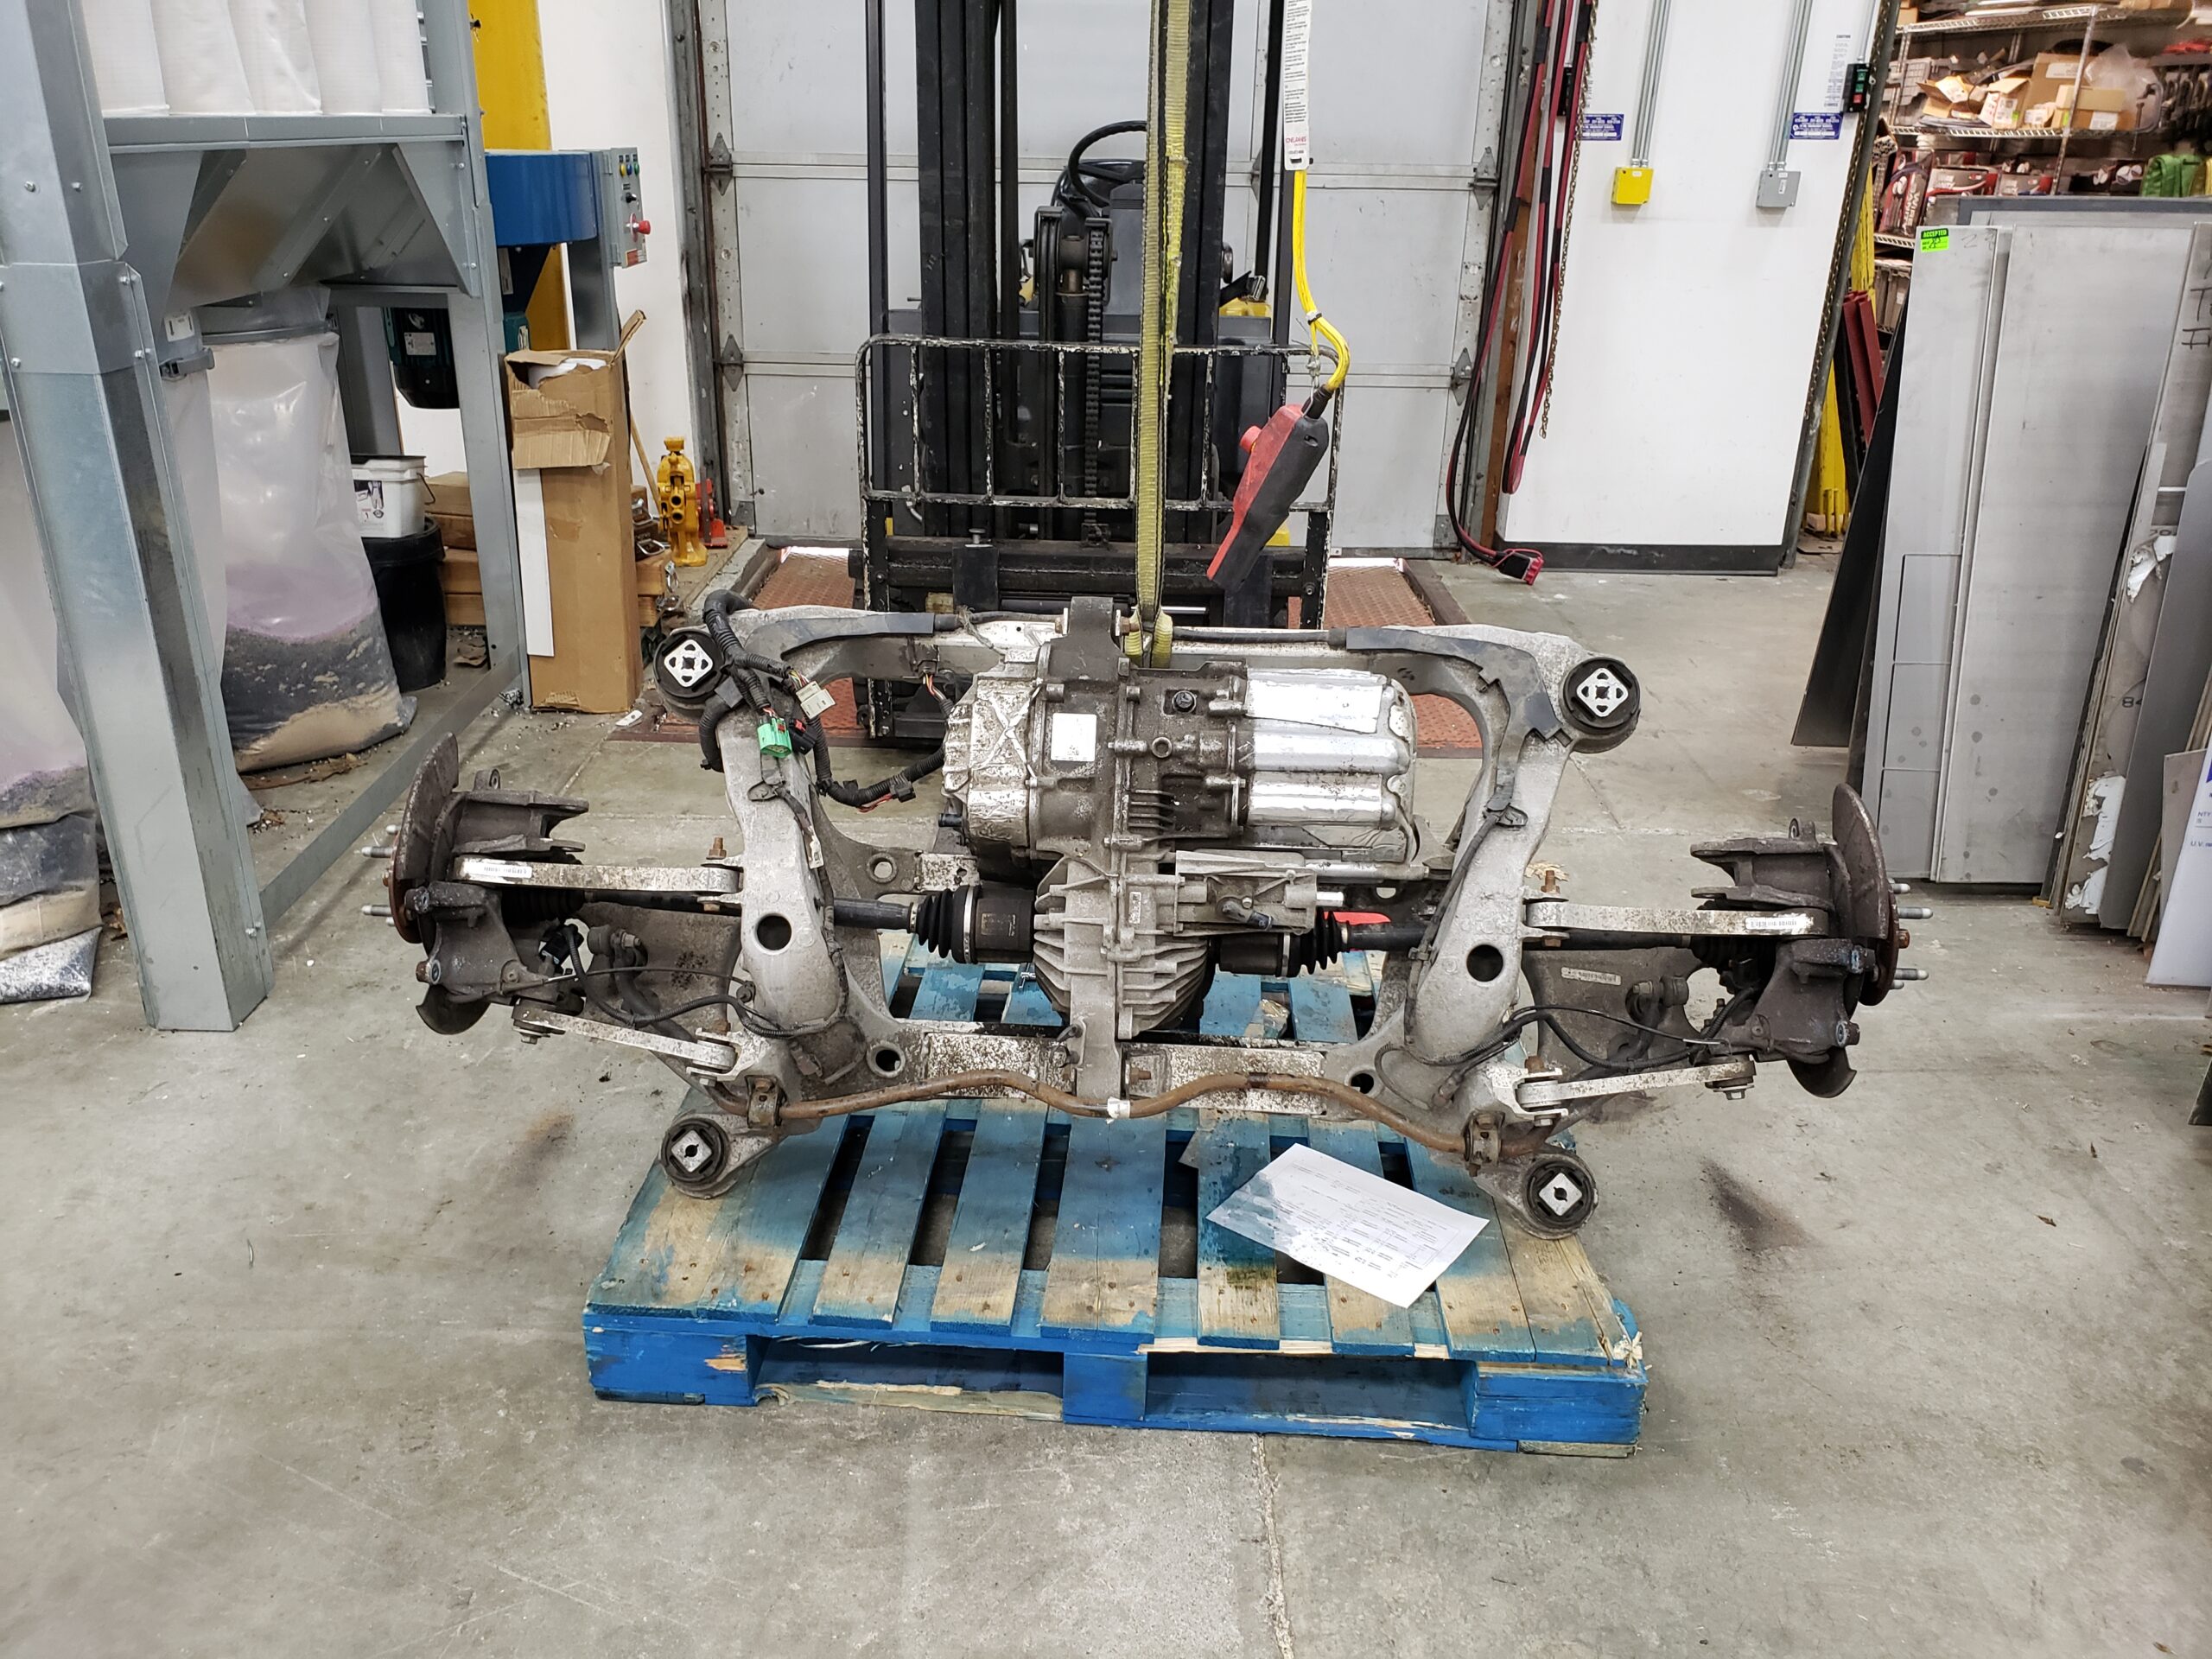
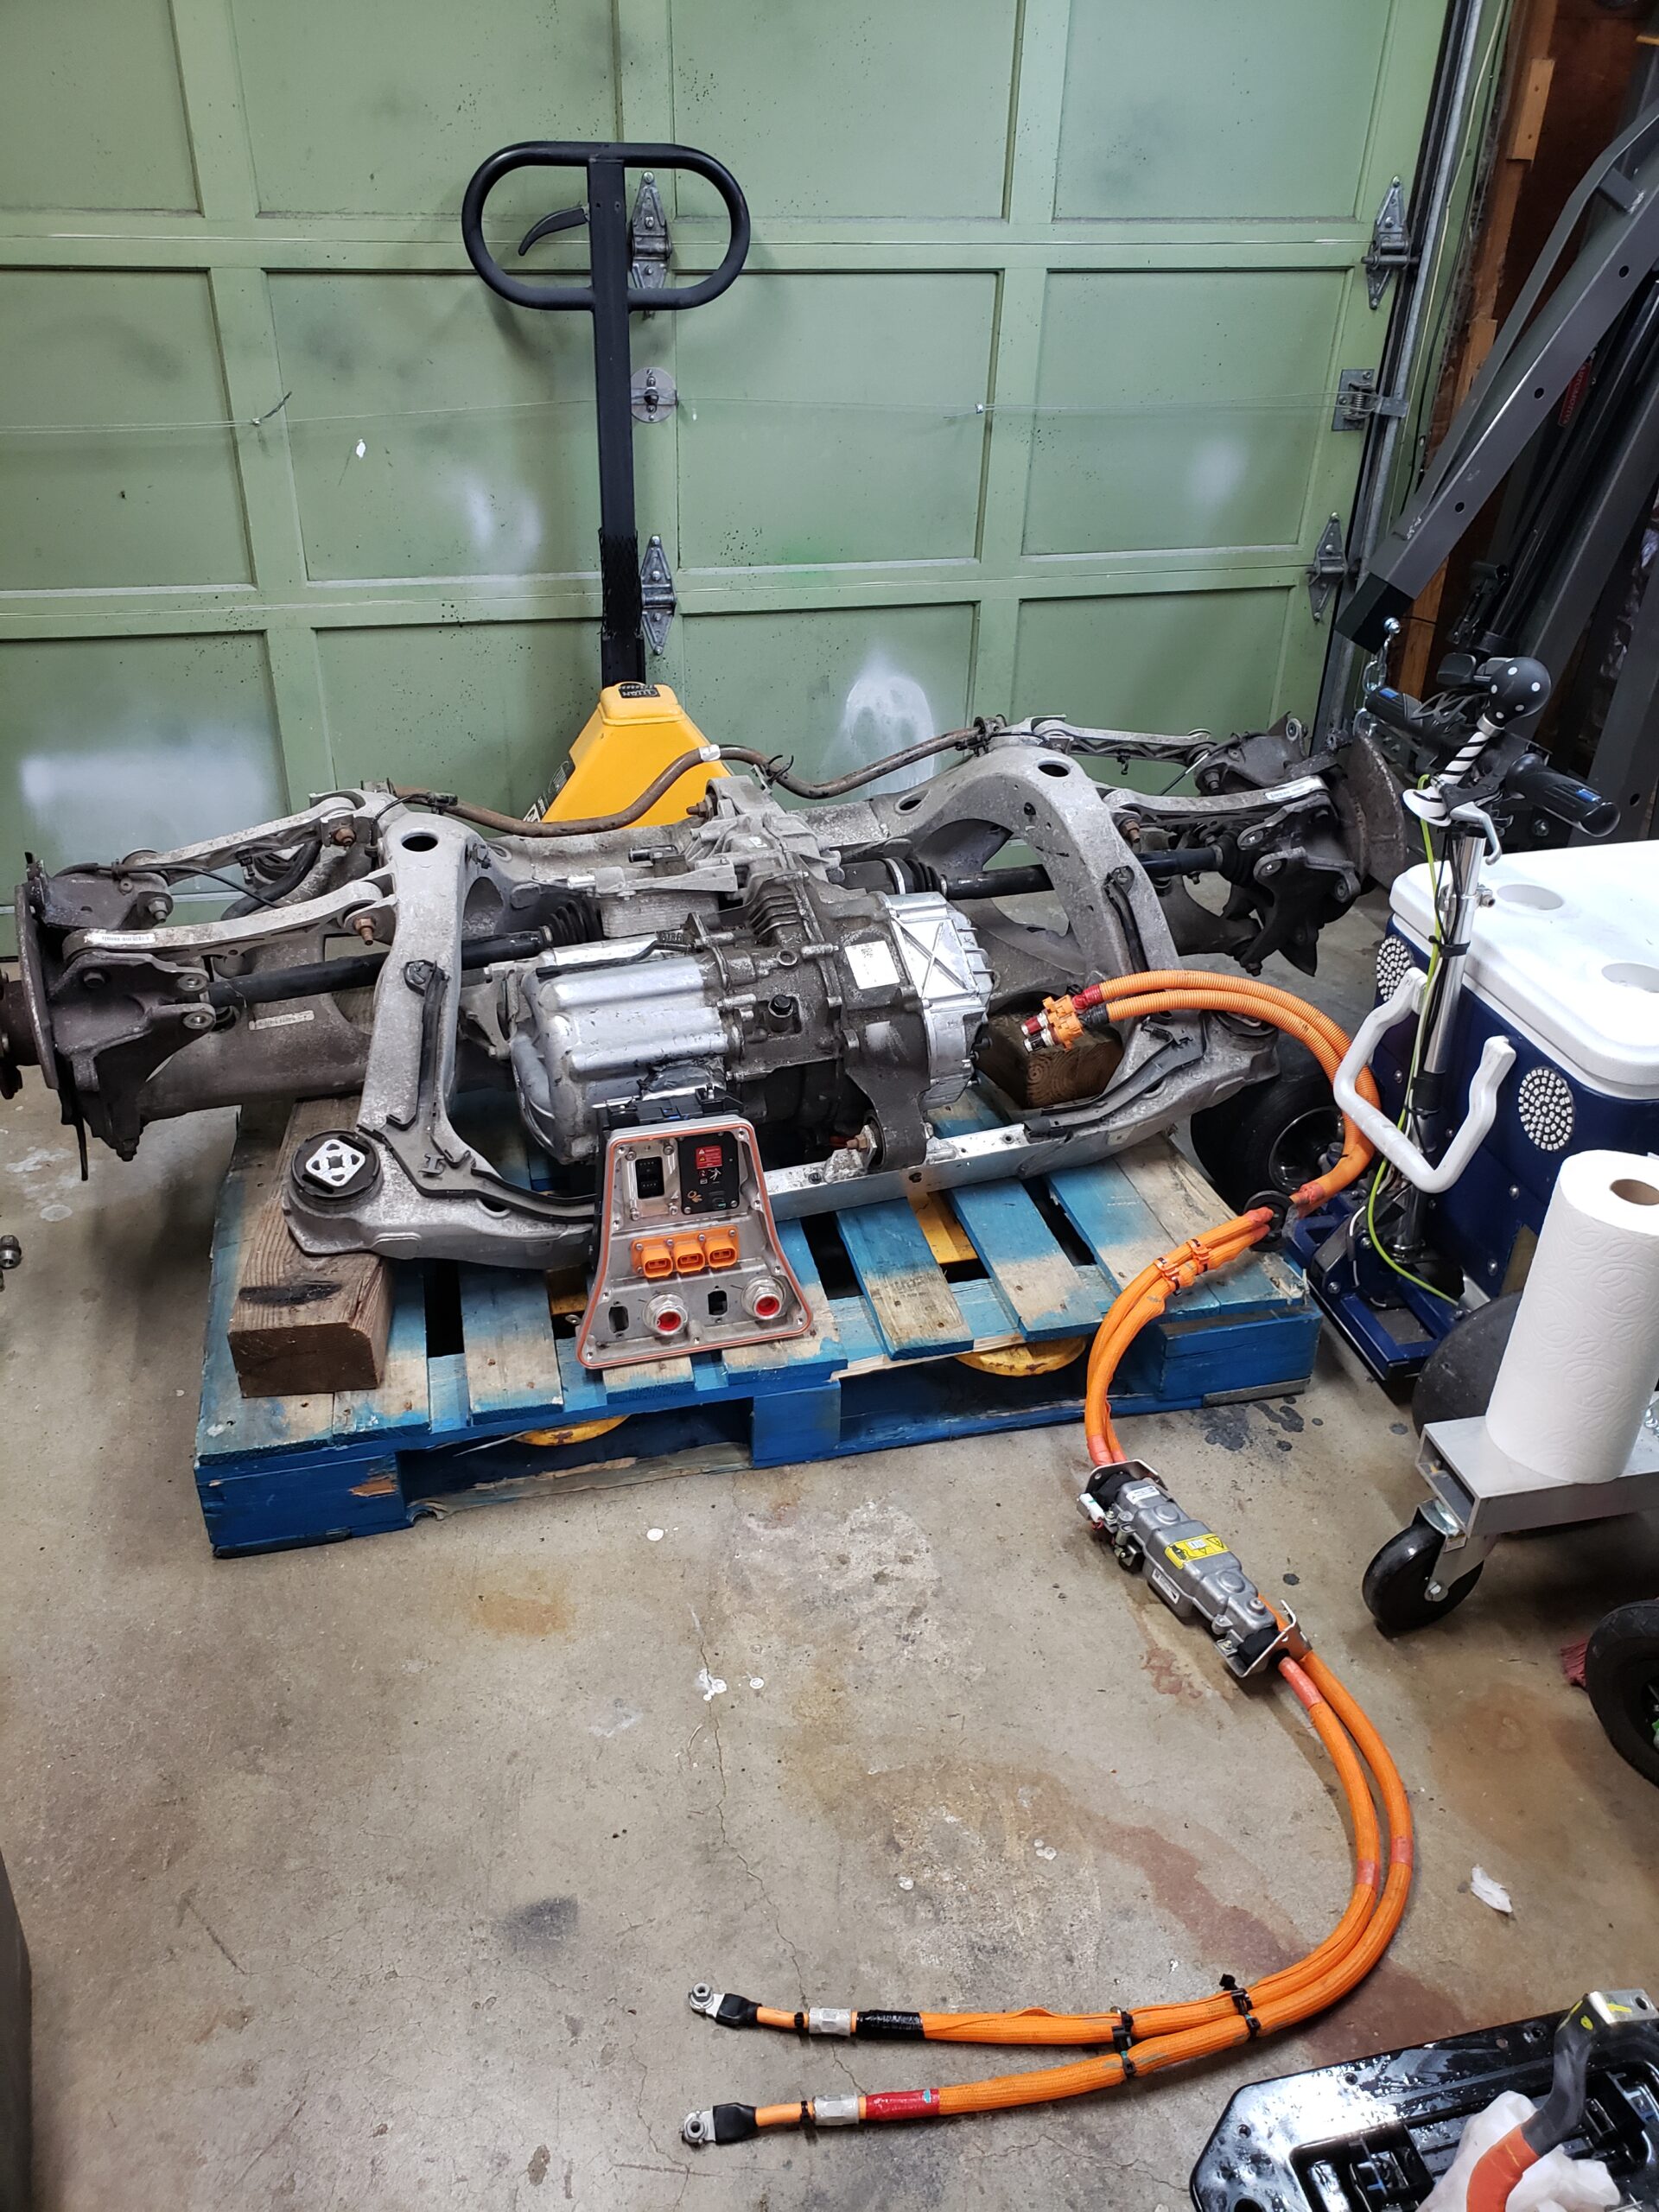
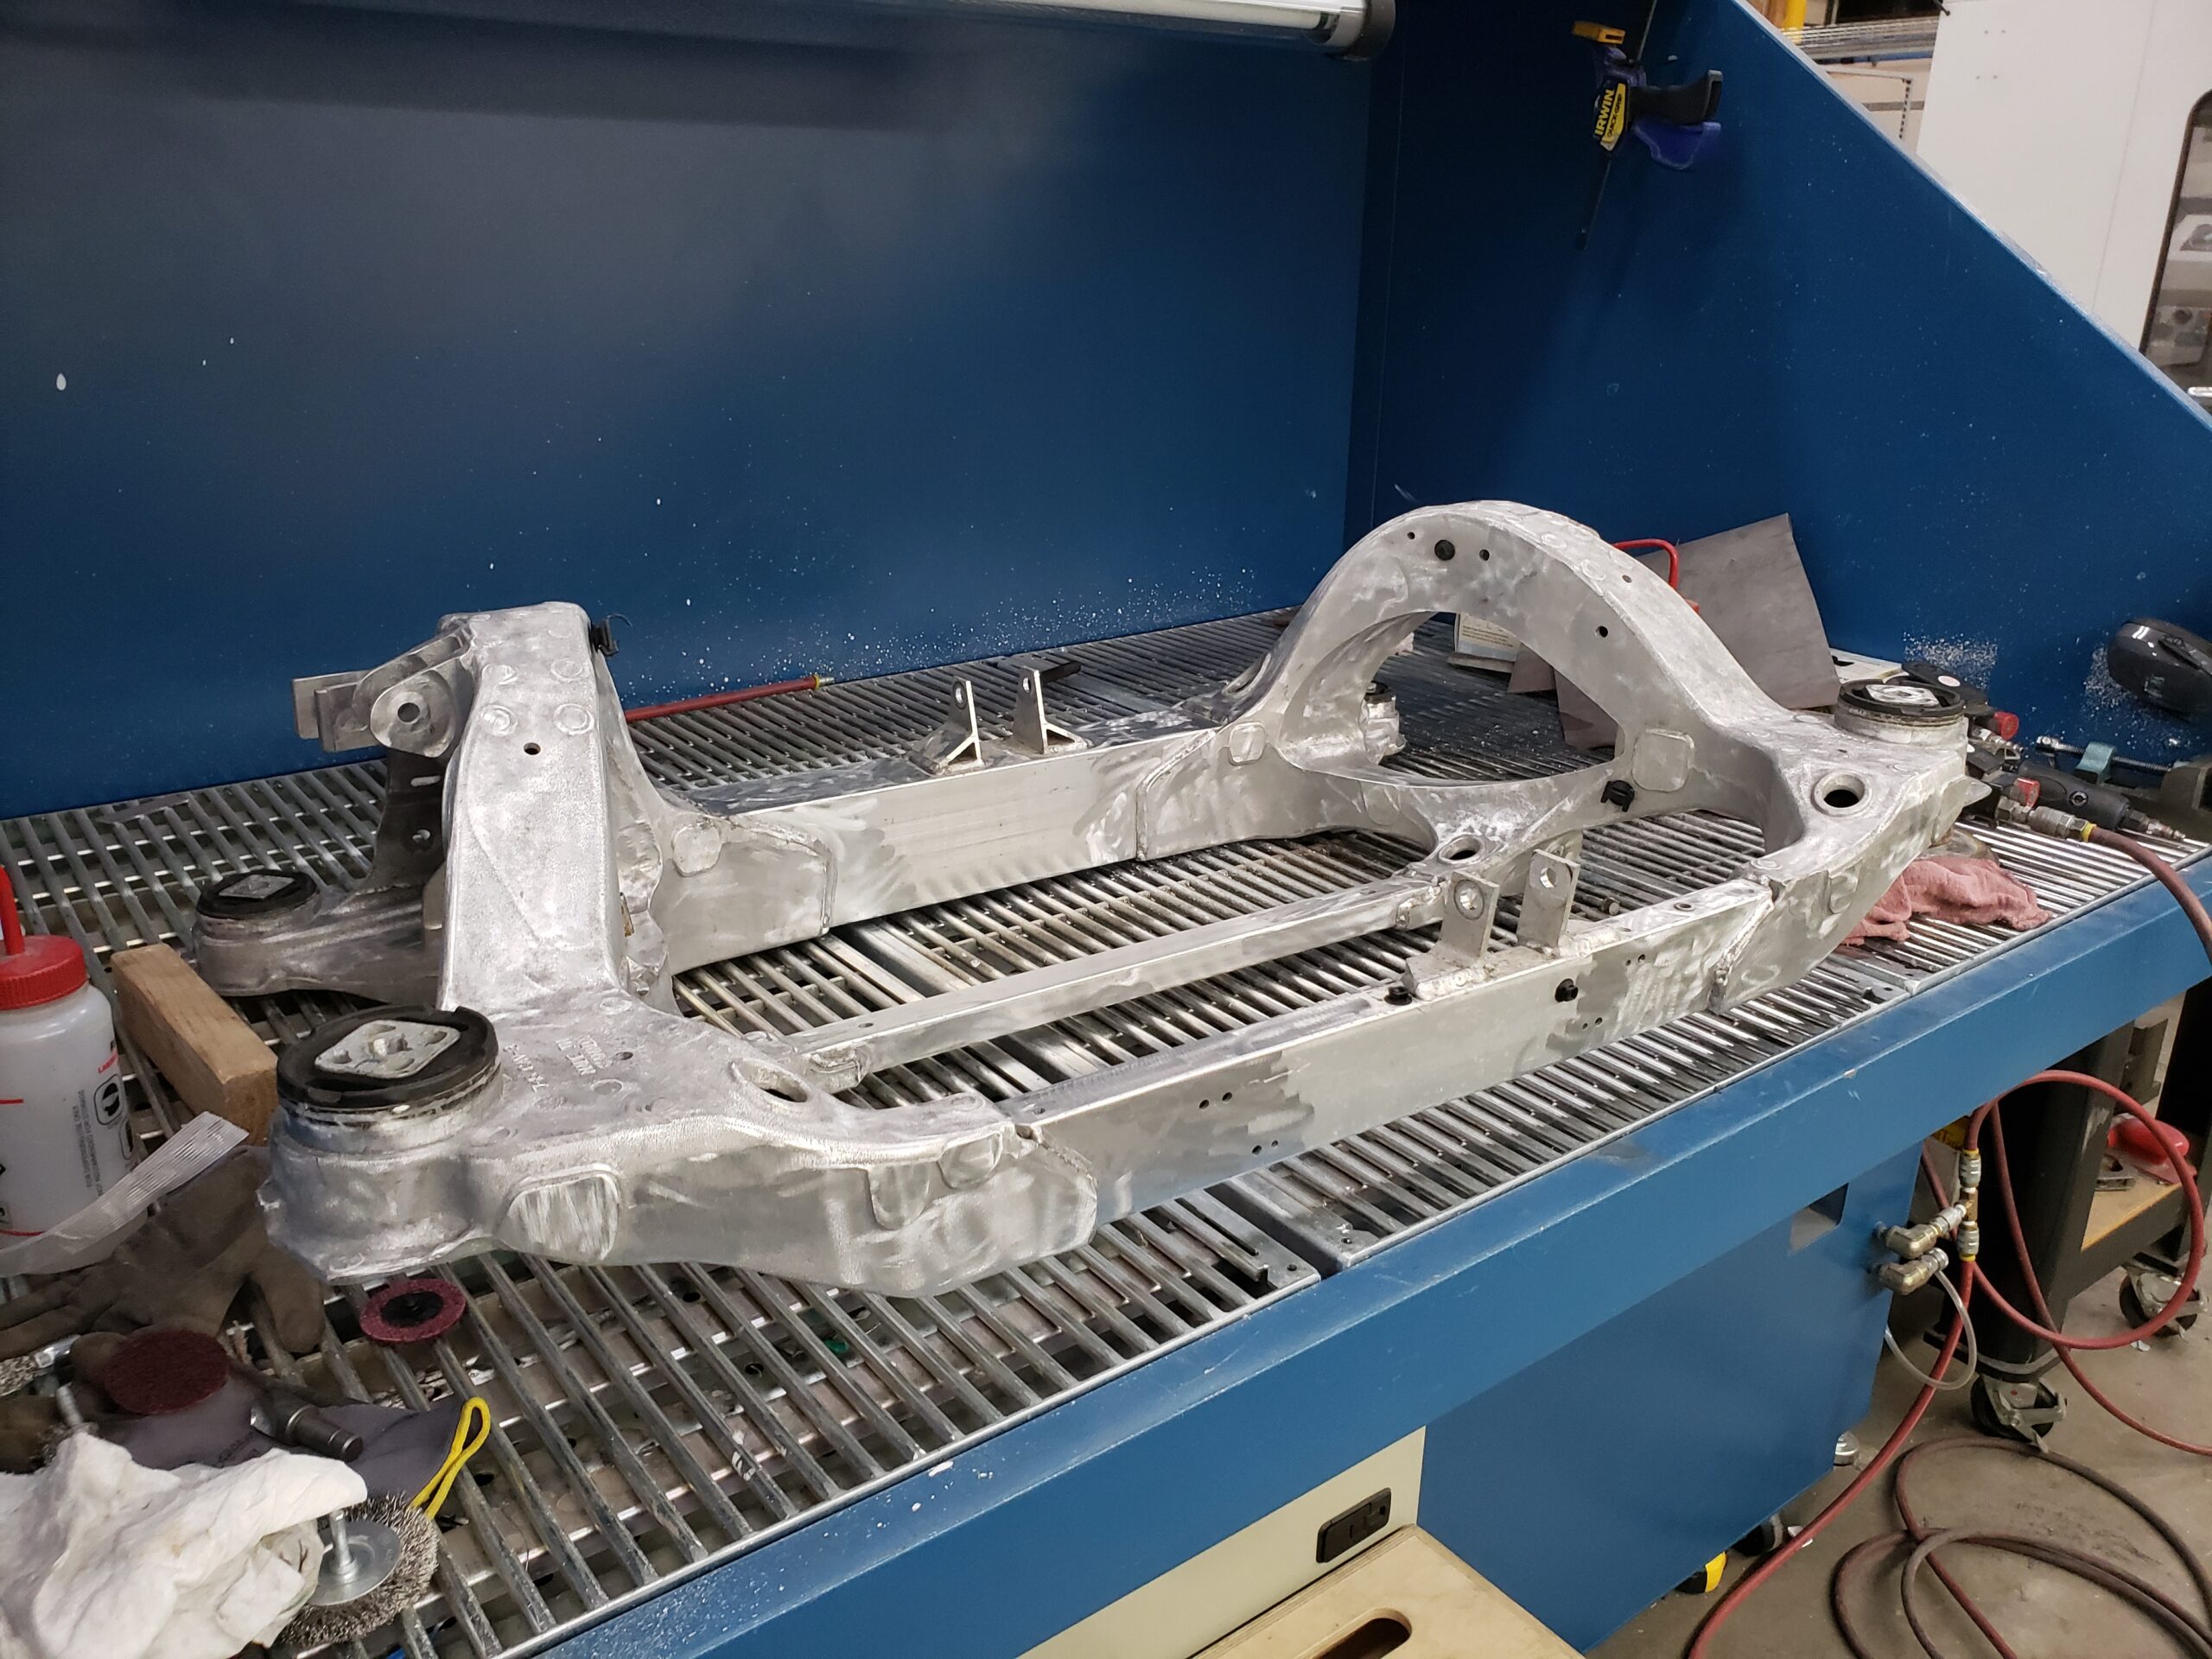
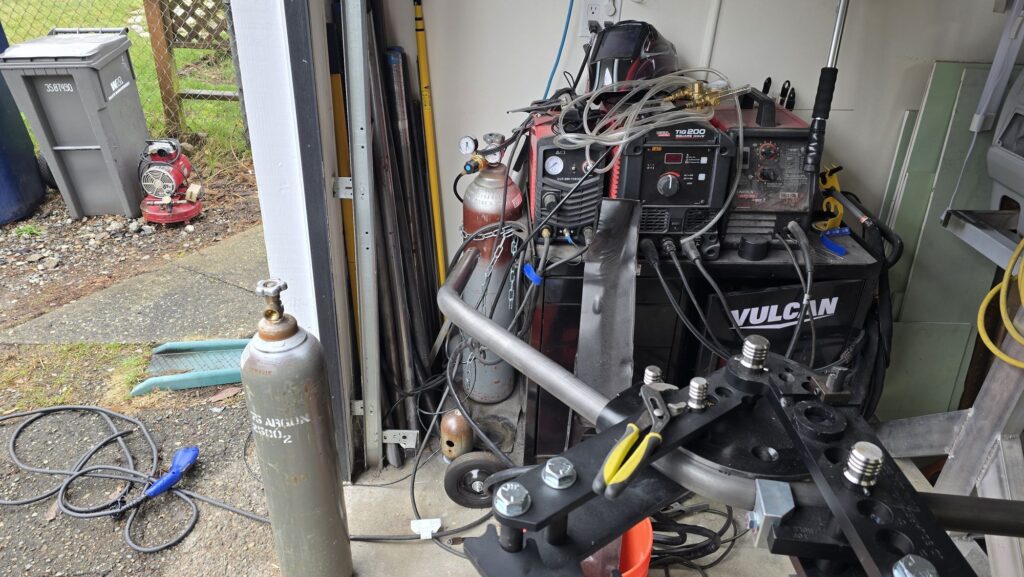
Subframe Narrowing
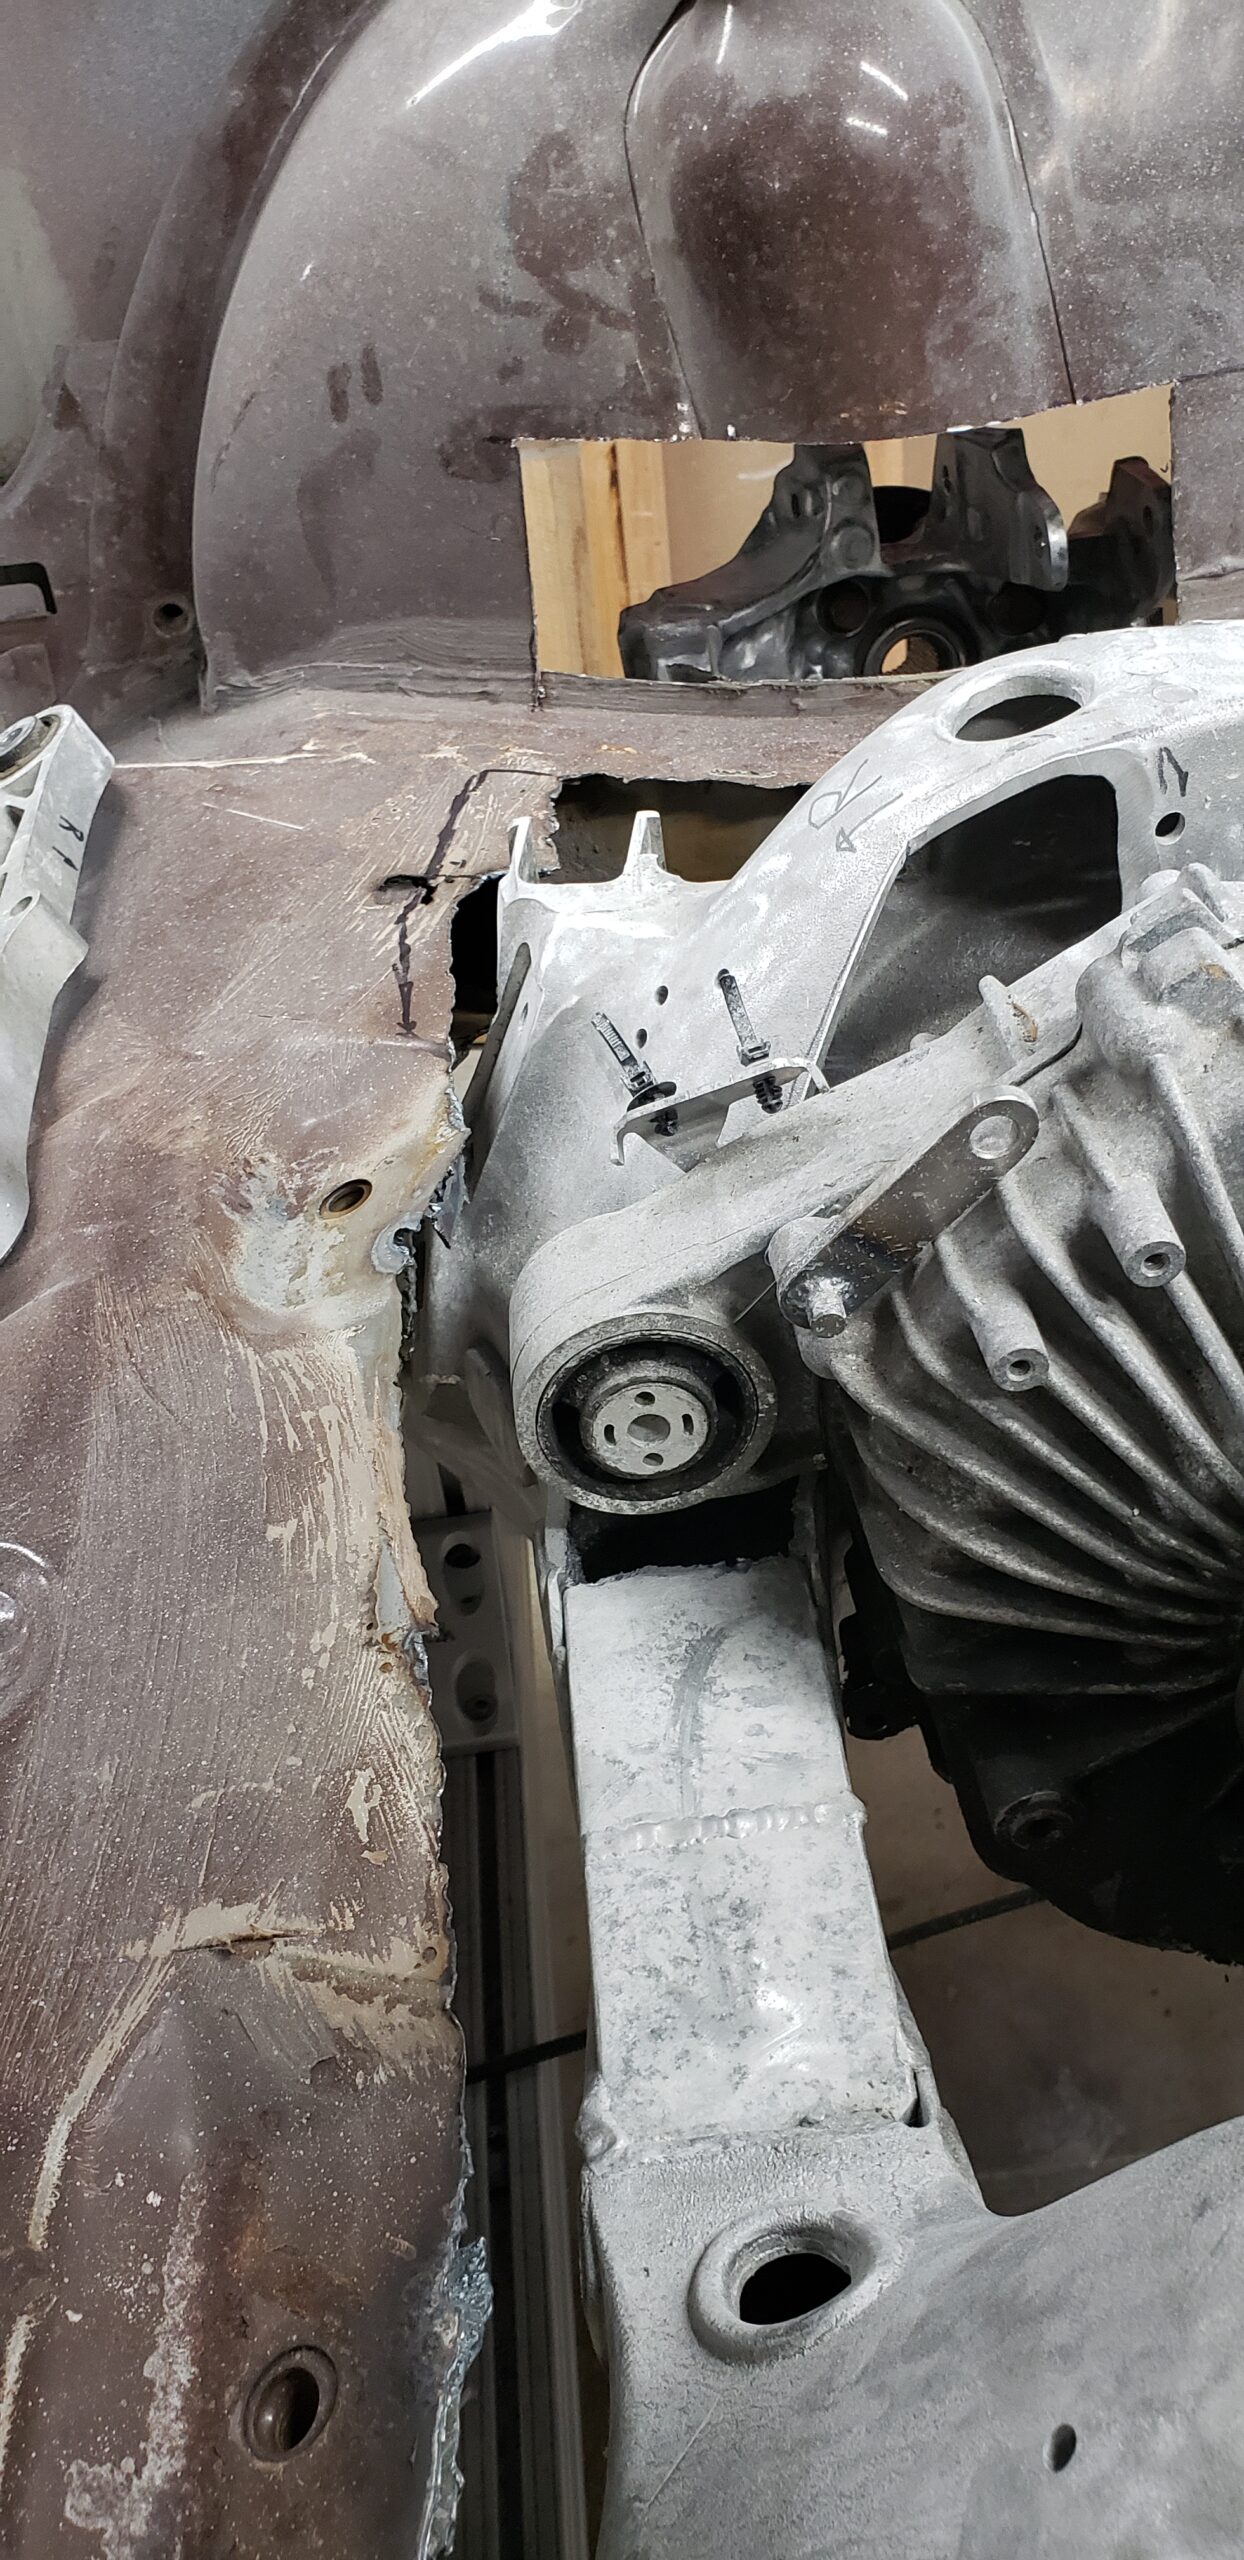
After starting, the first thing I realized is that the Model S was about 12 inches too wide to fit inside my Rabbit, so I began researching ways to modify the Tesla’s rear end to make it fit.
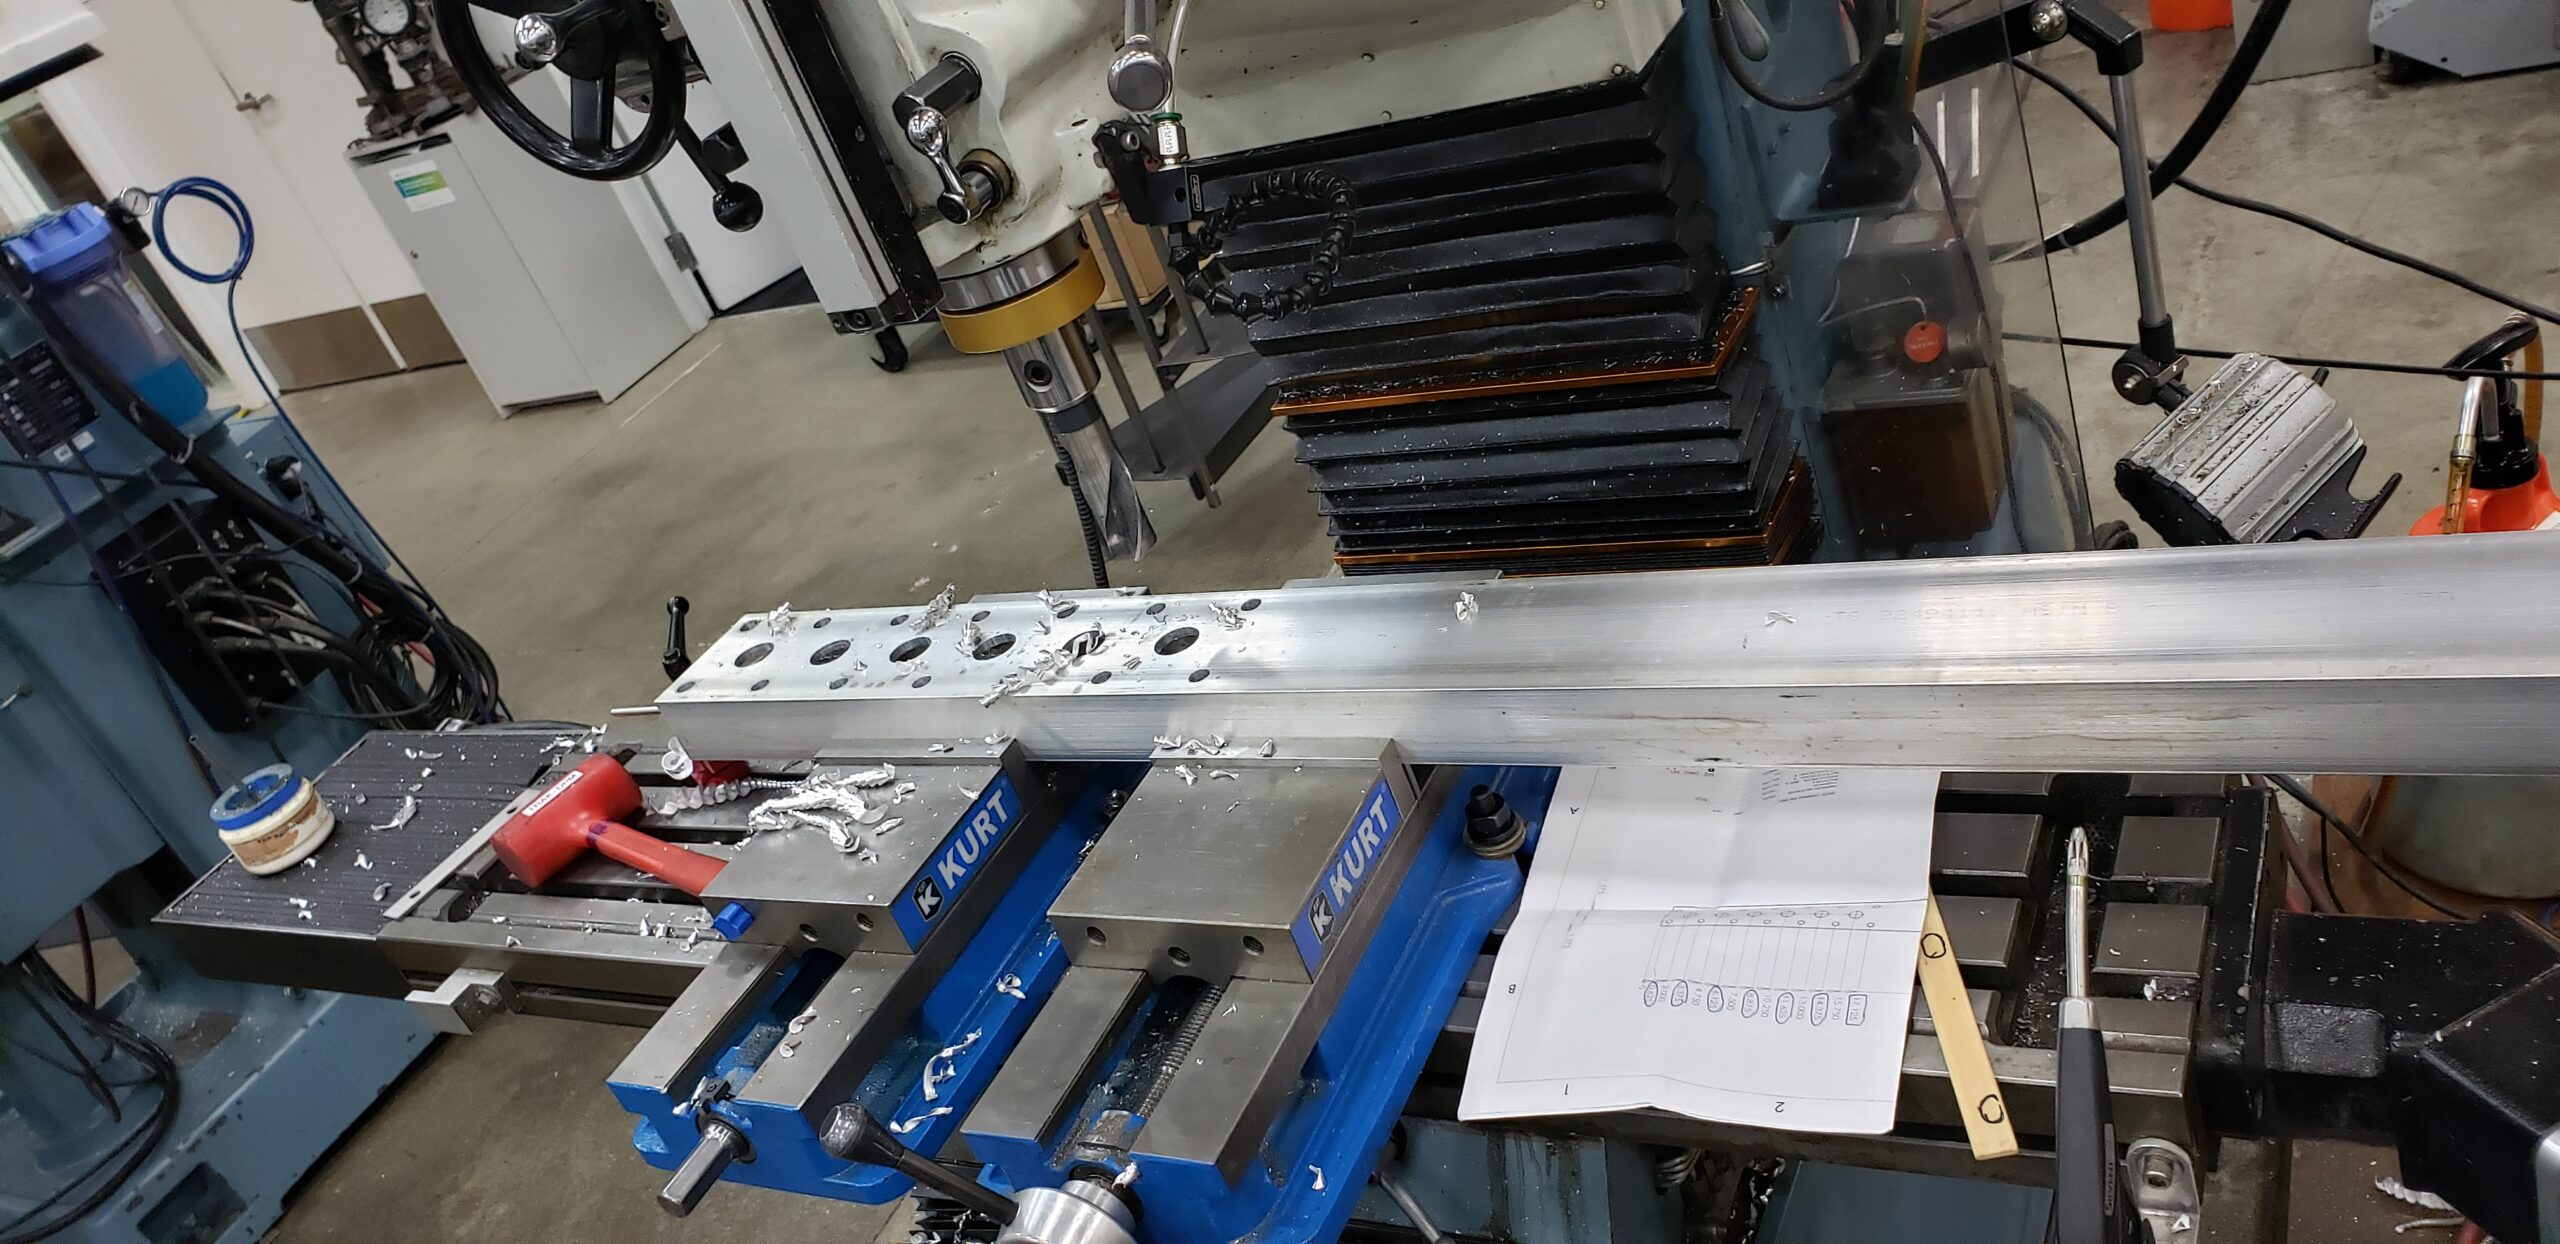
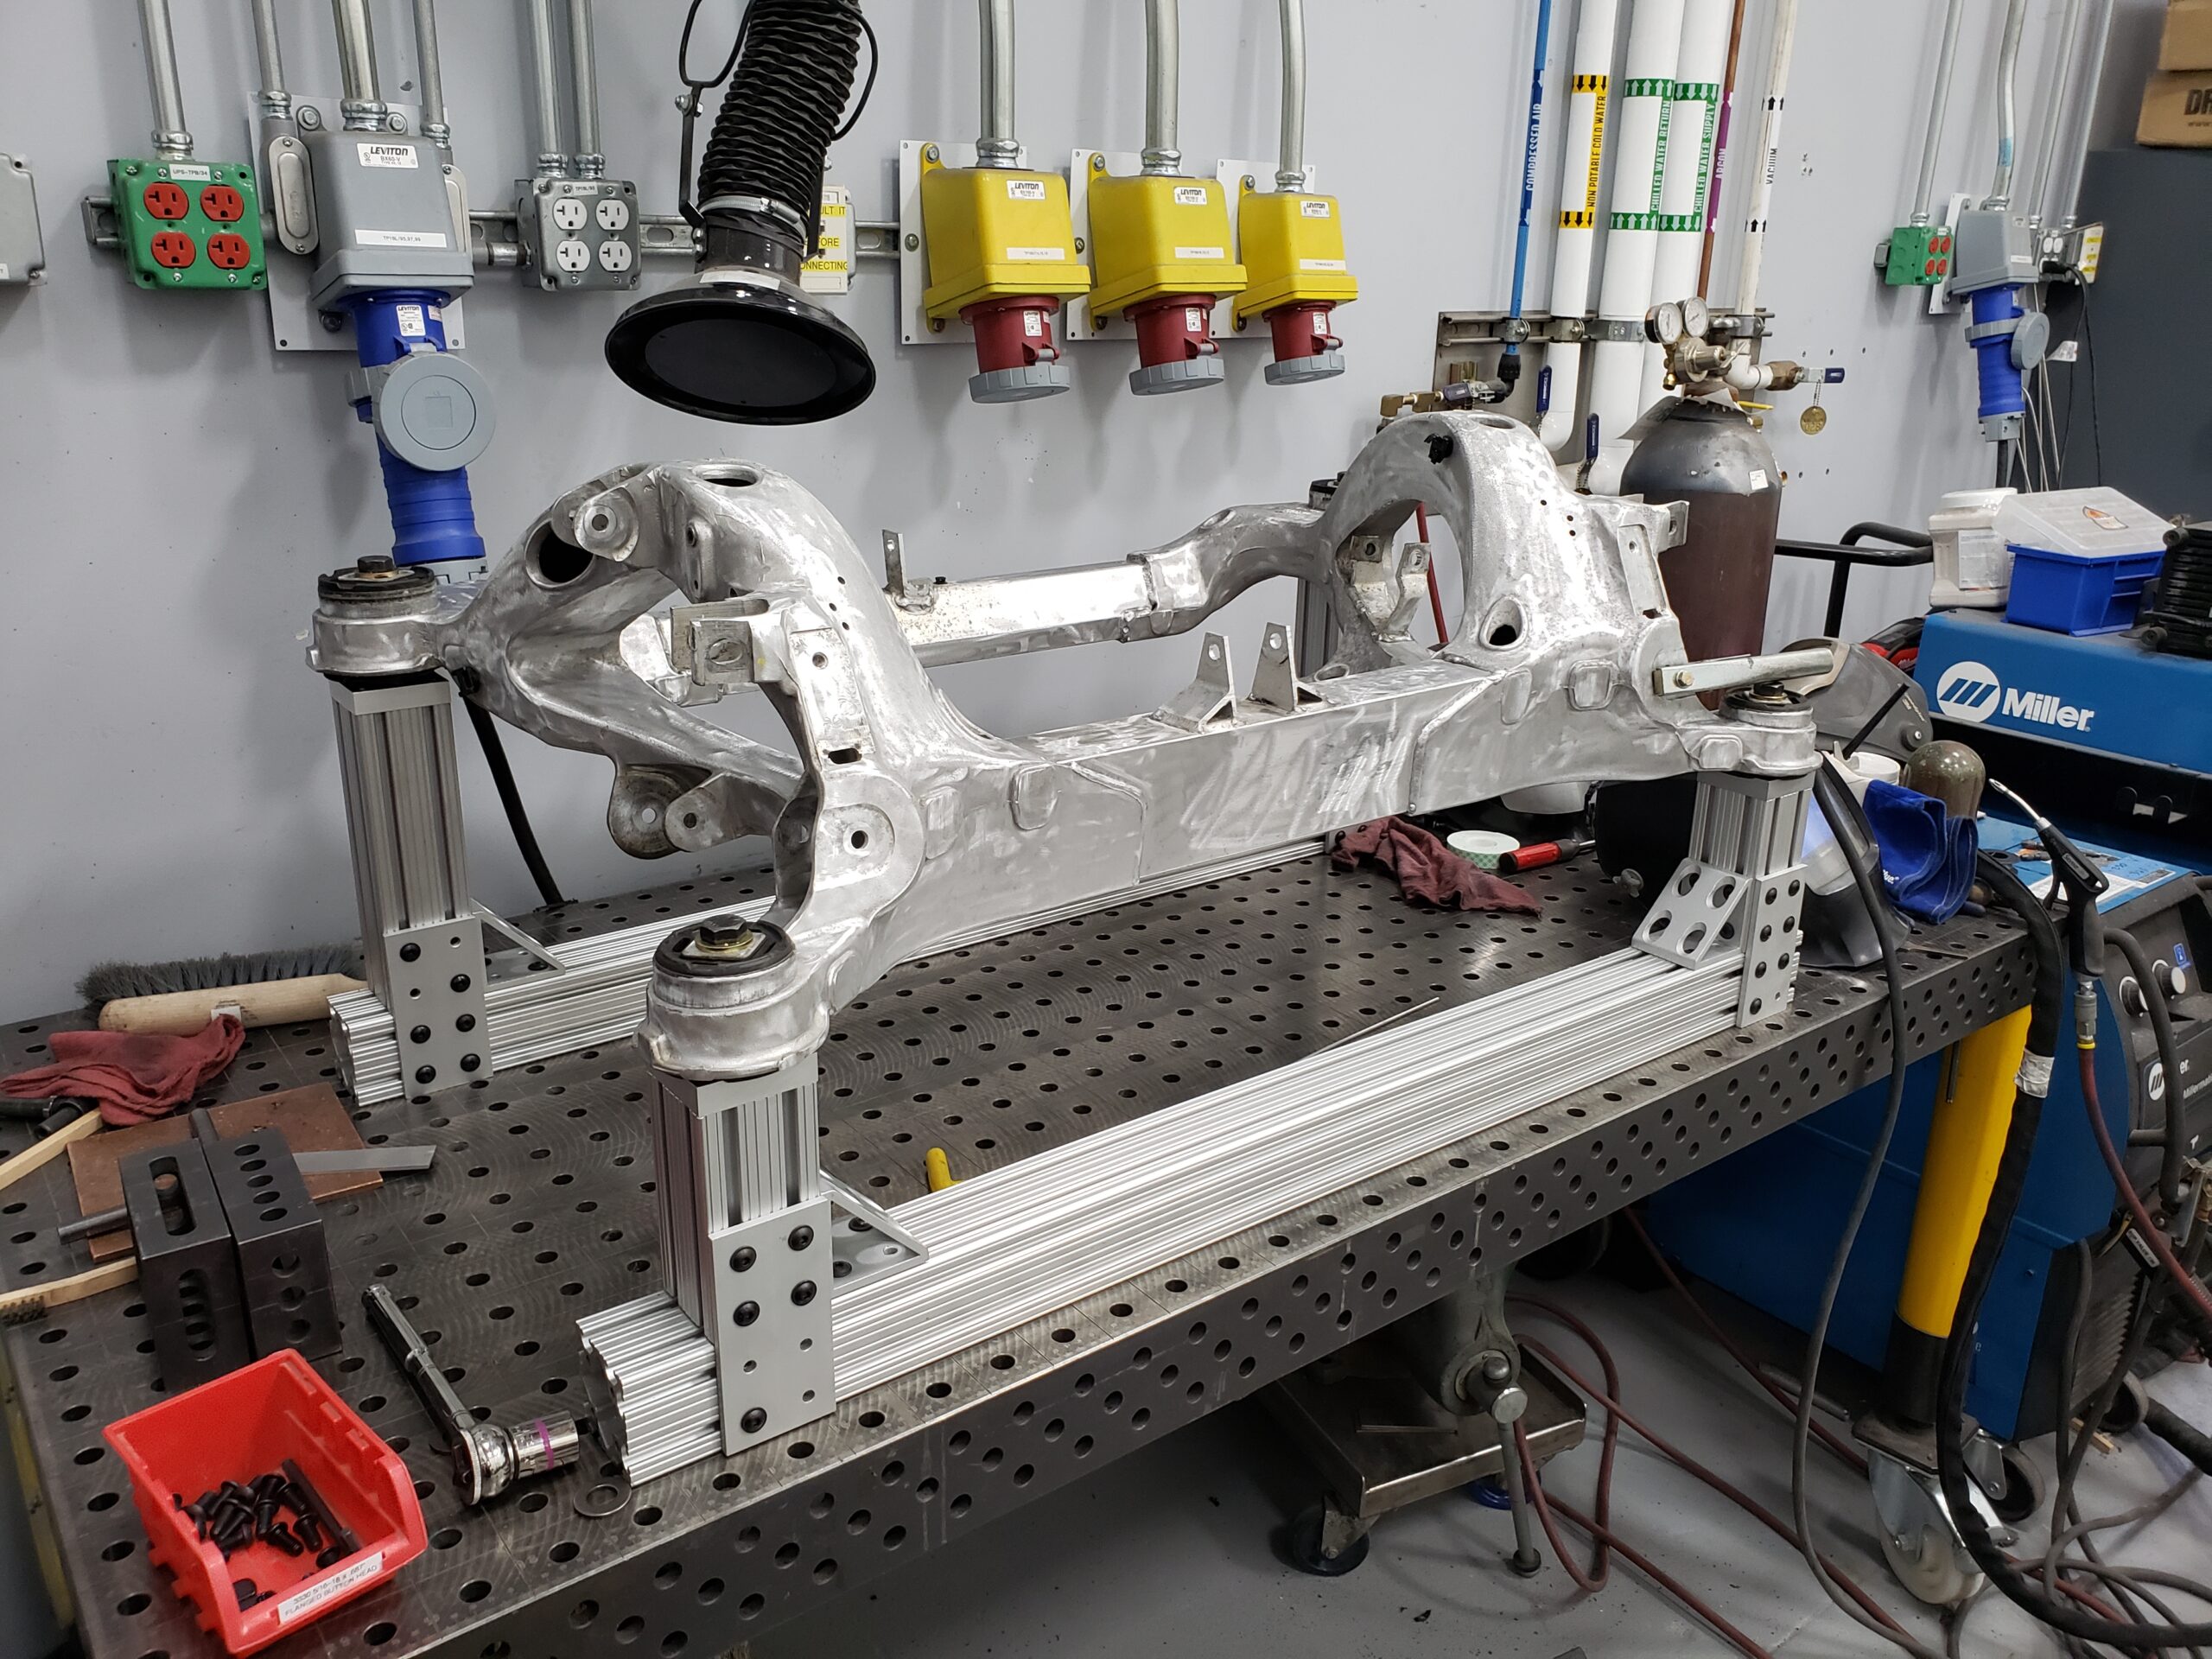
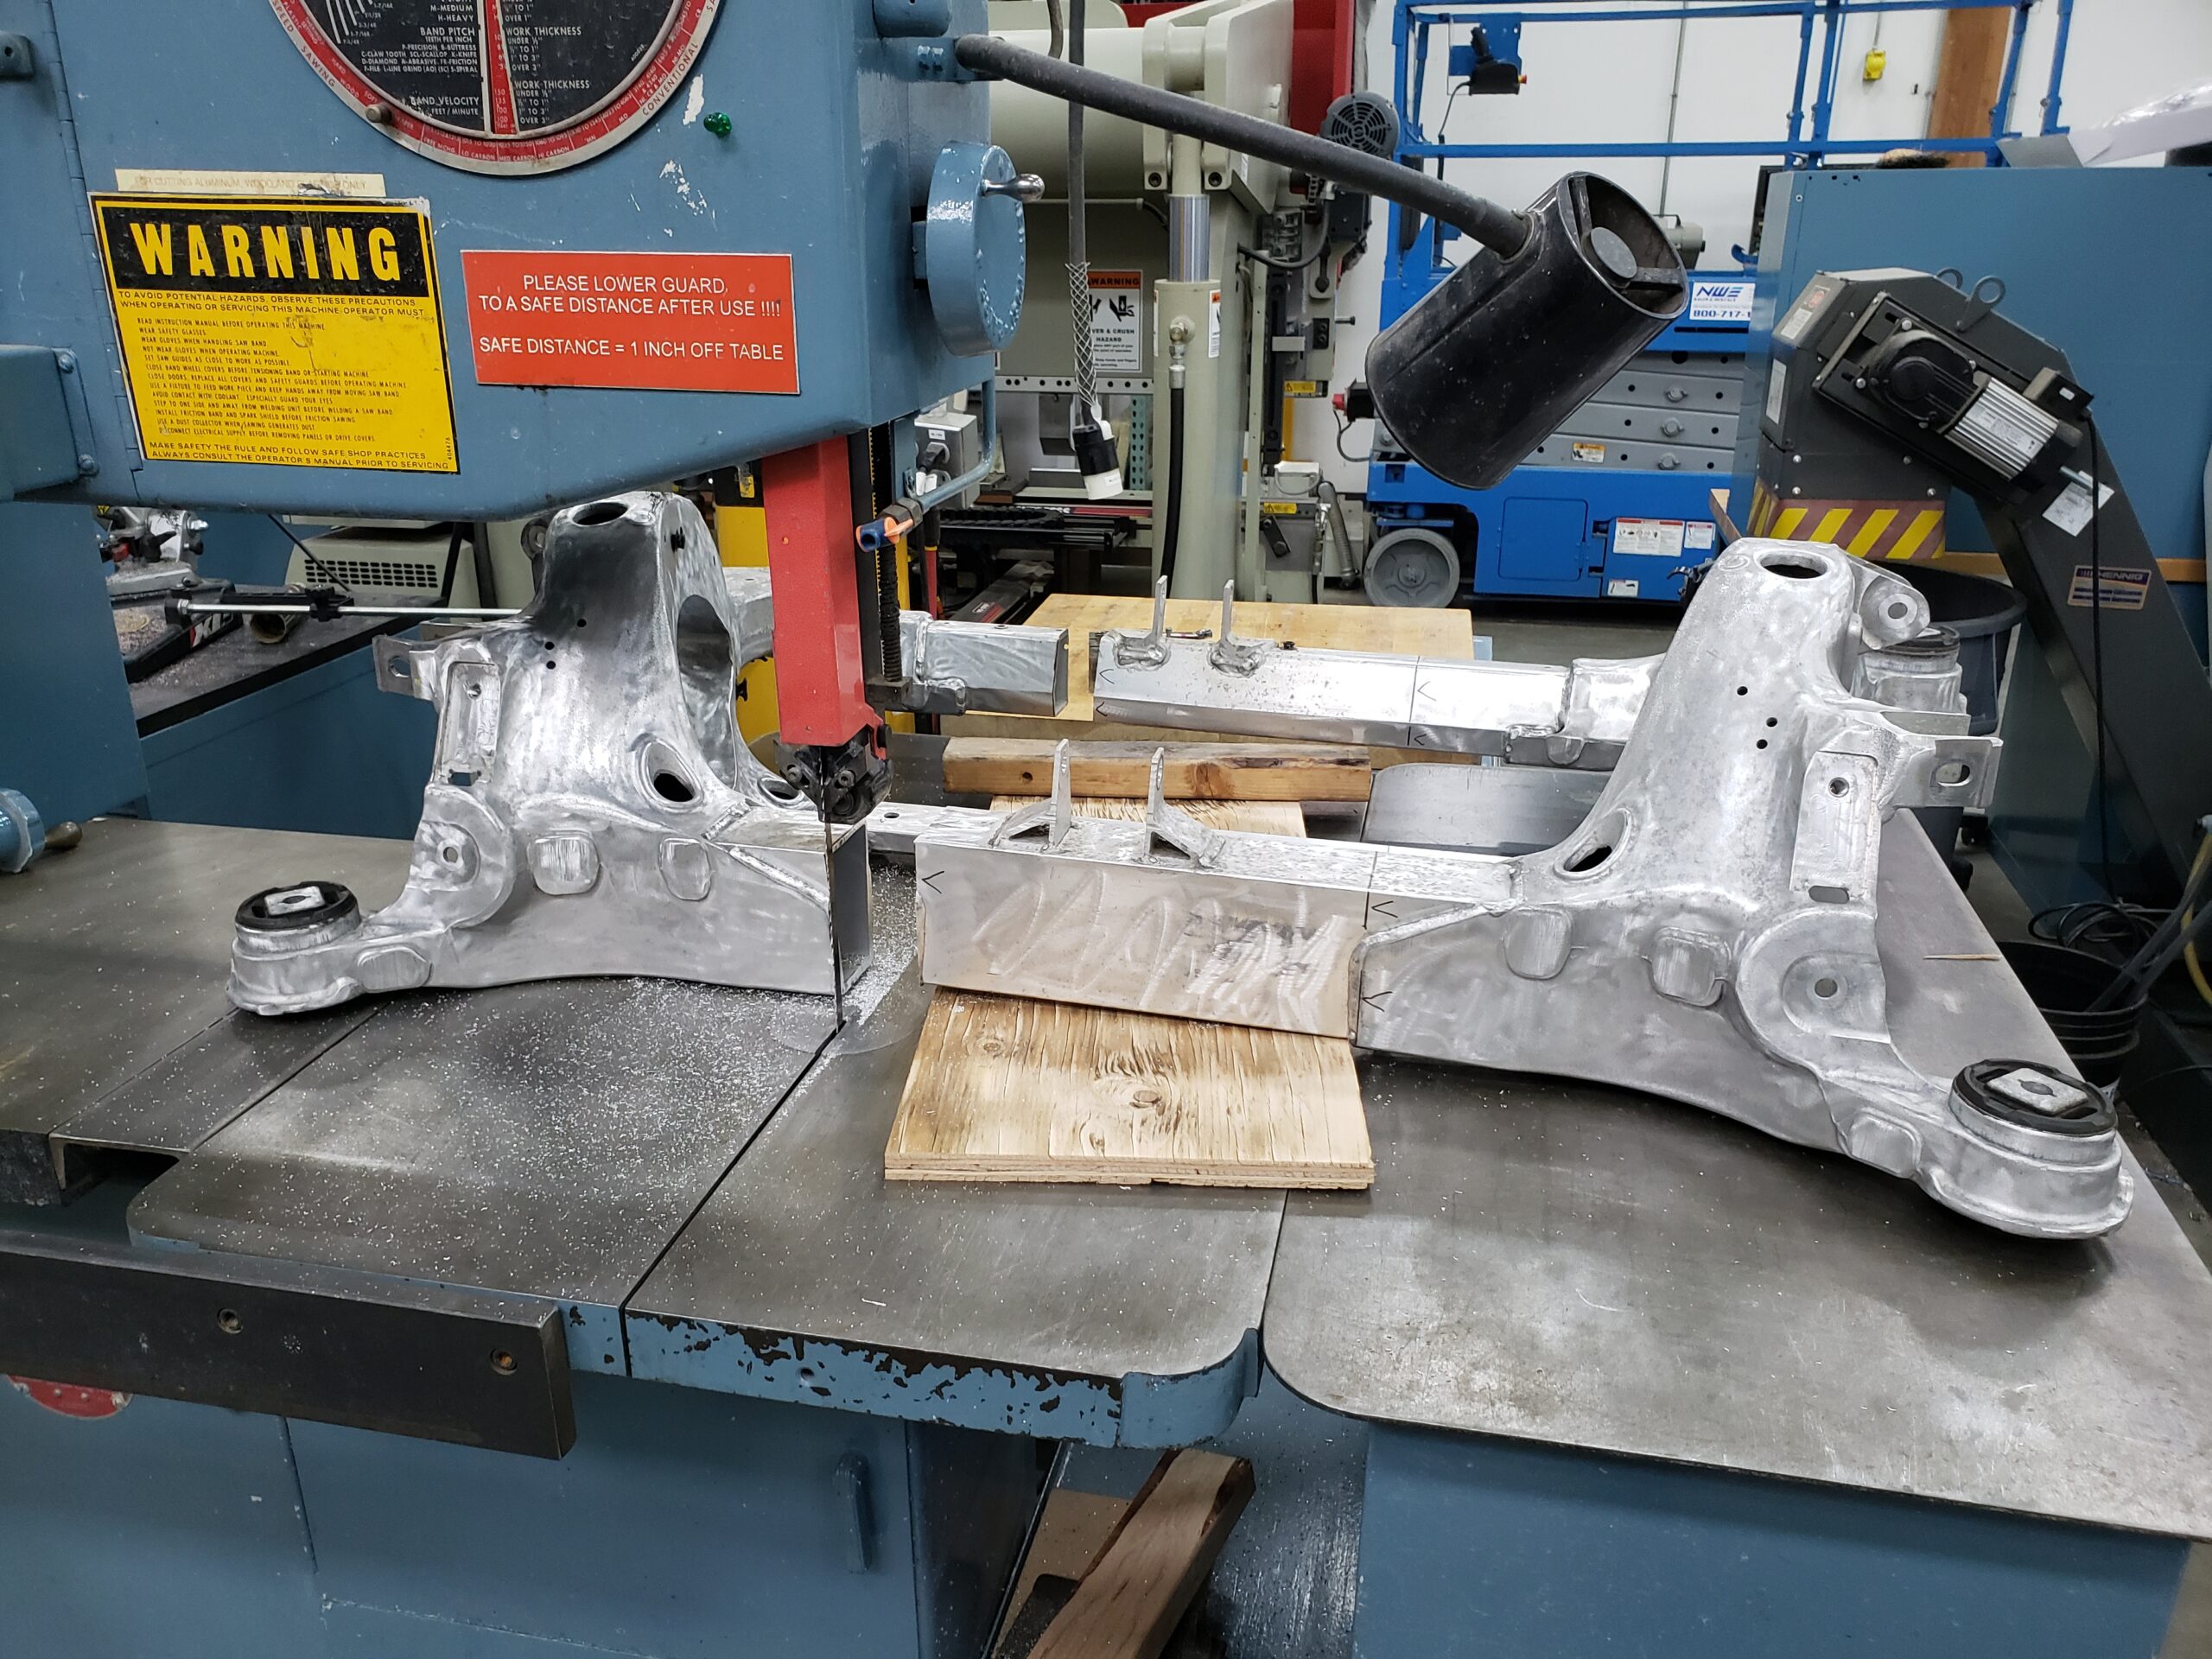
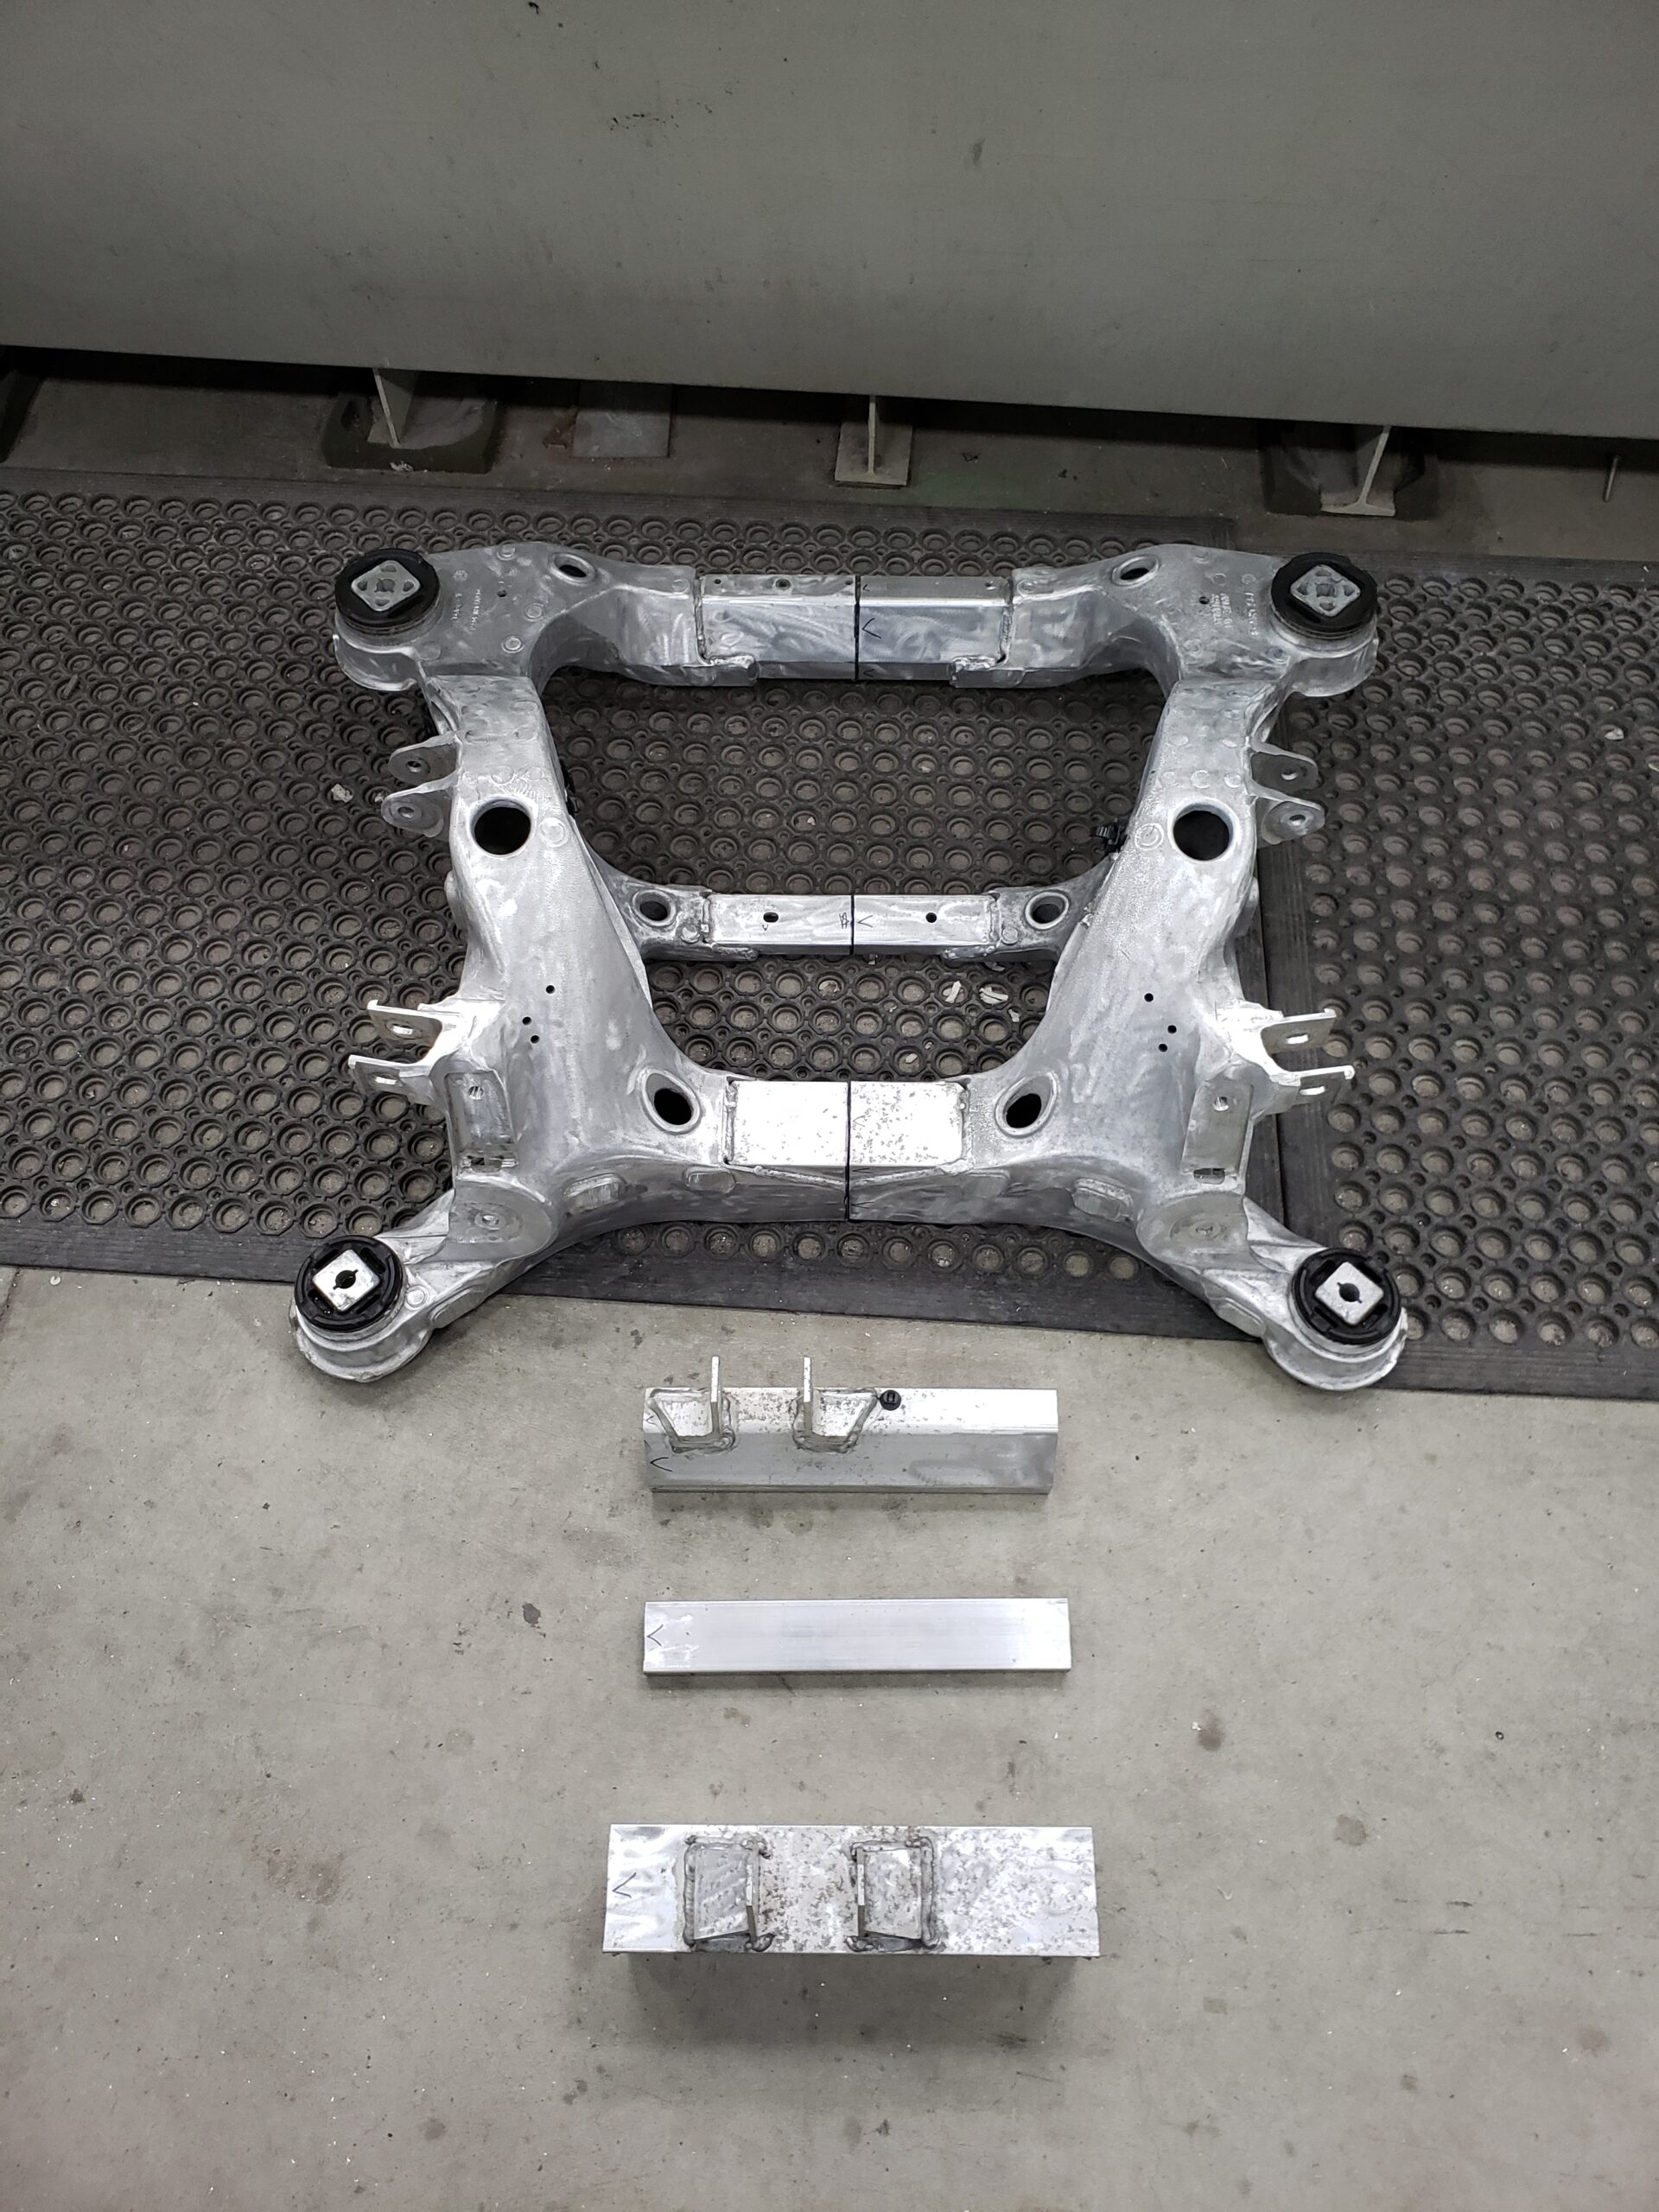
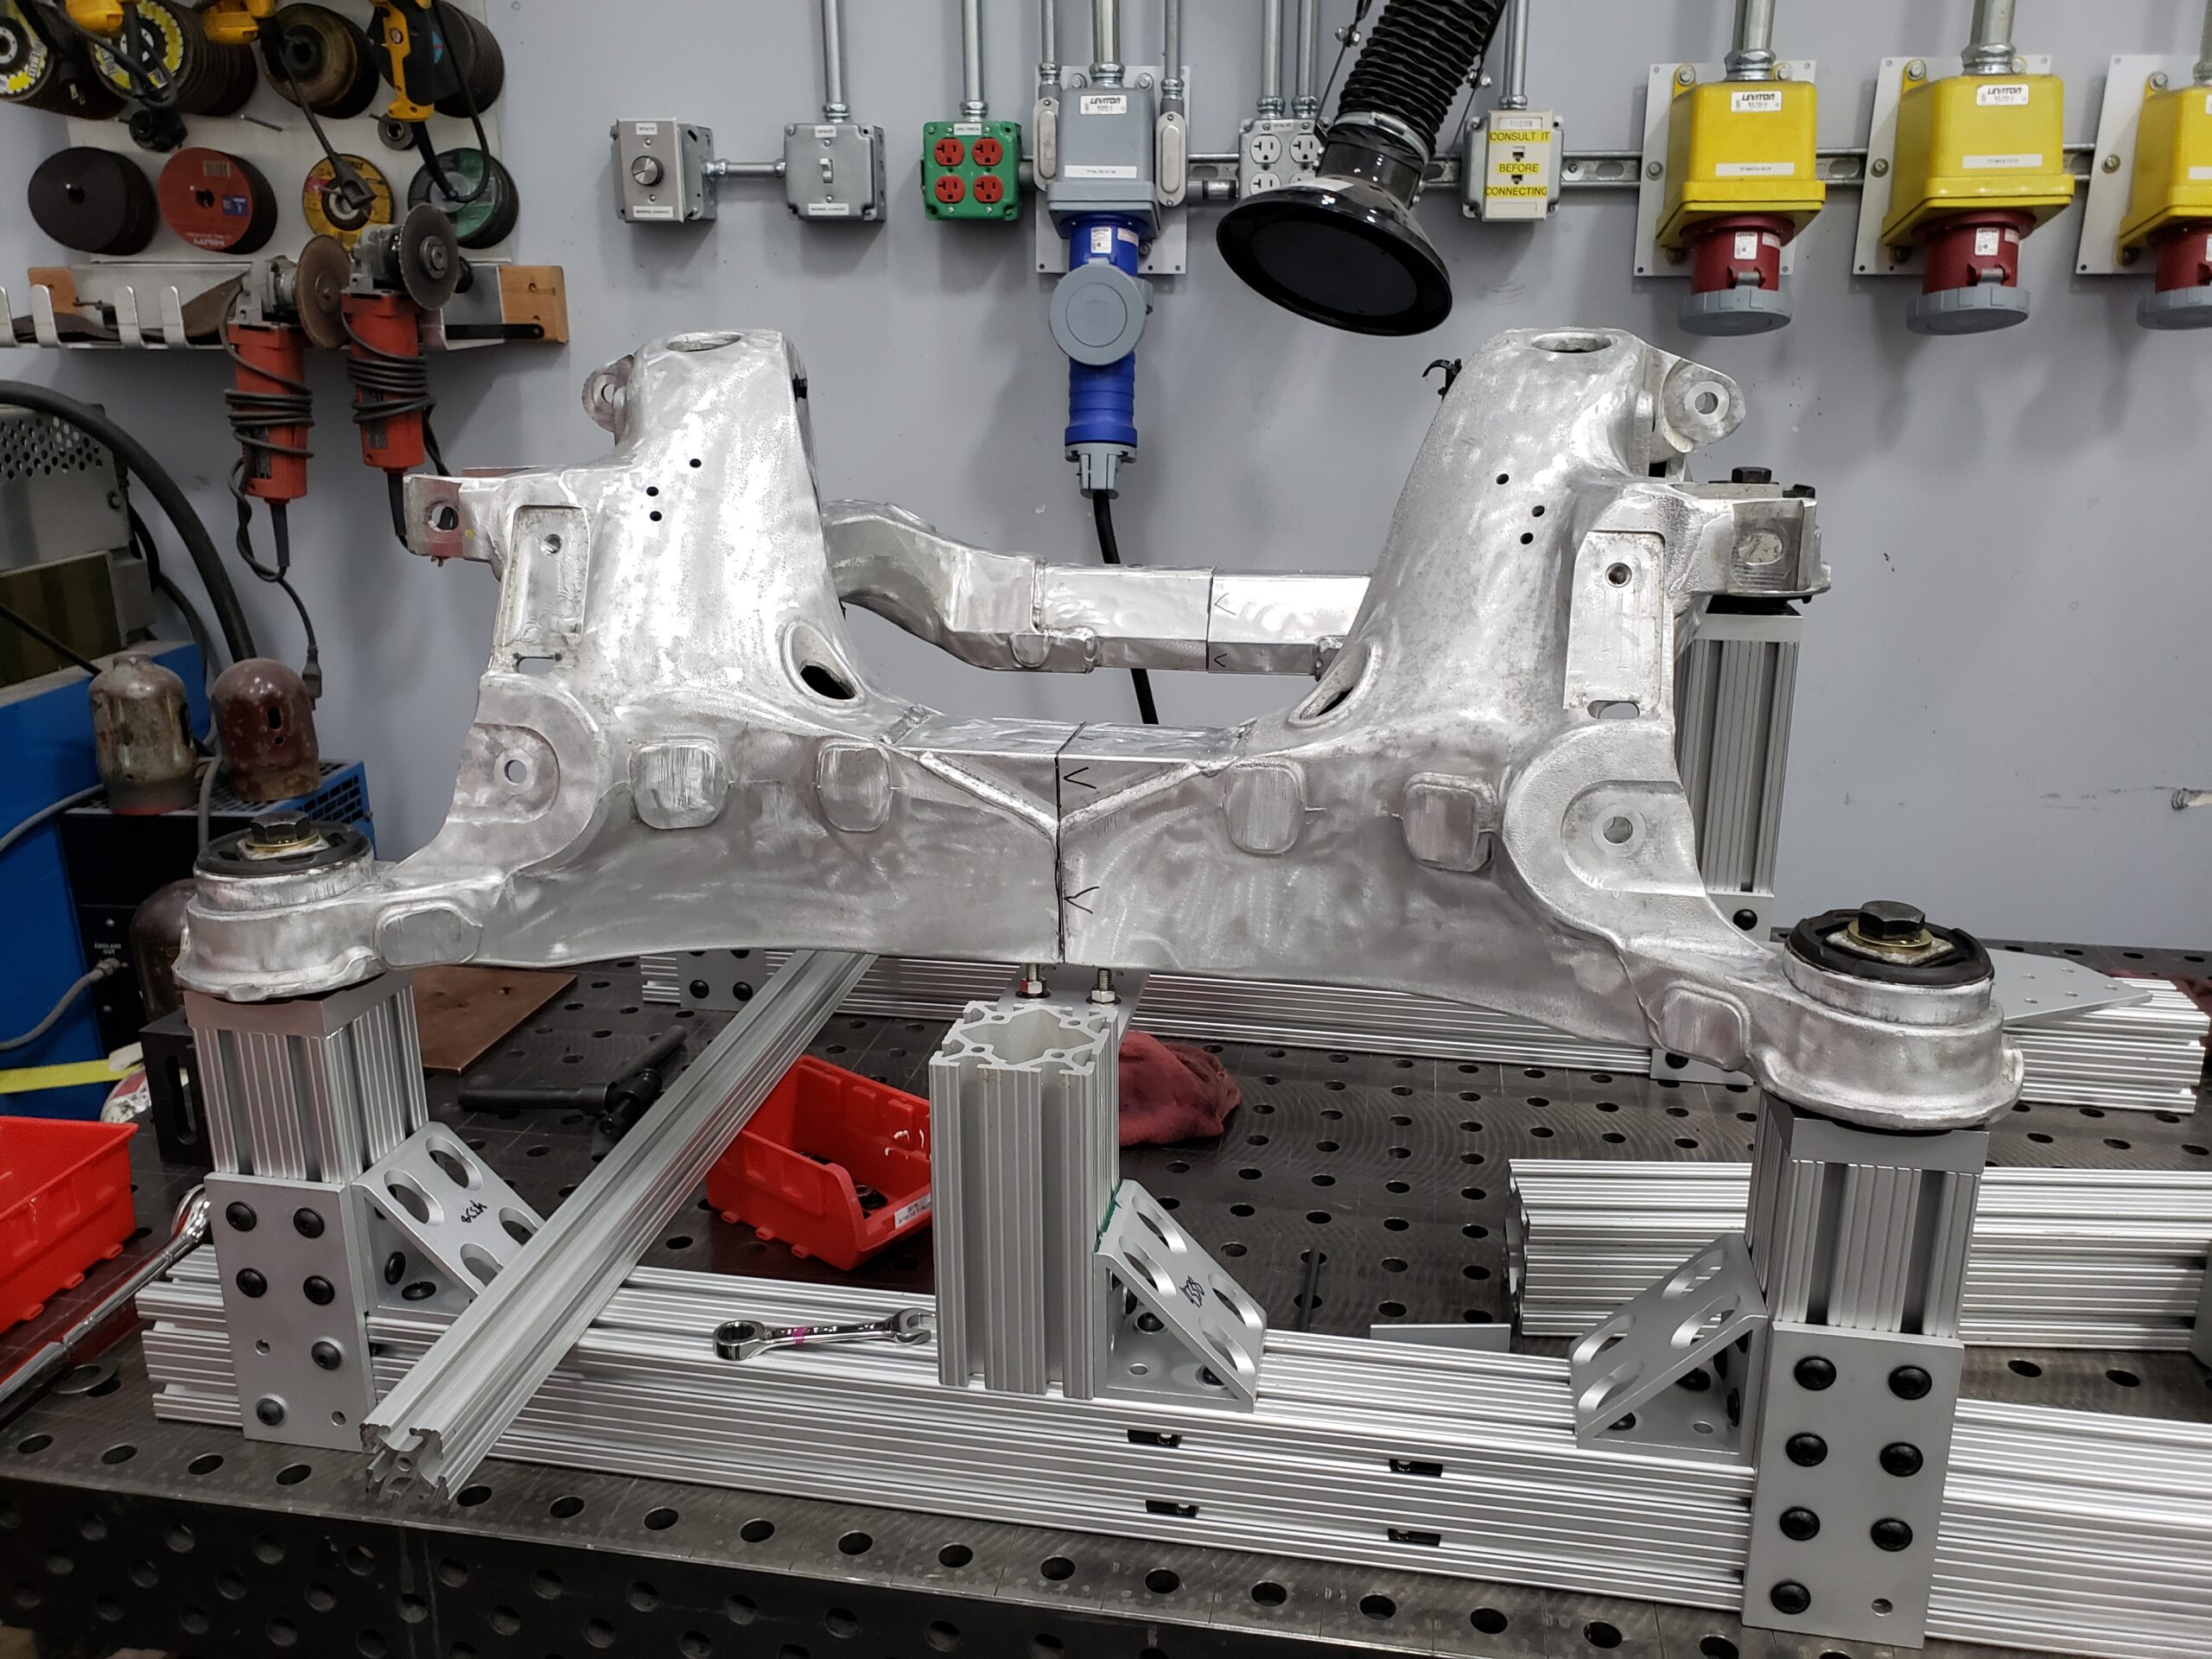
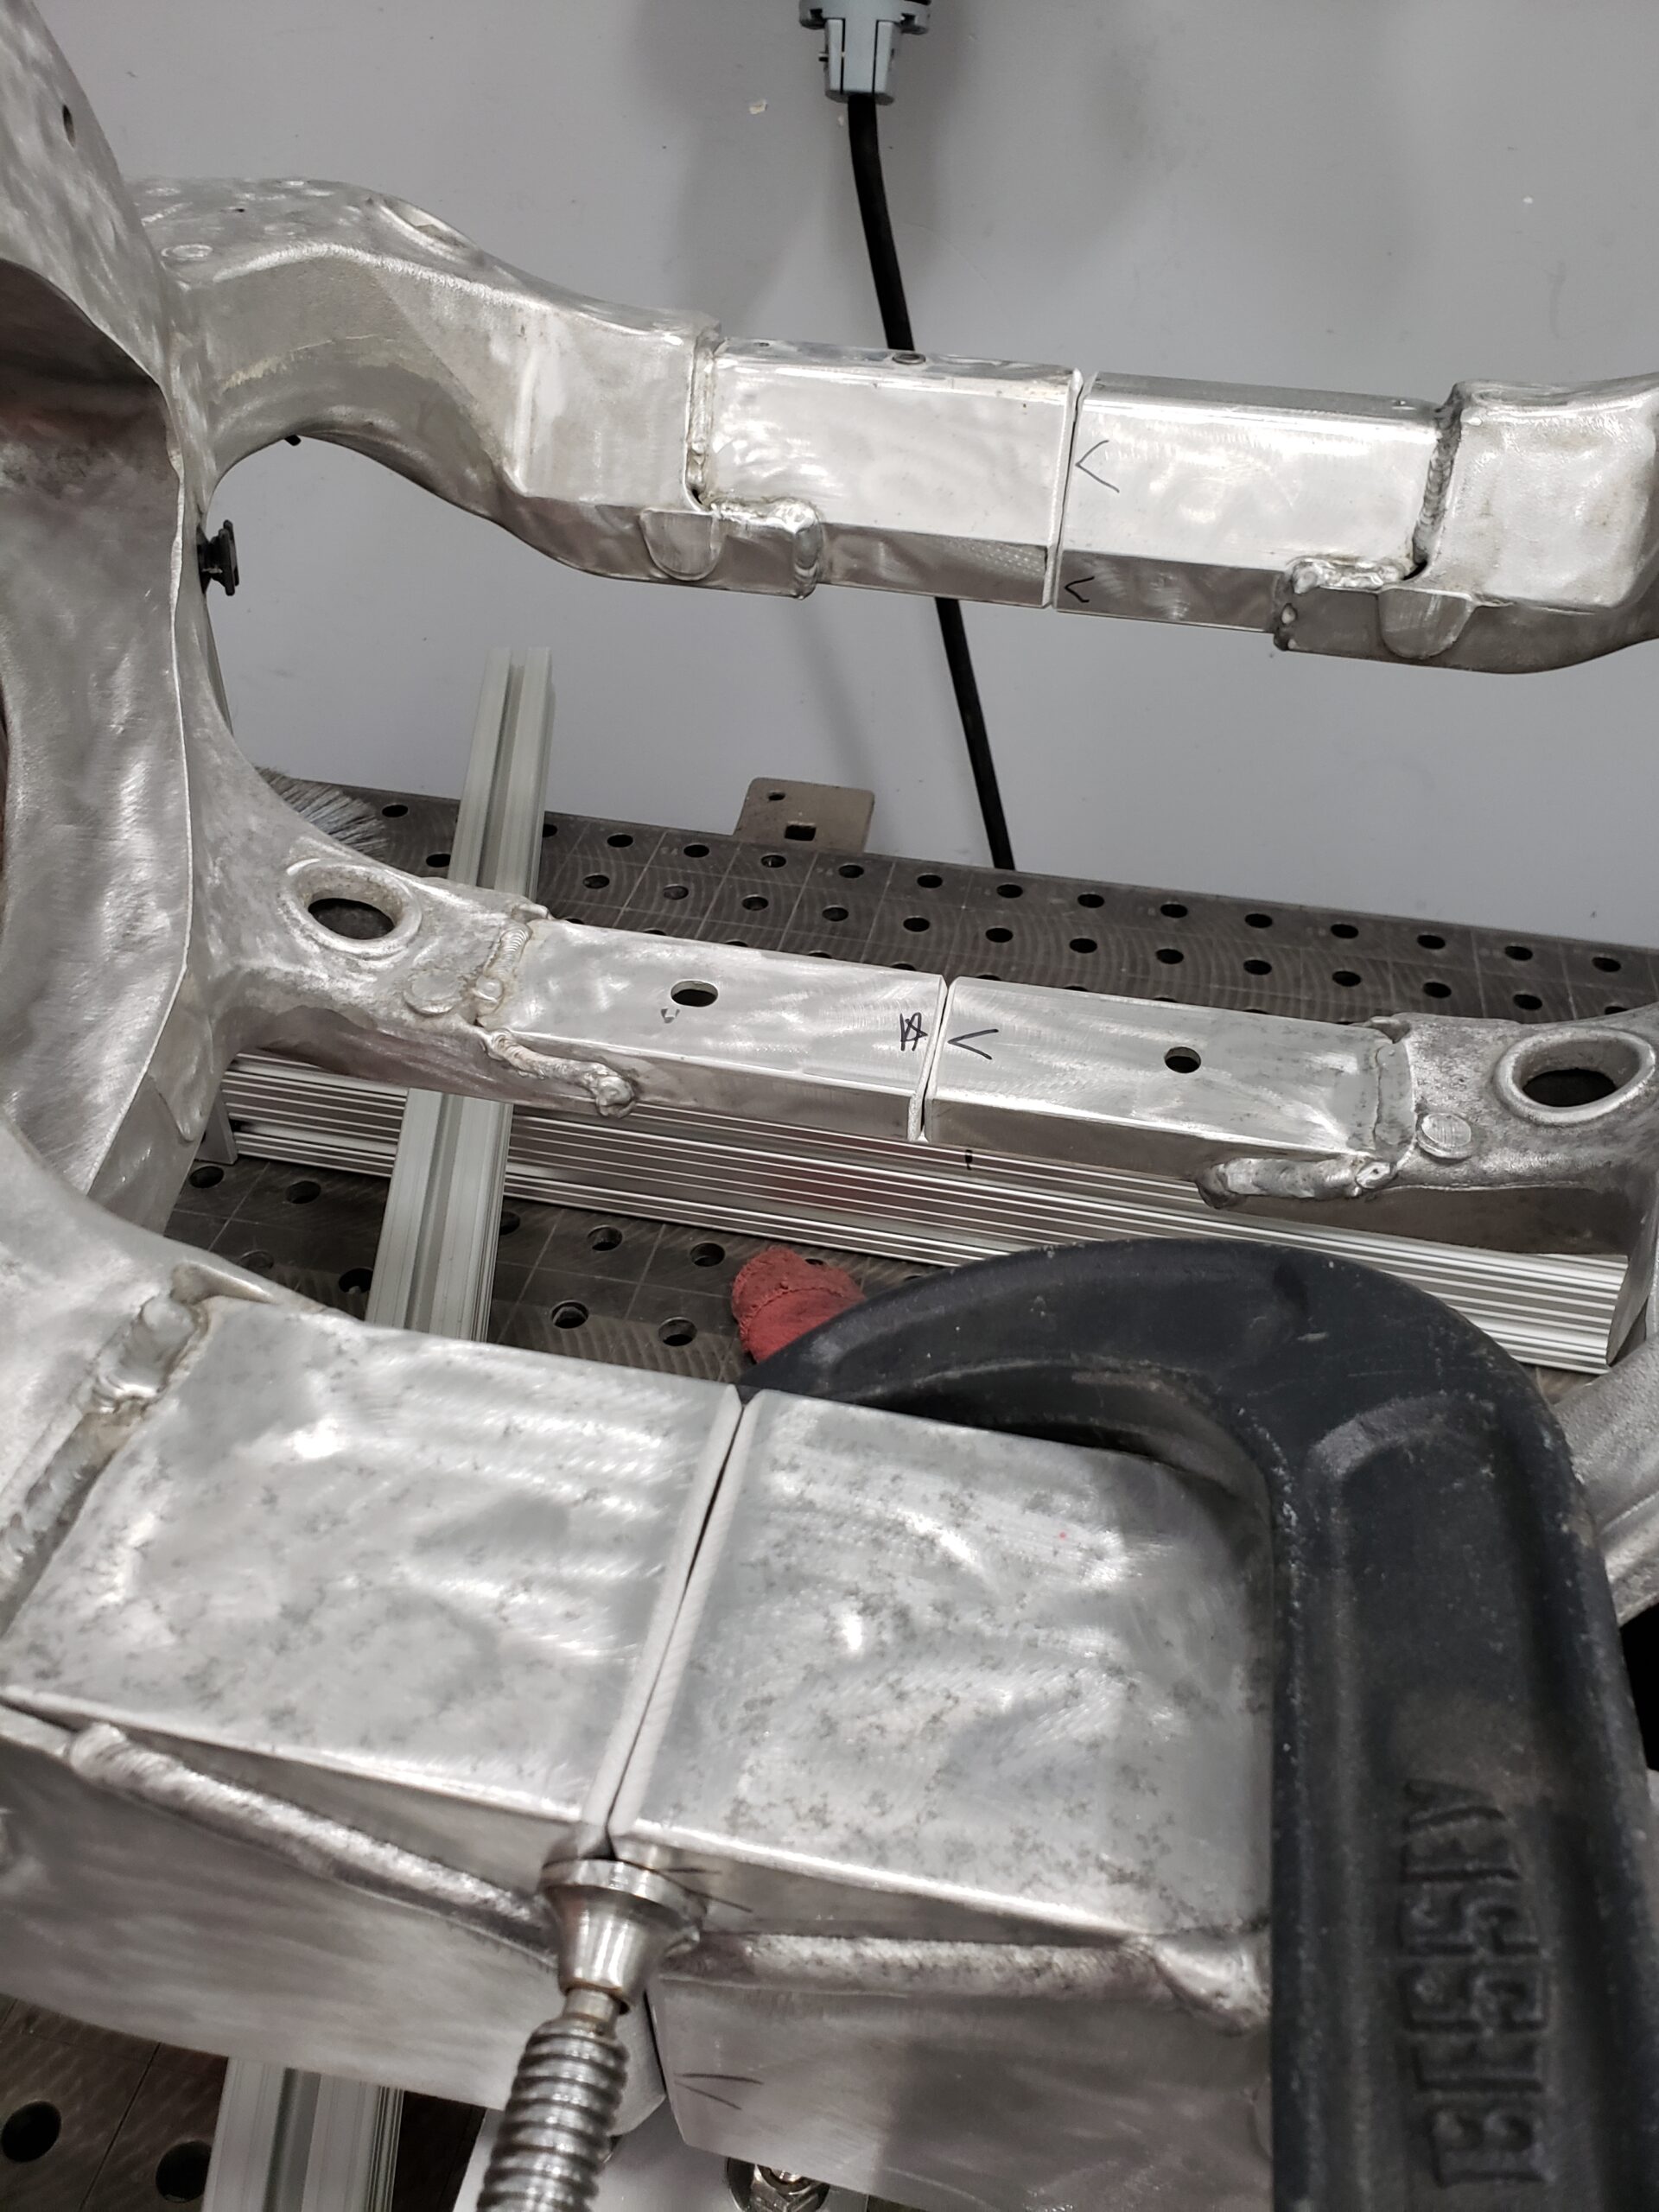
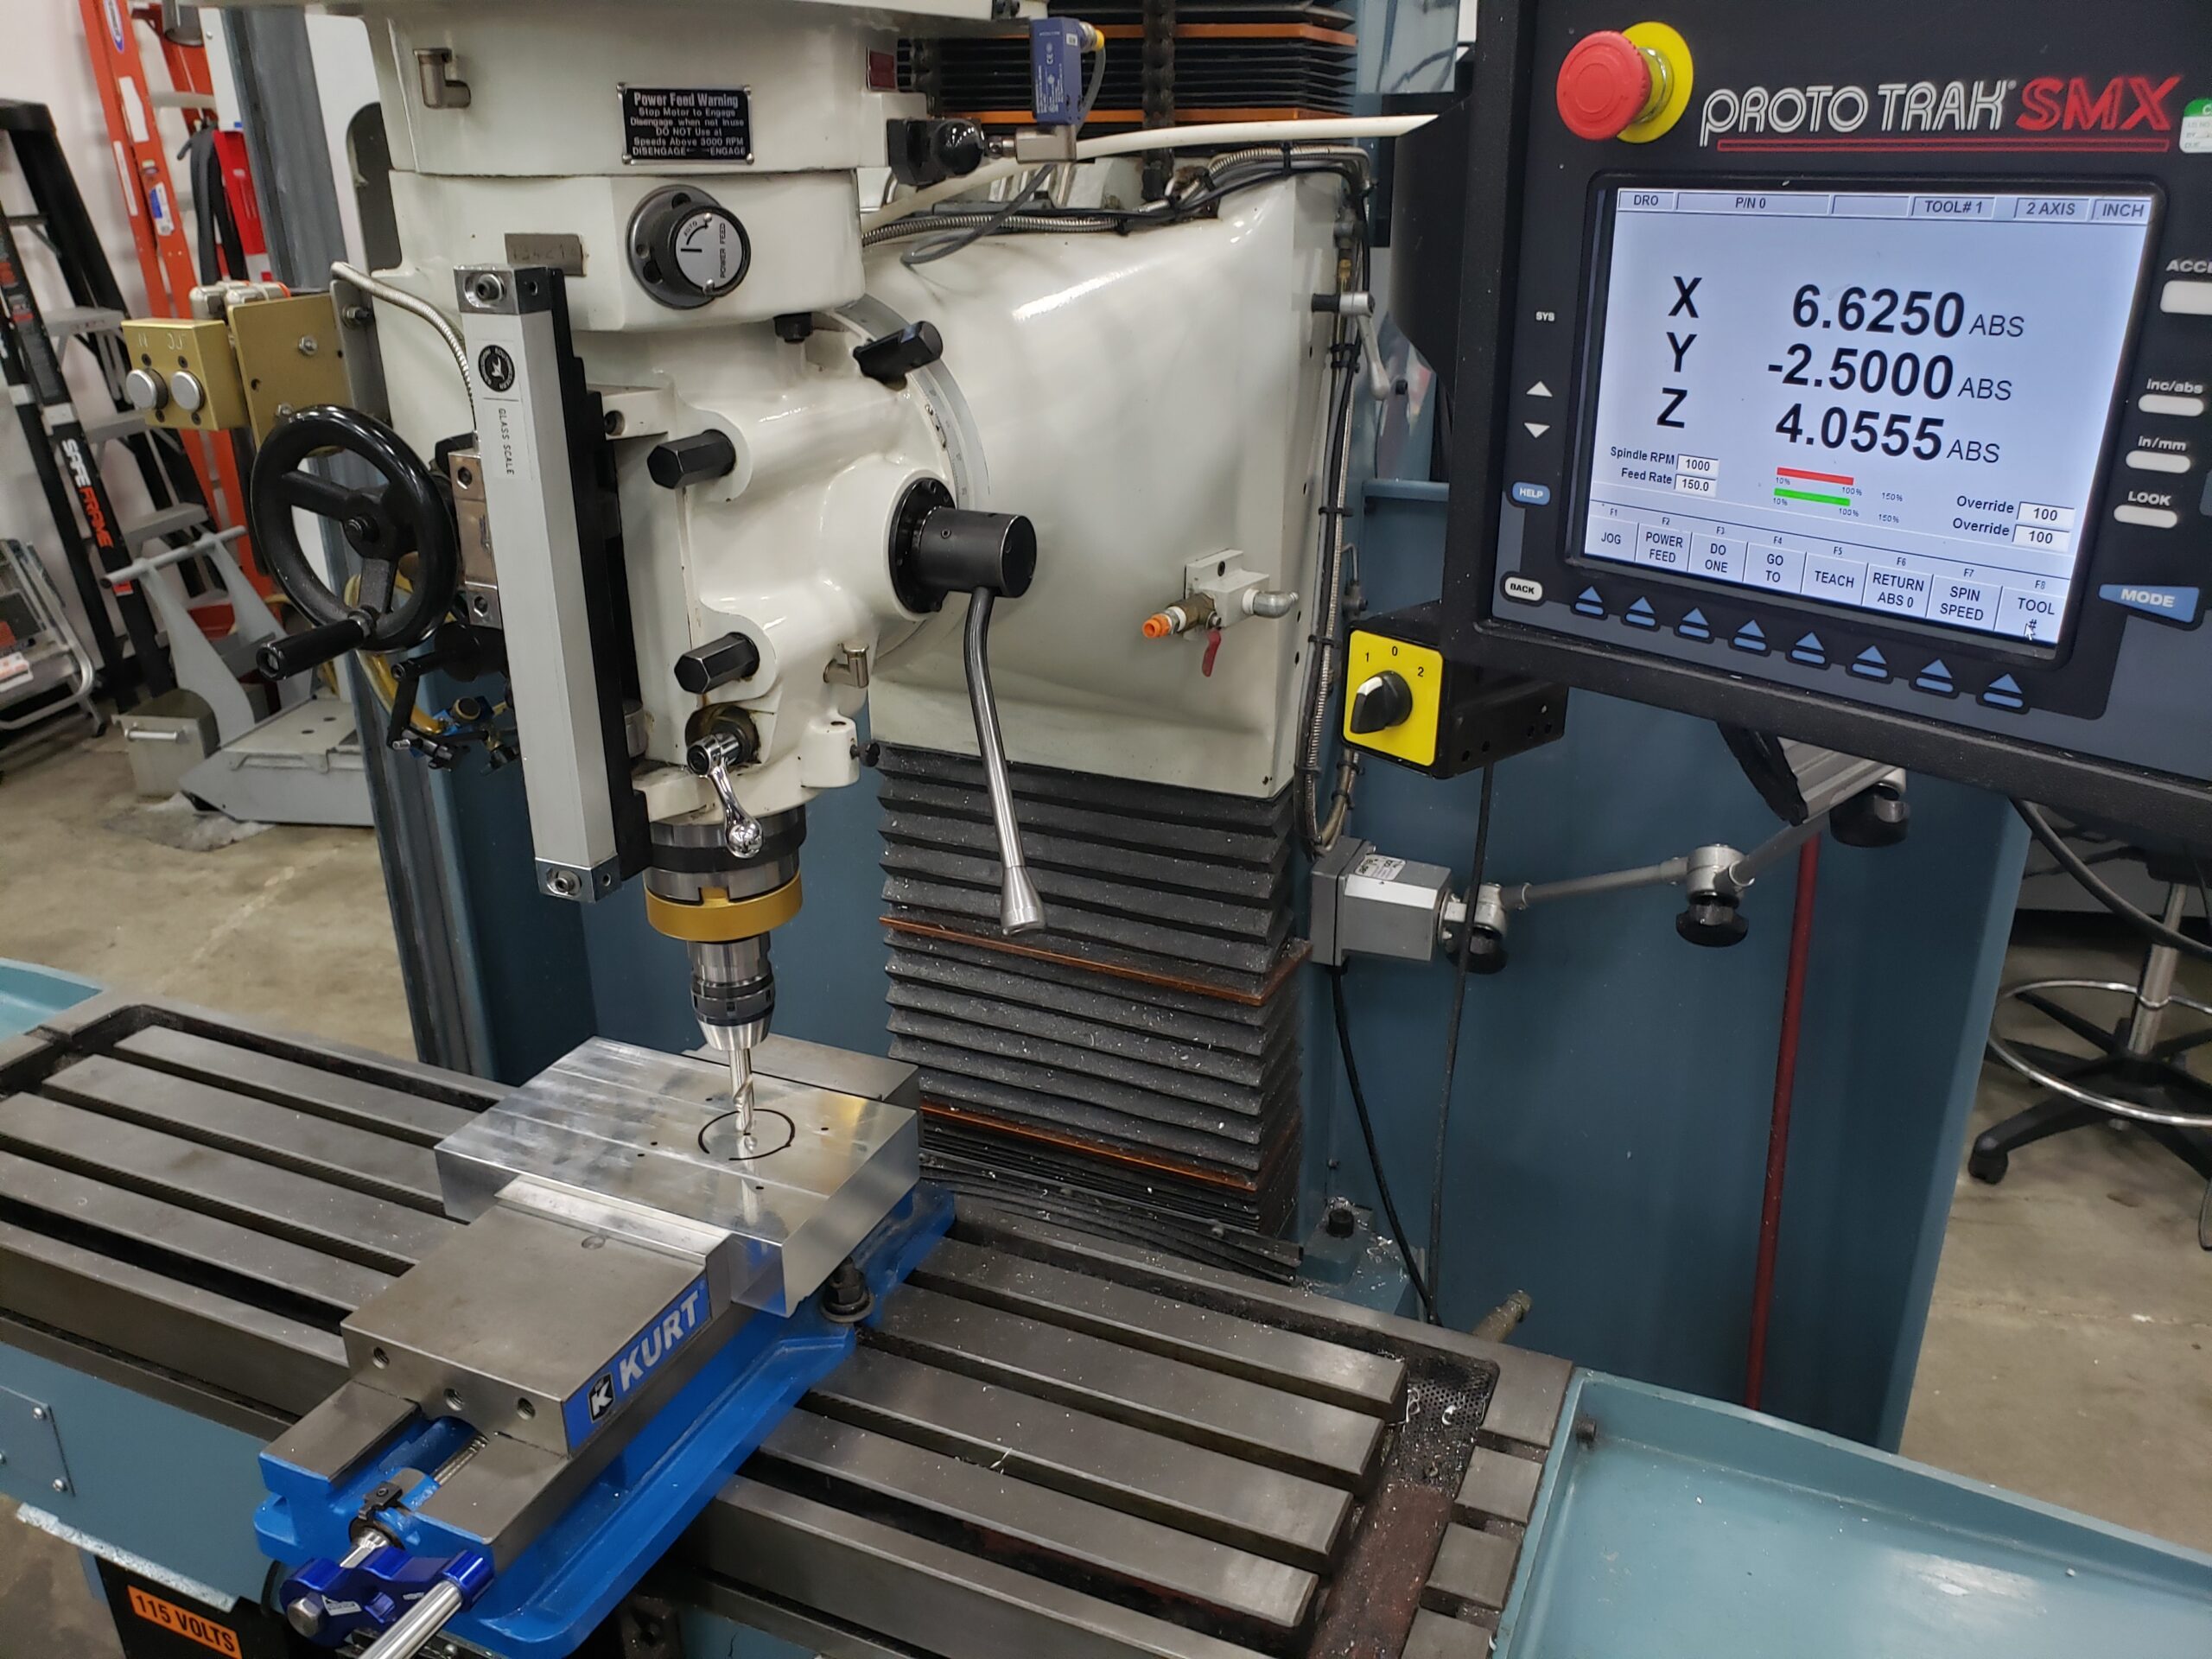
After doing extensive research and a lot of staring into the pit of despair, I decided that the best way to make the Model S fit was to shorten the rear subframe by one foot leaving the other components intact. This was a complex task, as it required removing and rewelding several key components, but I was up for the challenge and have access to an amazing prototyping lab.
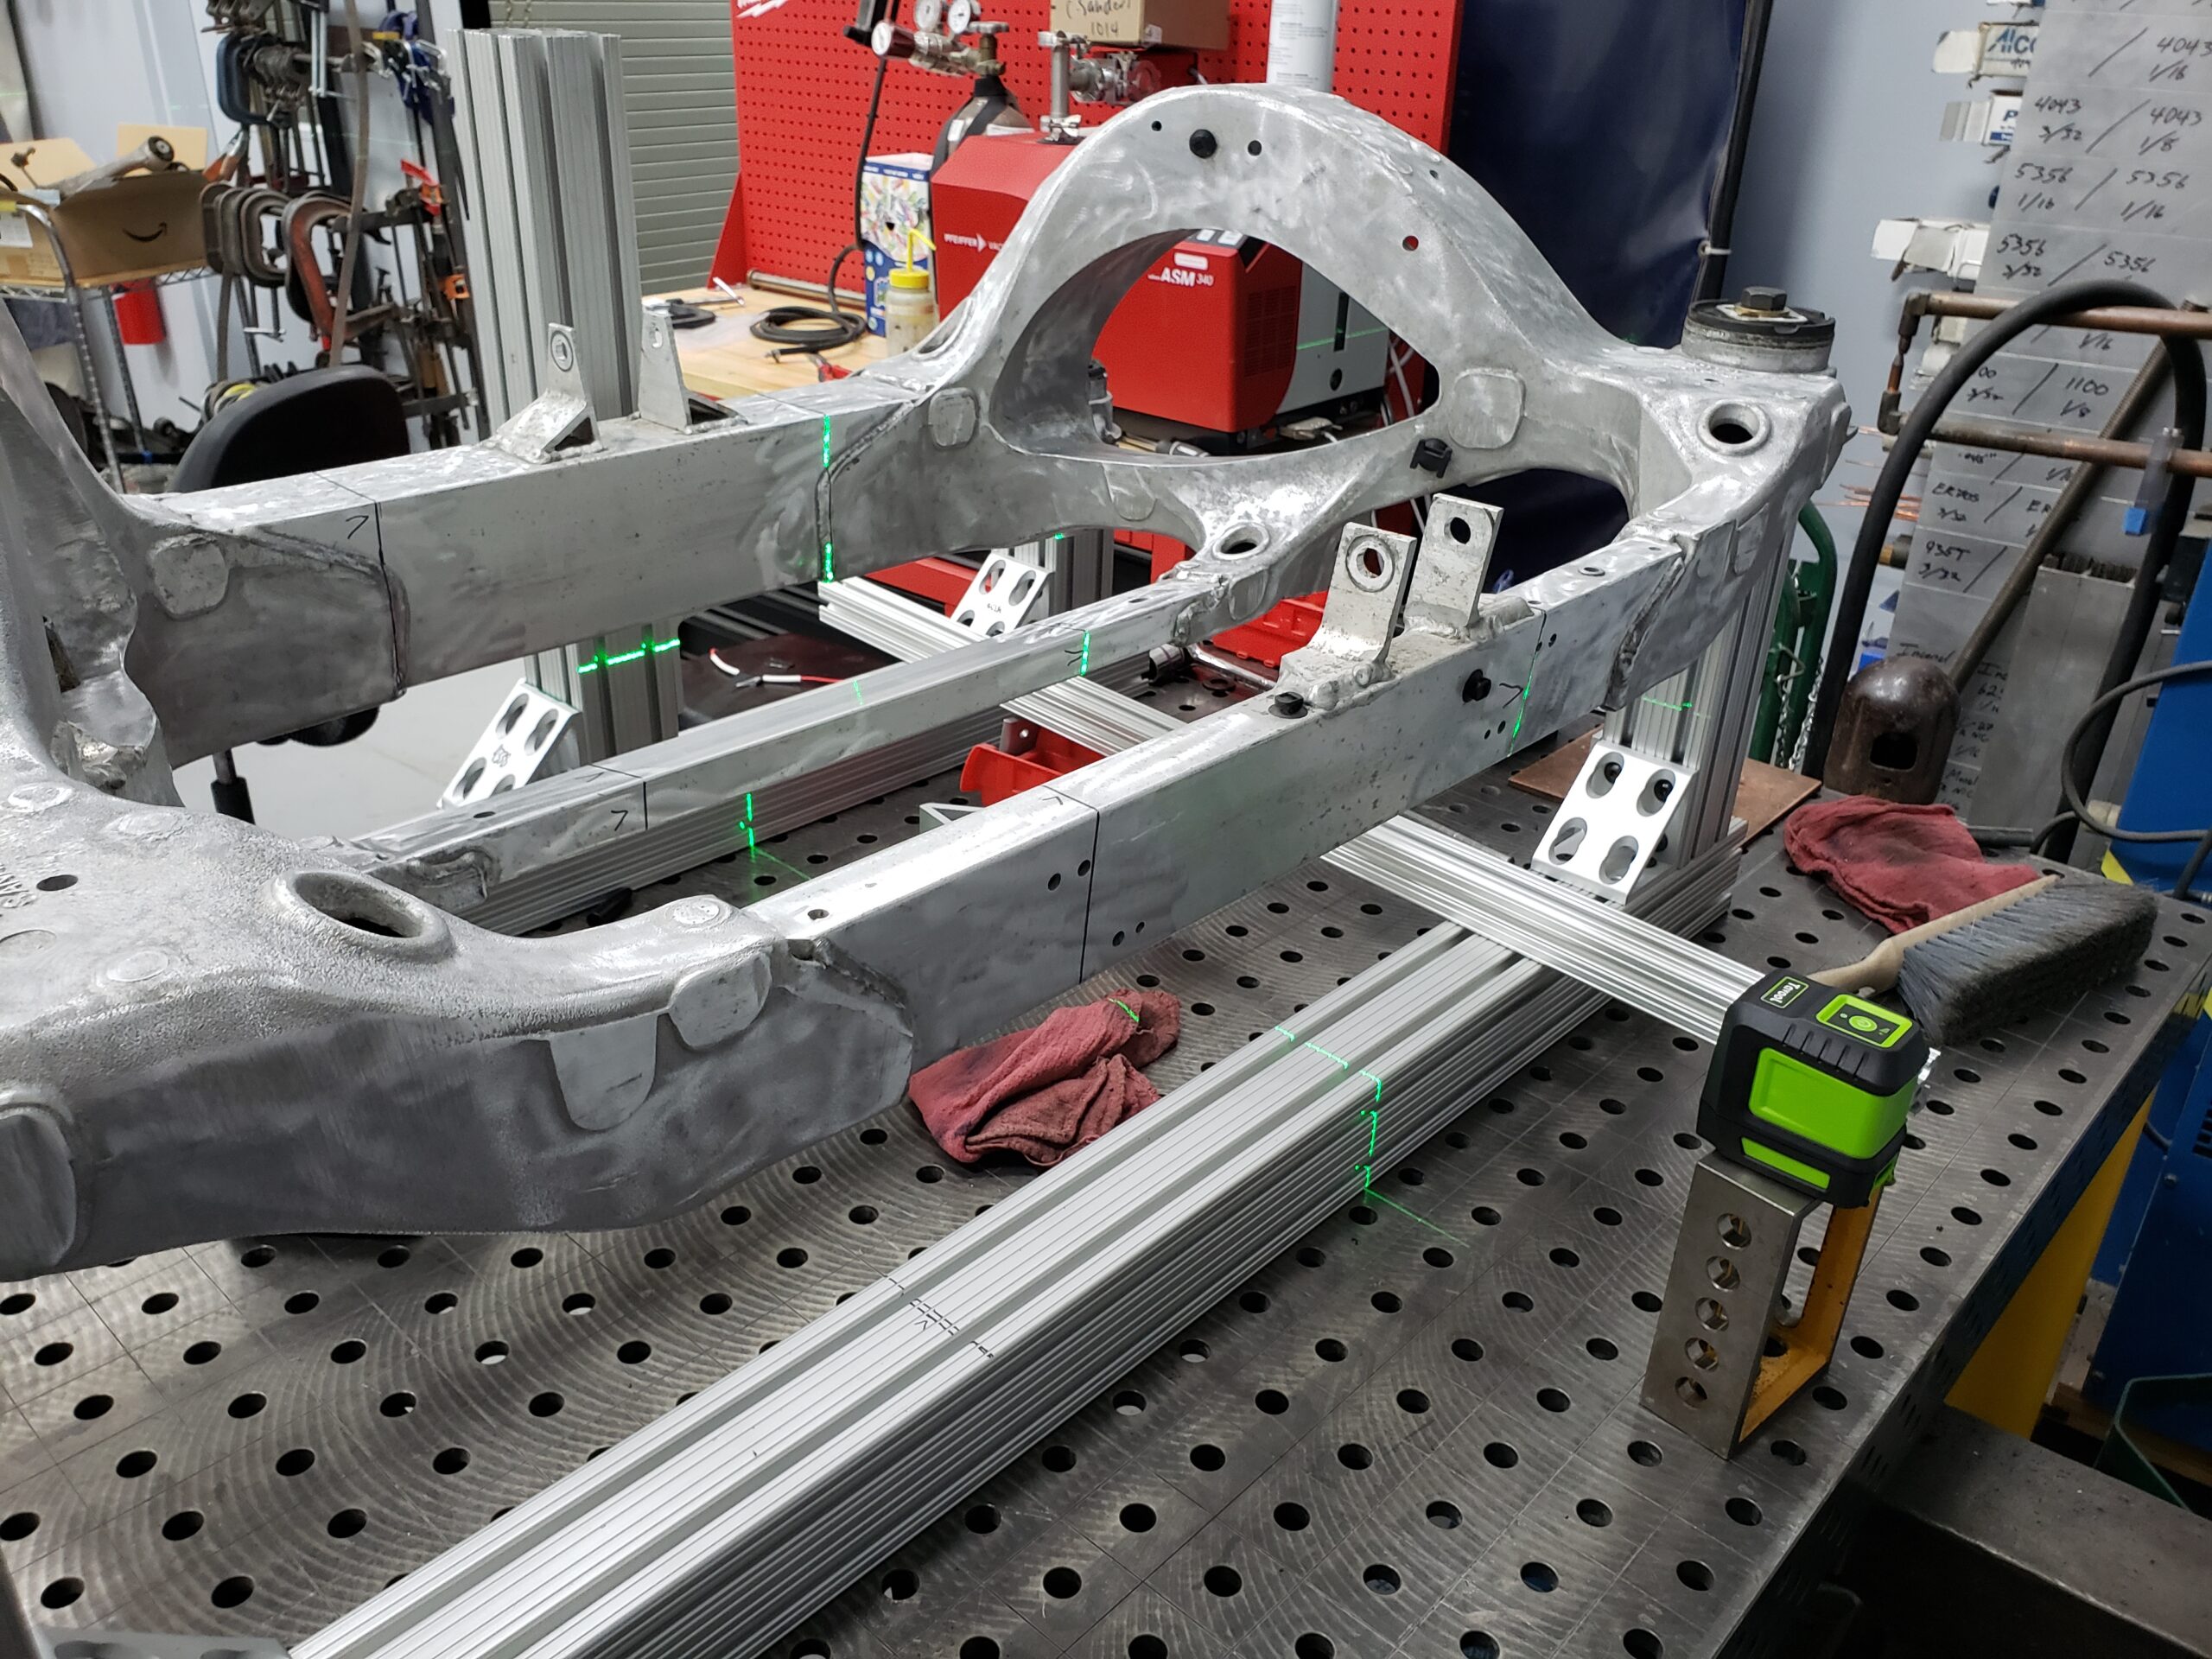
I began by carefully measuring the rear end of the Rabbit to determine the exact dimensions that I needed. I then used this information to create a detailed plan for how I would modify the Tesla’s subframe.
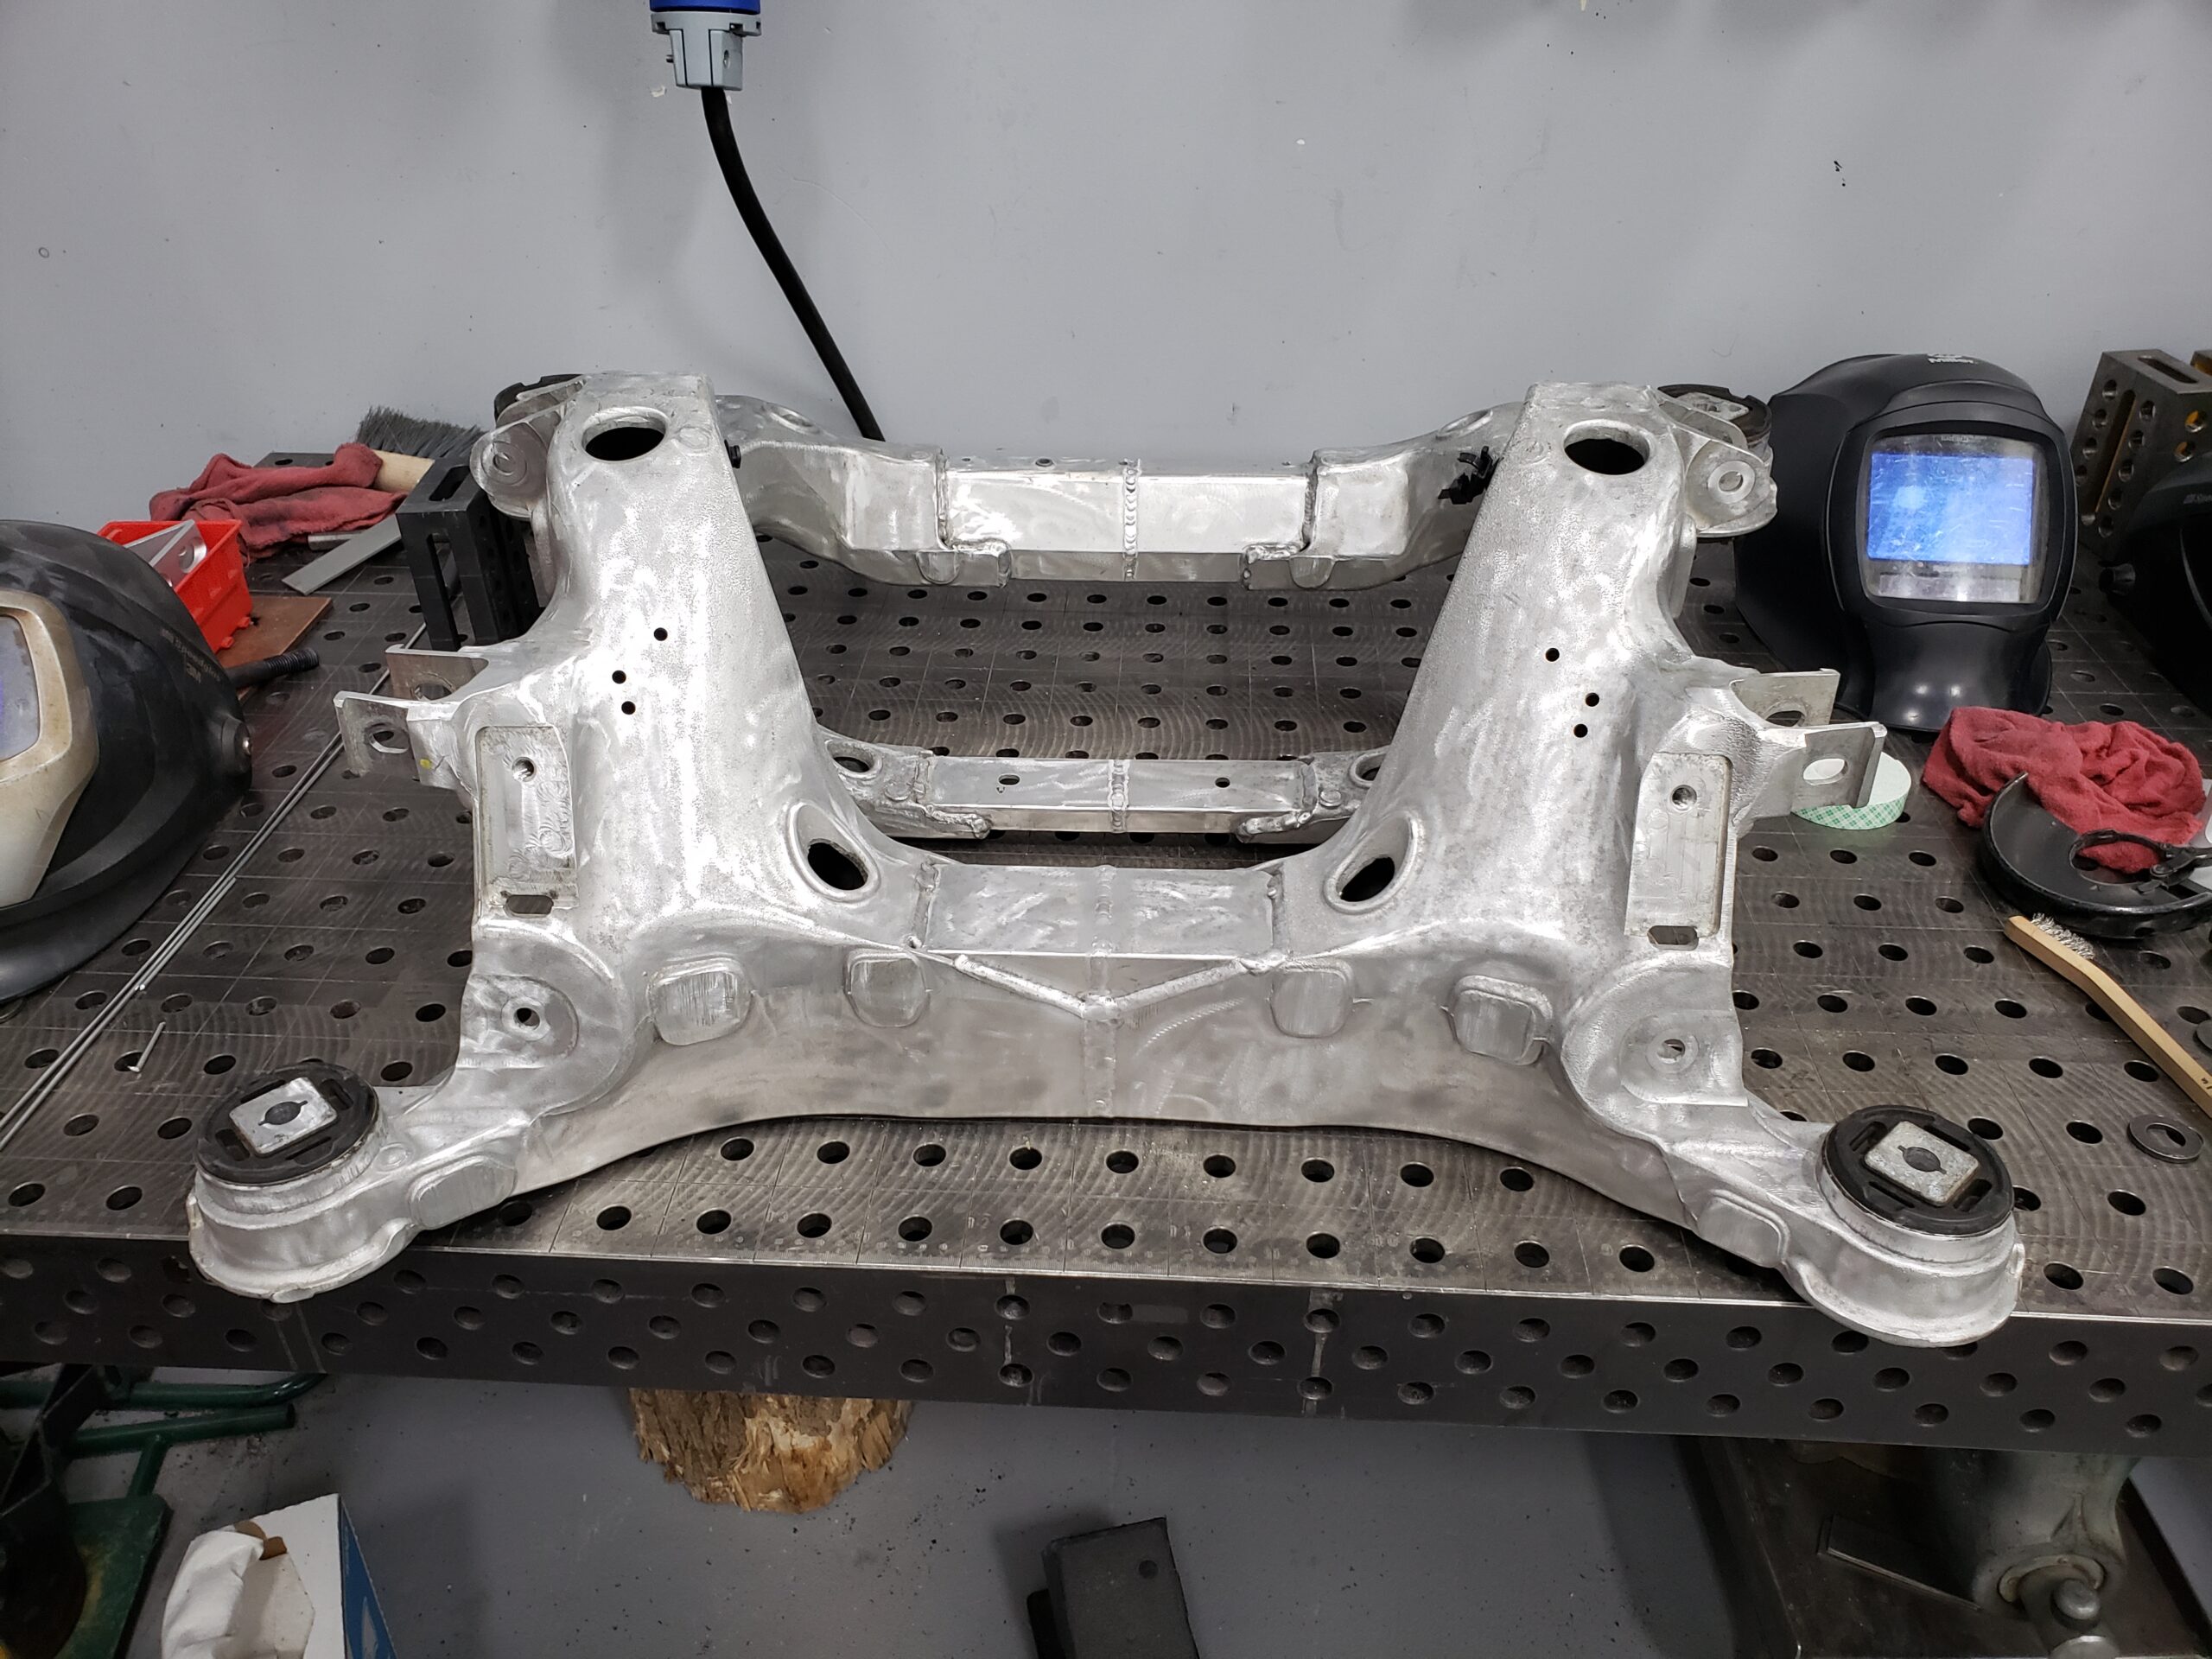
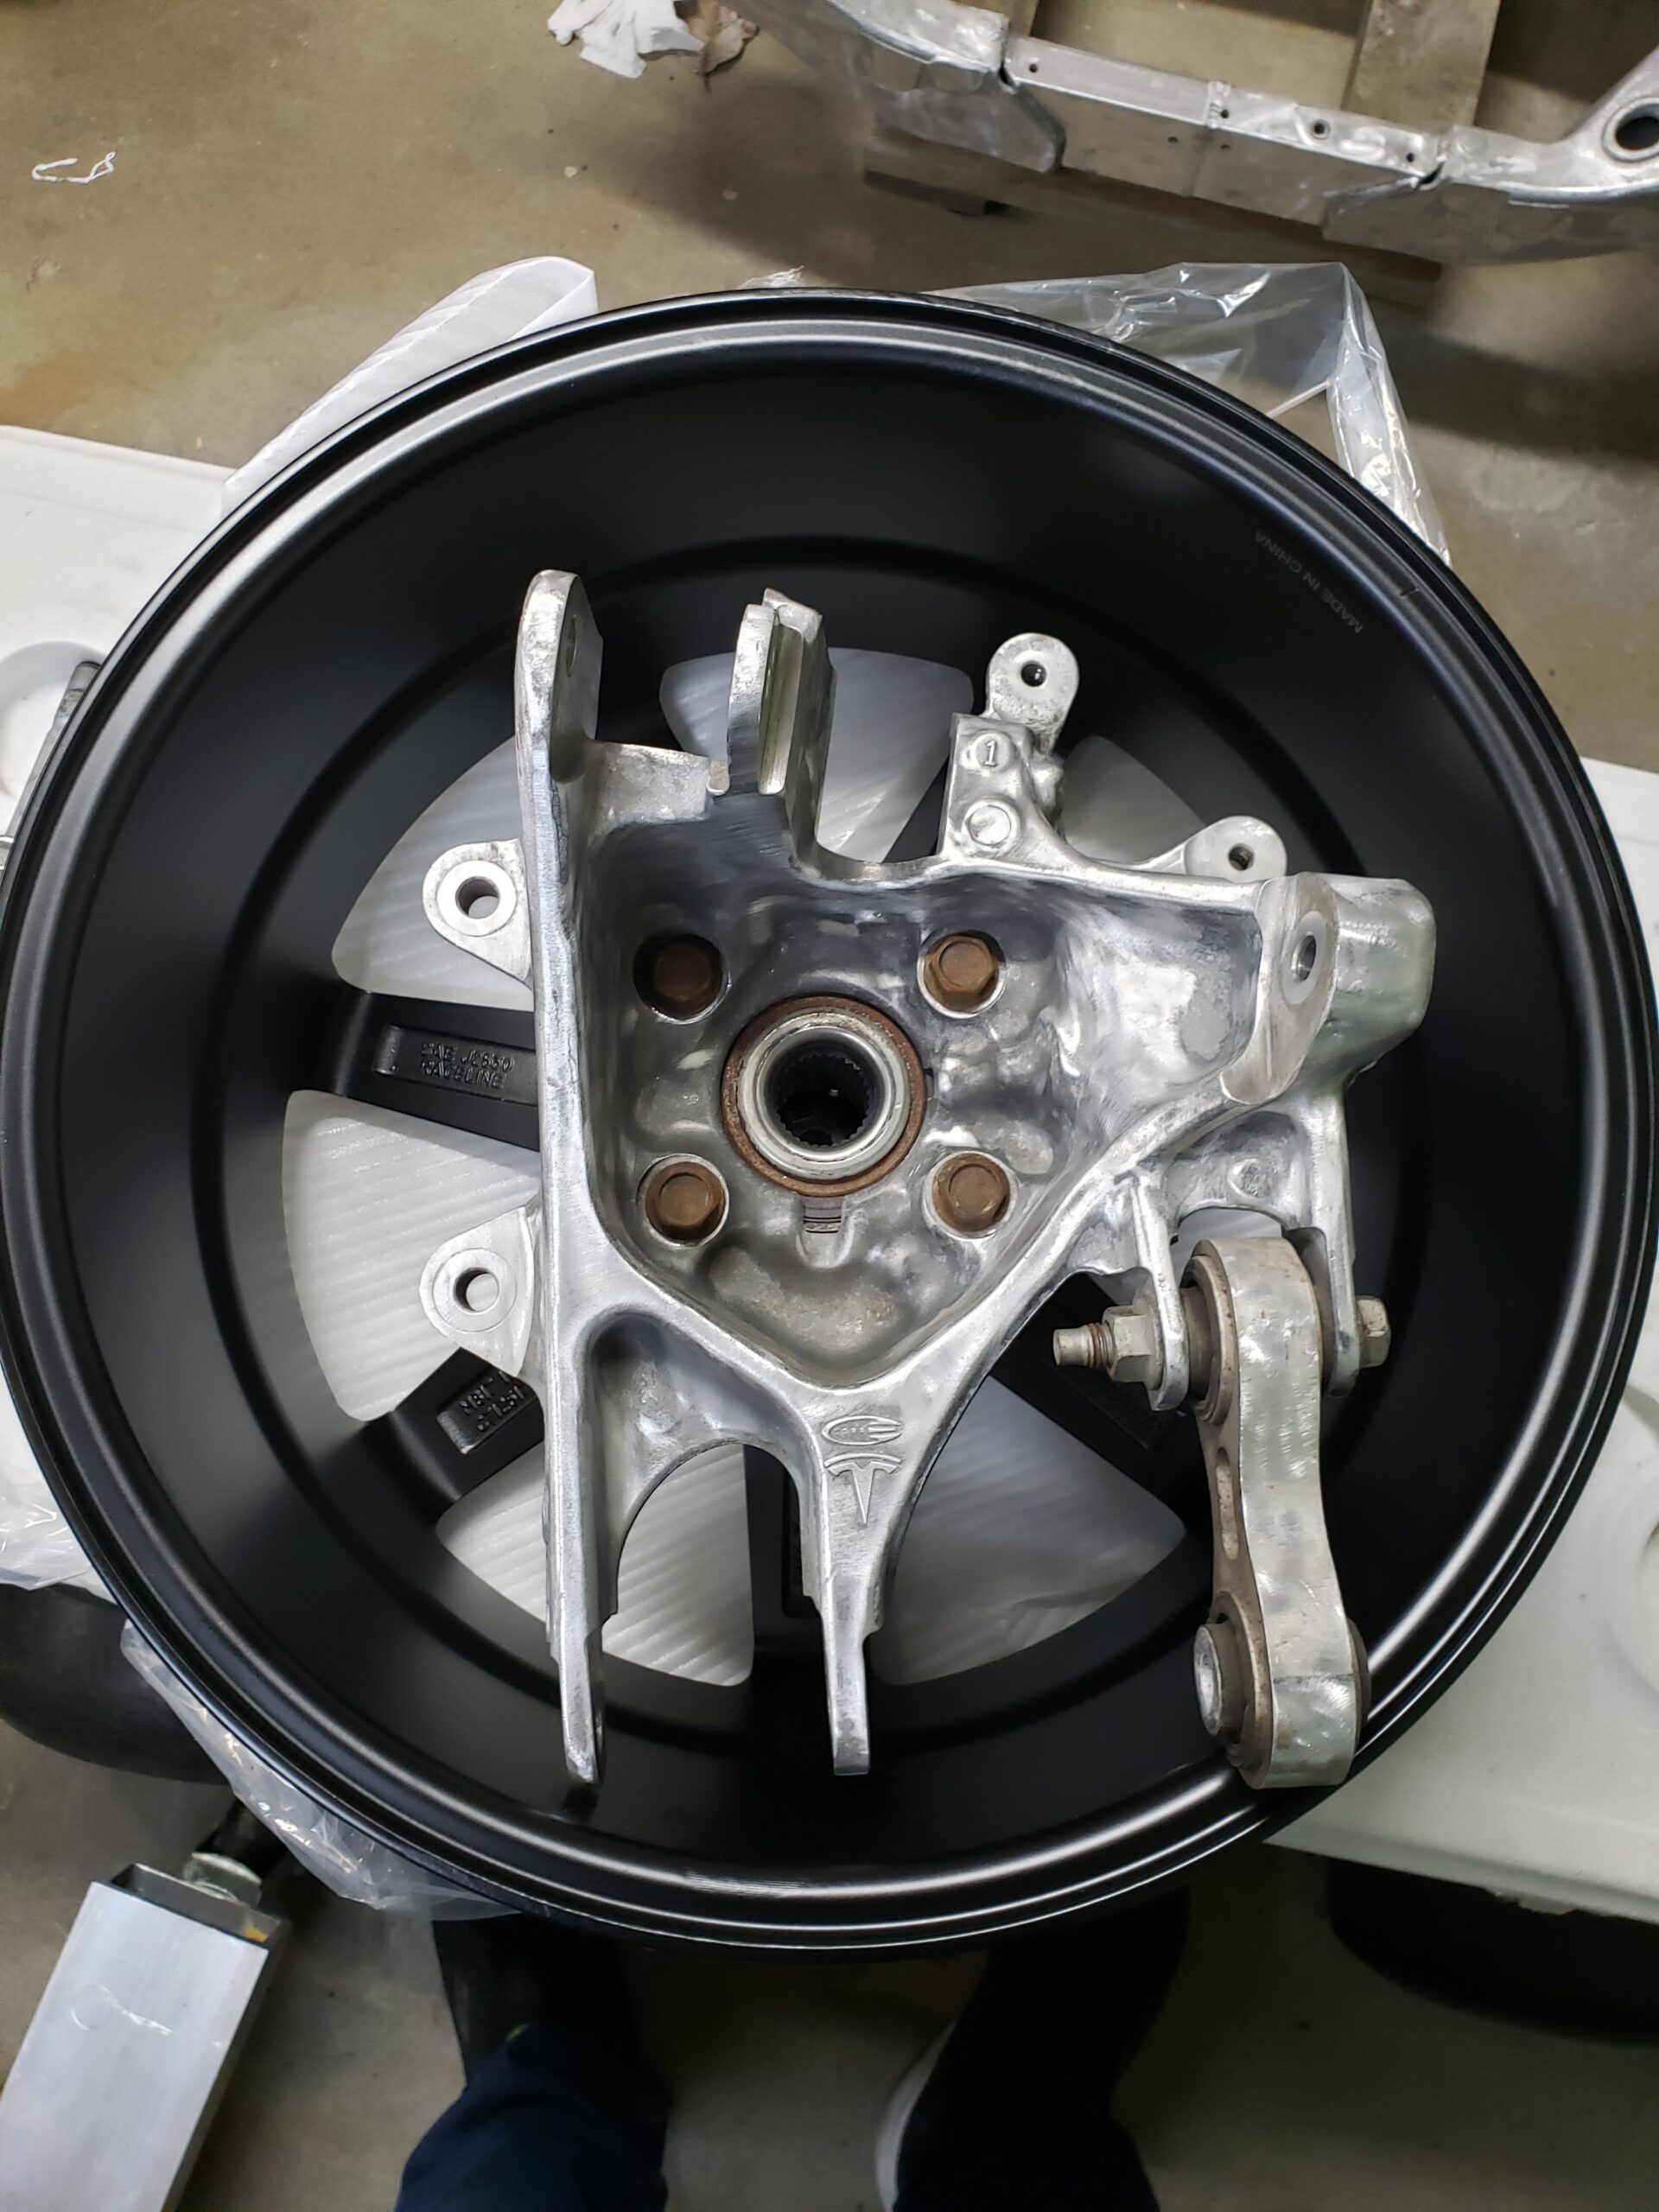
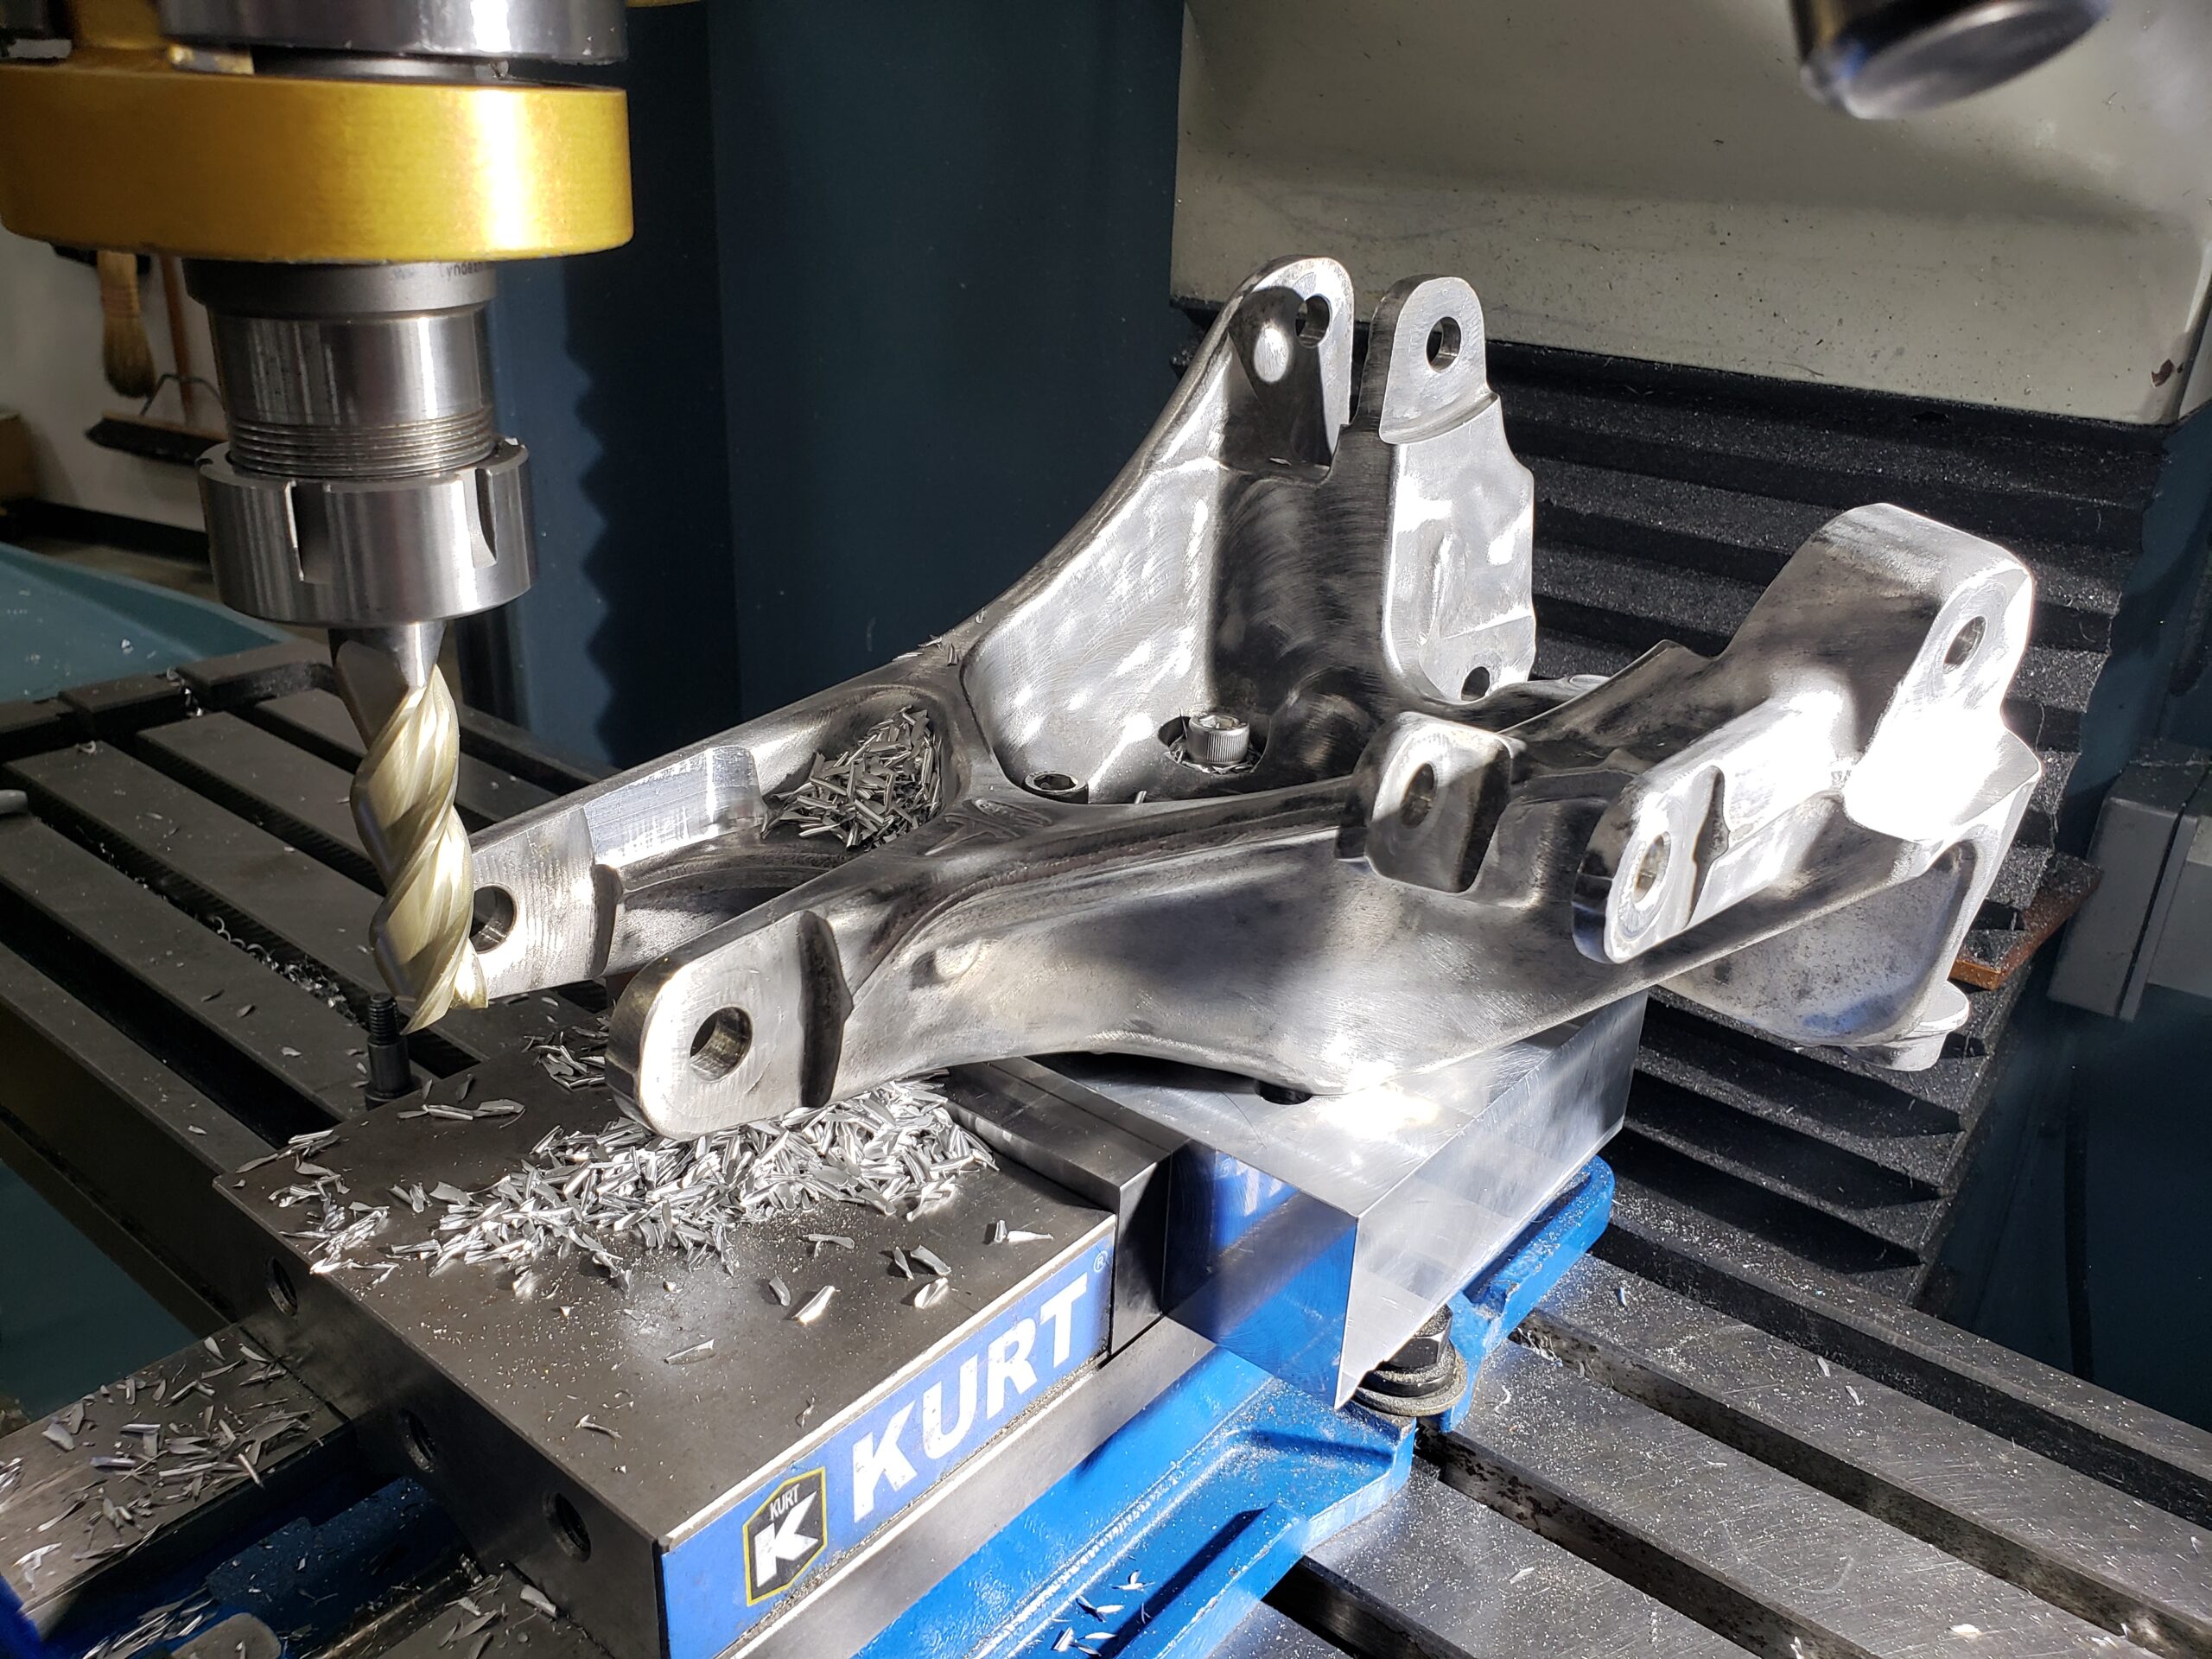
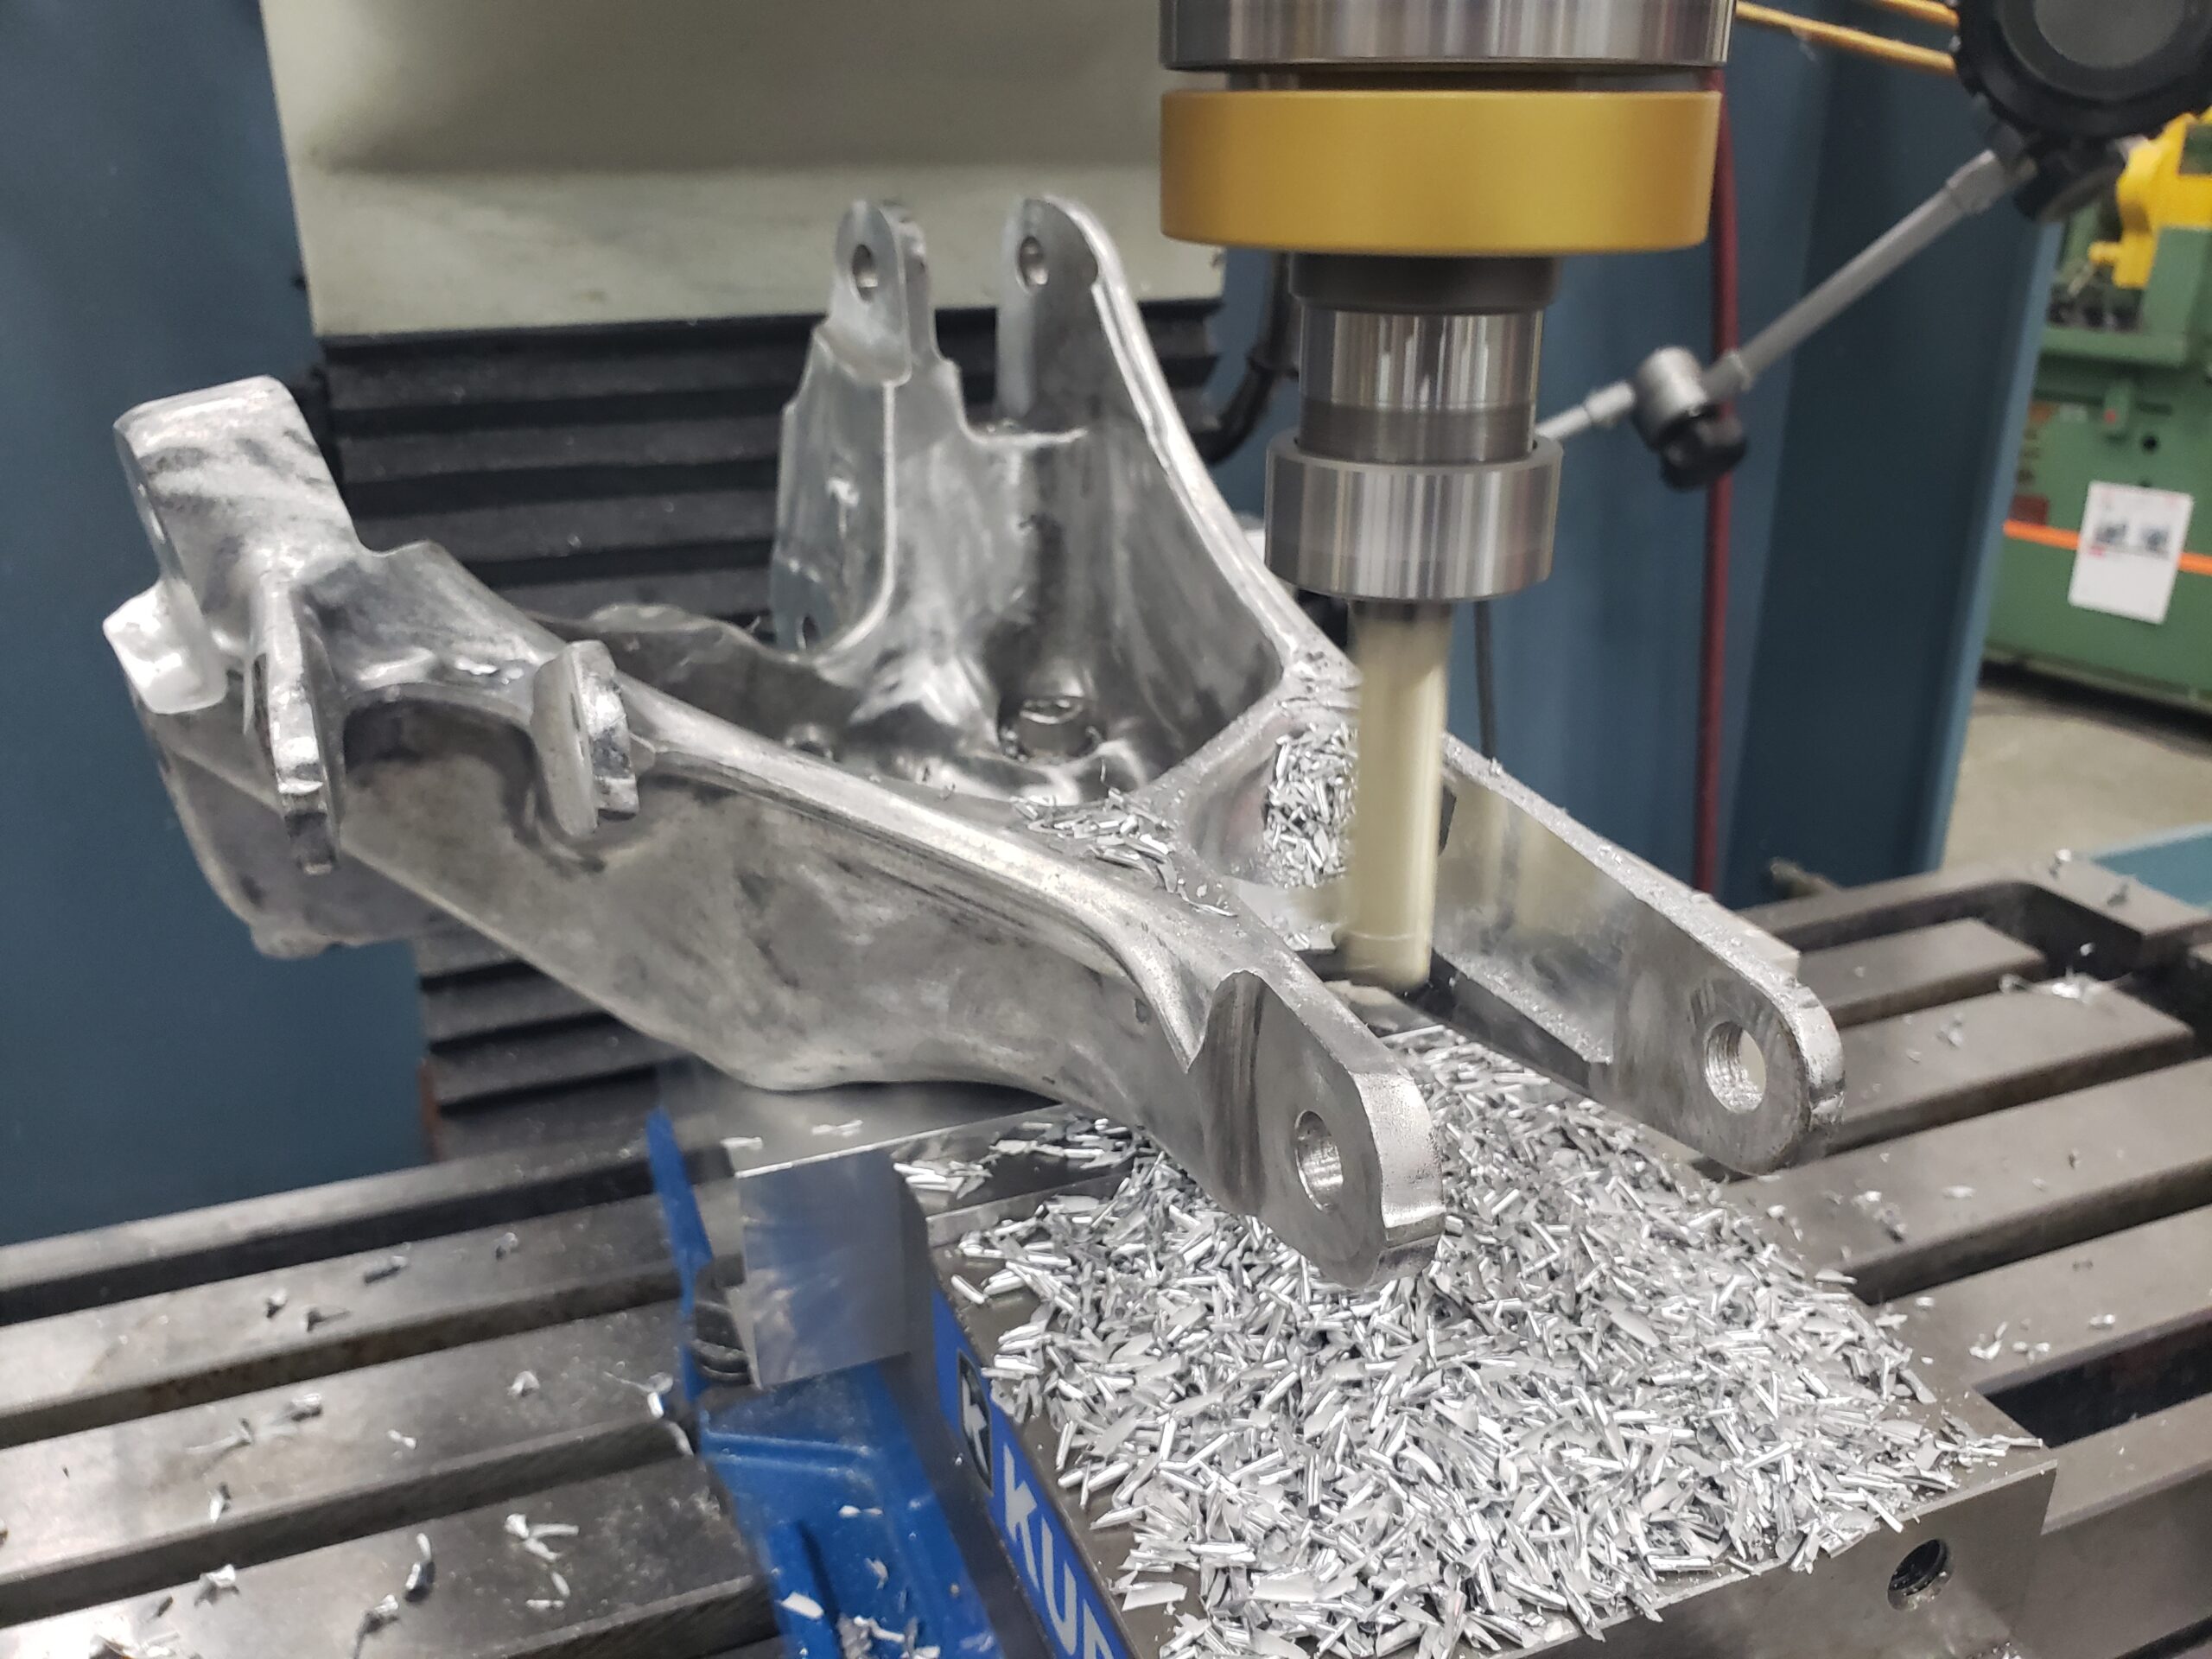
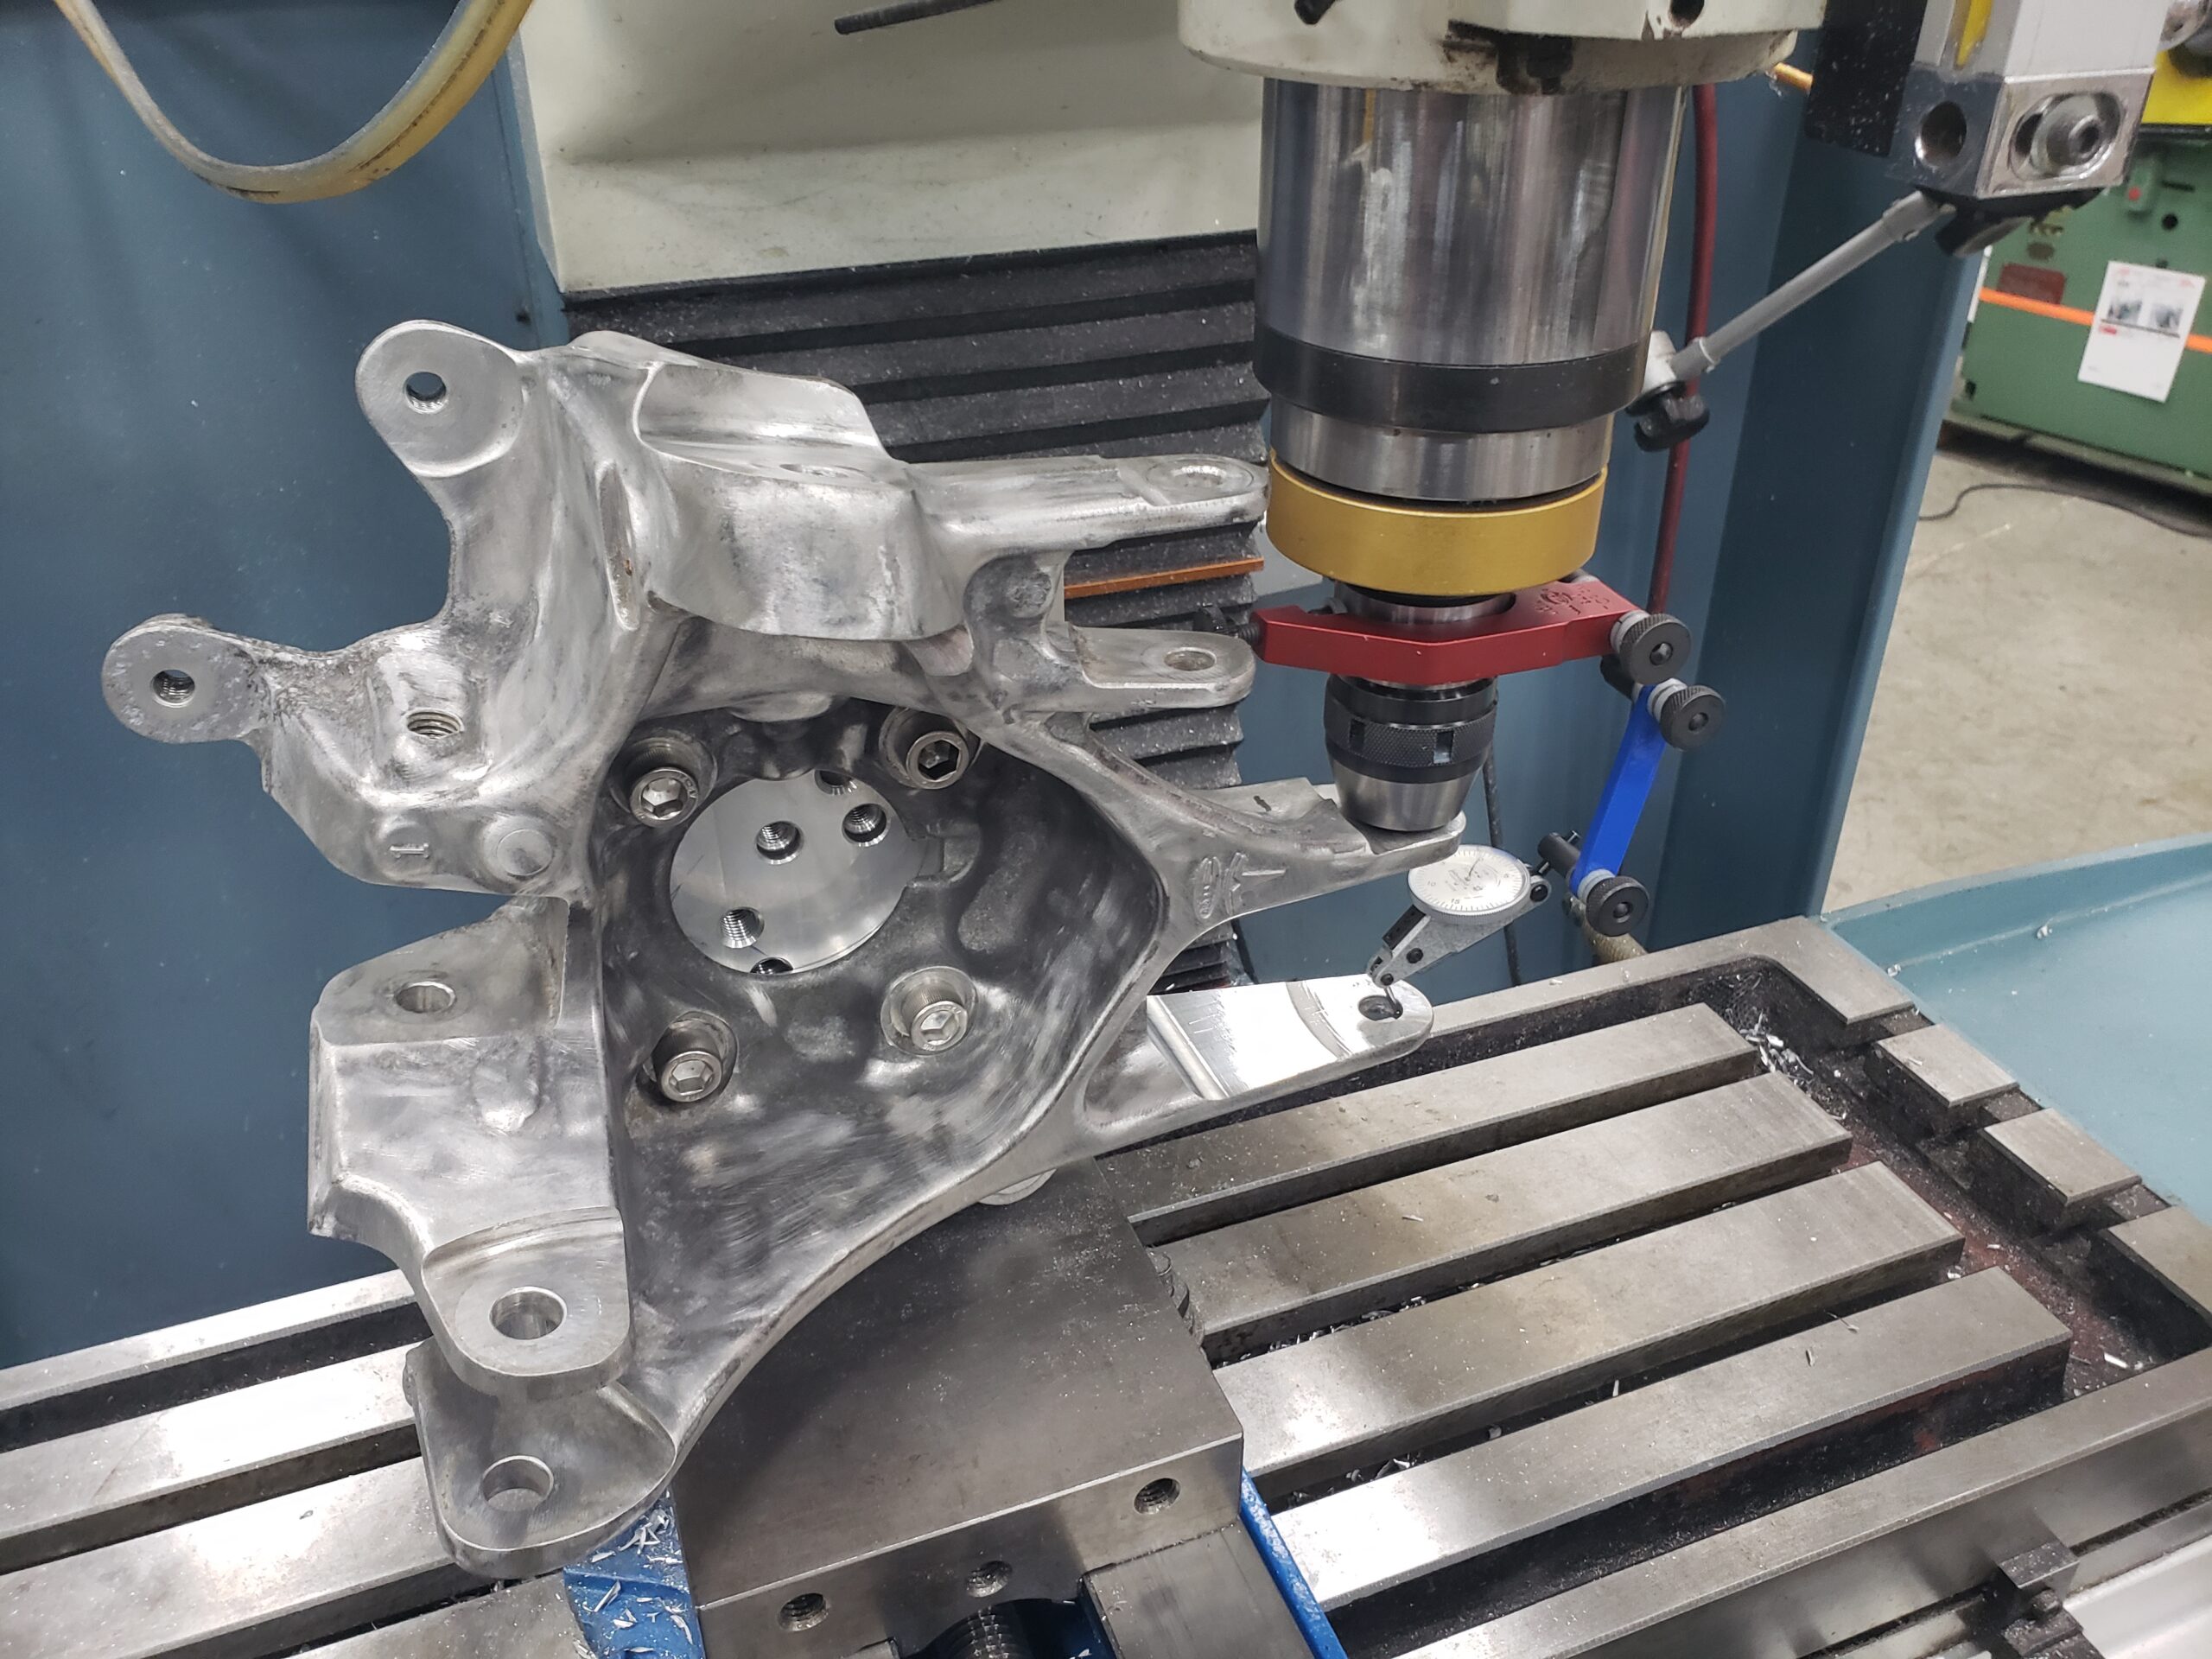
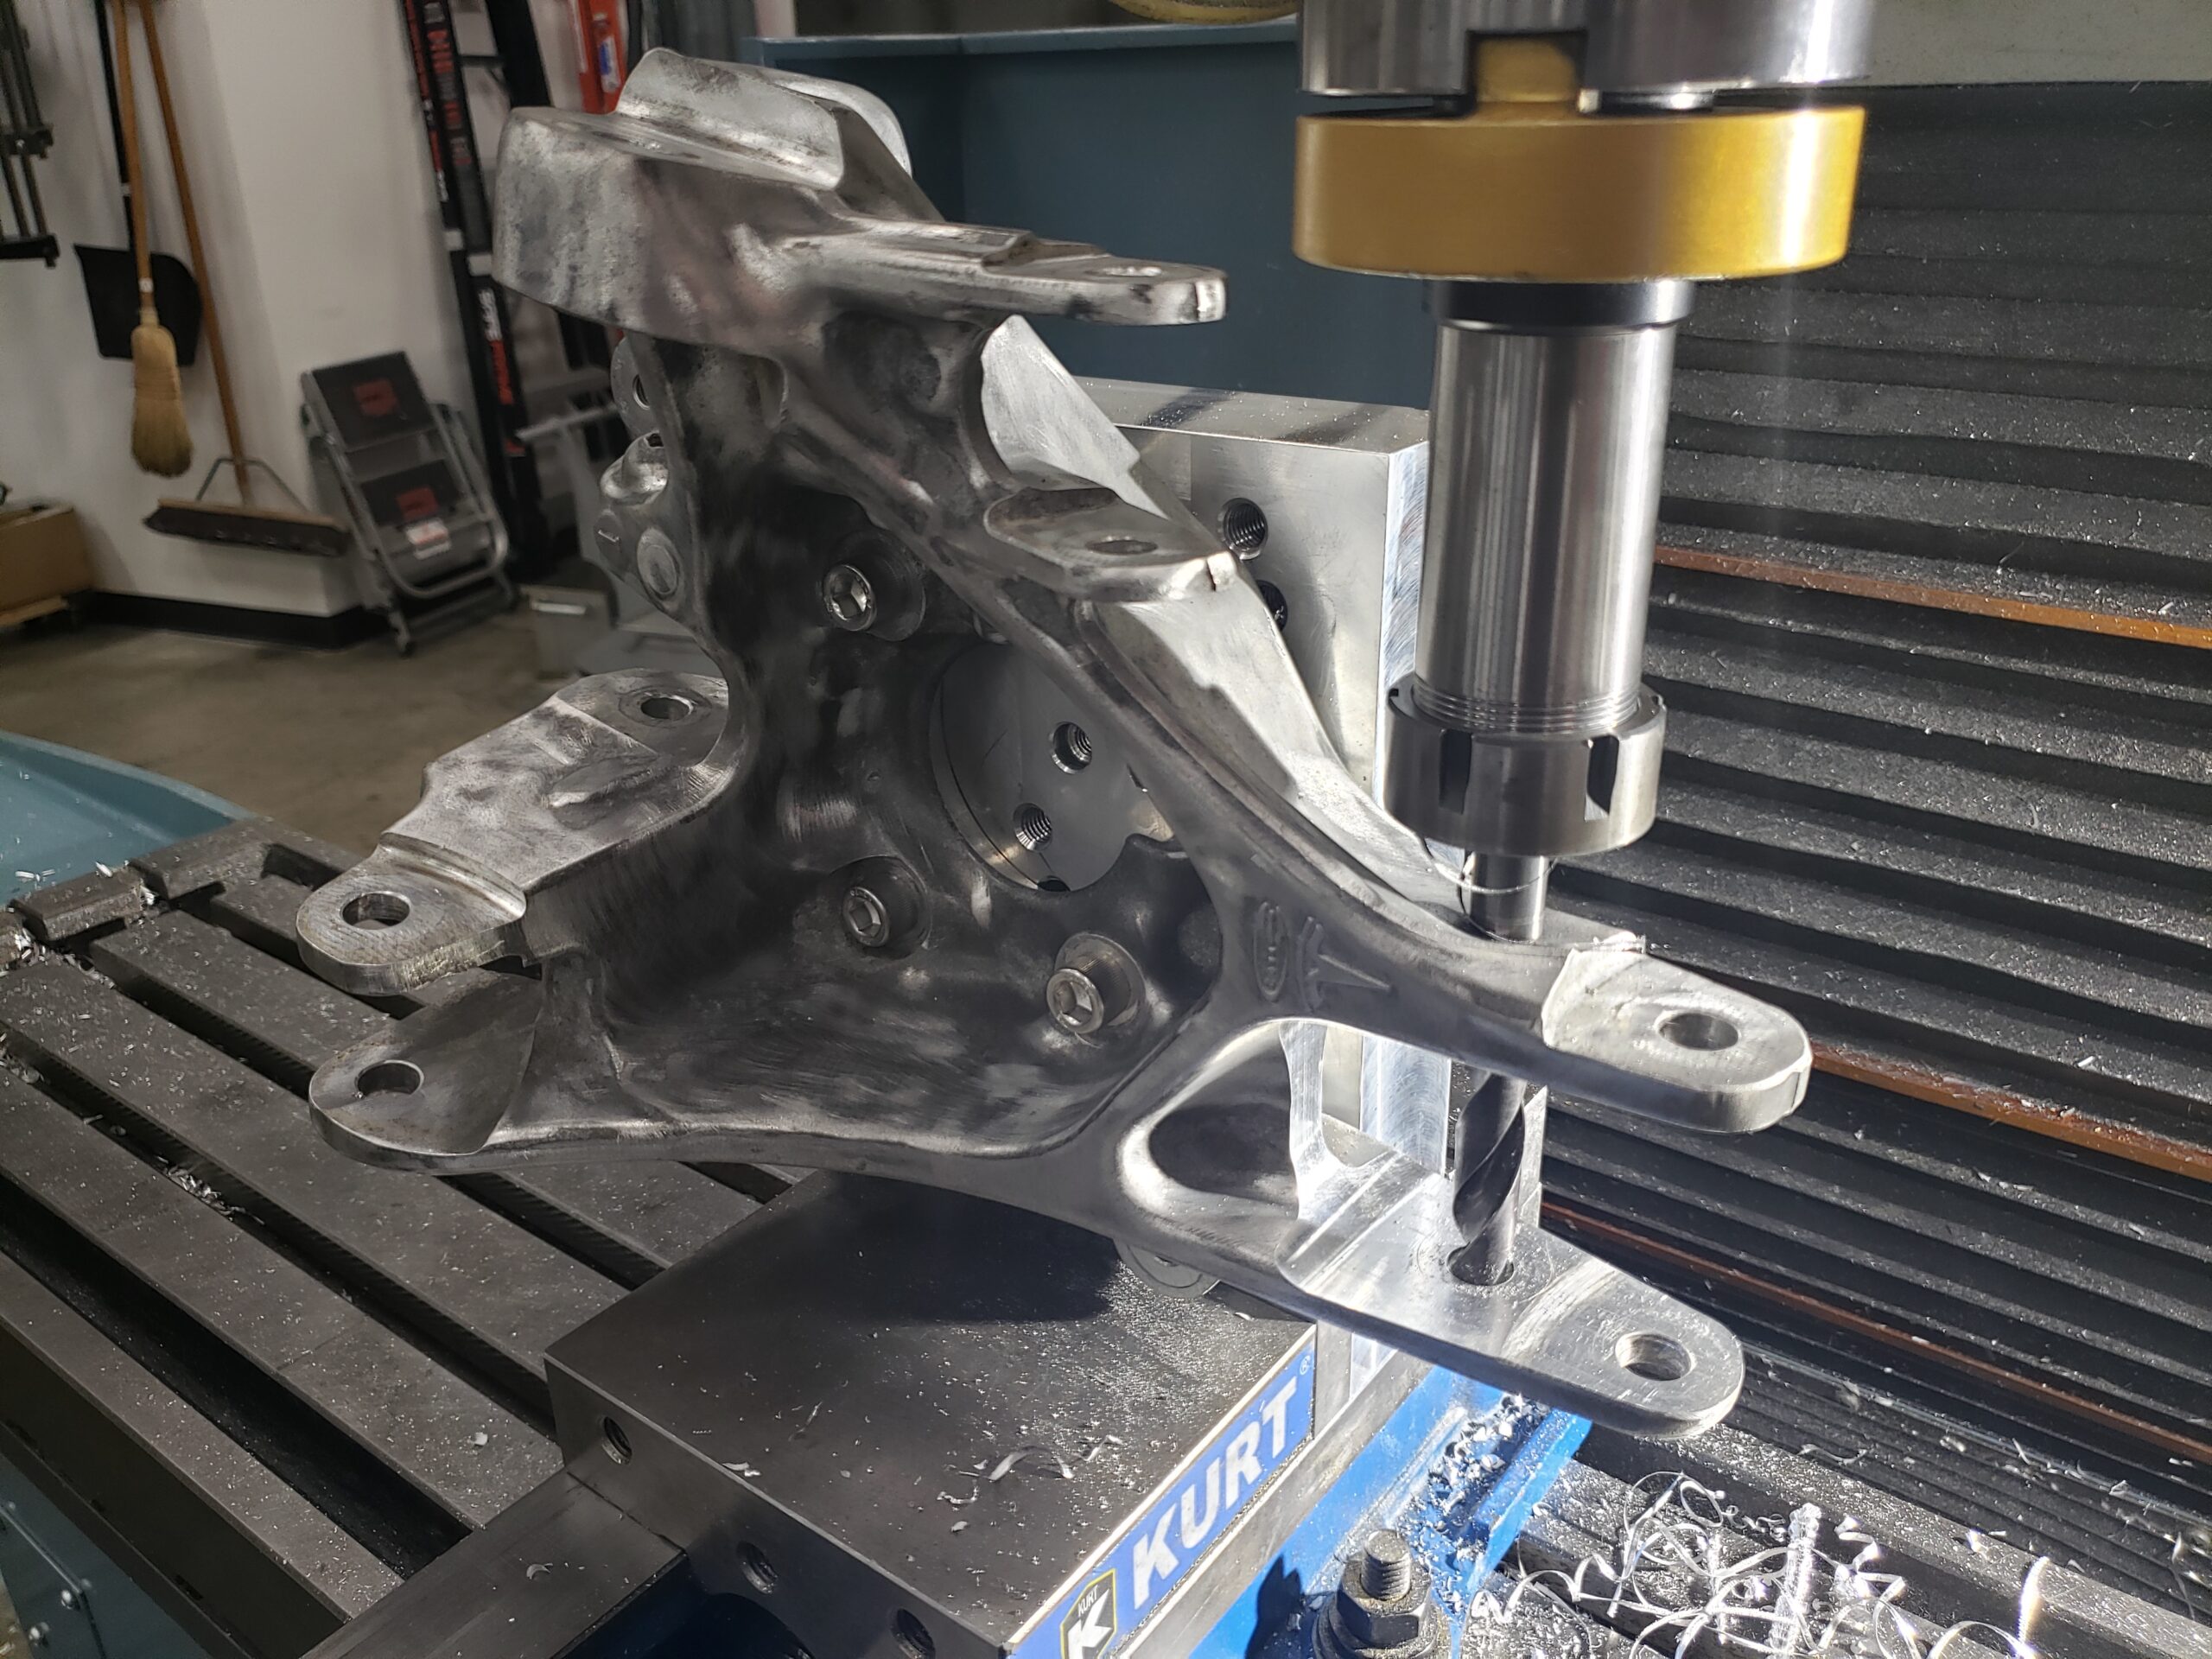
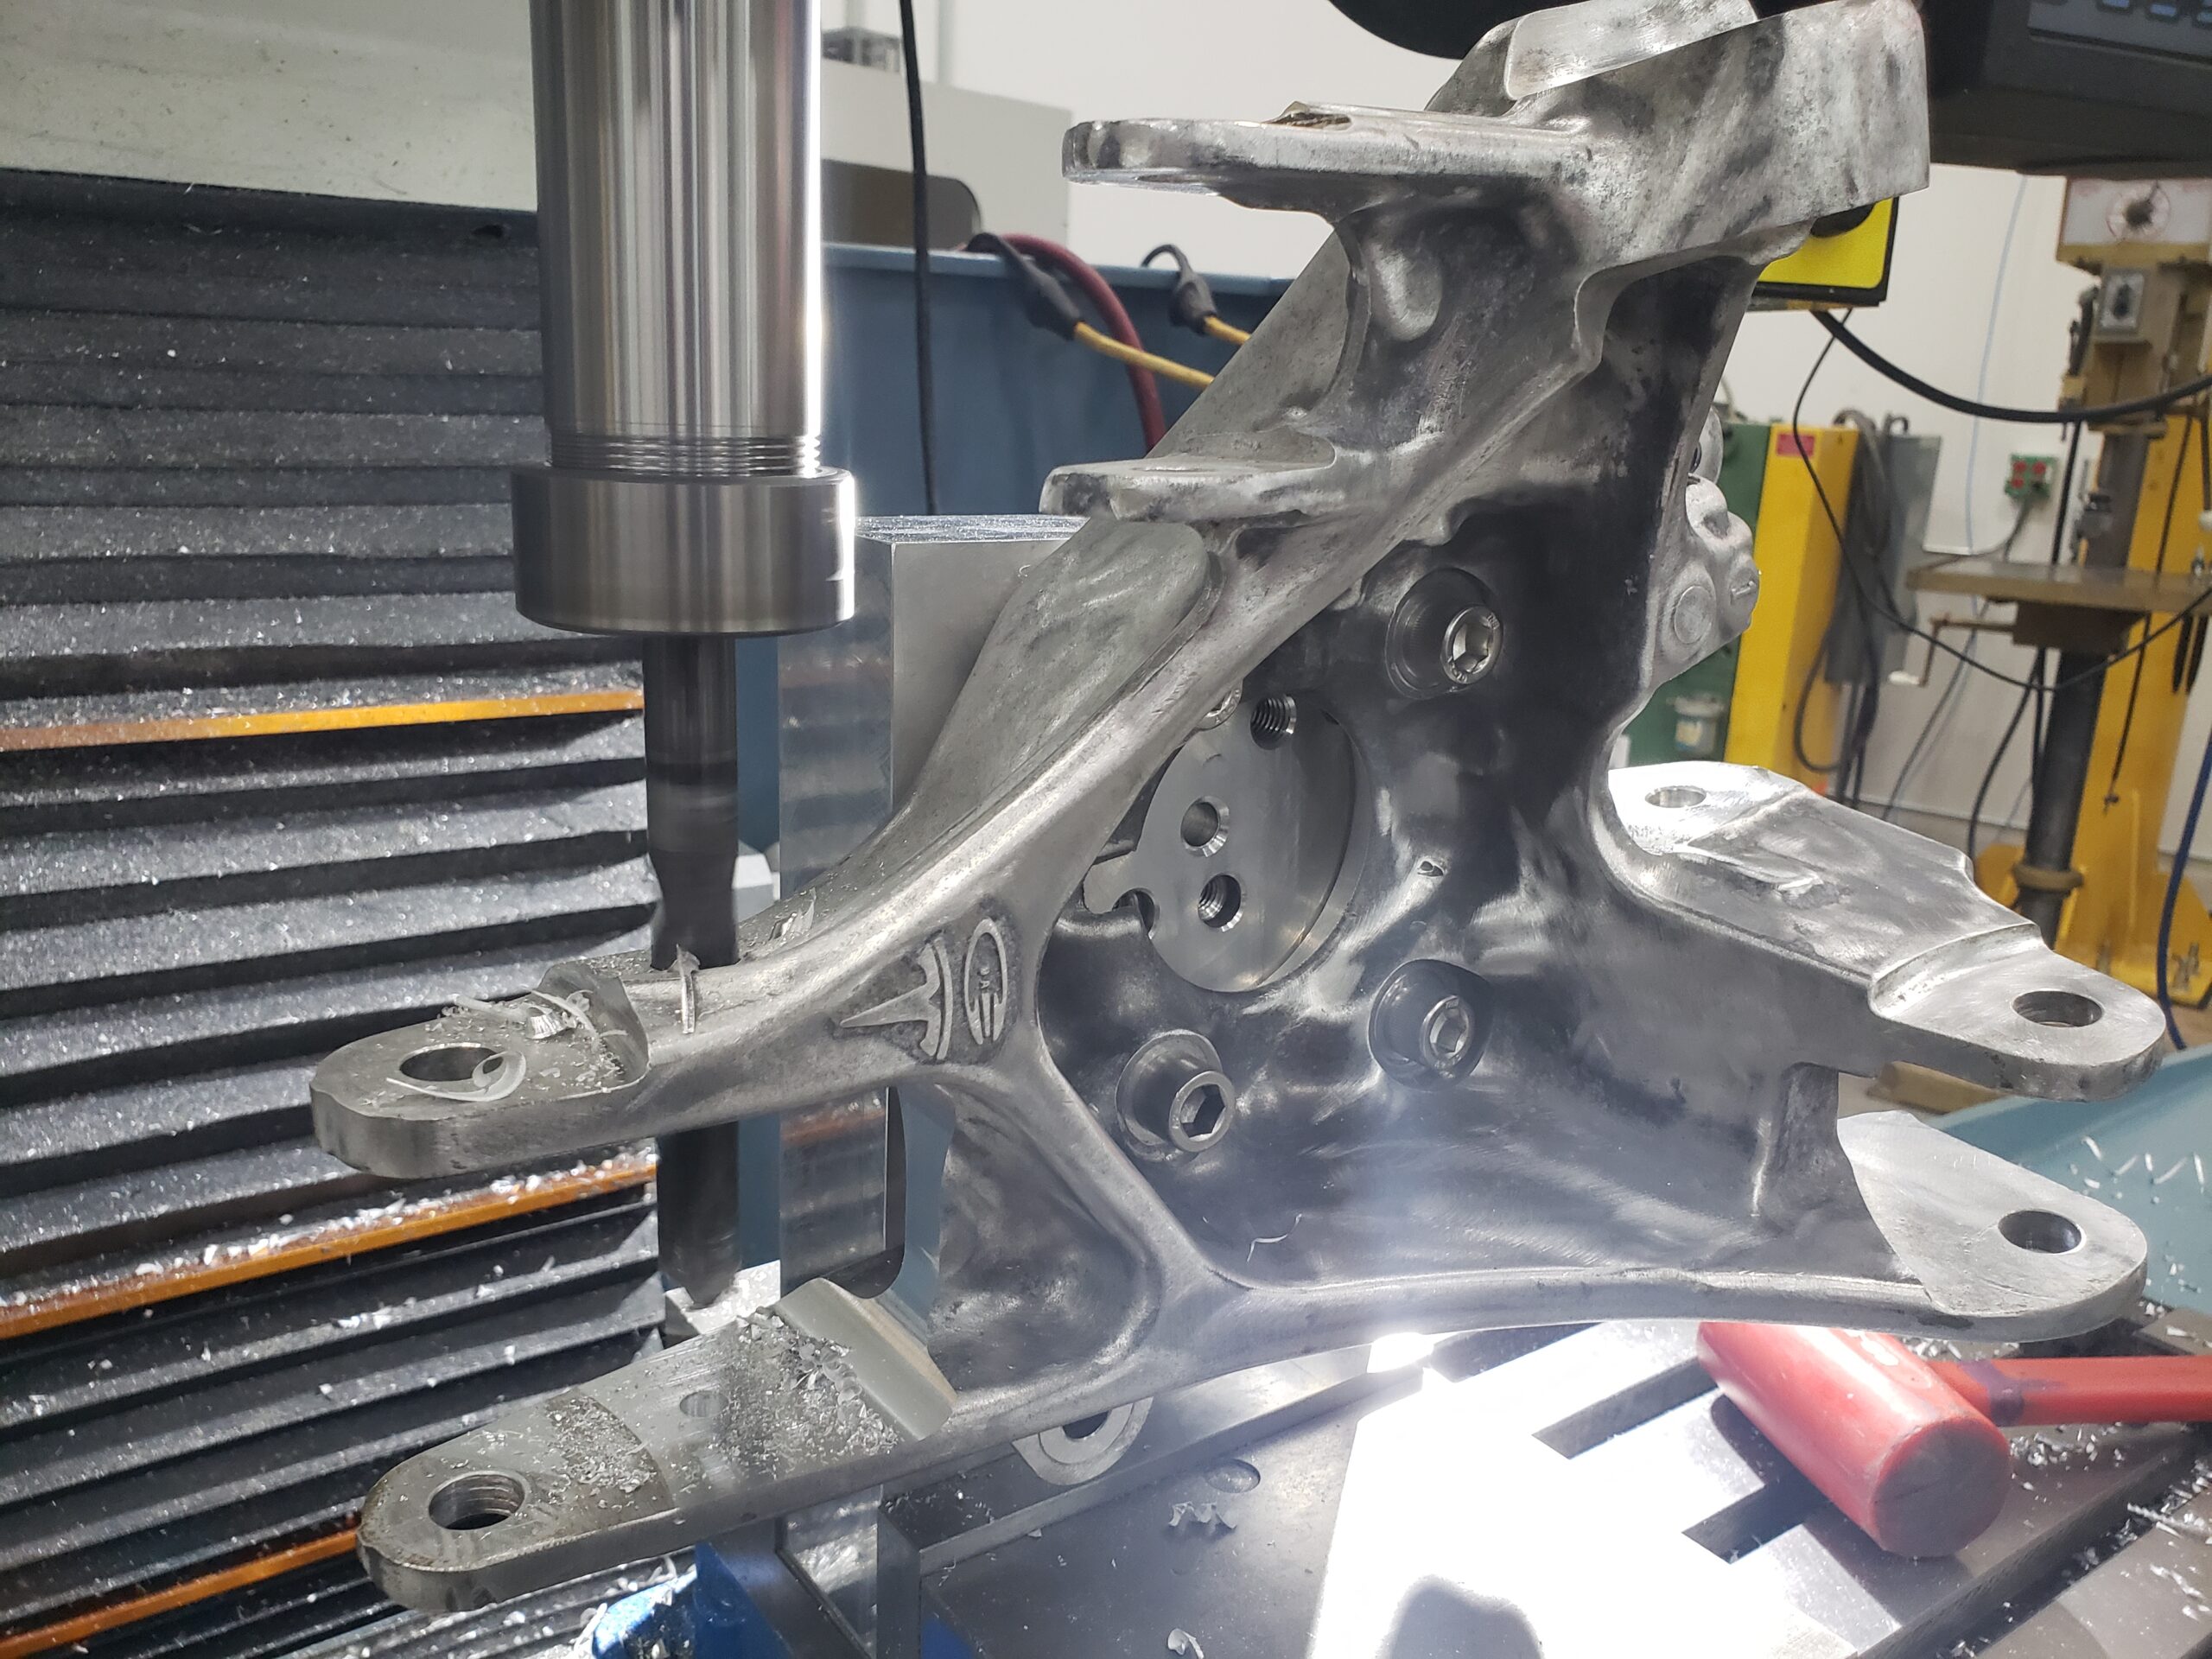
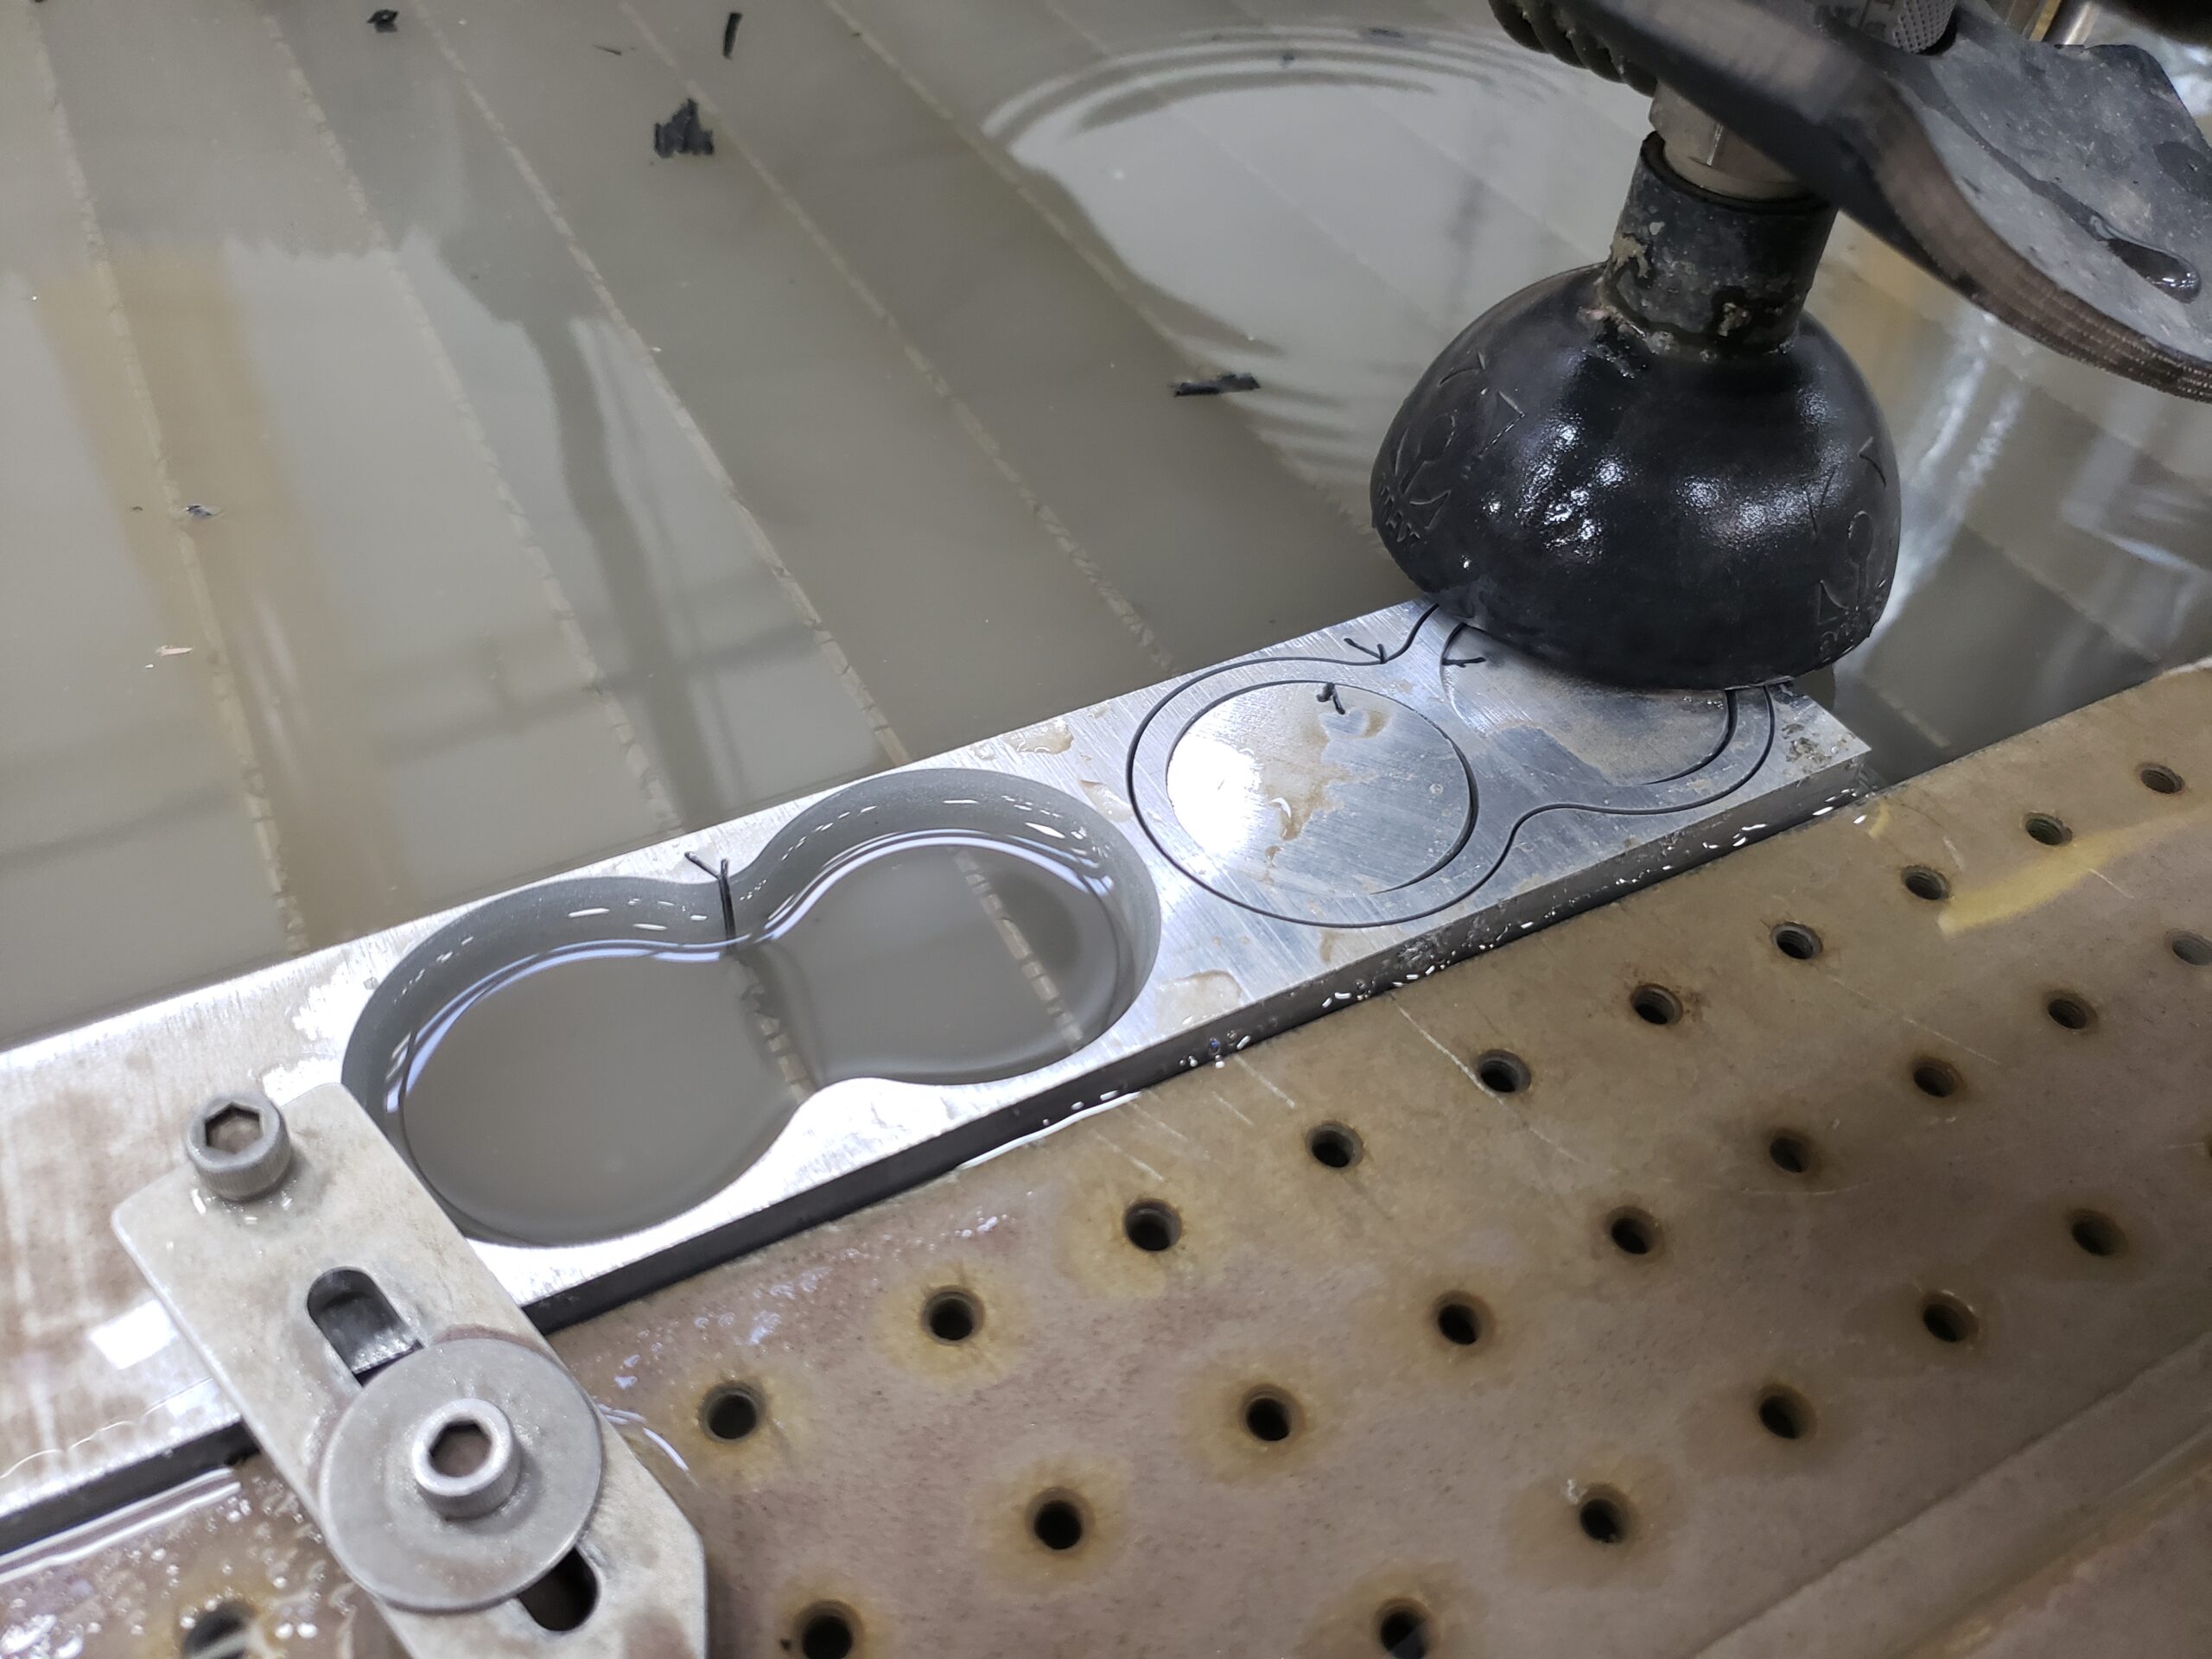
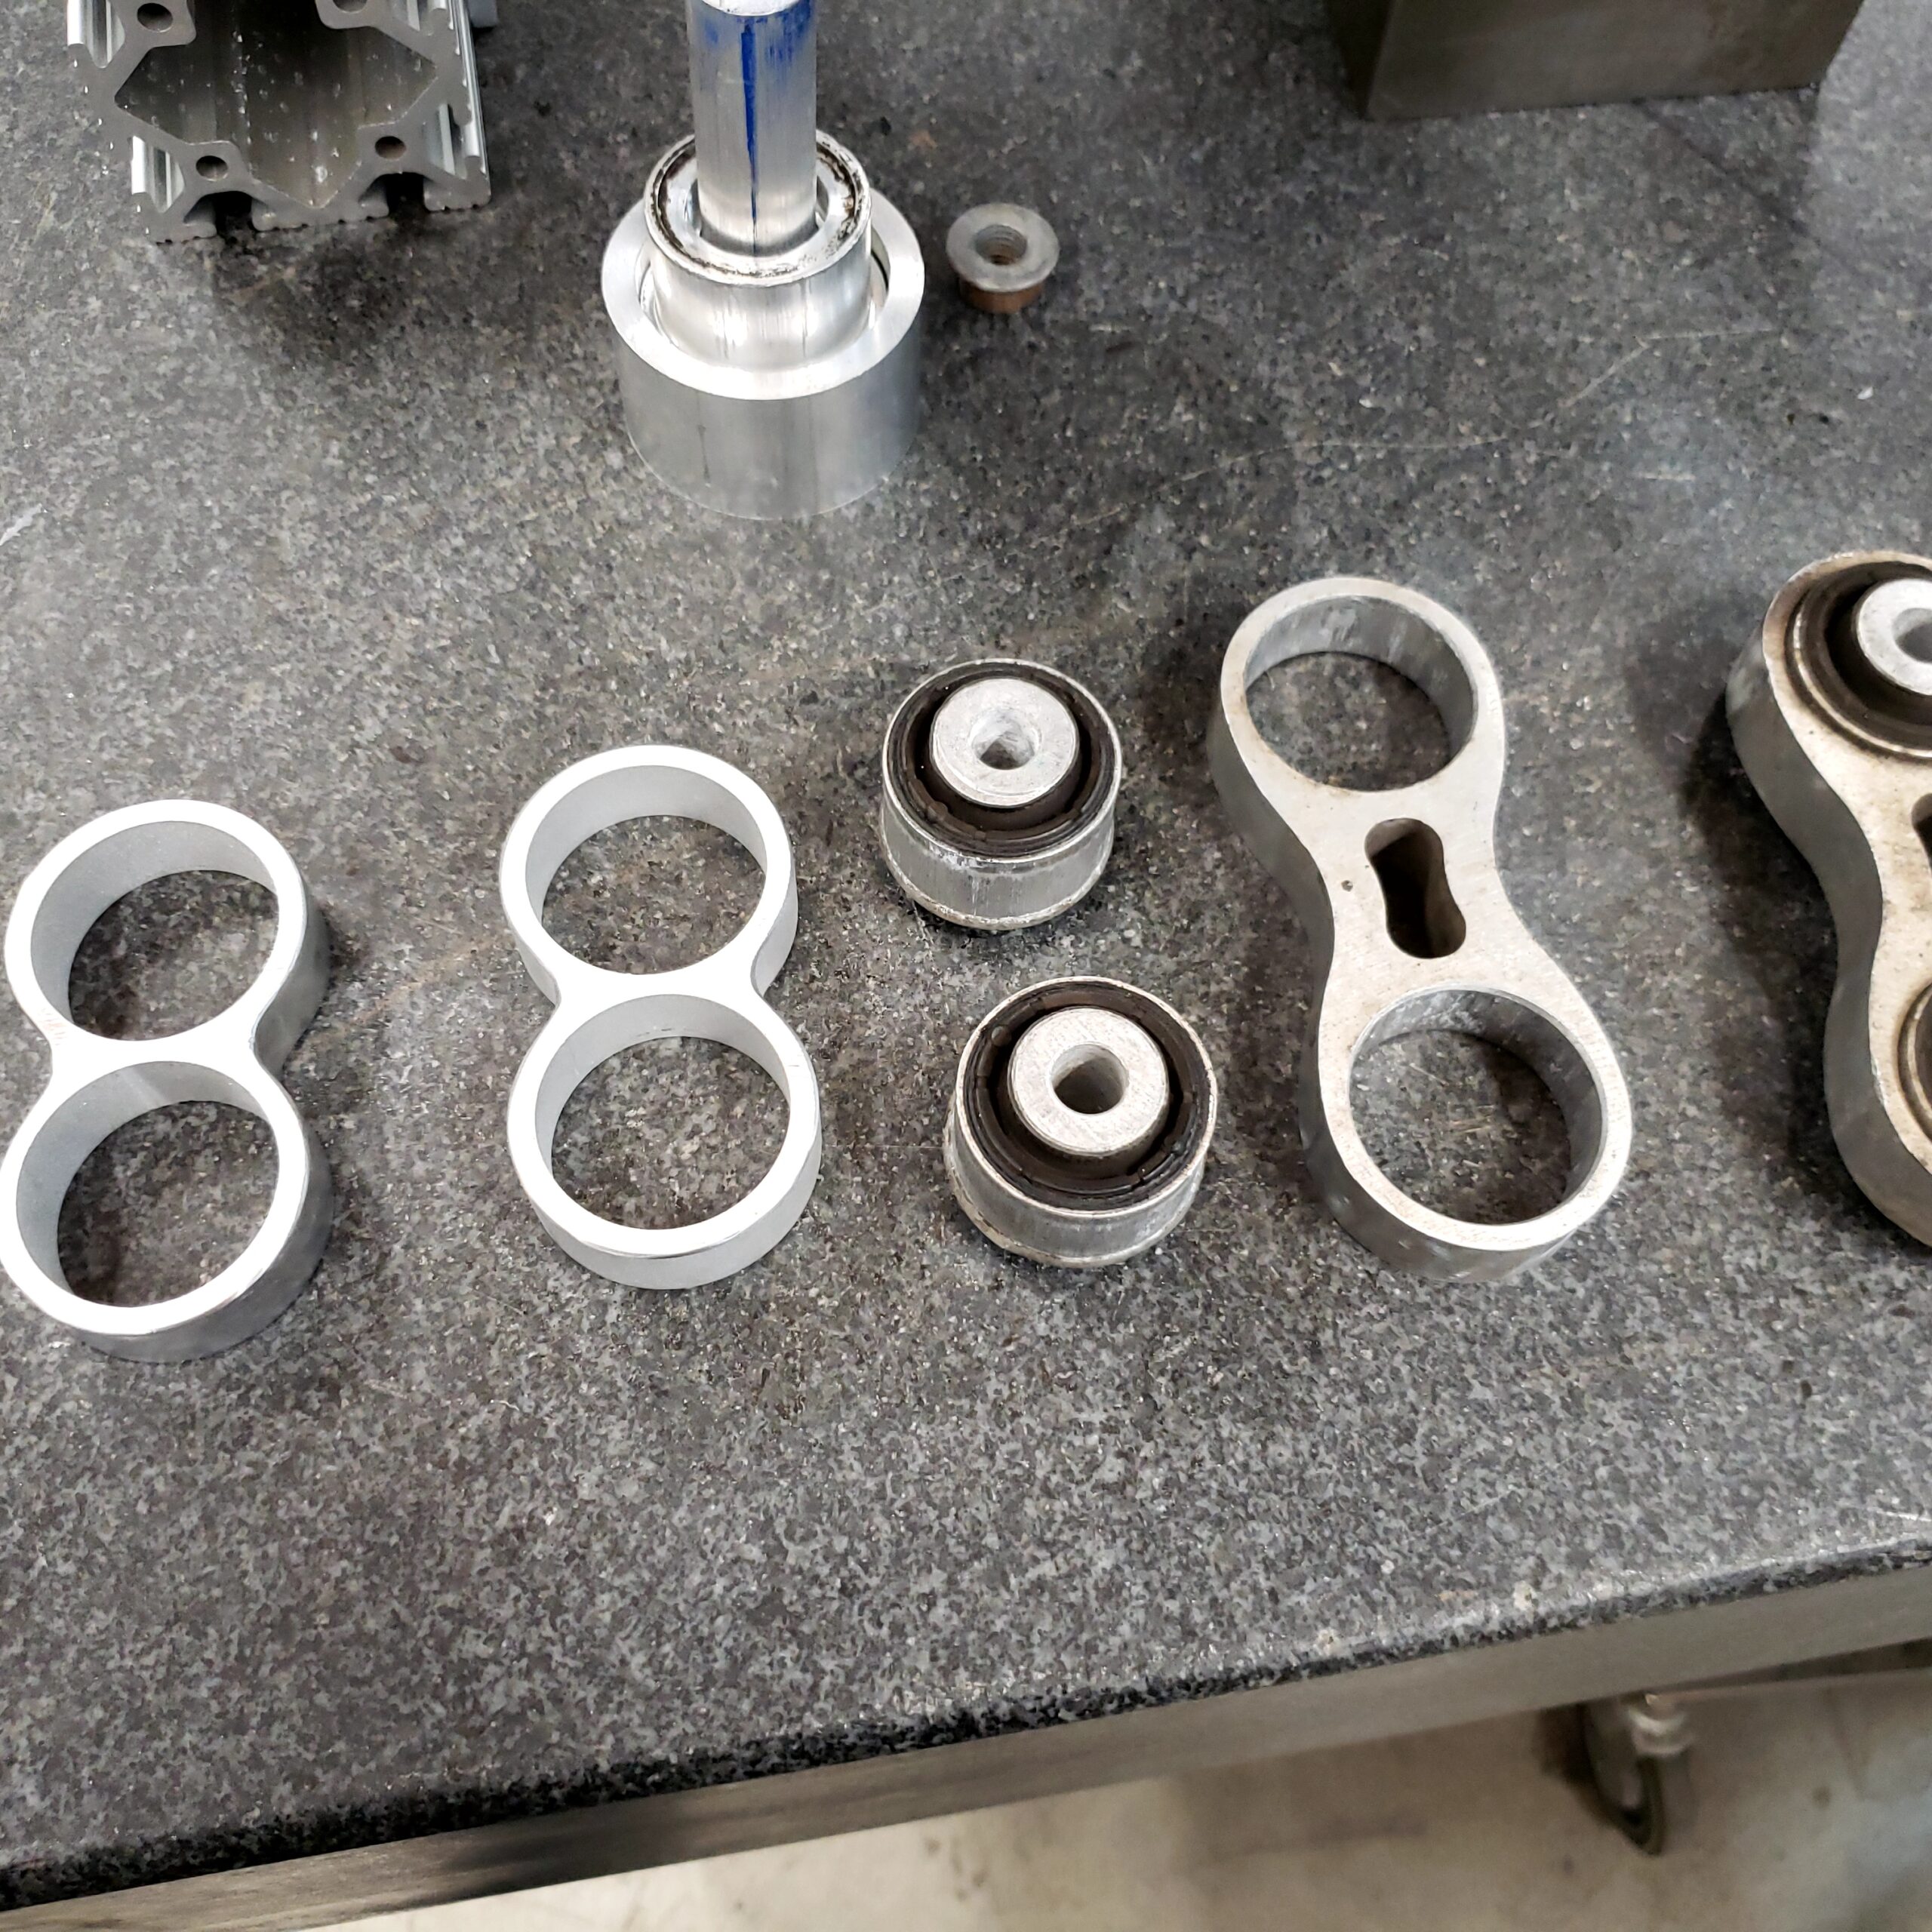
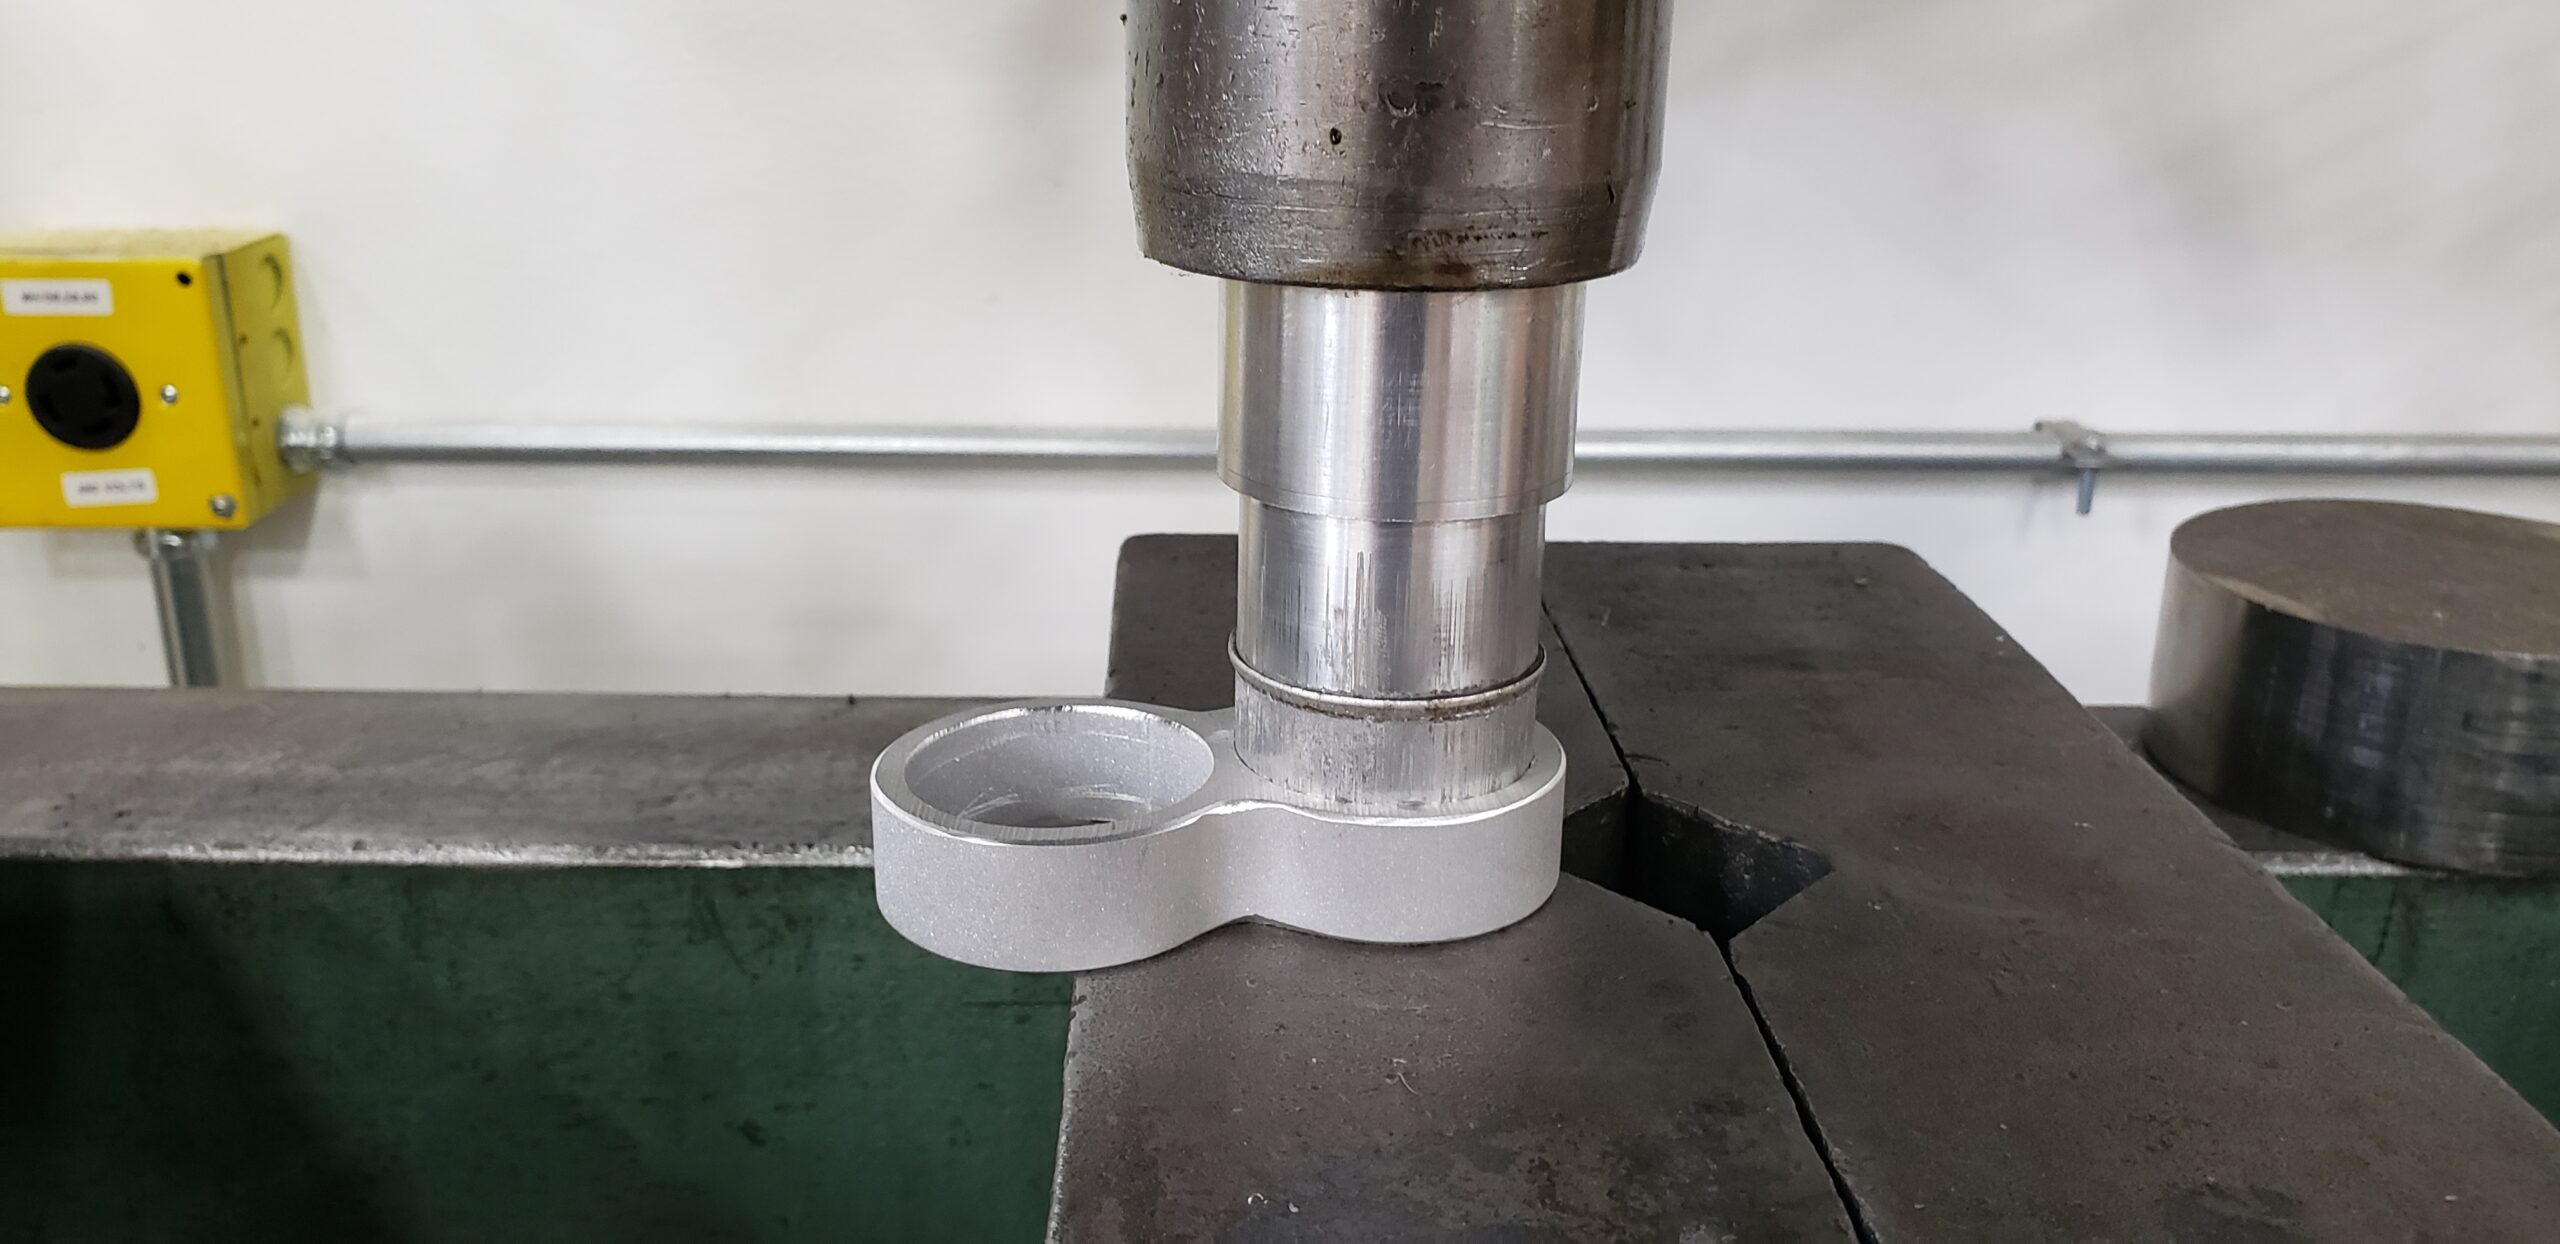
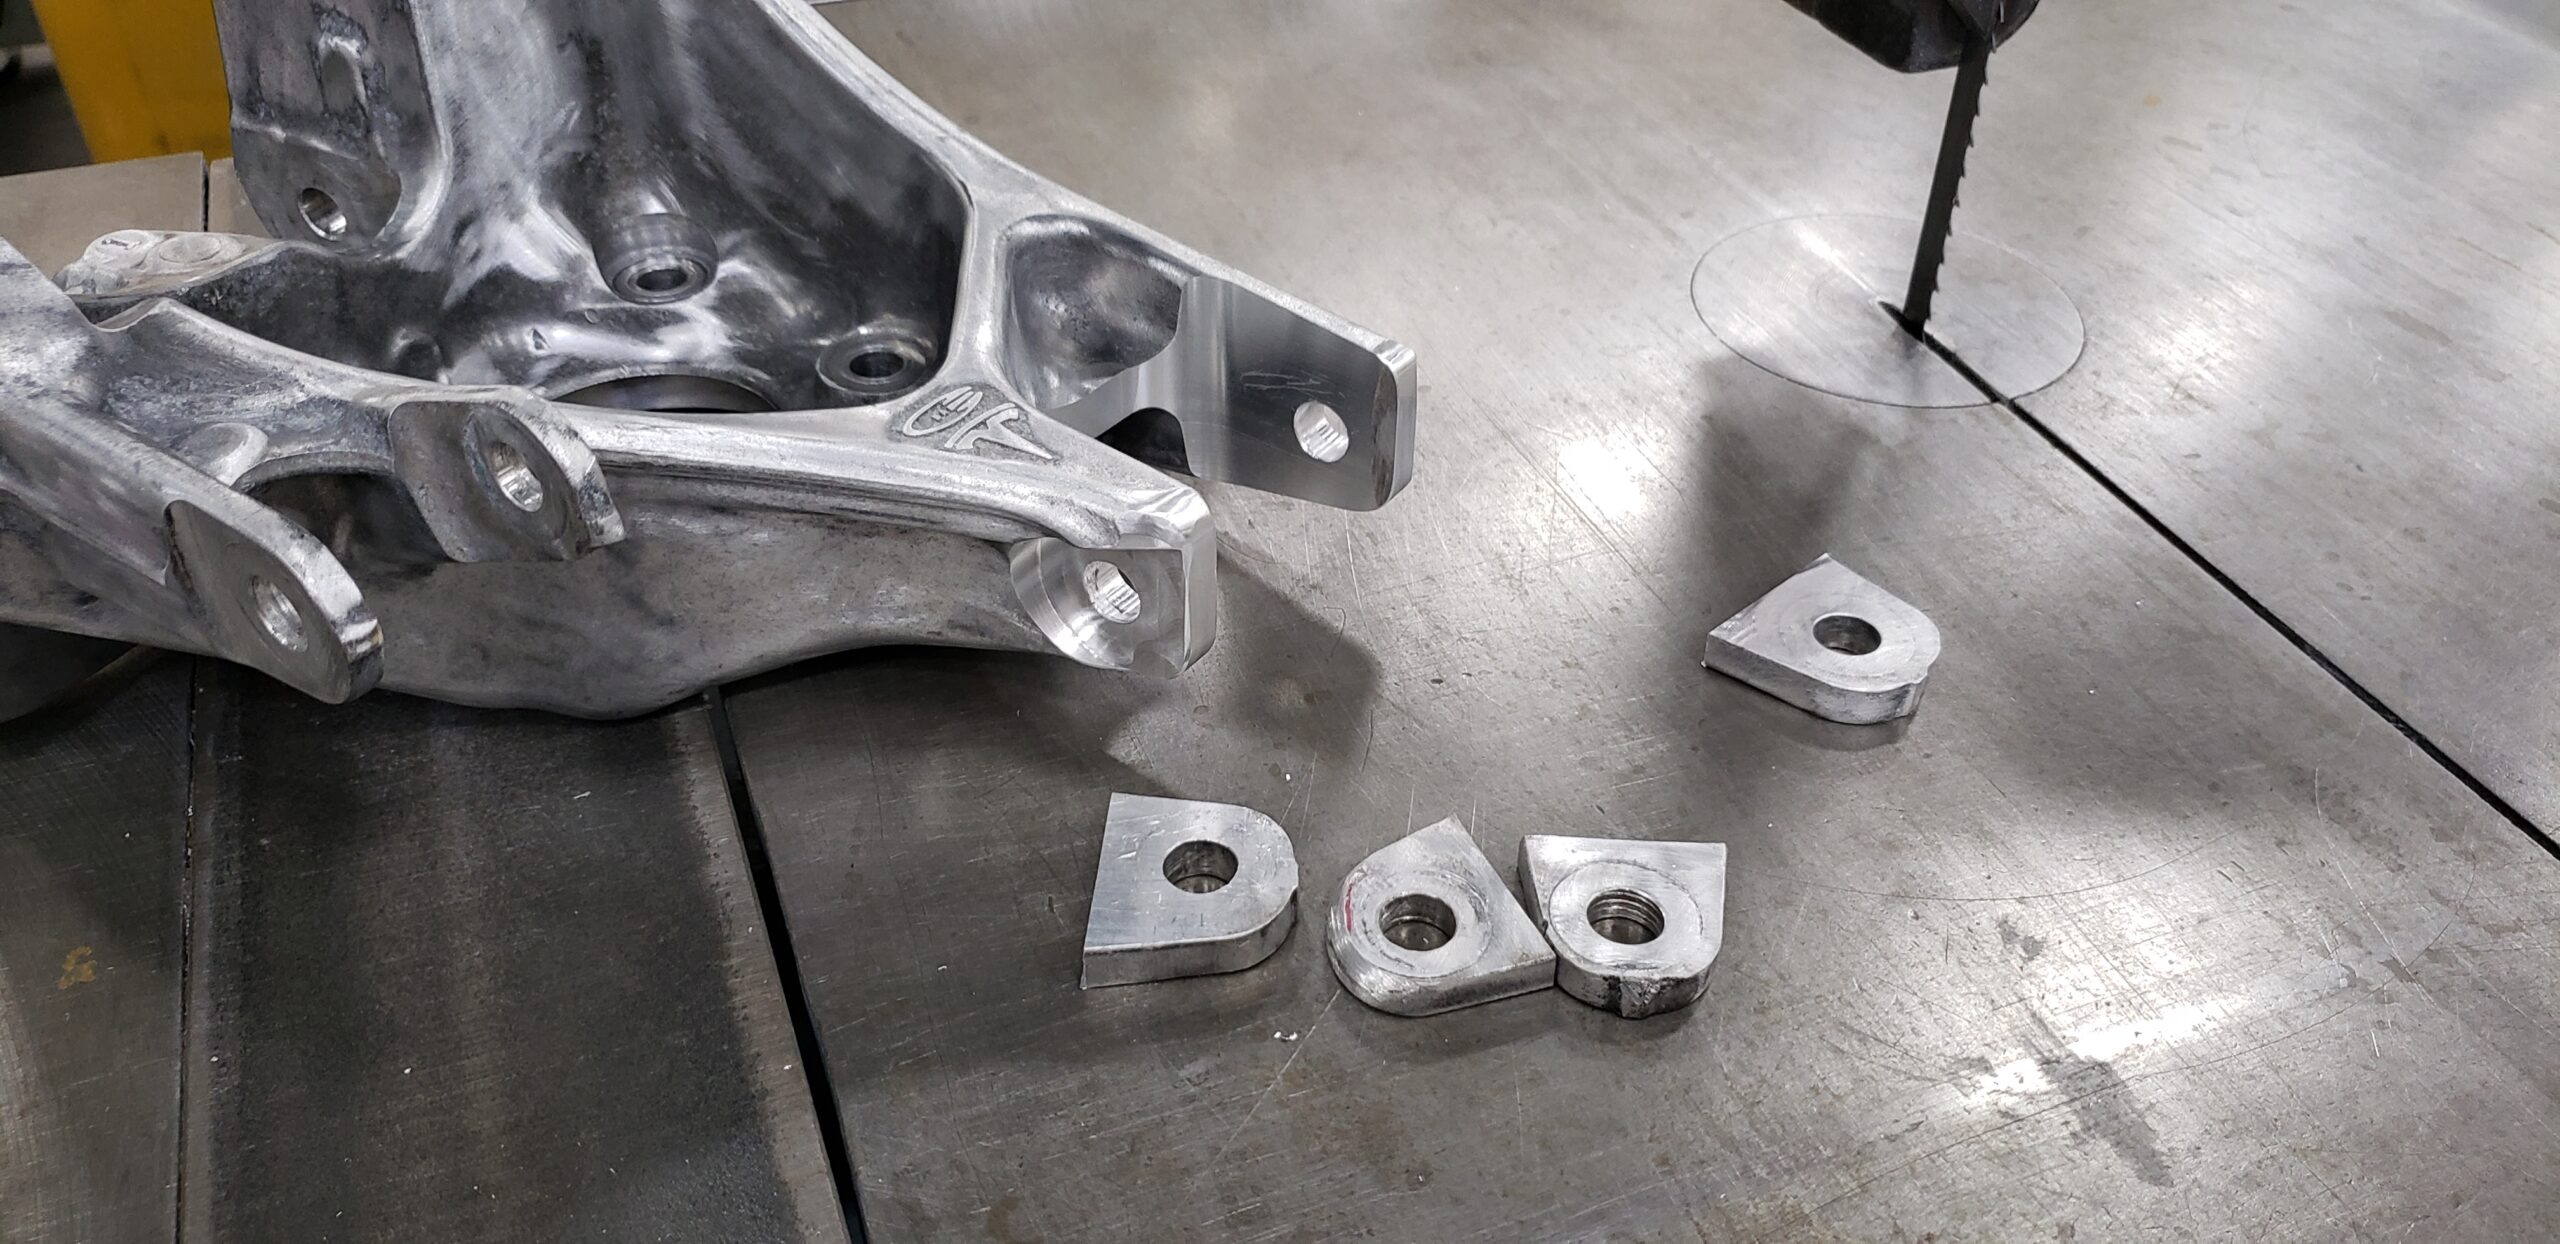
It was a slow and painstaking process, but I was determined to get it right. After several months of hard work, I finally had a modified rear subframe that was exactly one foot shorter than the original and both rear knuckles re-machined to fit inside of smaller wheels.
While the modification was complex and required a great deal of expertise, it was a labor of love that I will always be proud of. I hope that my experience inspires other car enthusiasts to think outside the box and find creative ways to make their dream cars a reality.

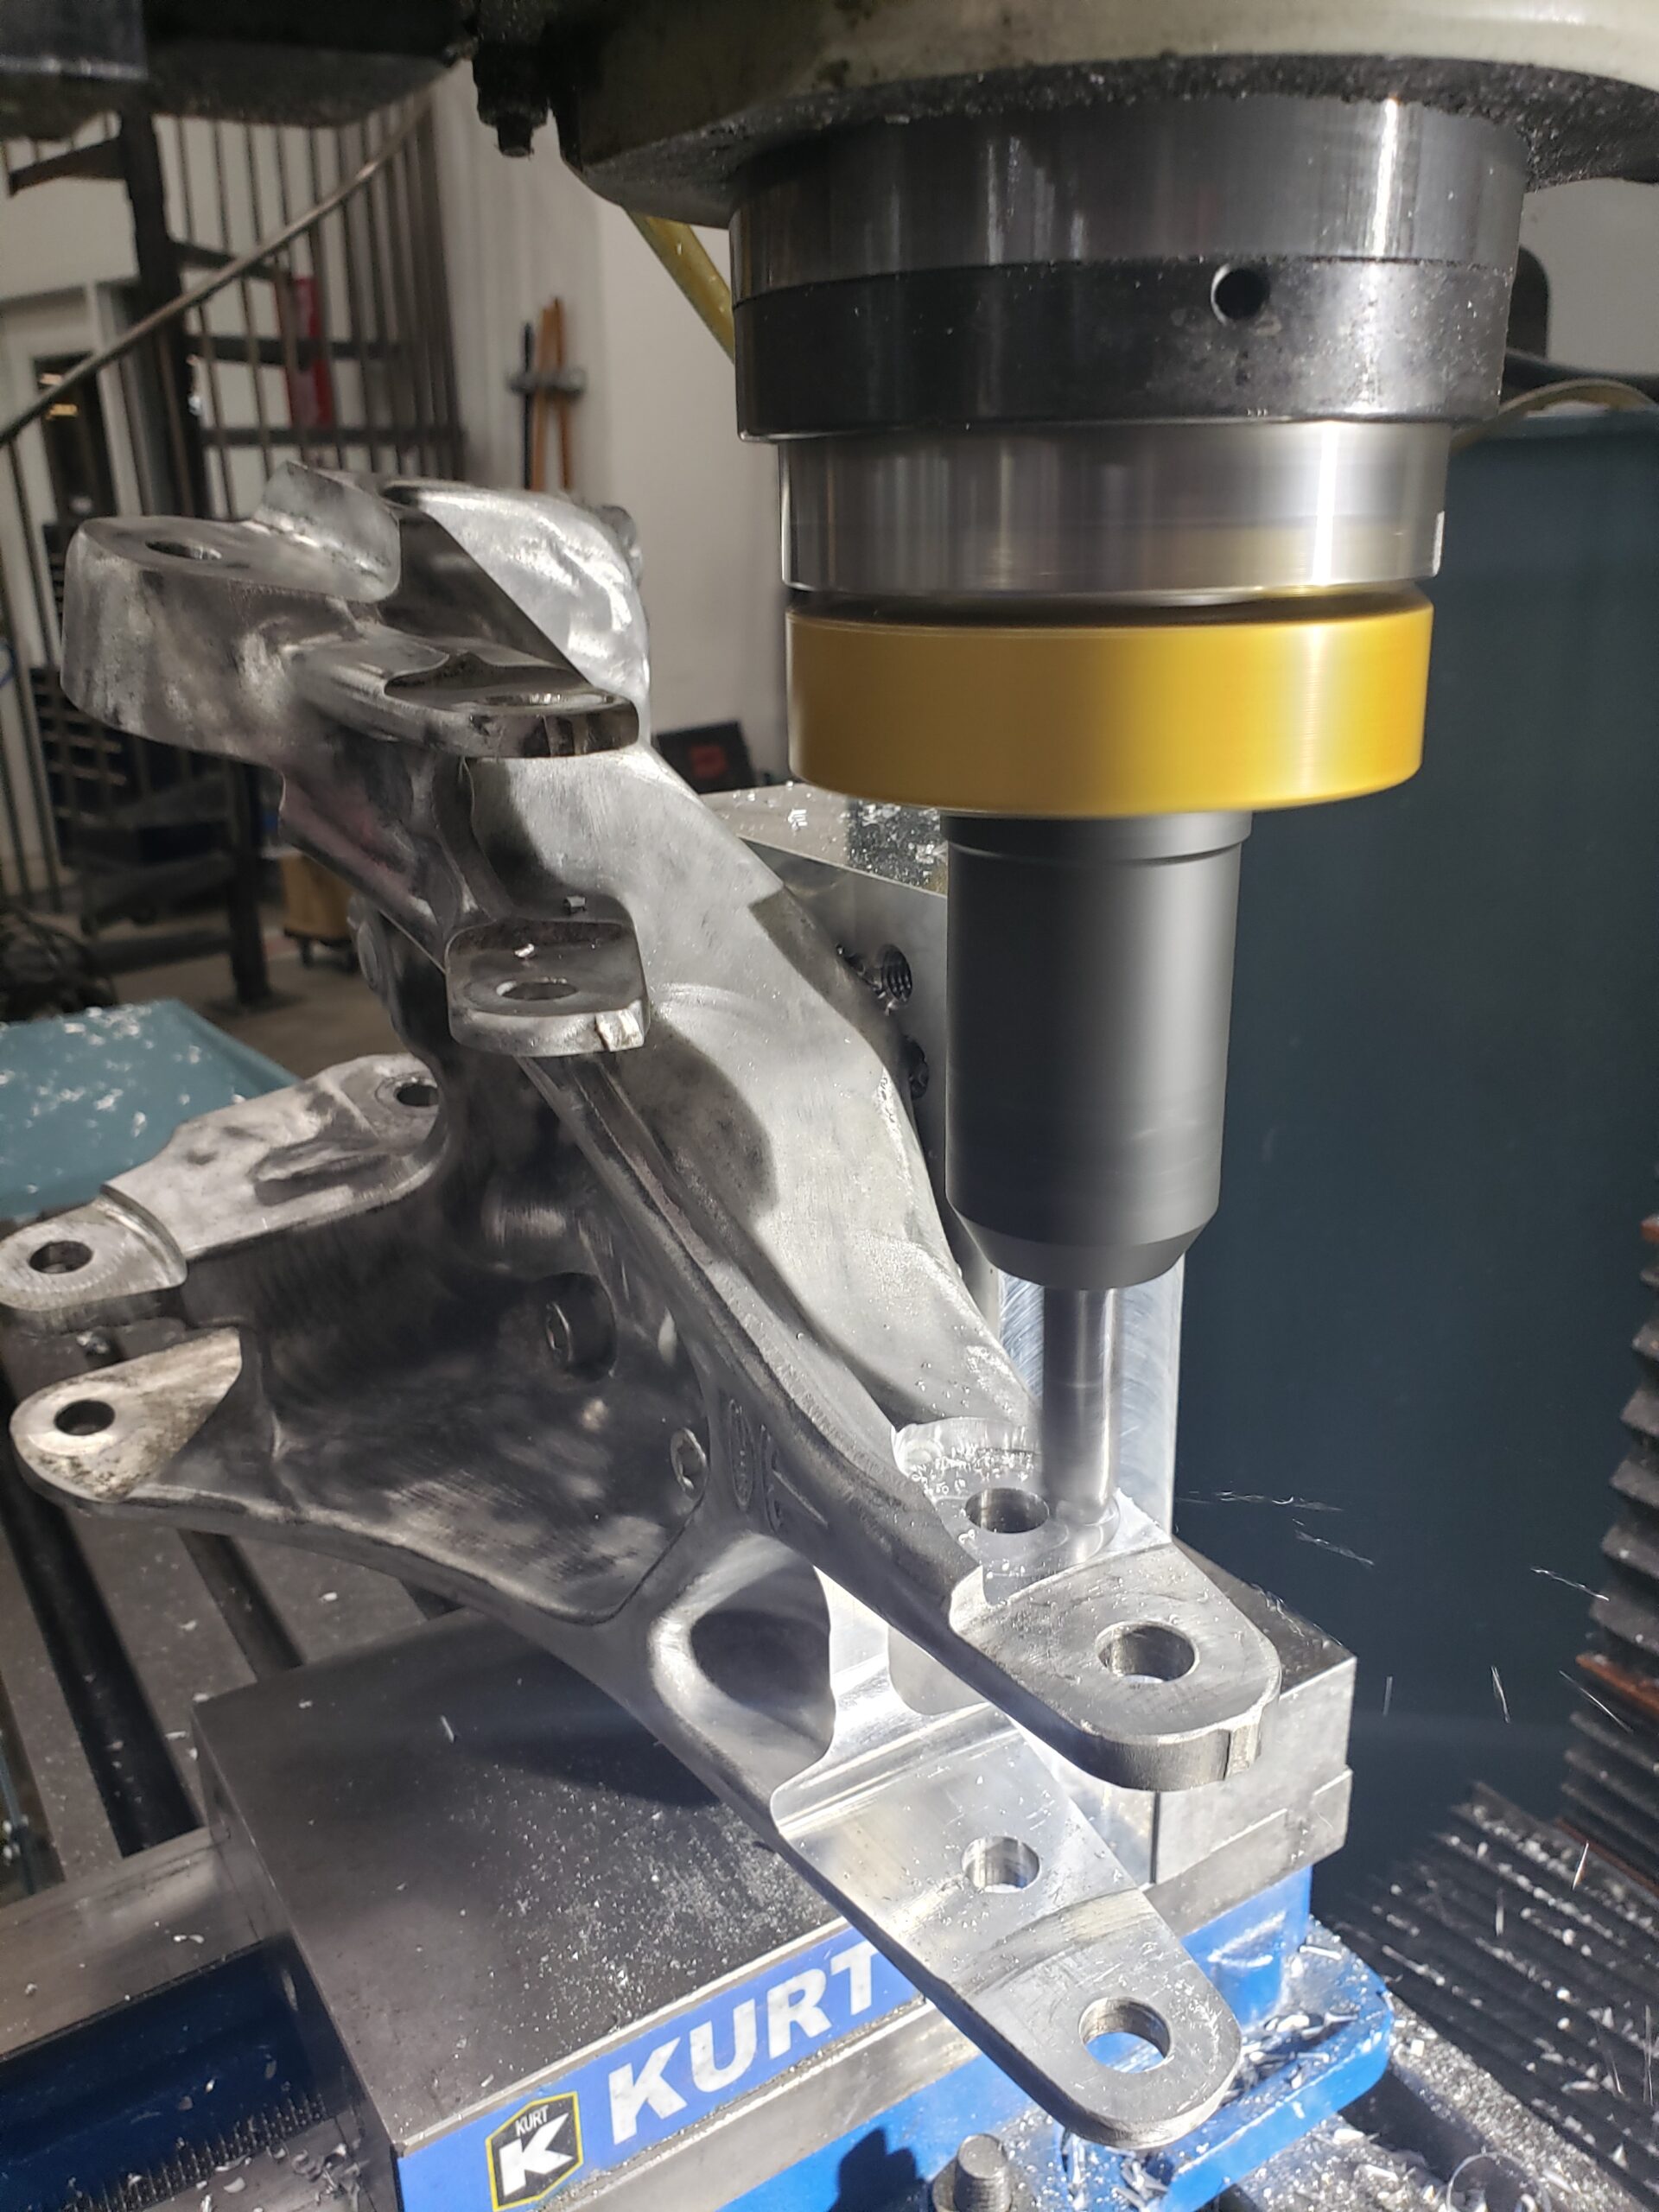
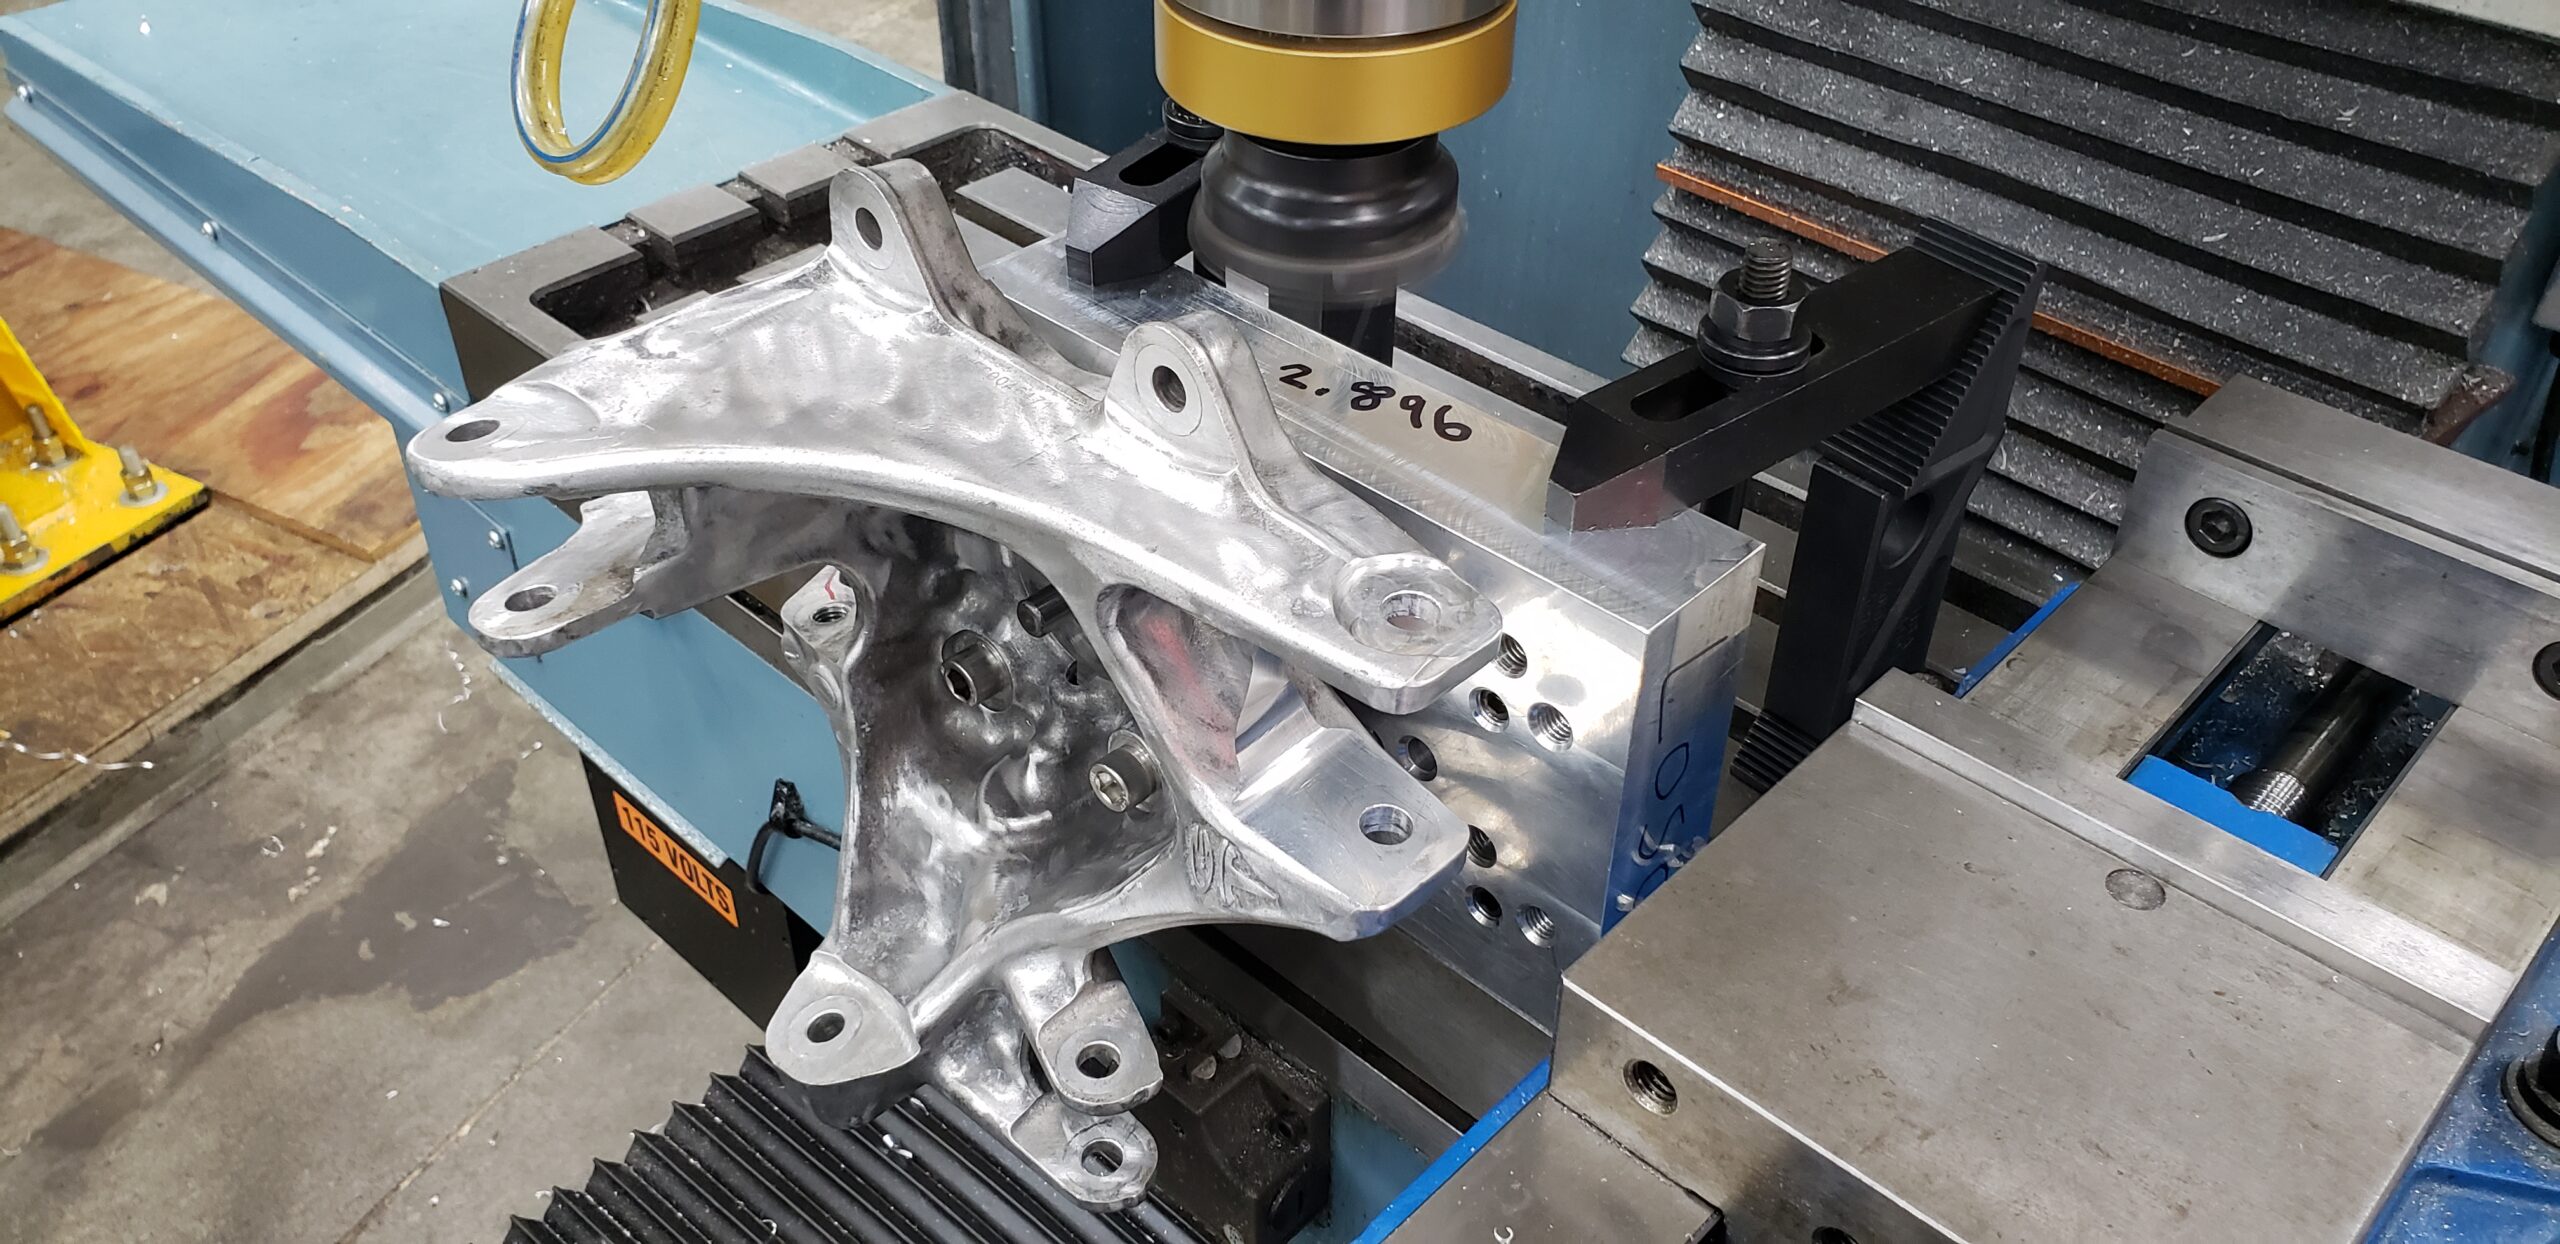
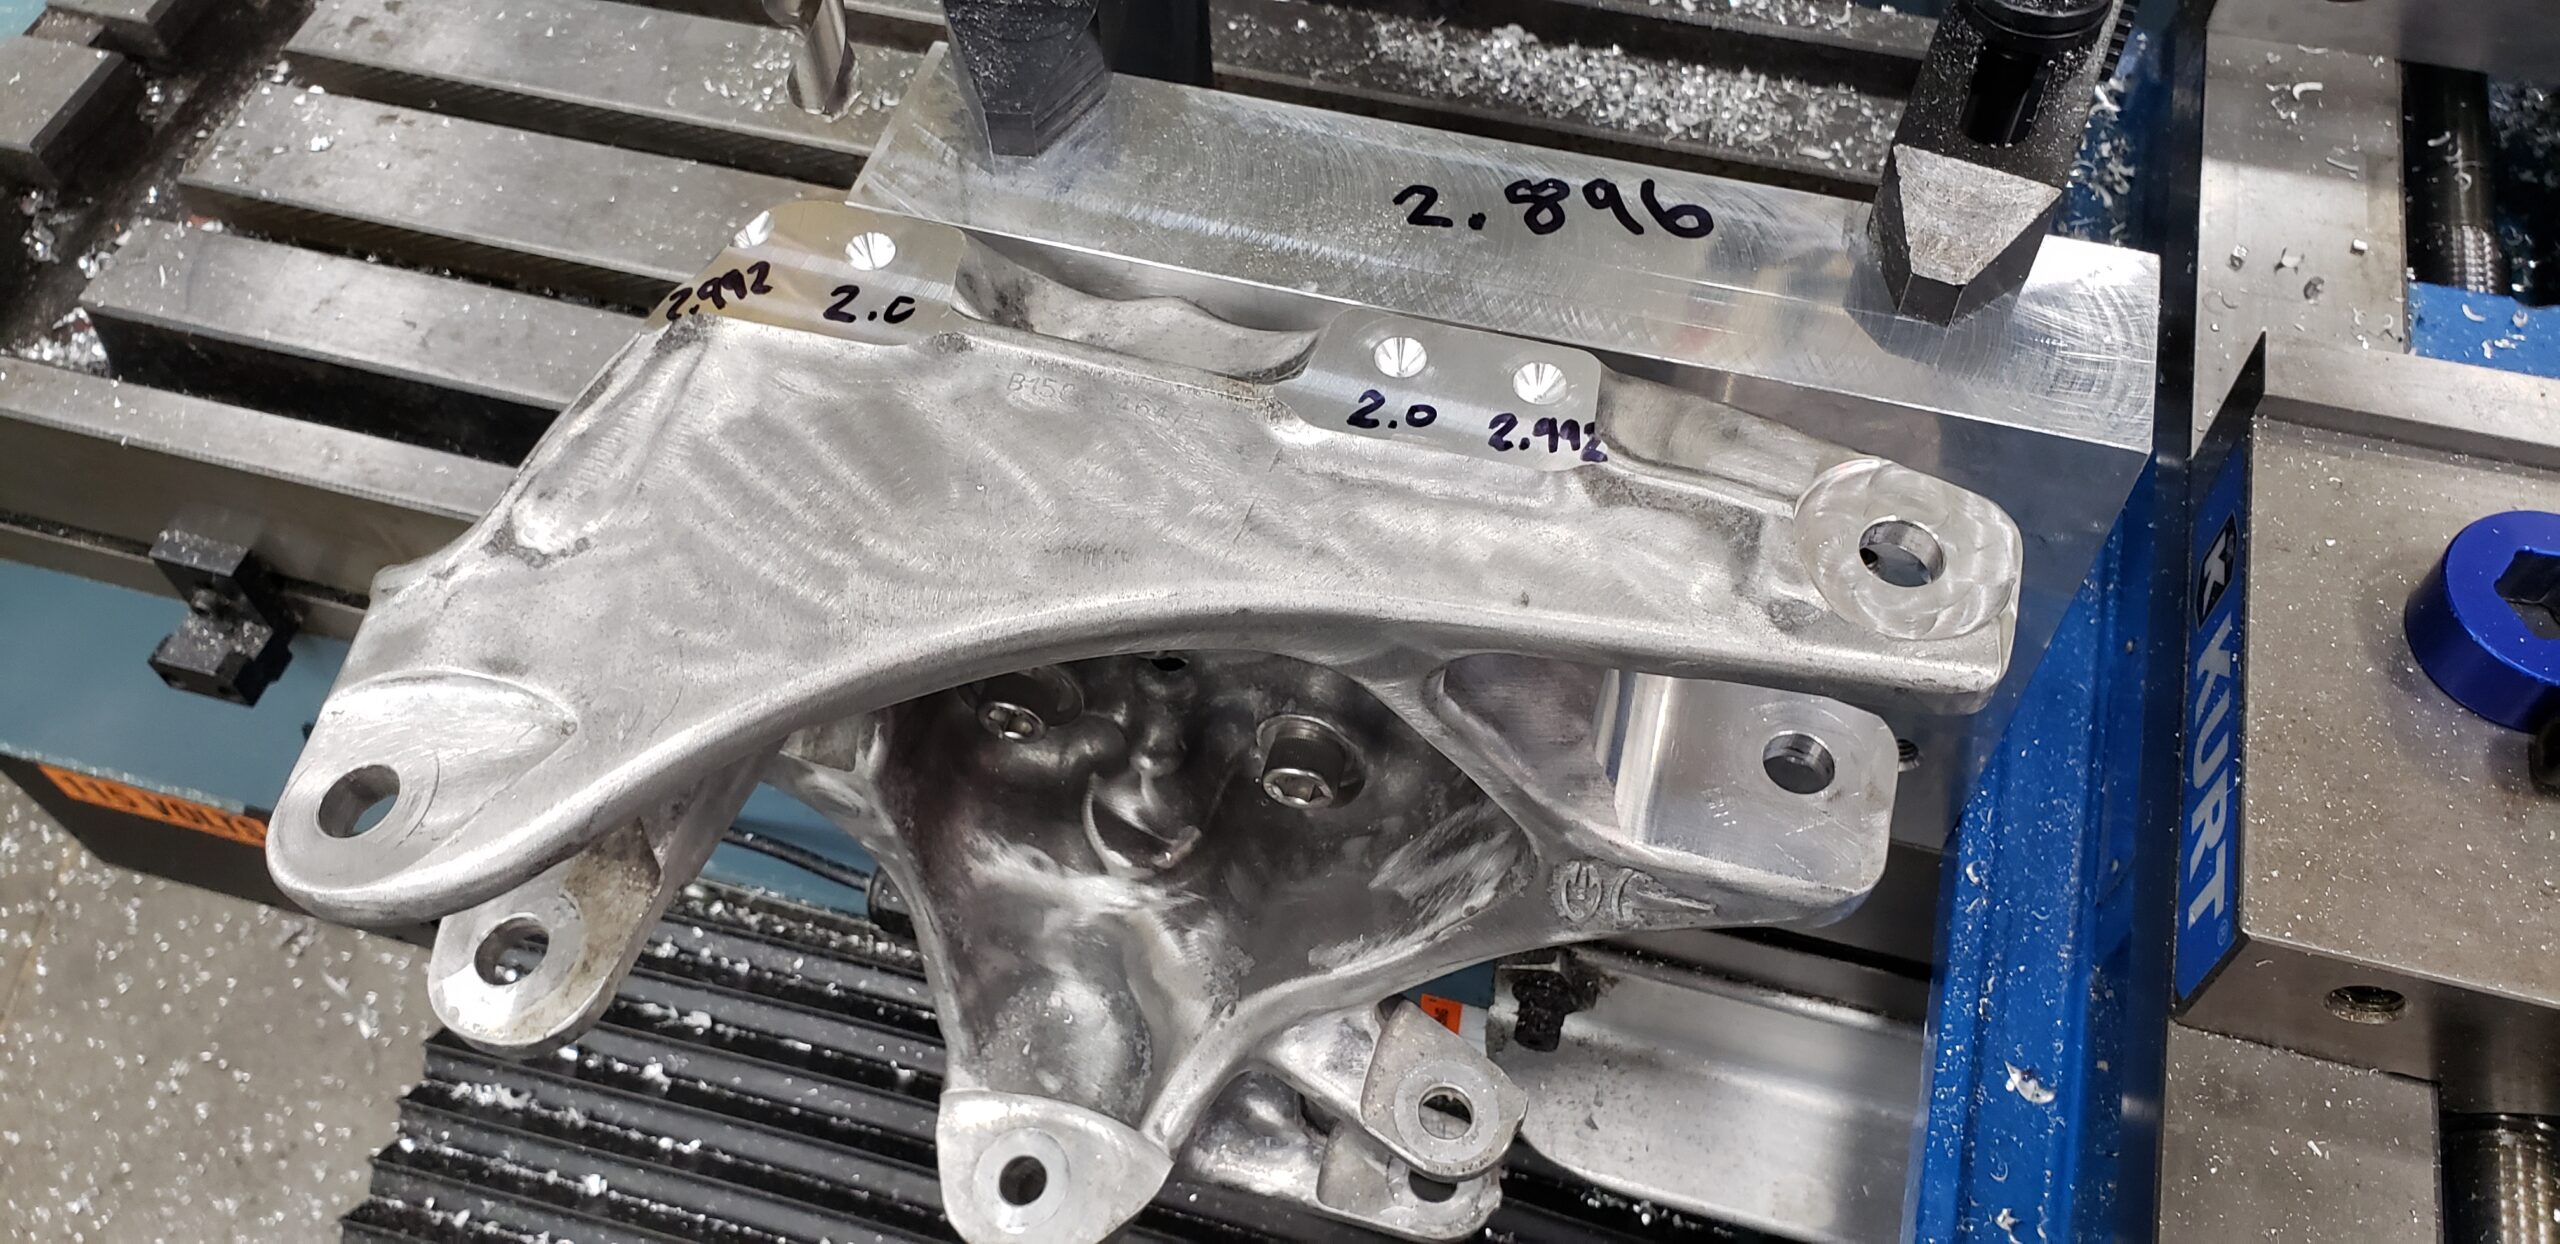
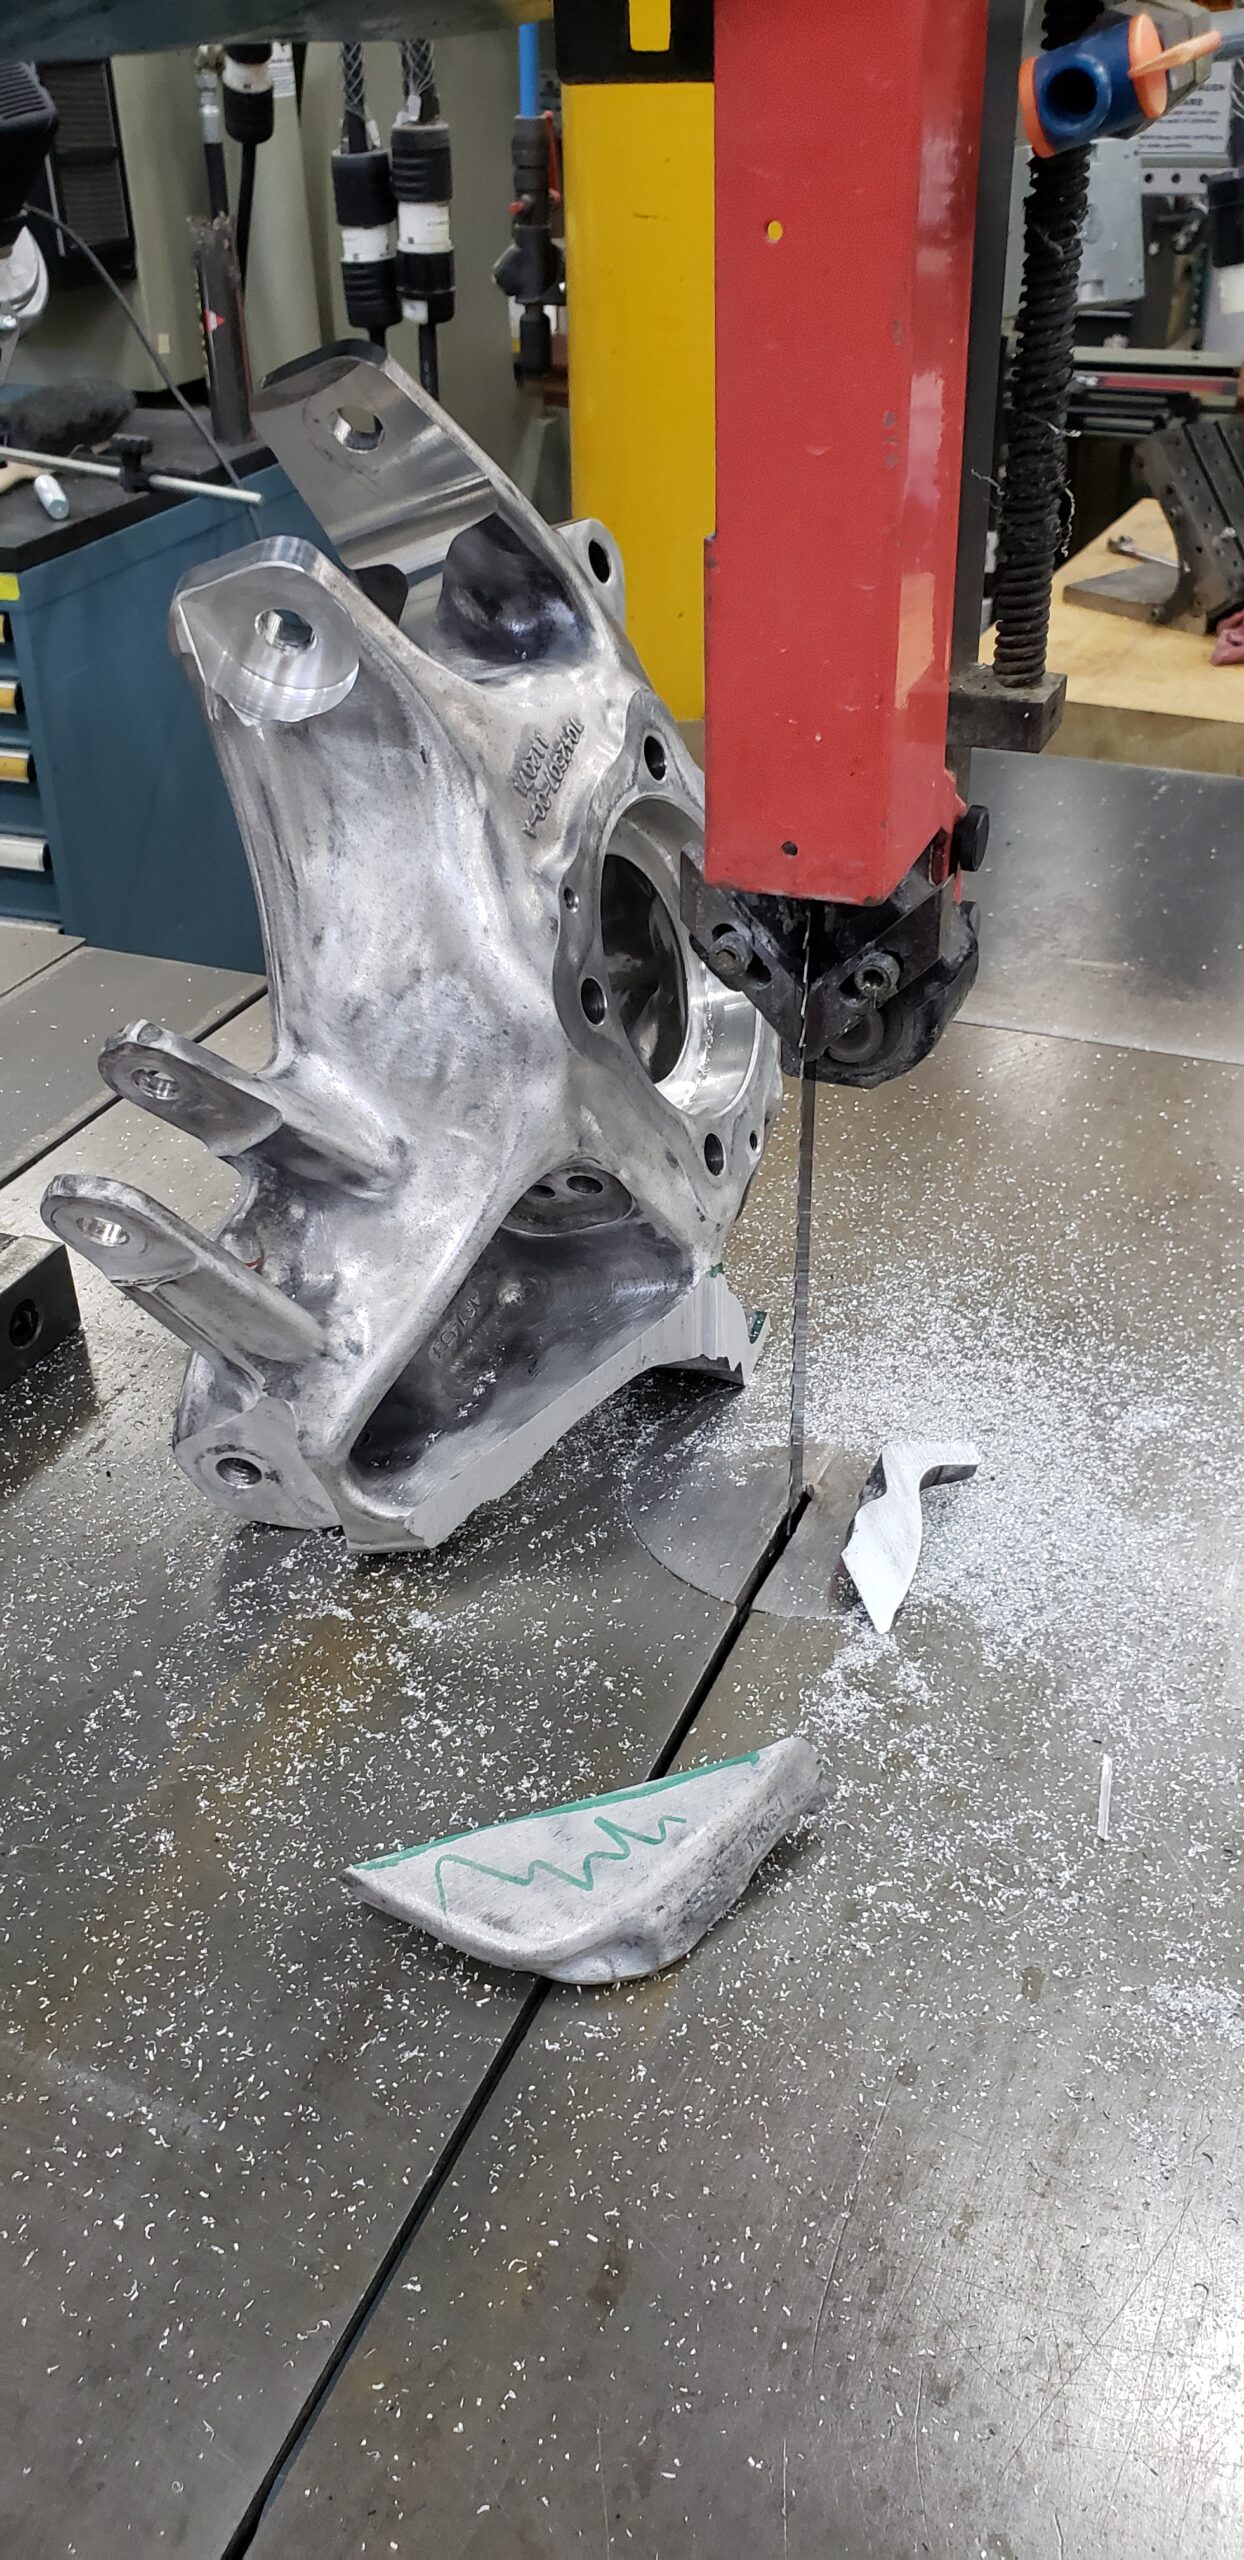
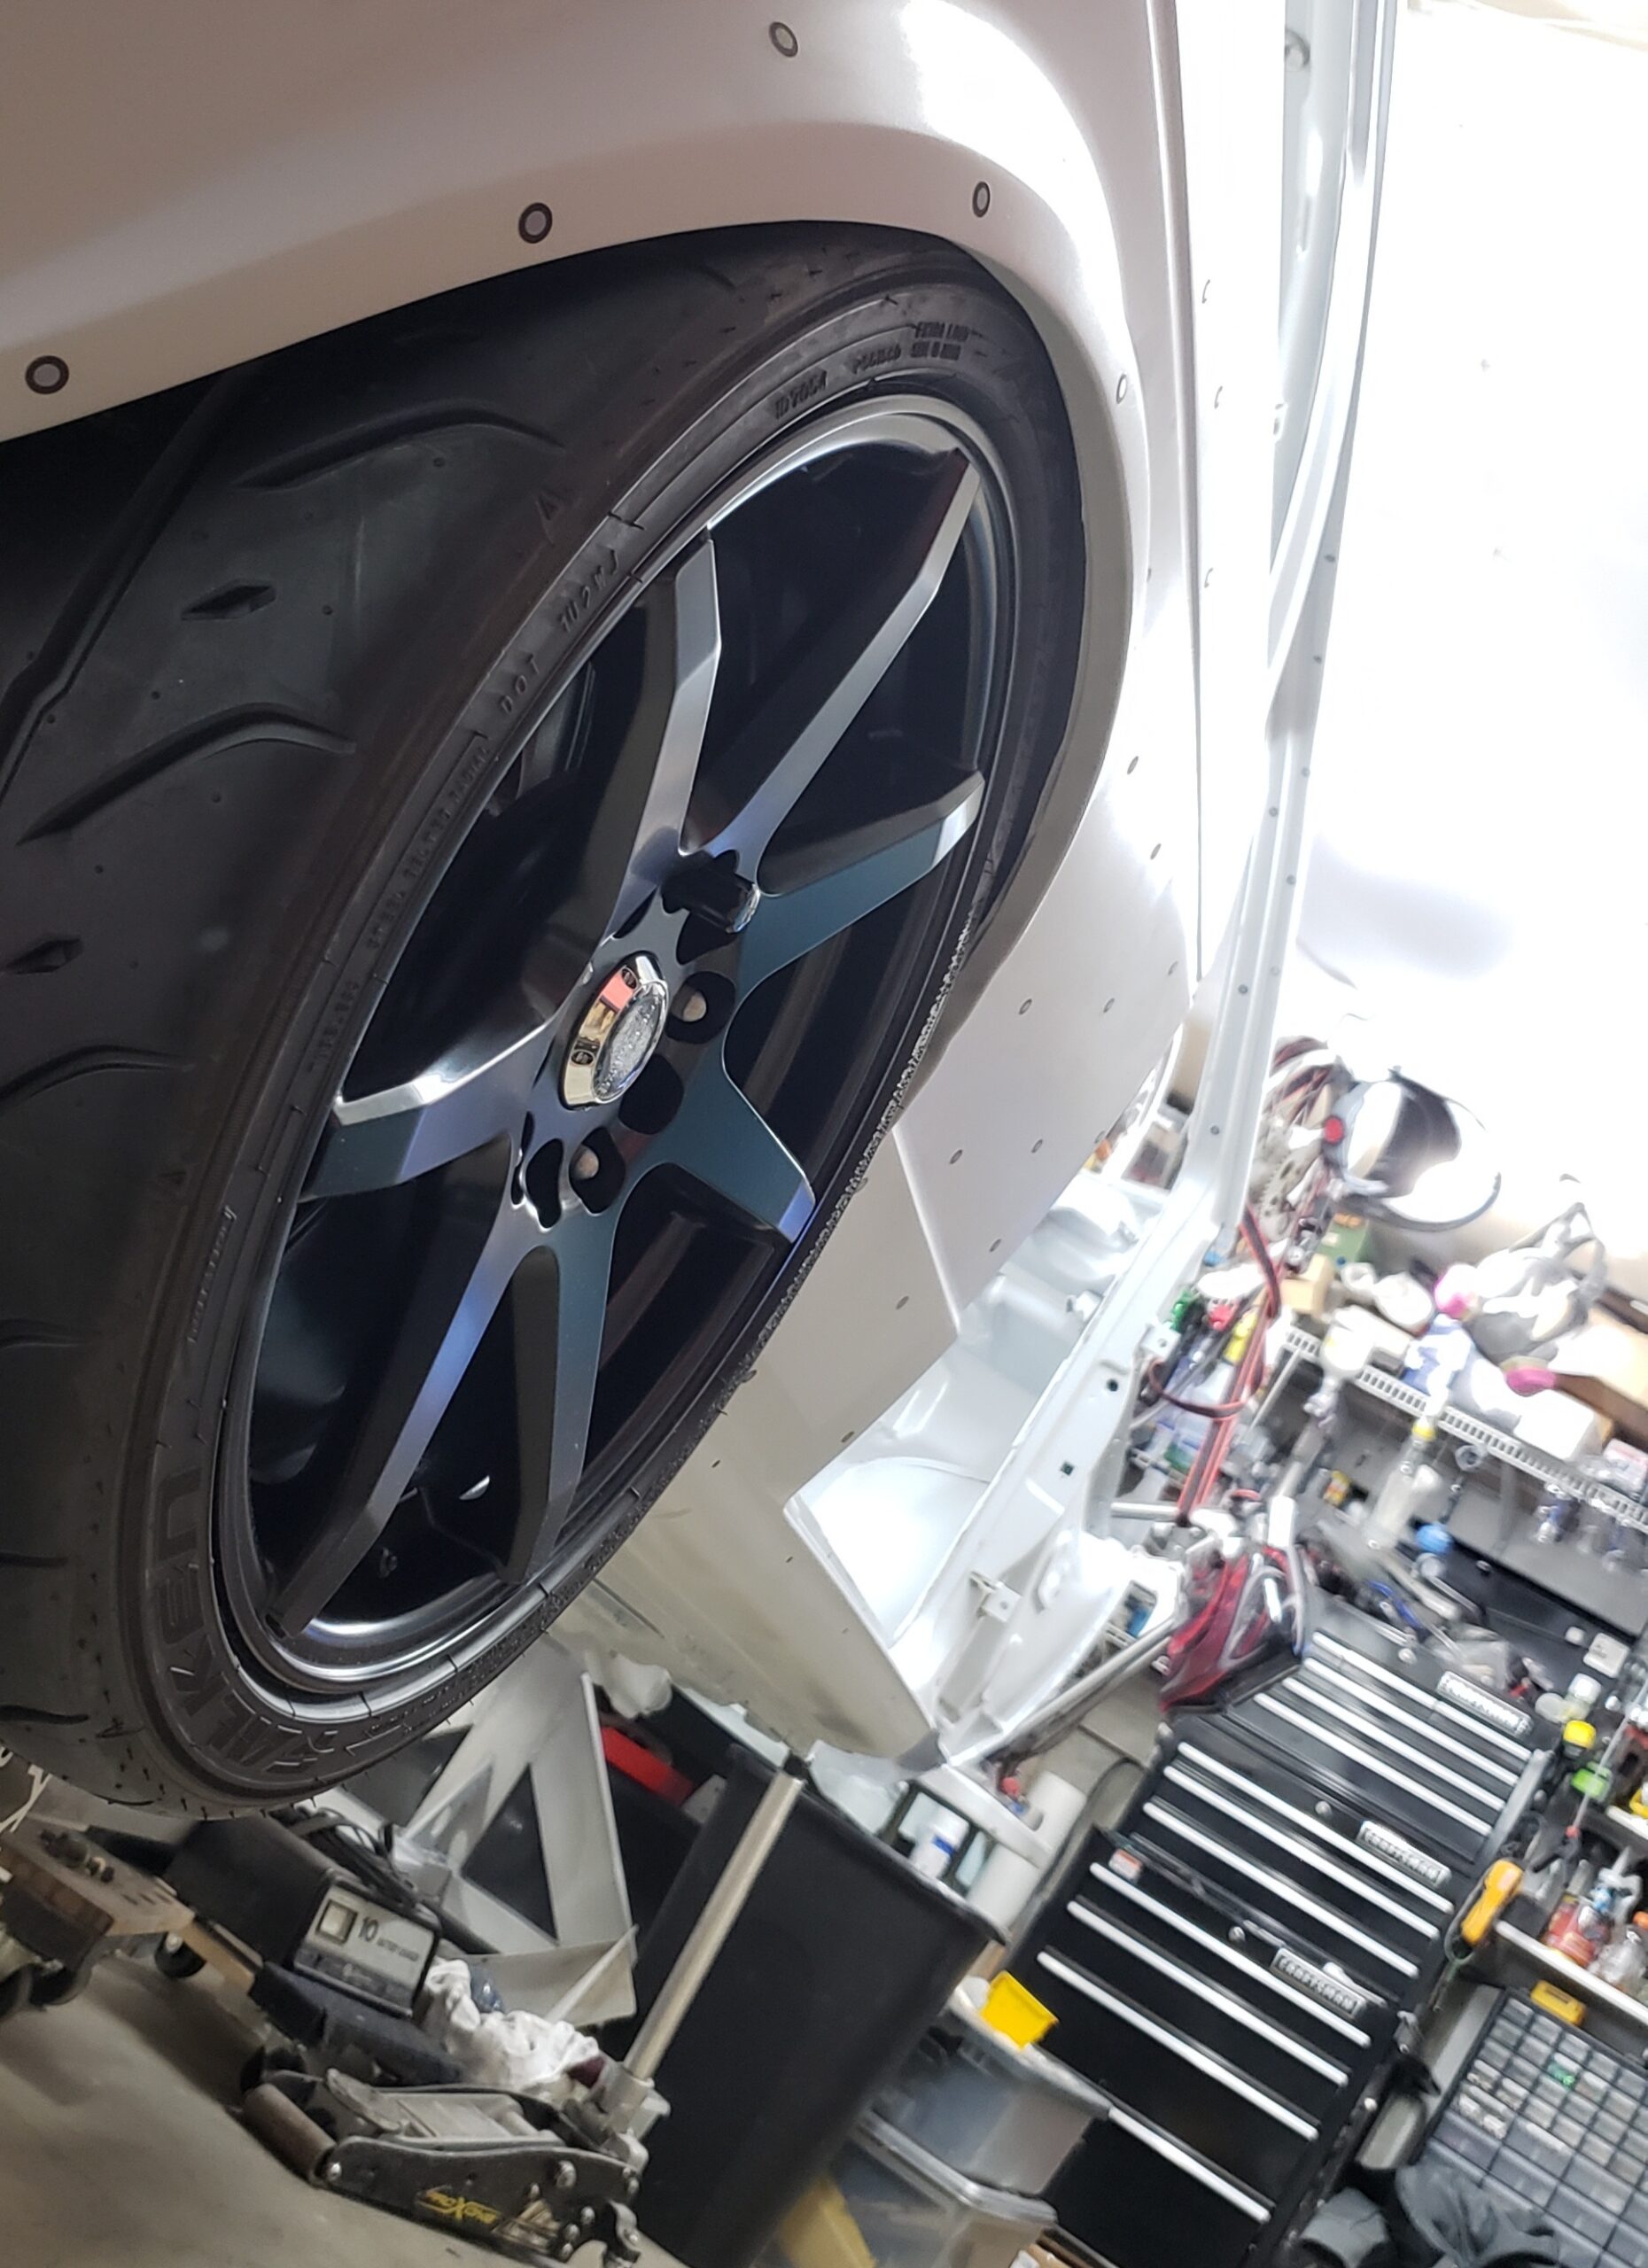
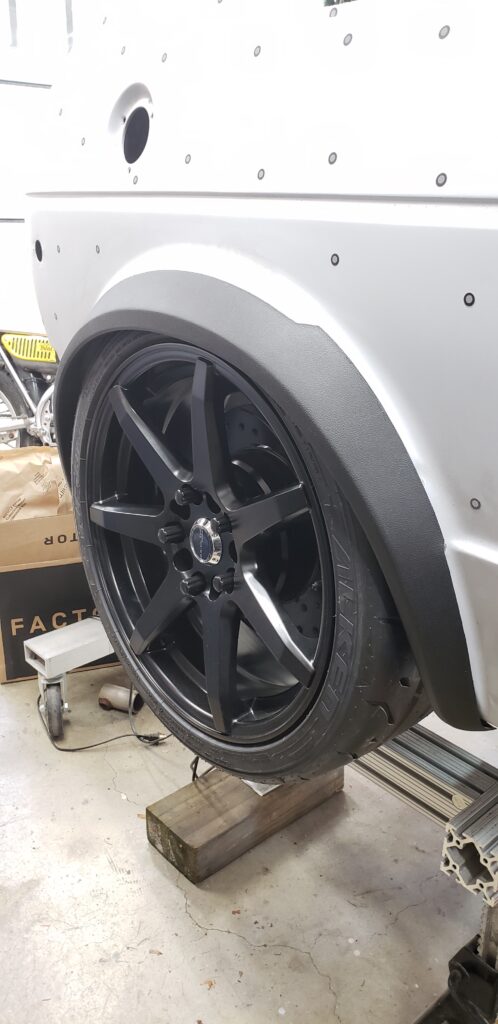
Knuckle Mods
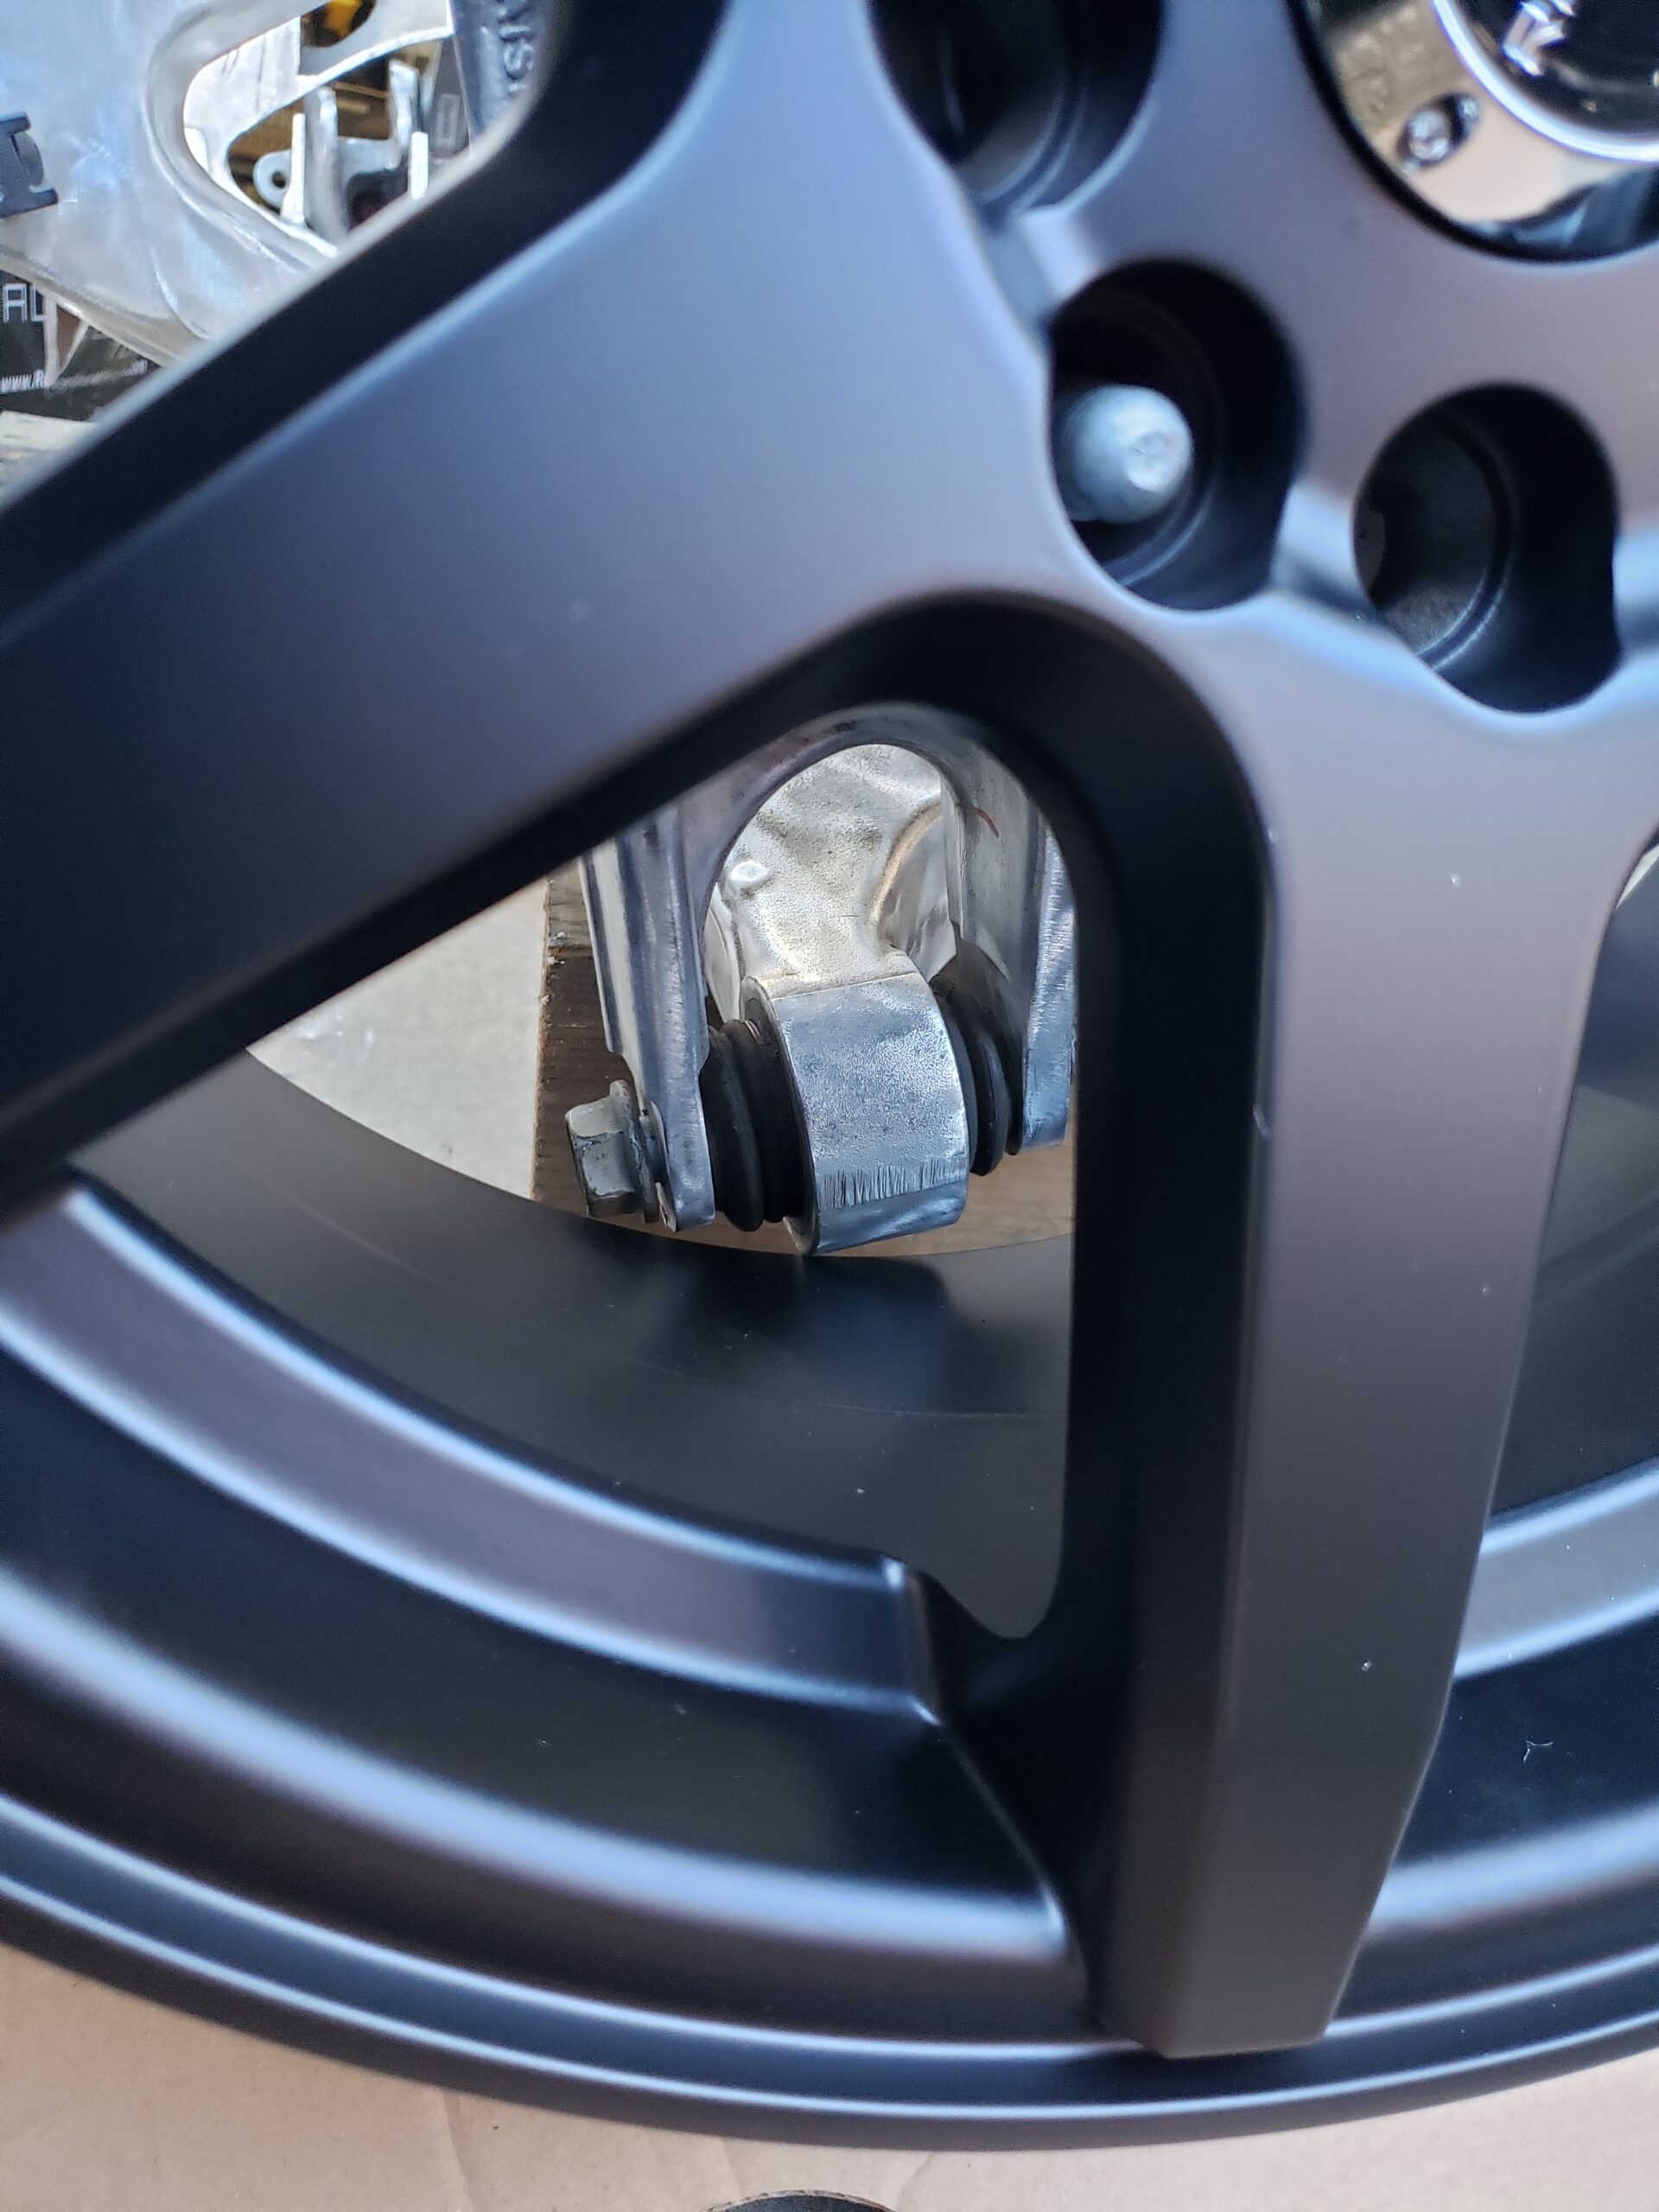


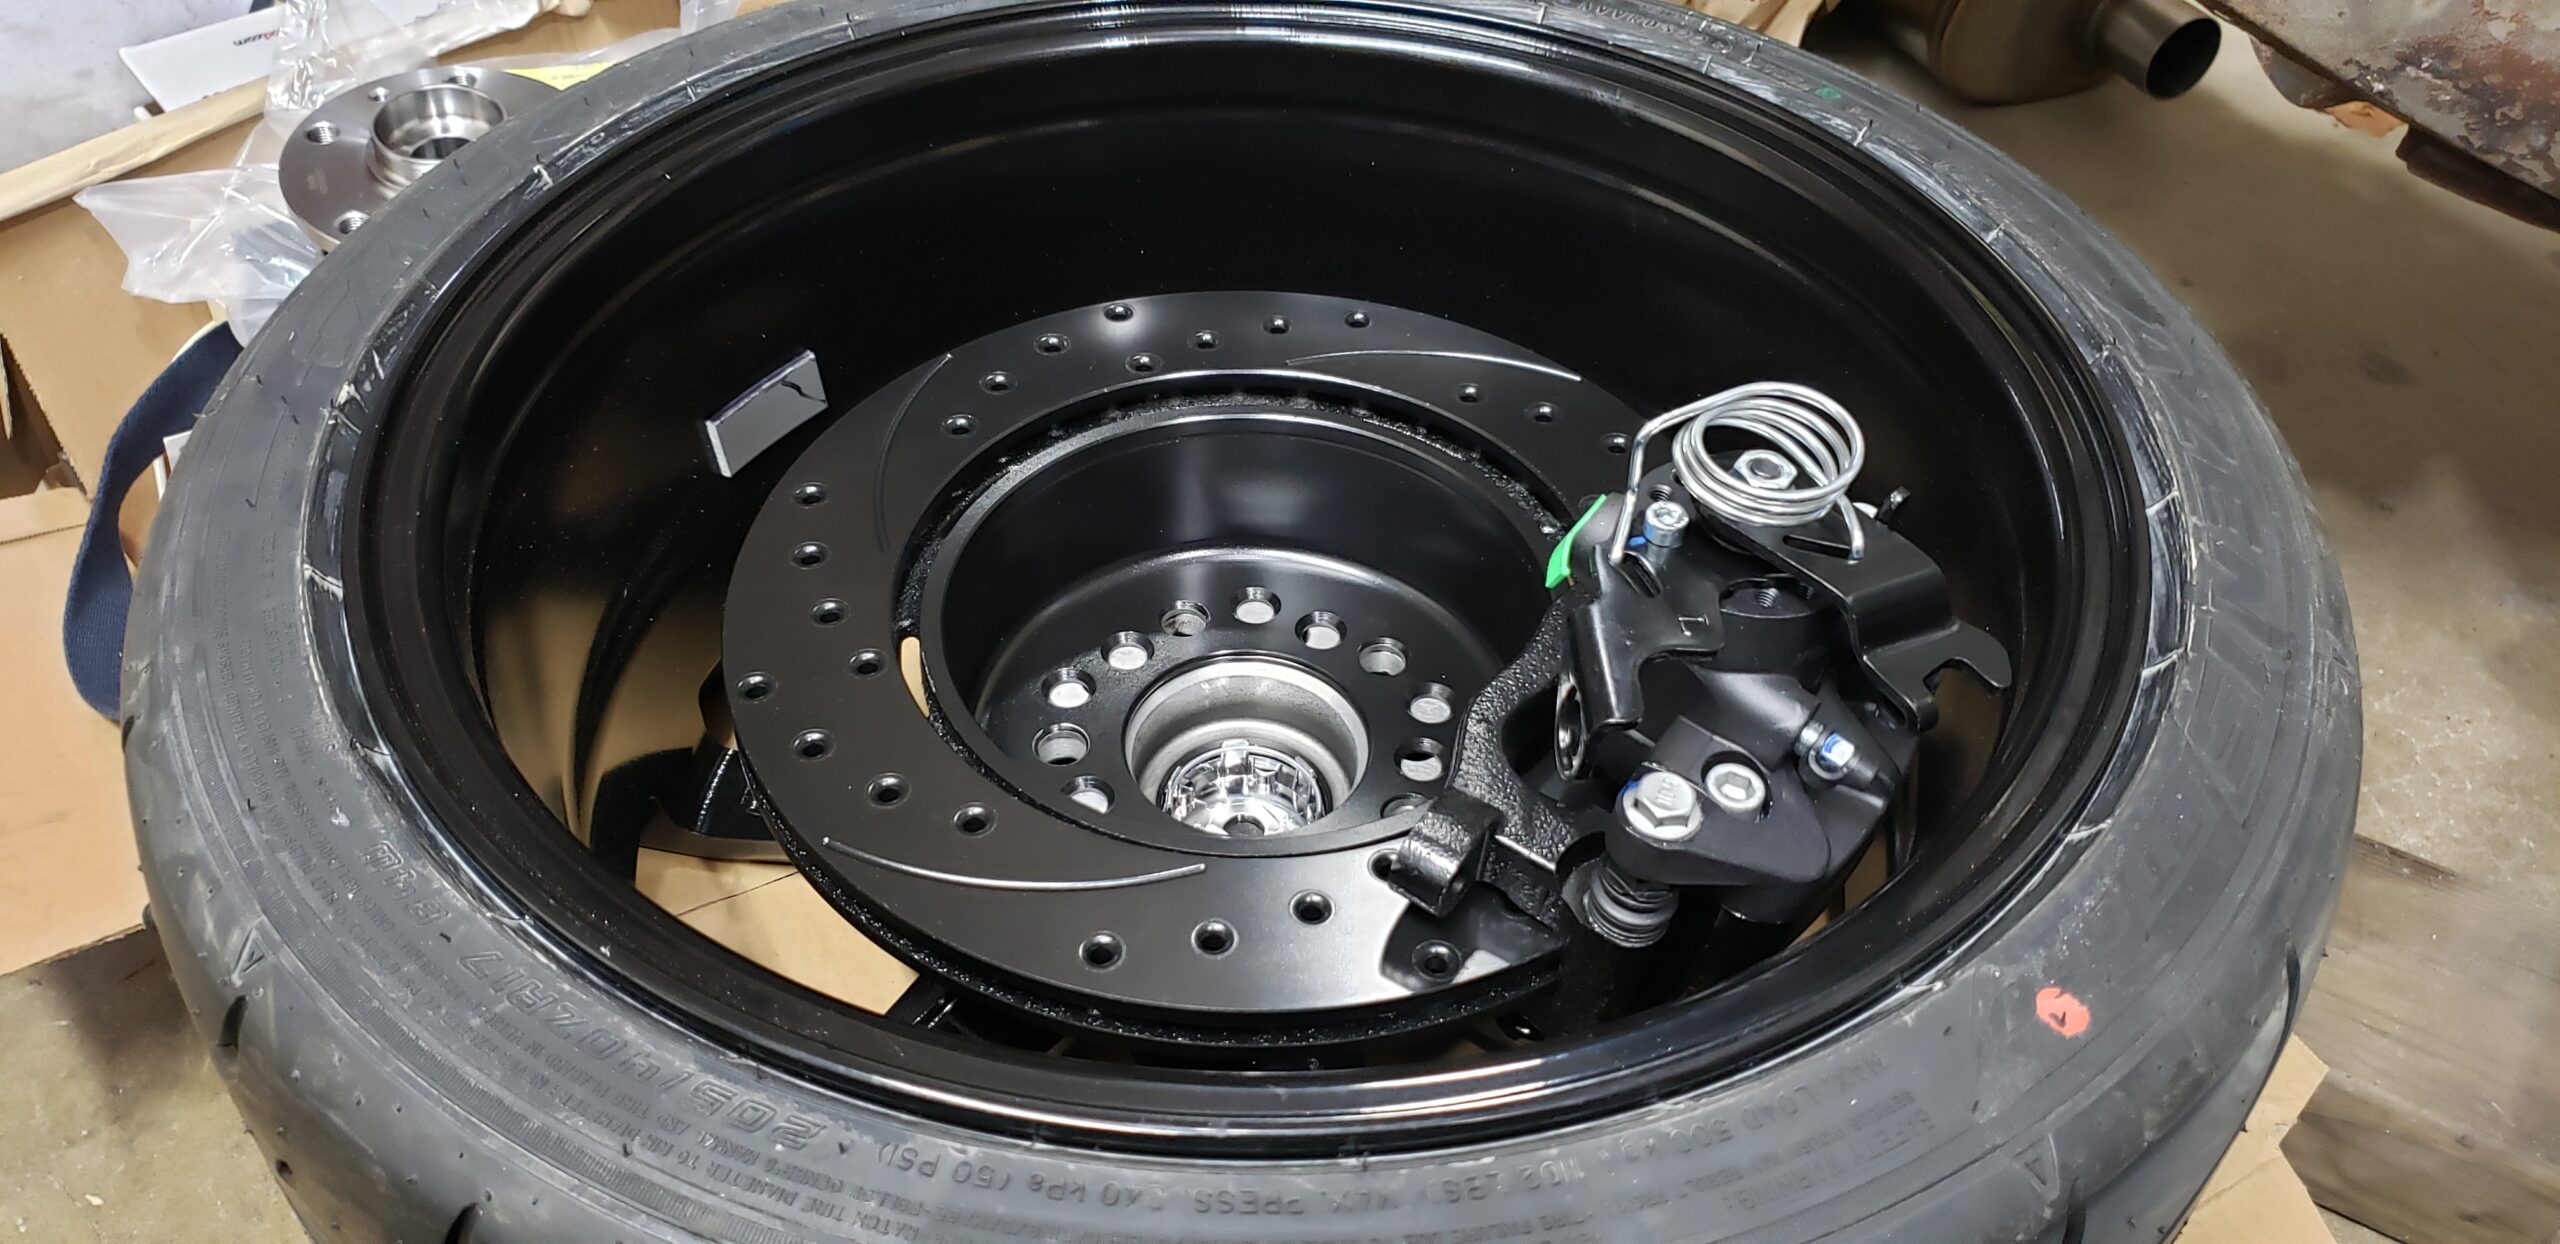
Brakes
One of the biggest bummers was not being able to use the stock quad piston Tesla brakes and the electronic E-brakes. Unfortunately I had no choice but to mill off the stock mounts and go with a Wilwood E-brake caliper combo. They didn’t make a 5x120mm pattern disc, I was able to add the correct larger holes over the 4.750″ pattern.

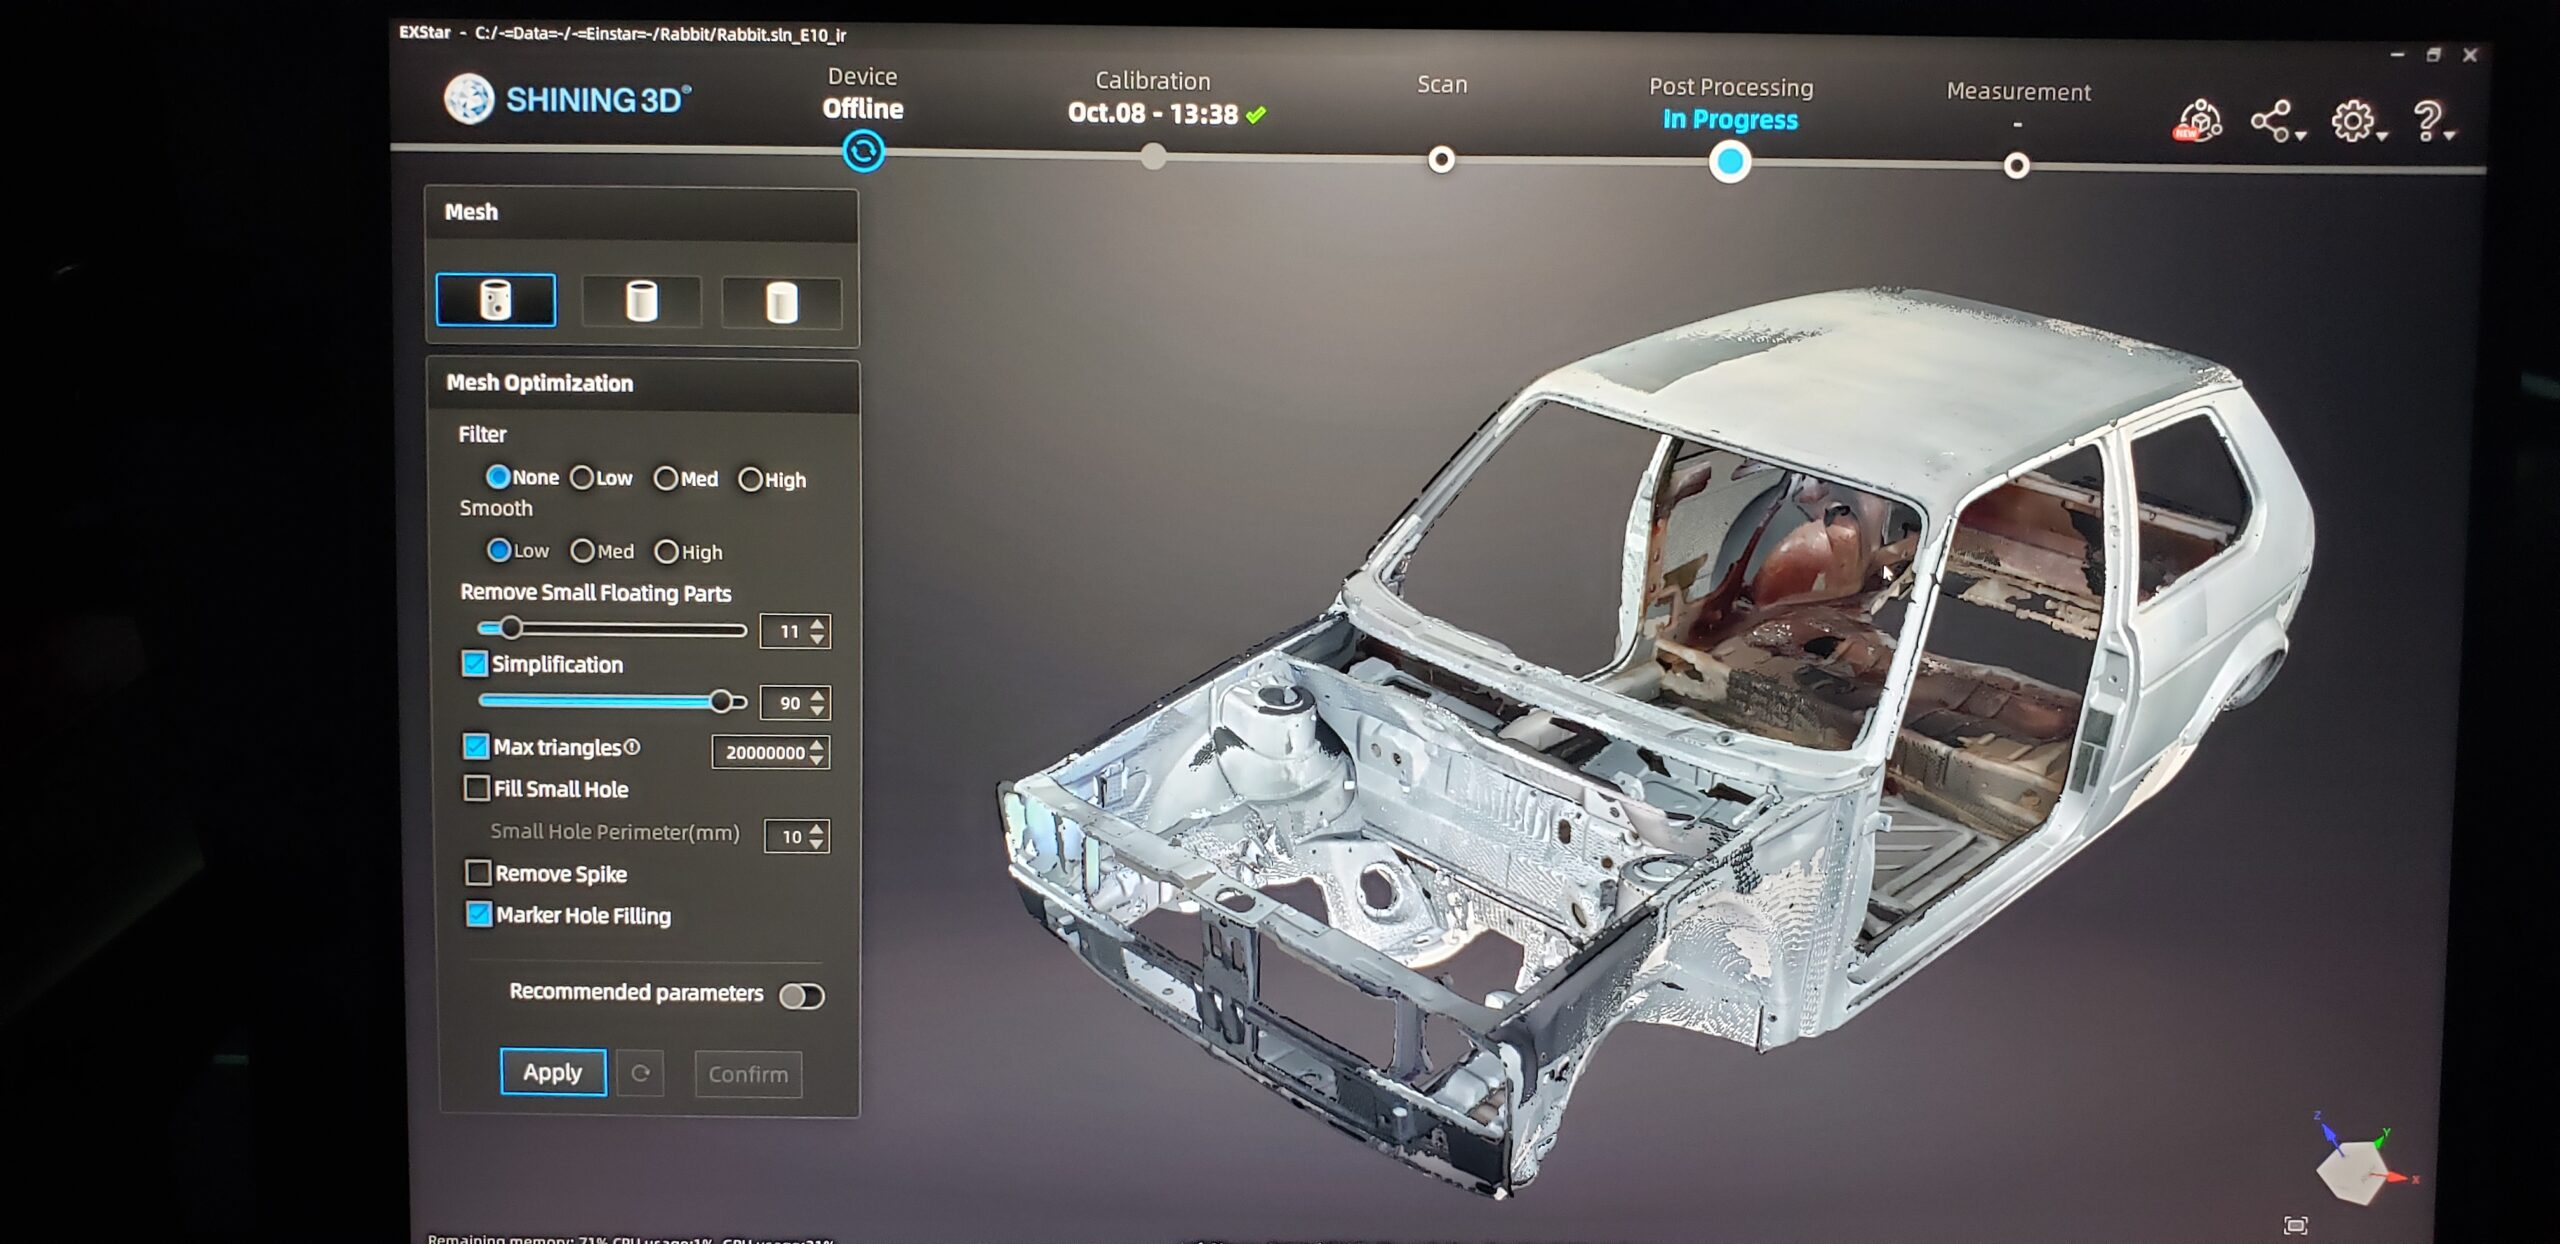
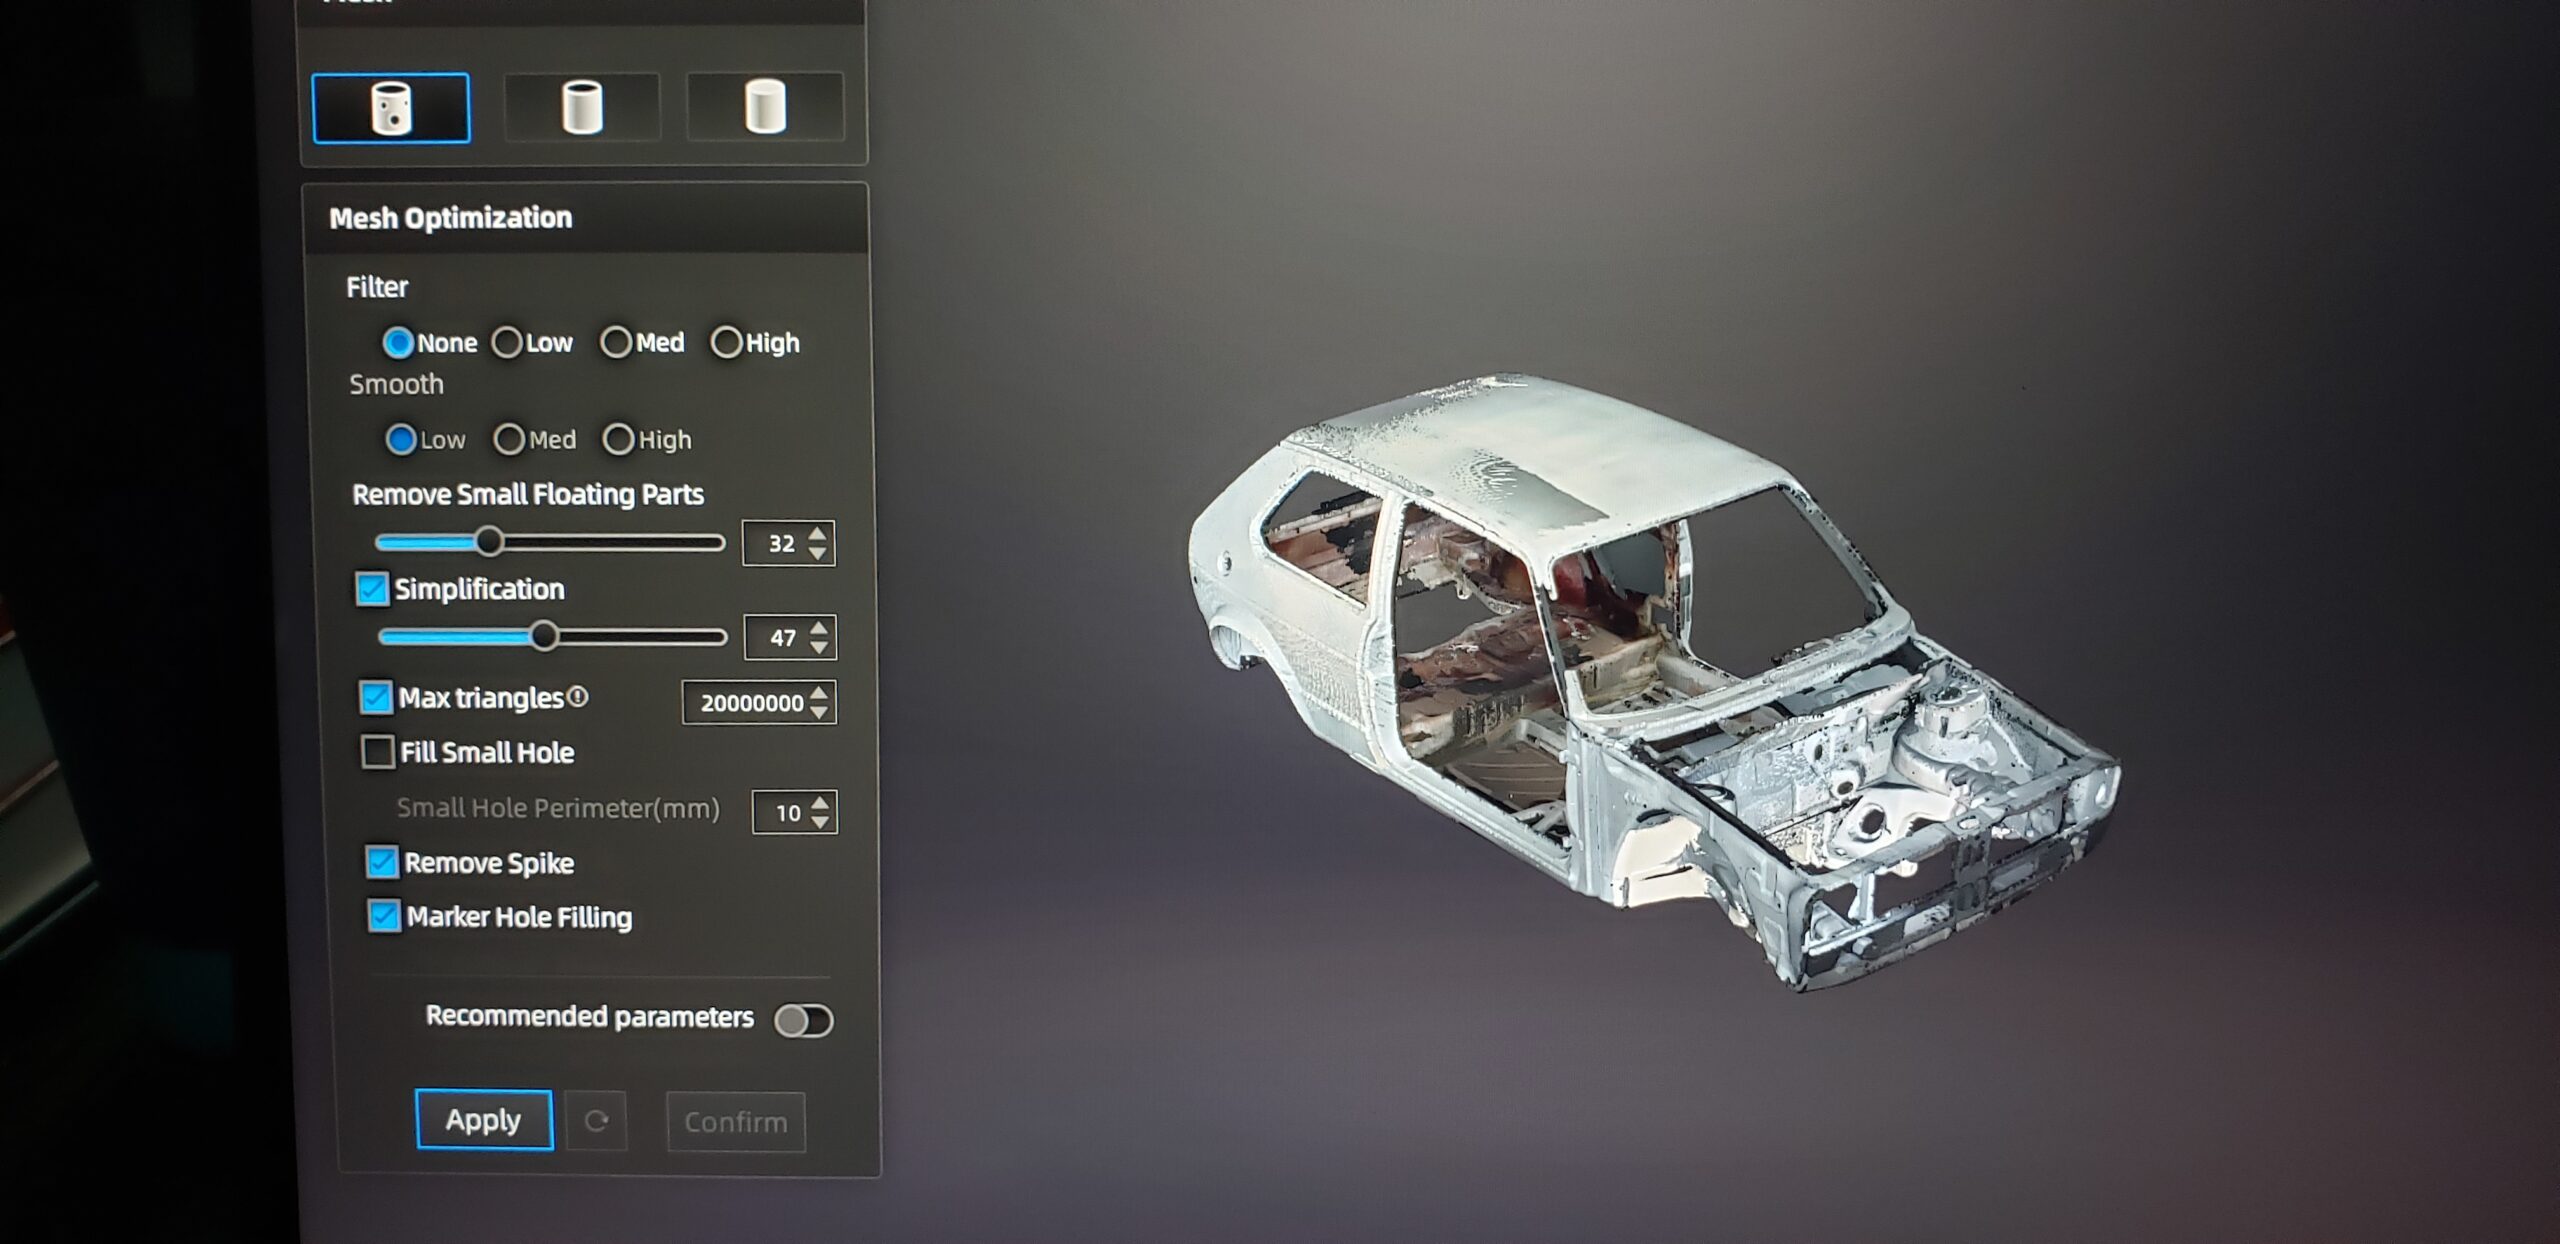
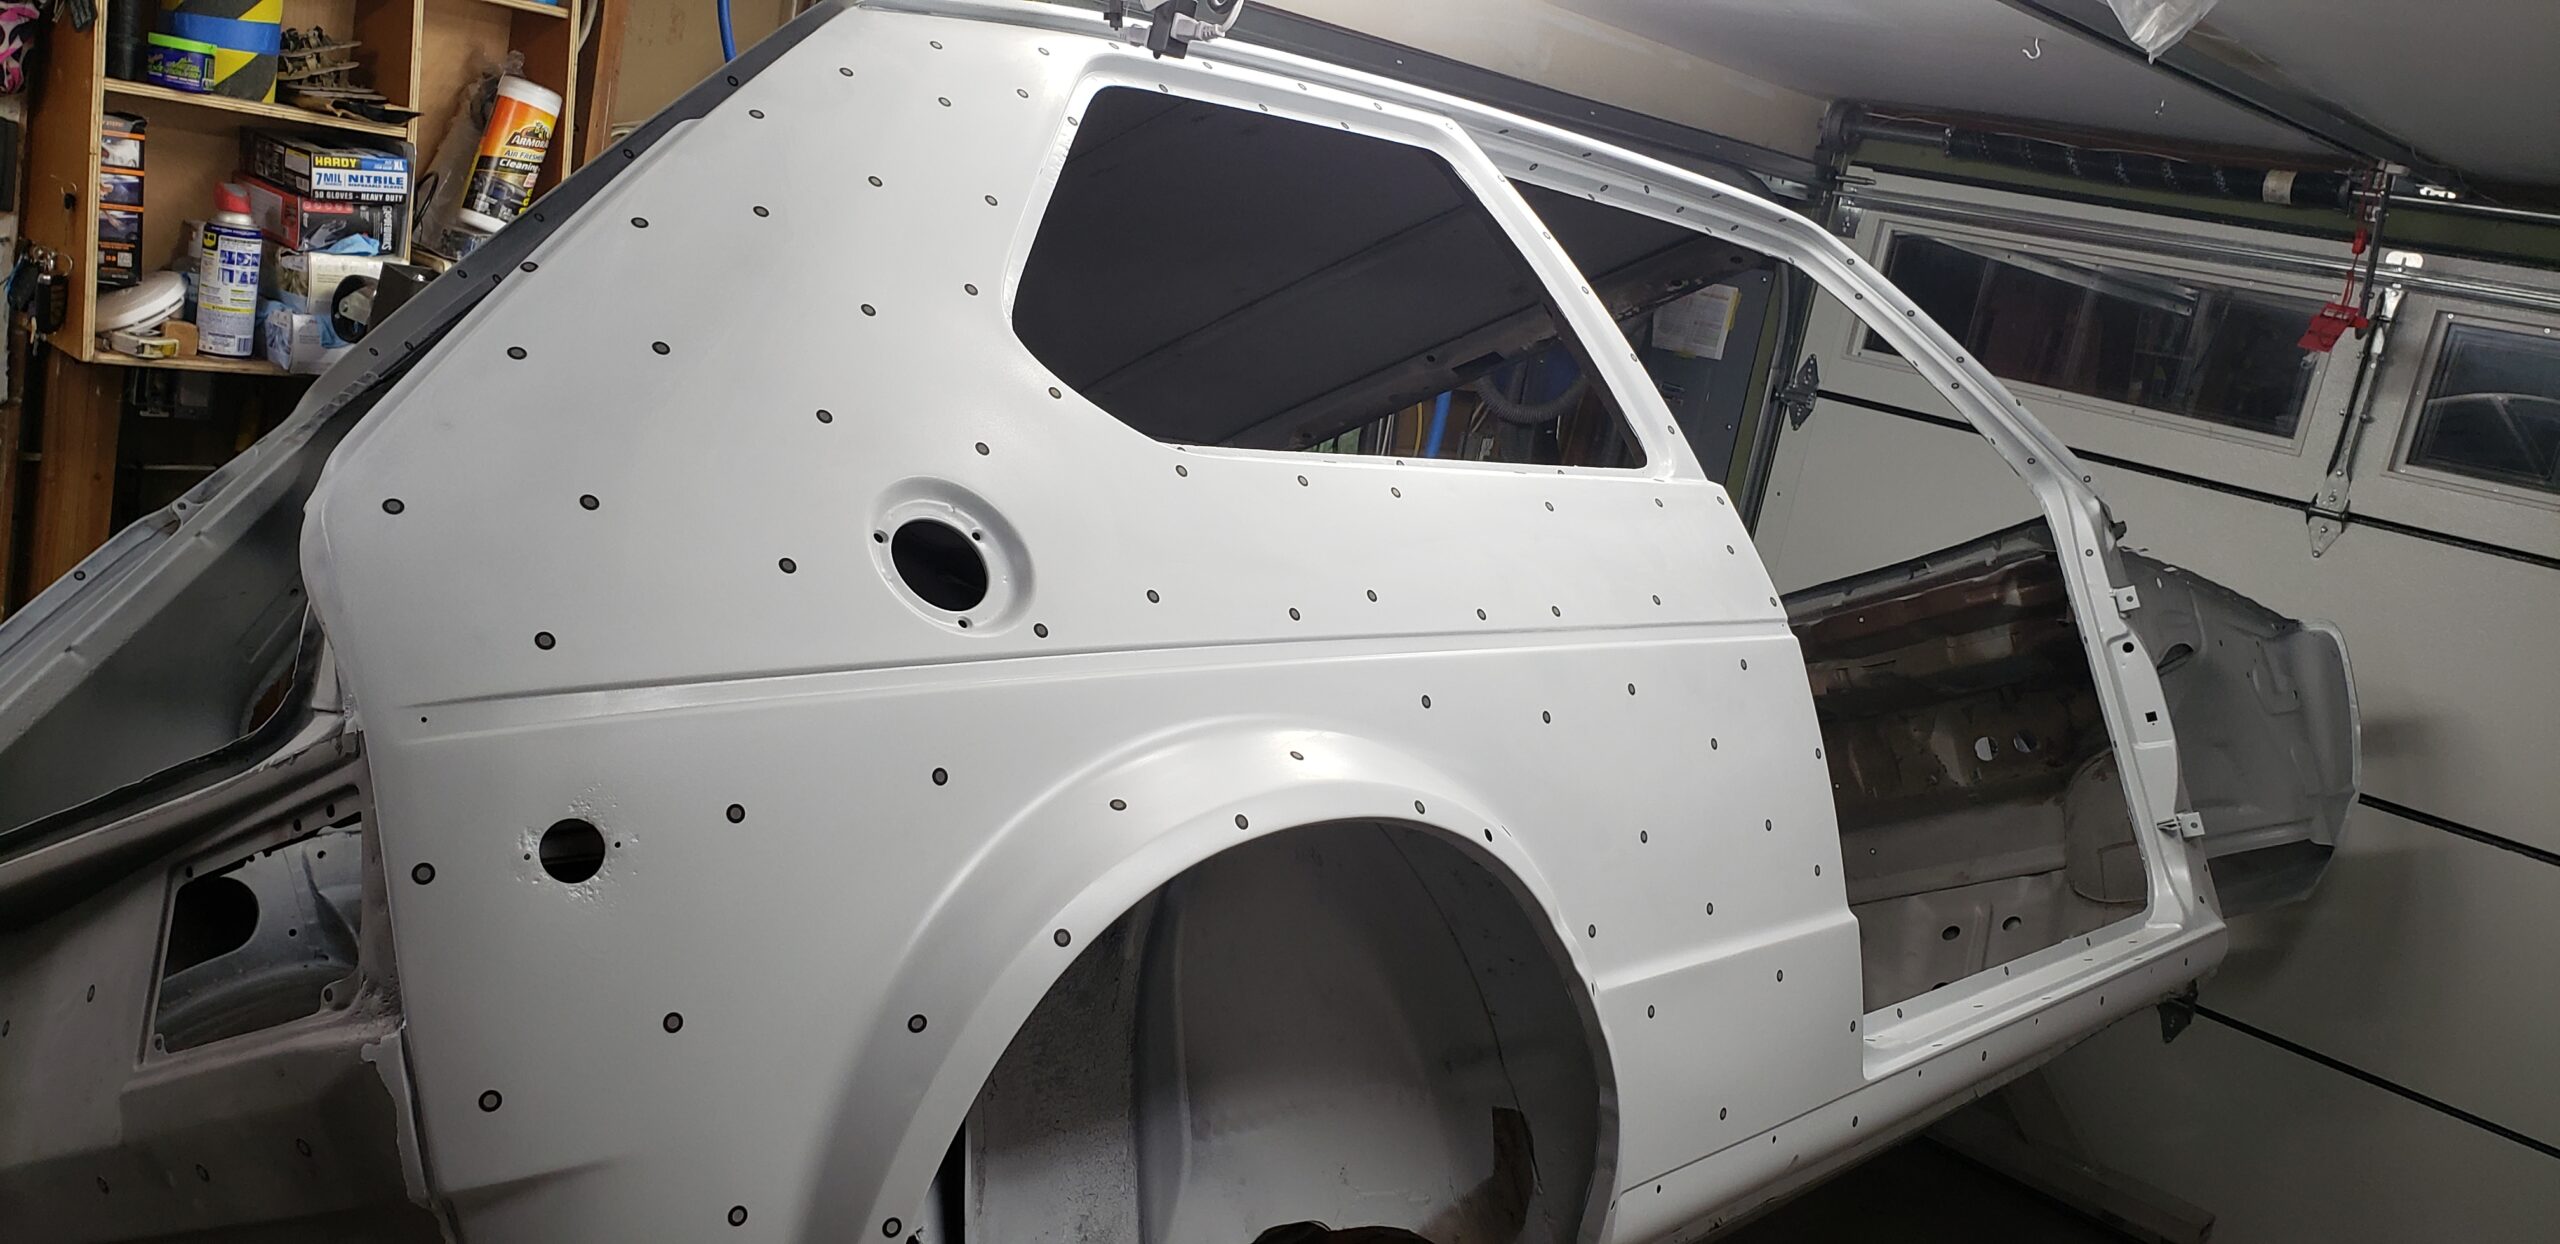
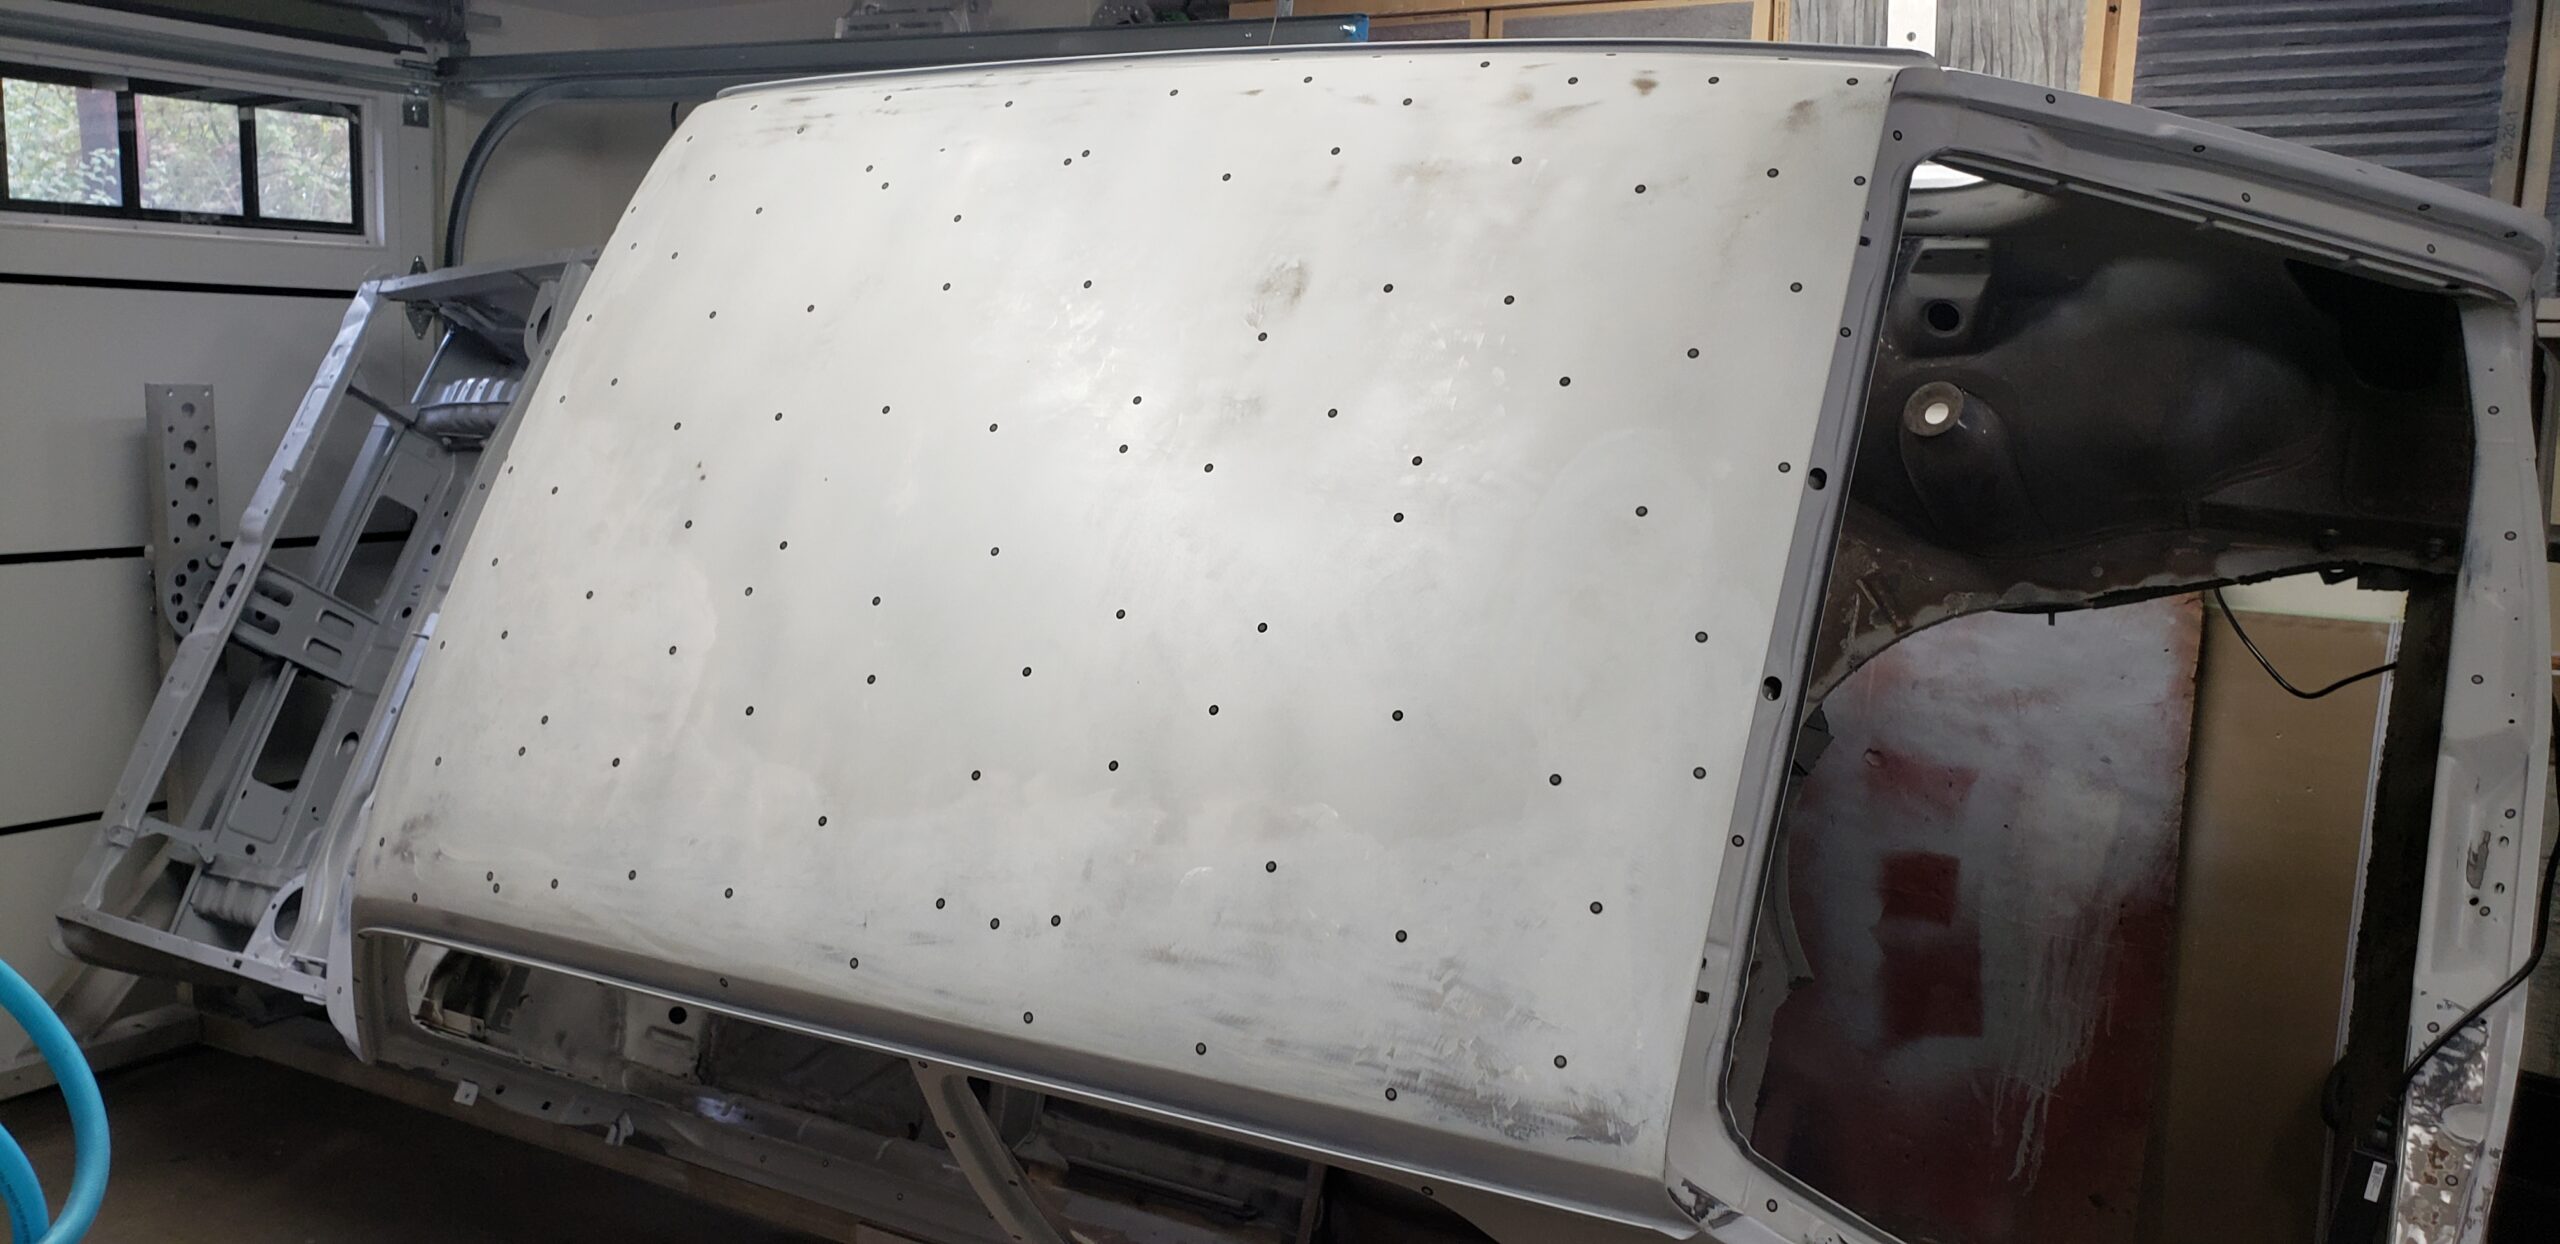
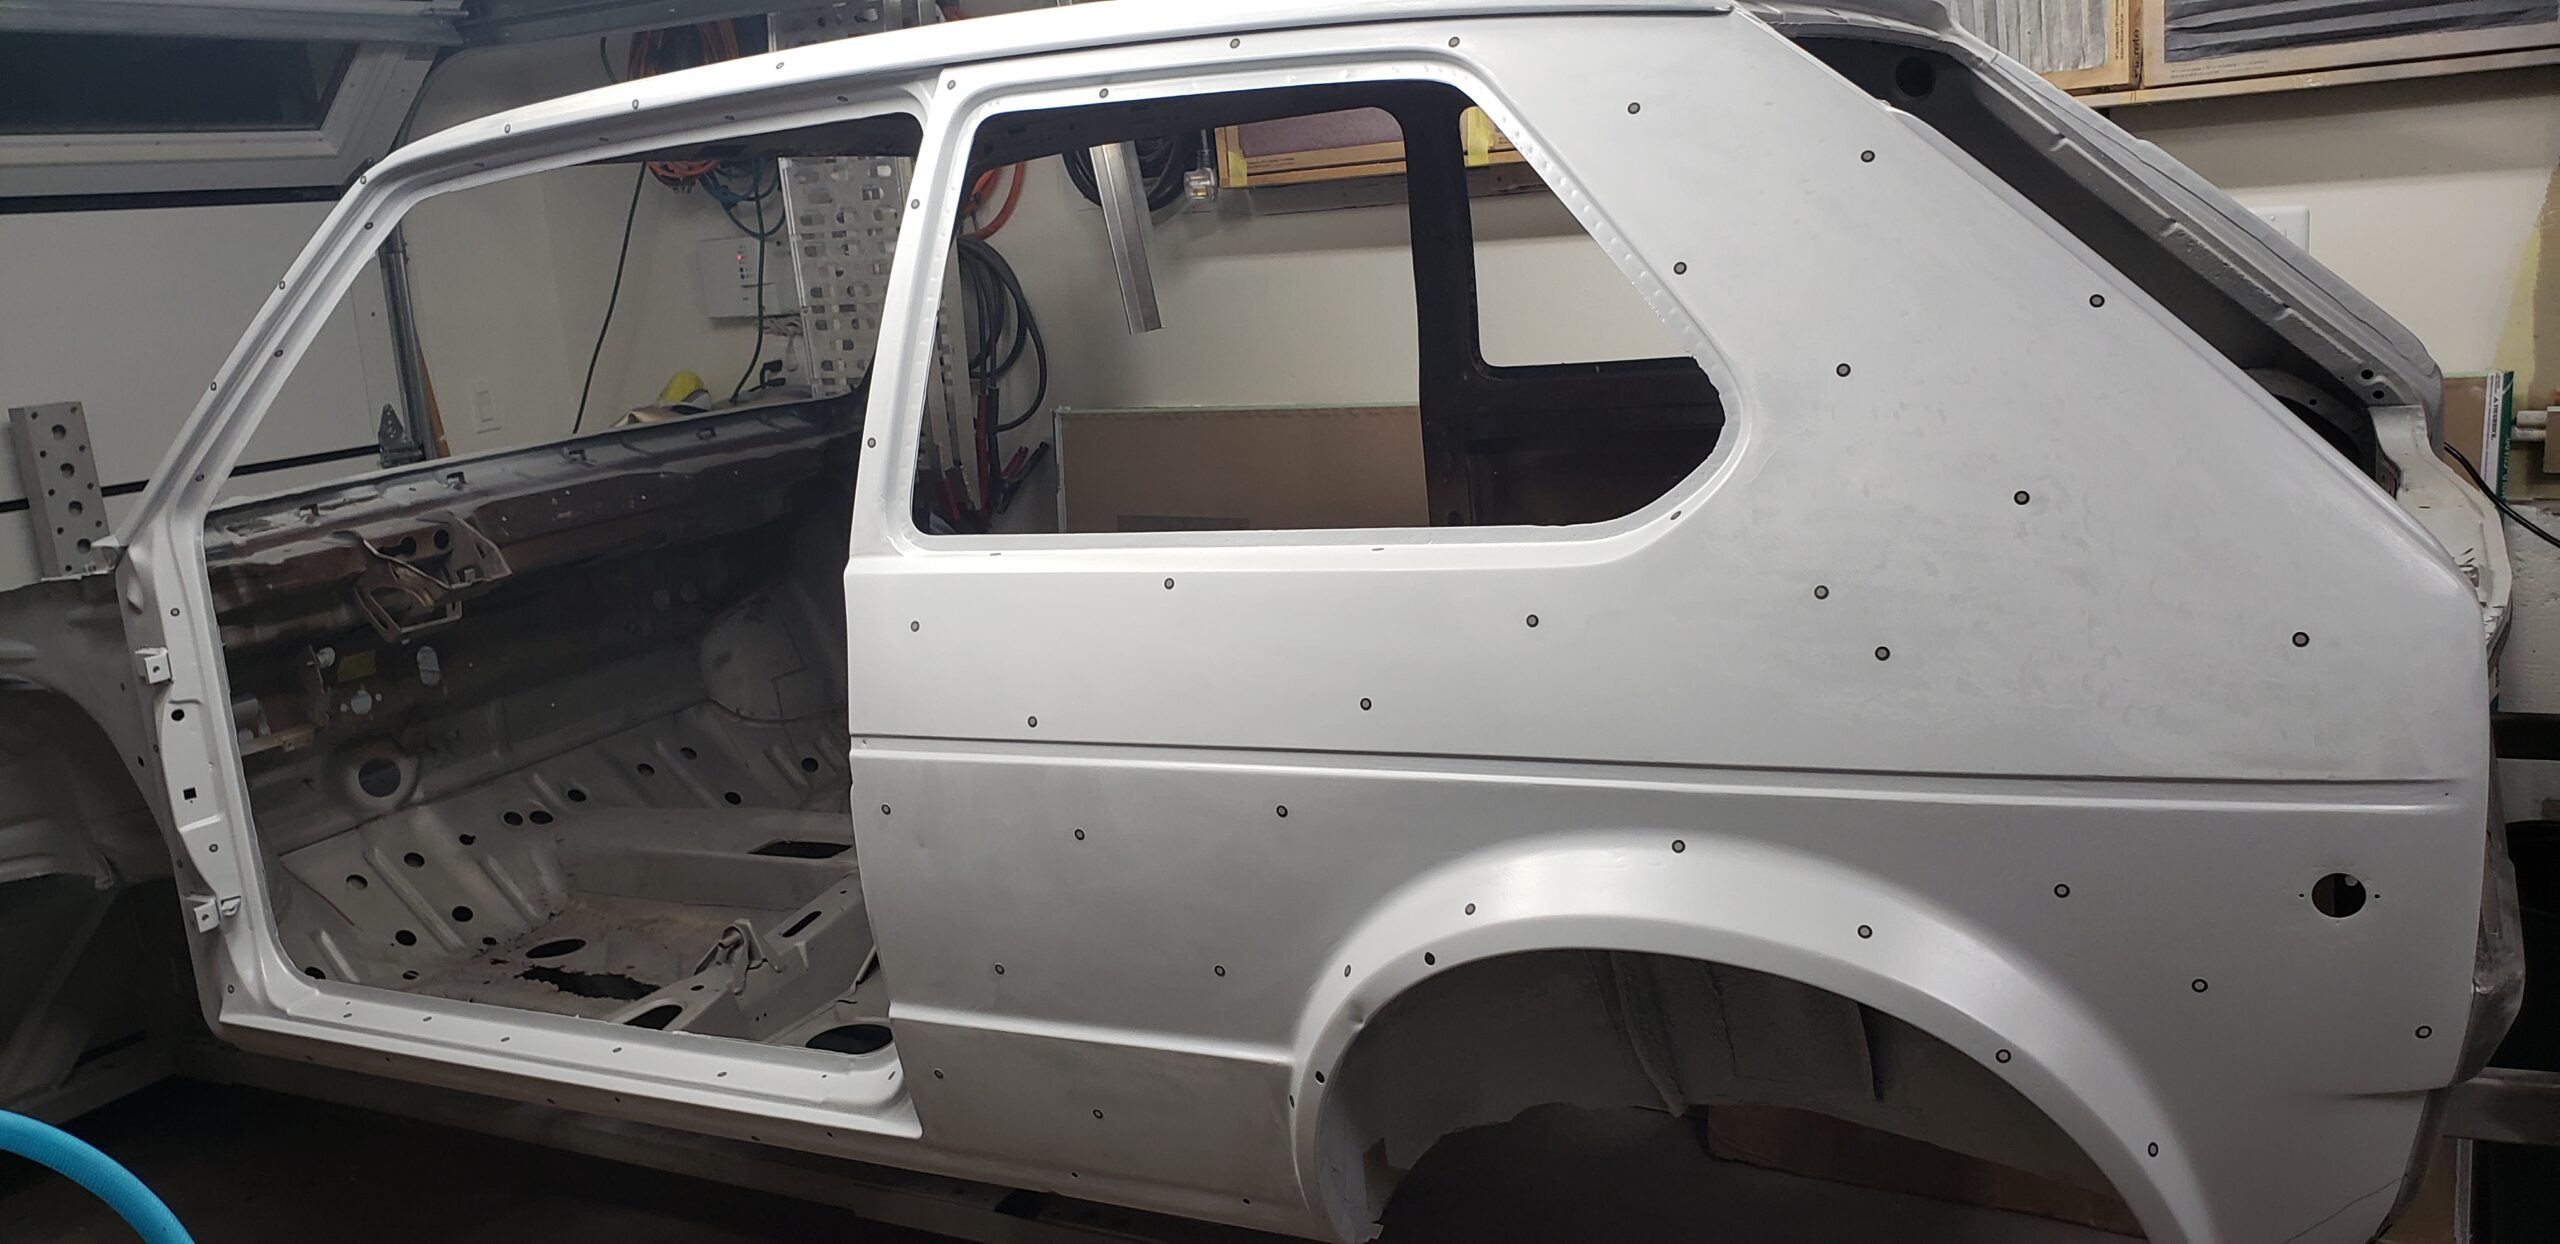
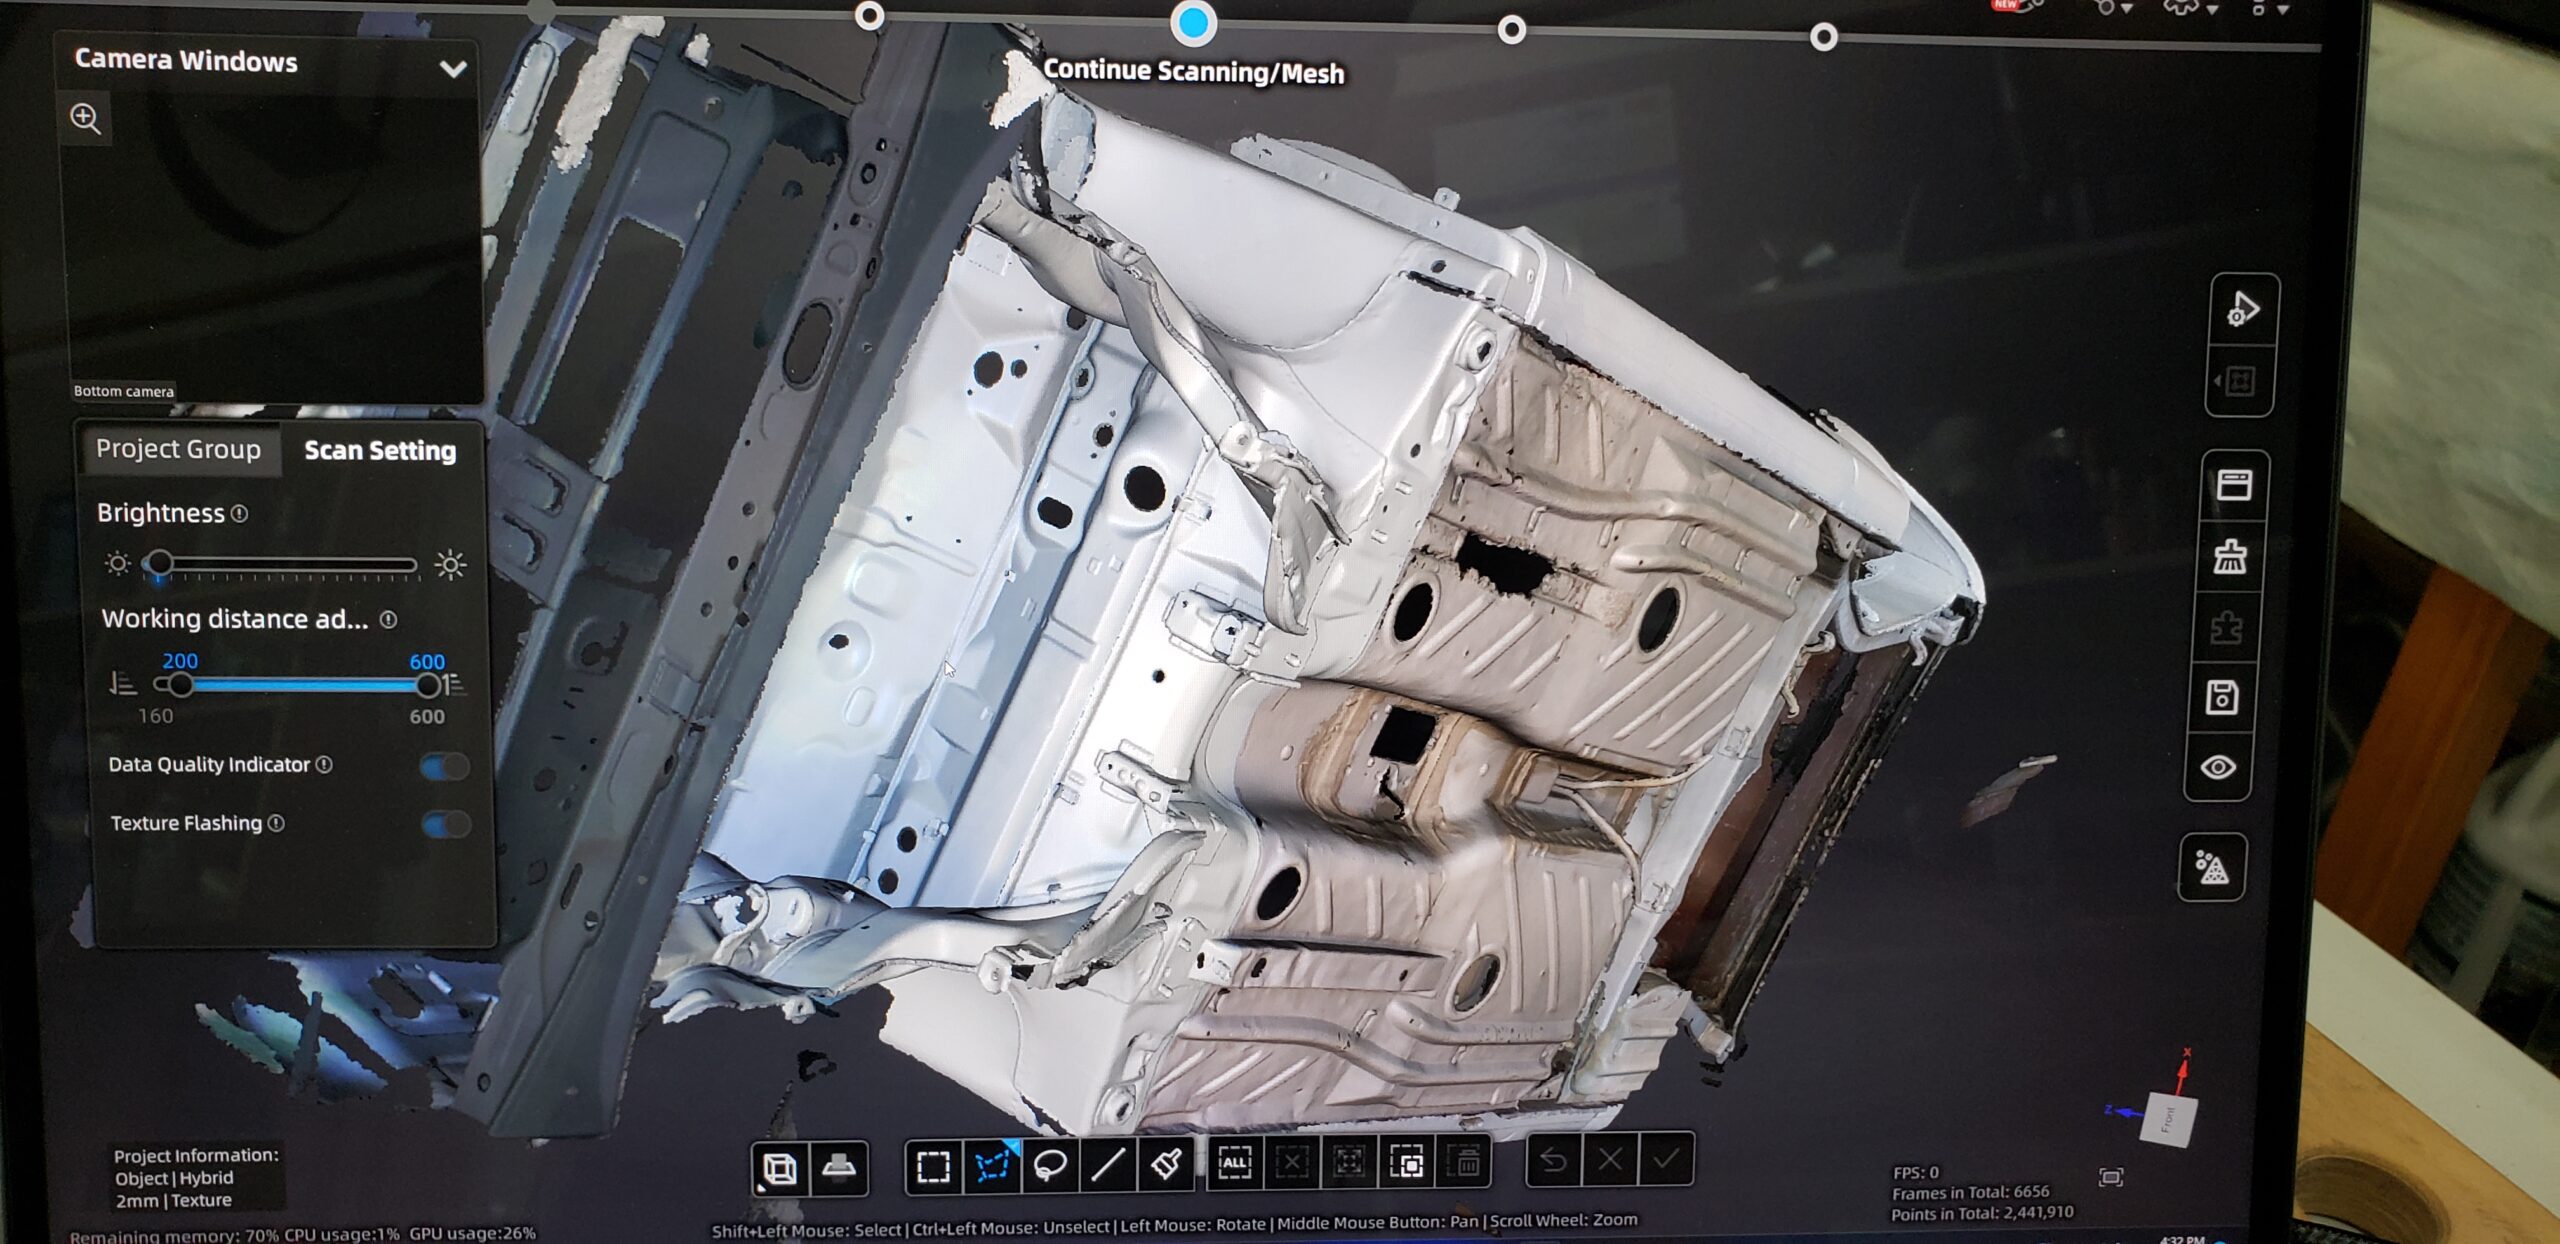
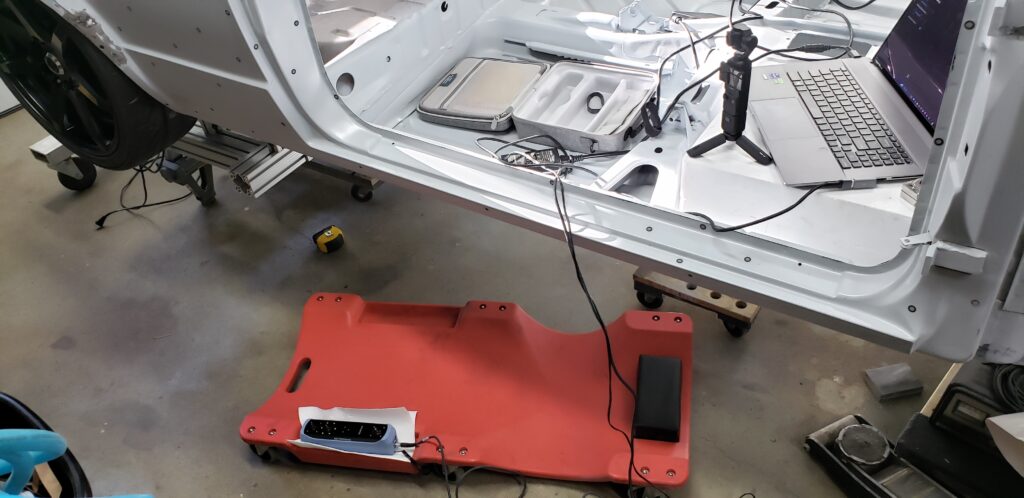
3D Scanning of the body
Todo: Talk about the Einstar 3D Scanner and what I learned here
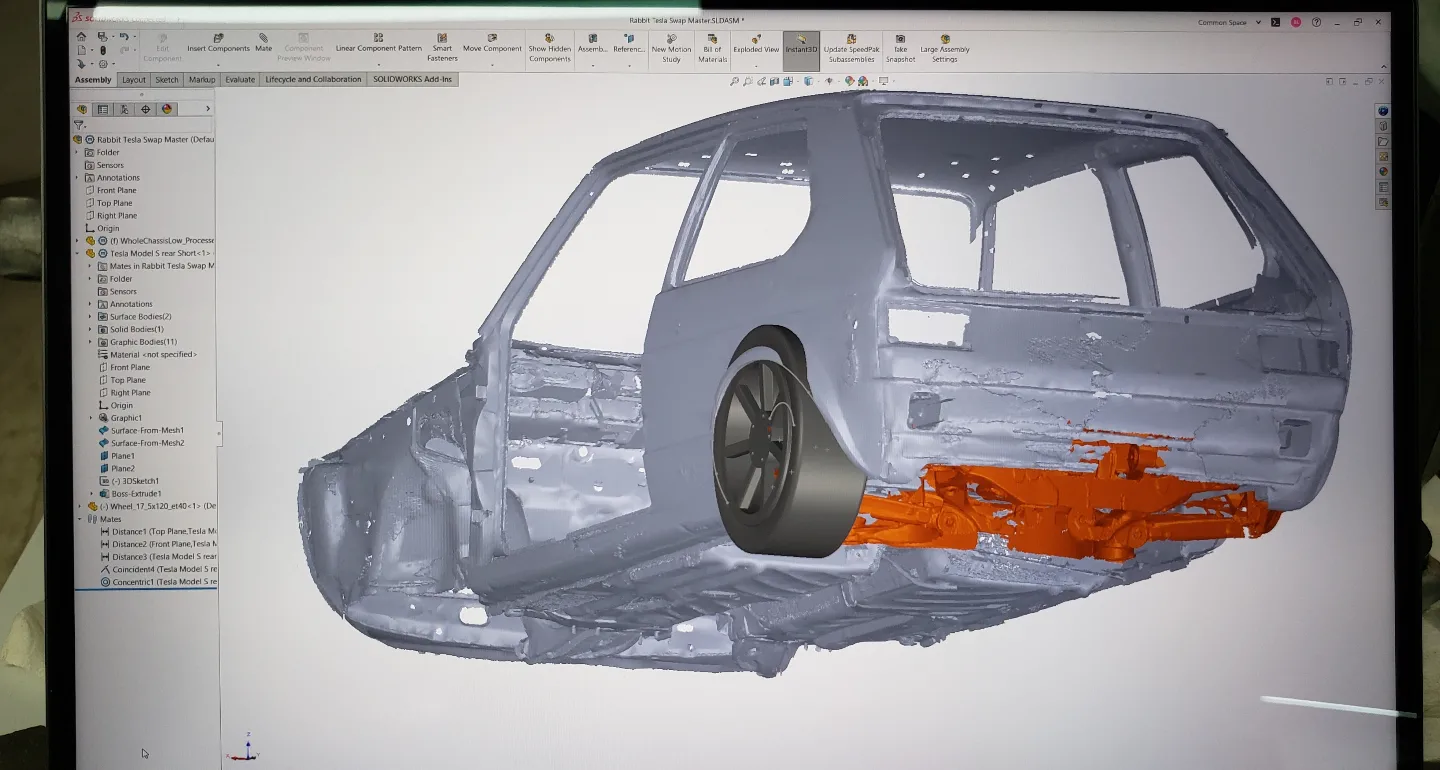
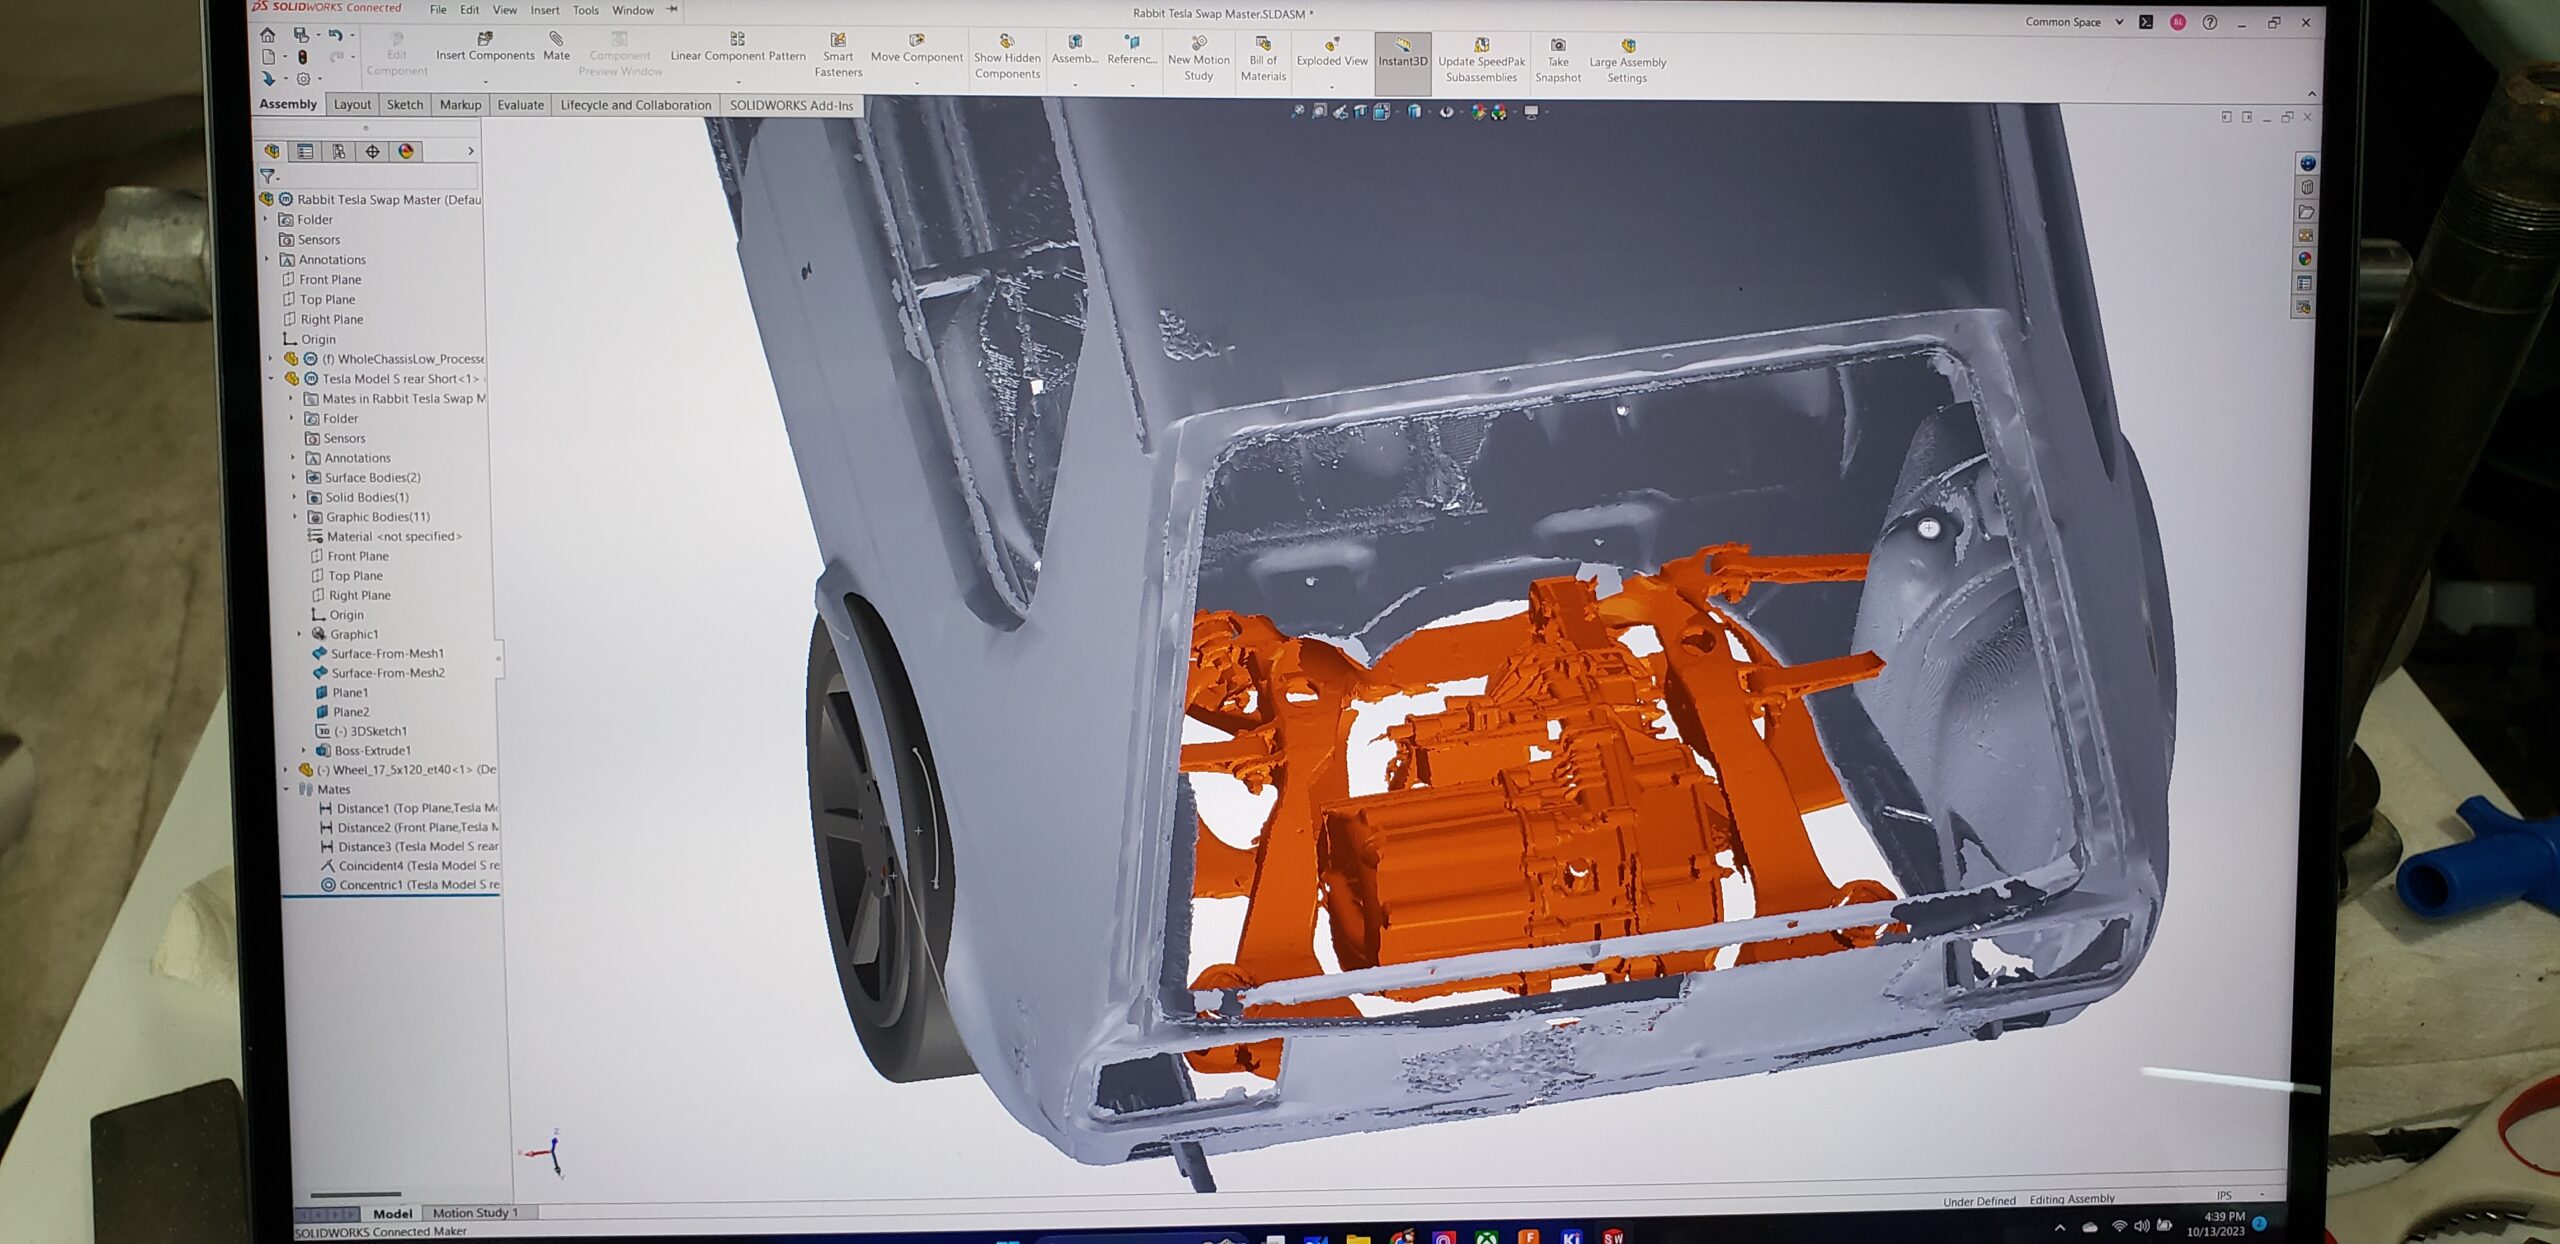

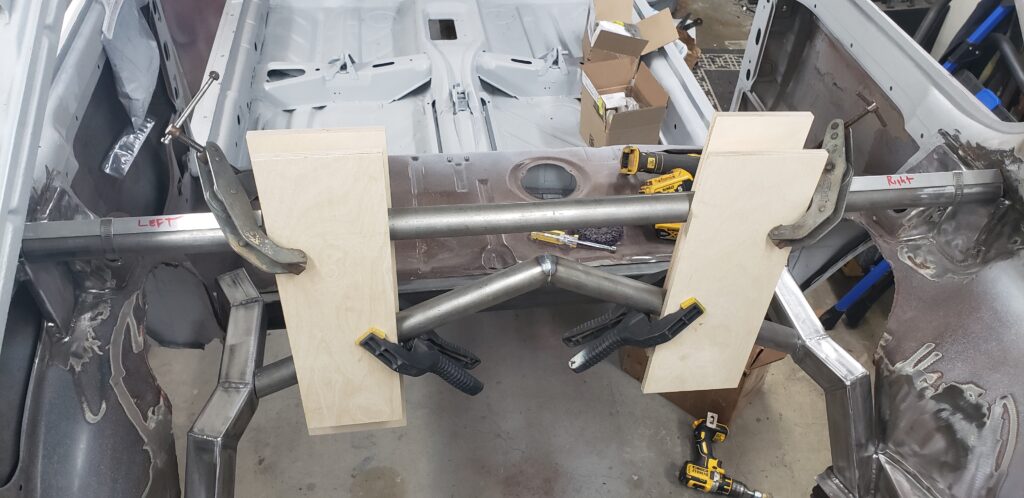
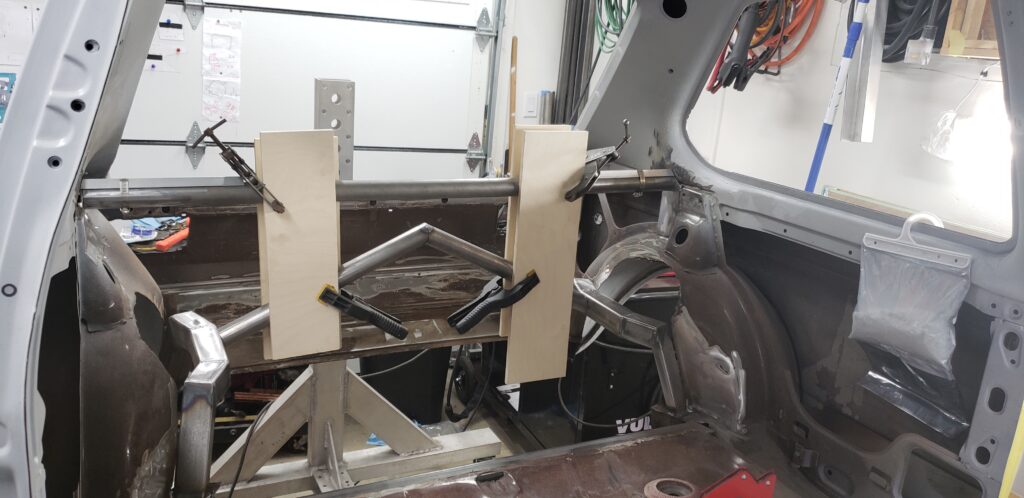
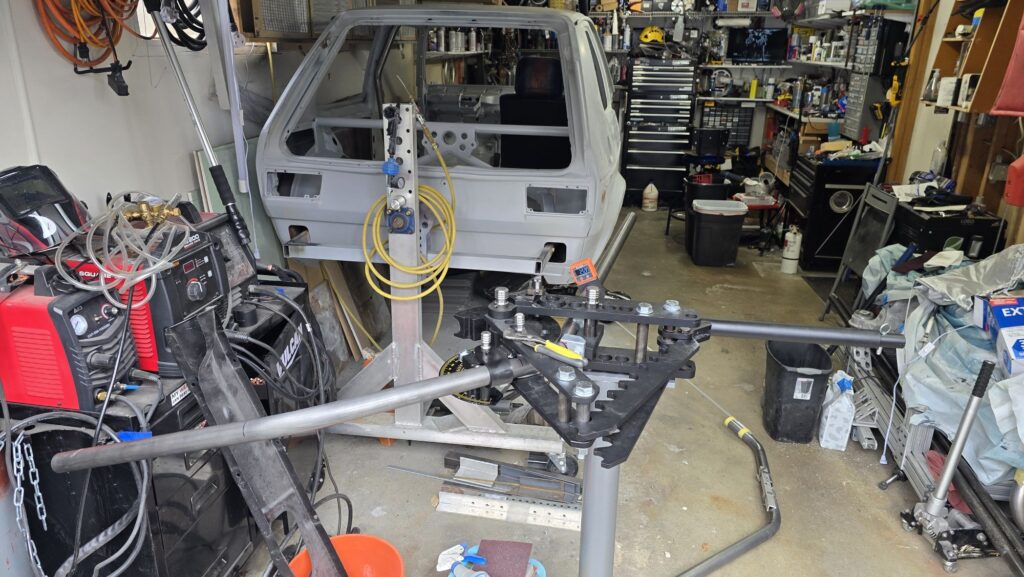
Mounting the subframe
The next stage is to finally mount the rear subframe in the chassis. This will be updated in the next few months.
Stay Tuned!
-B 10-17-2023
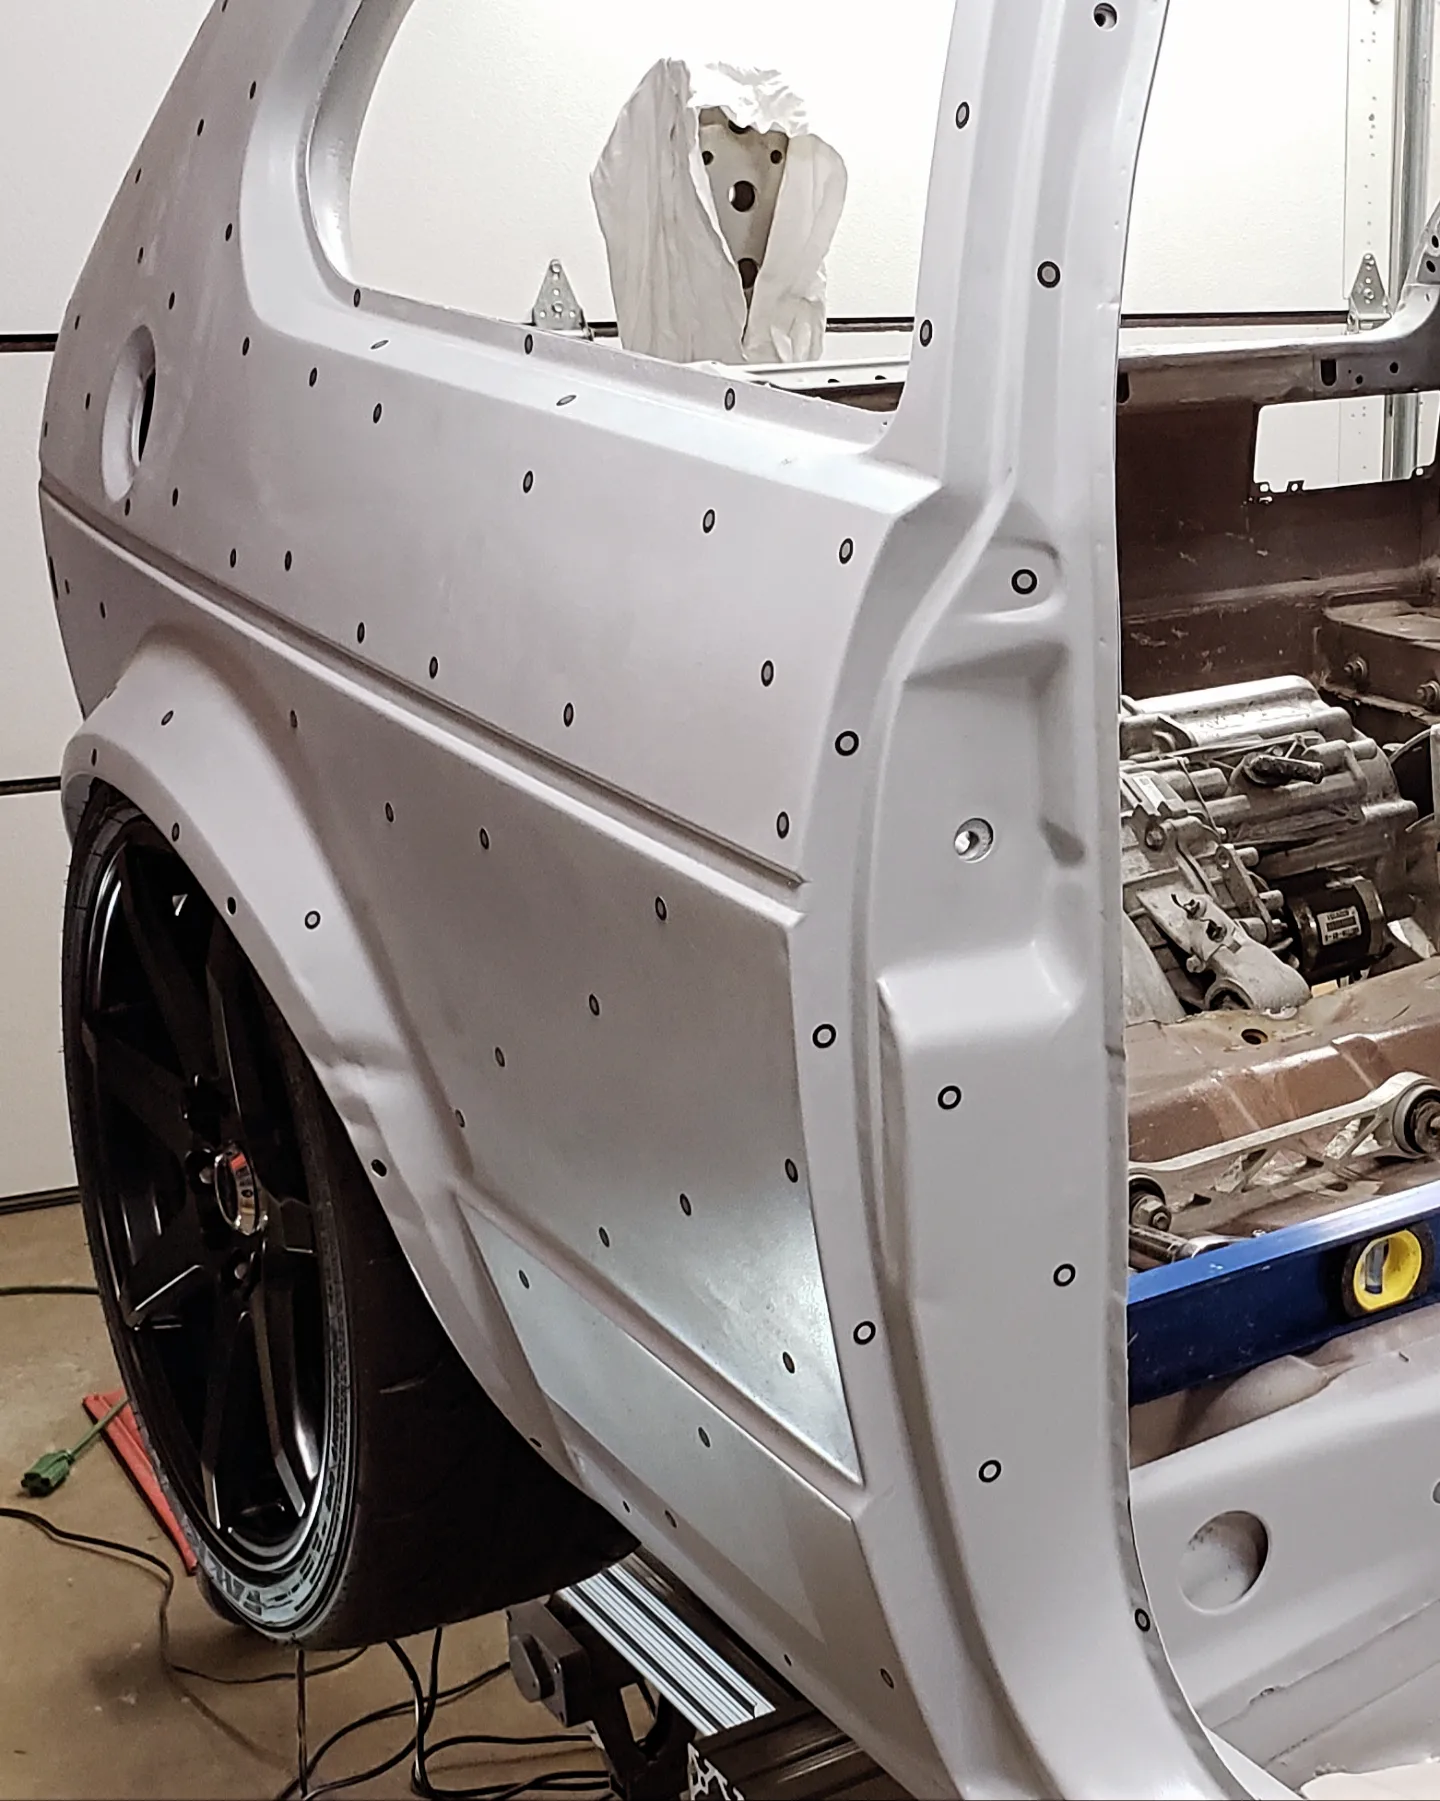
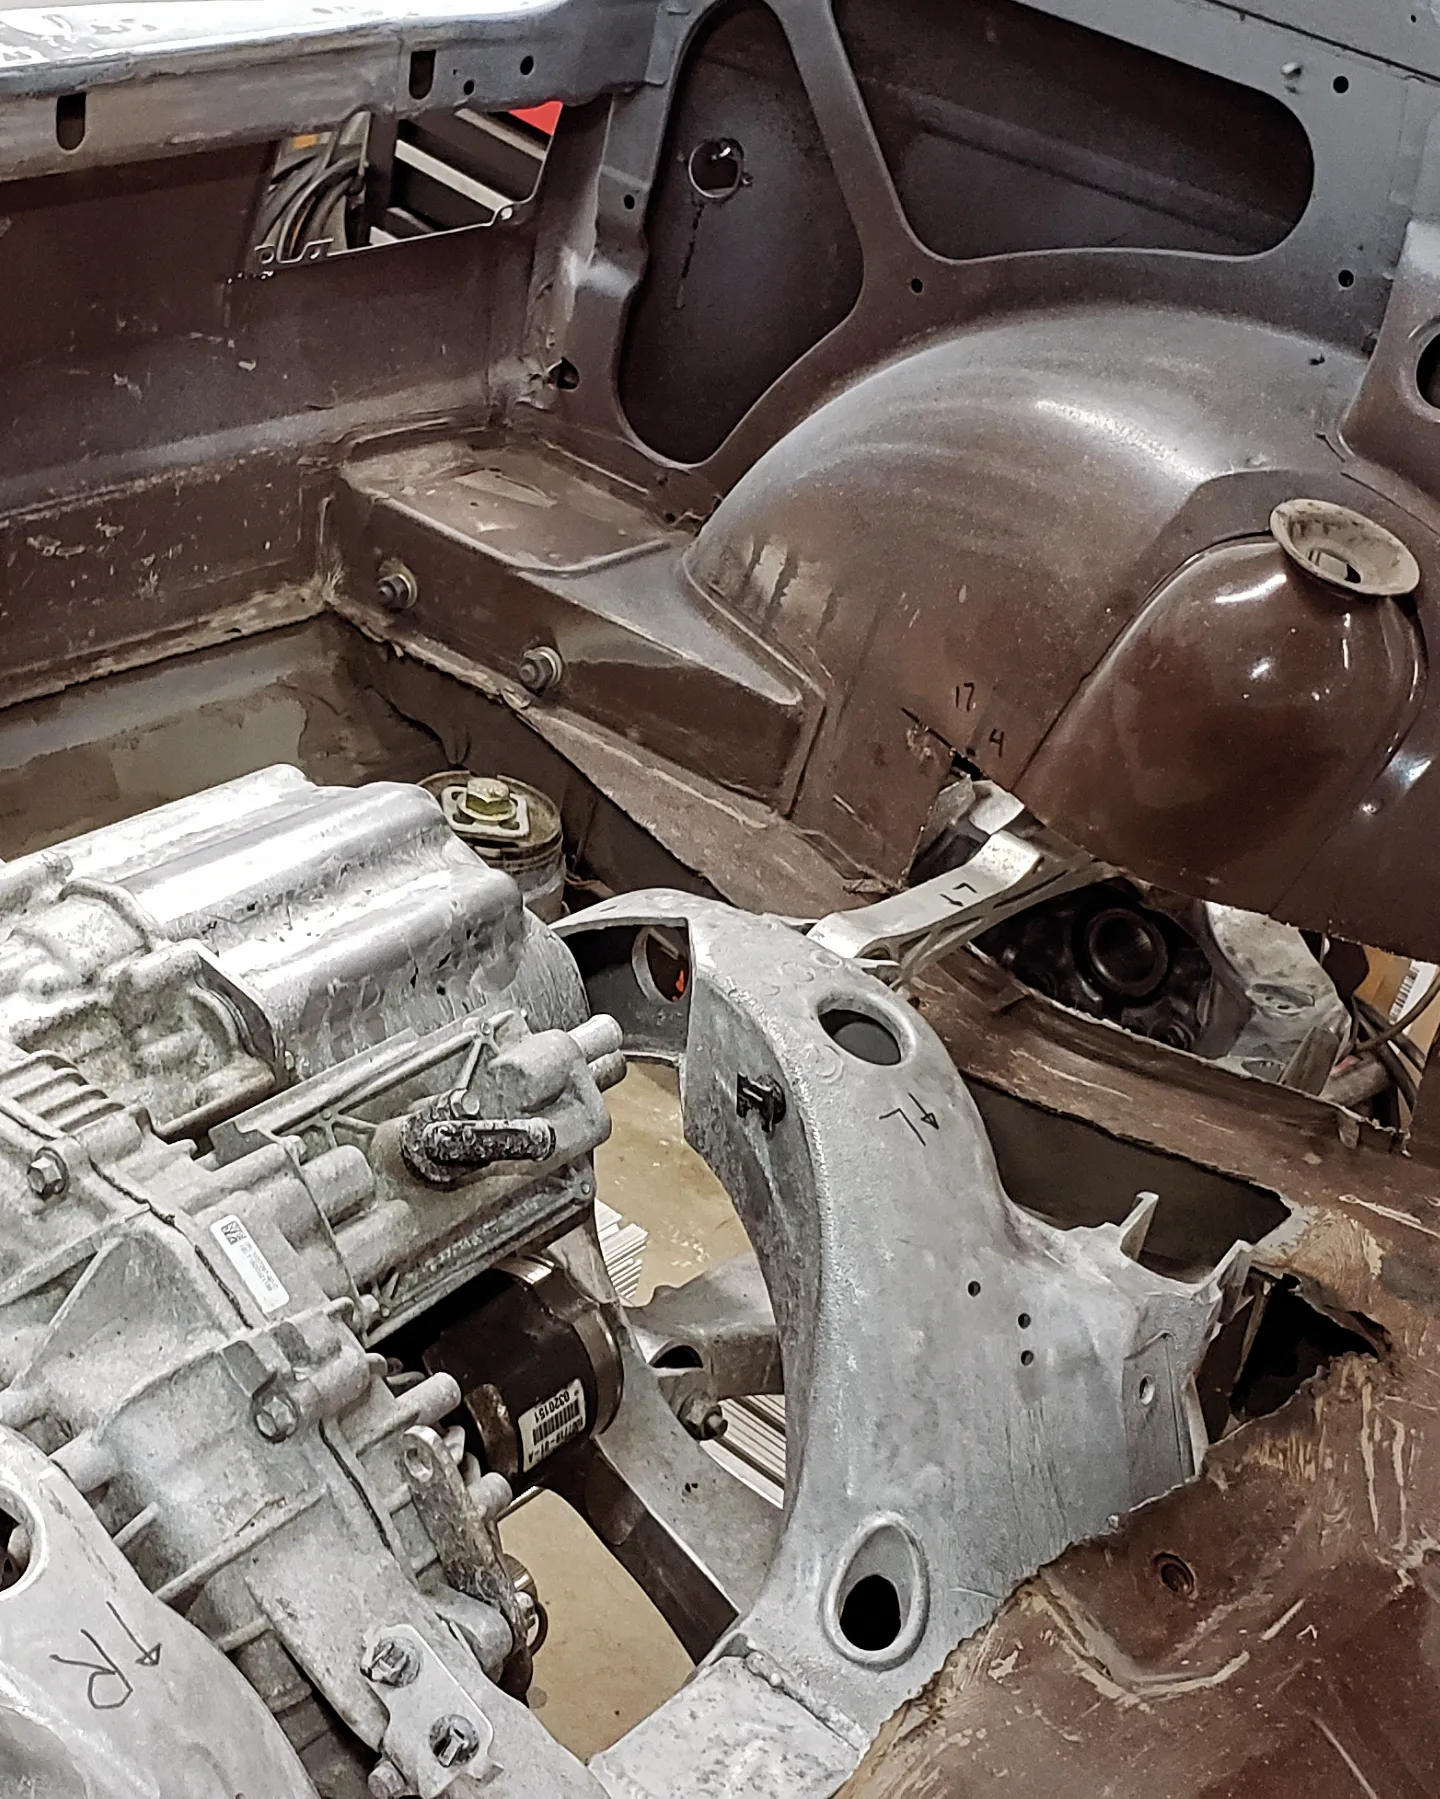
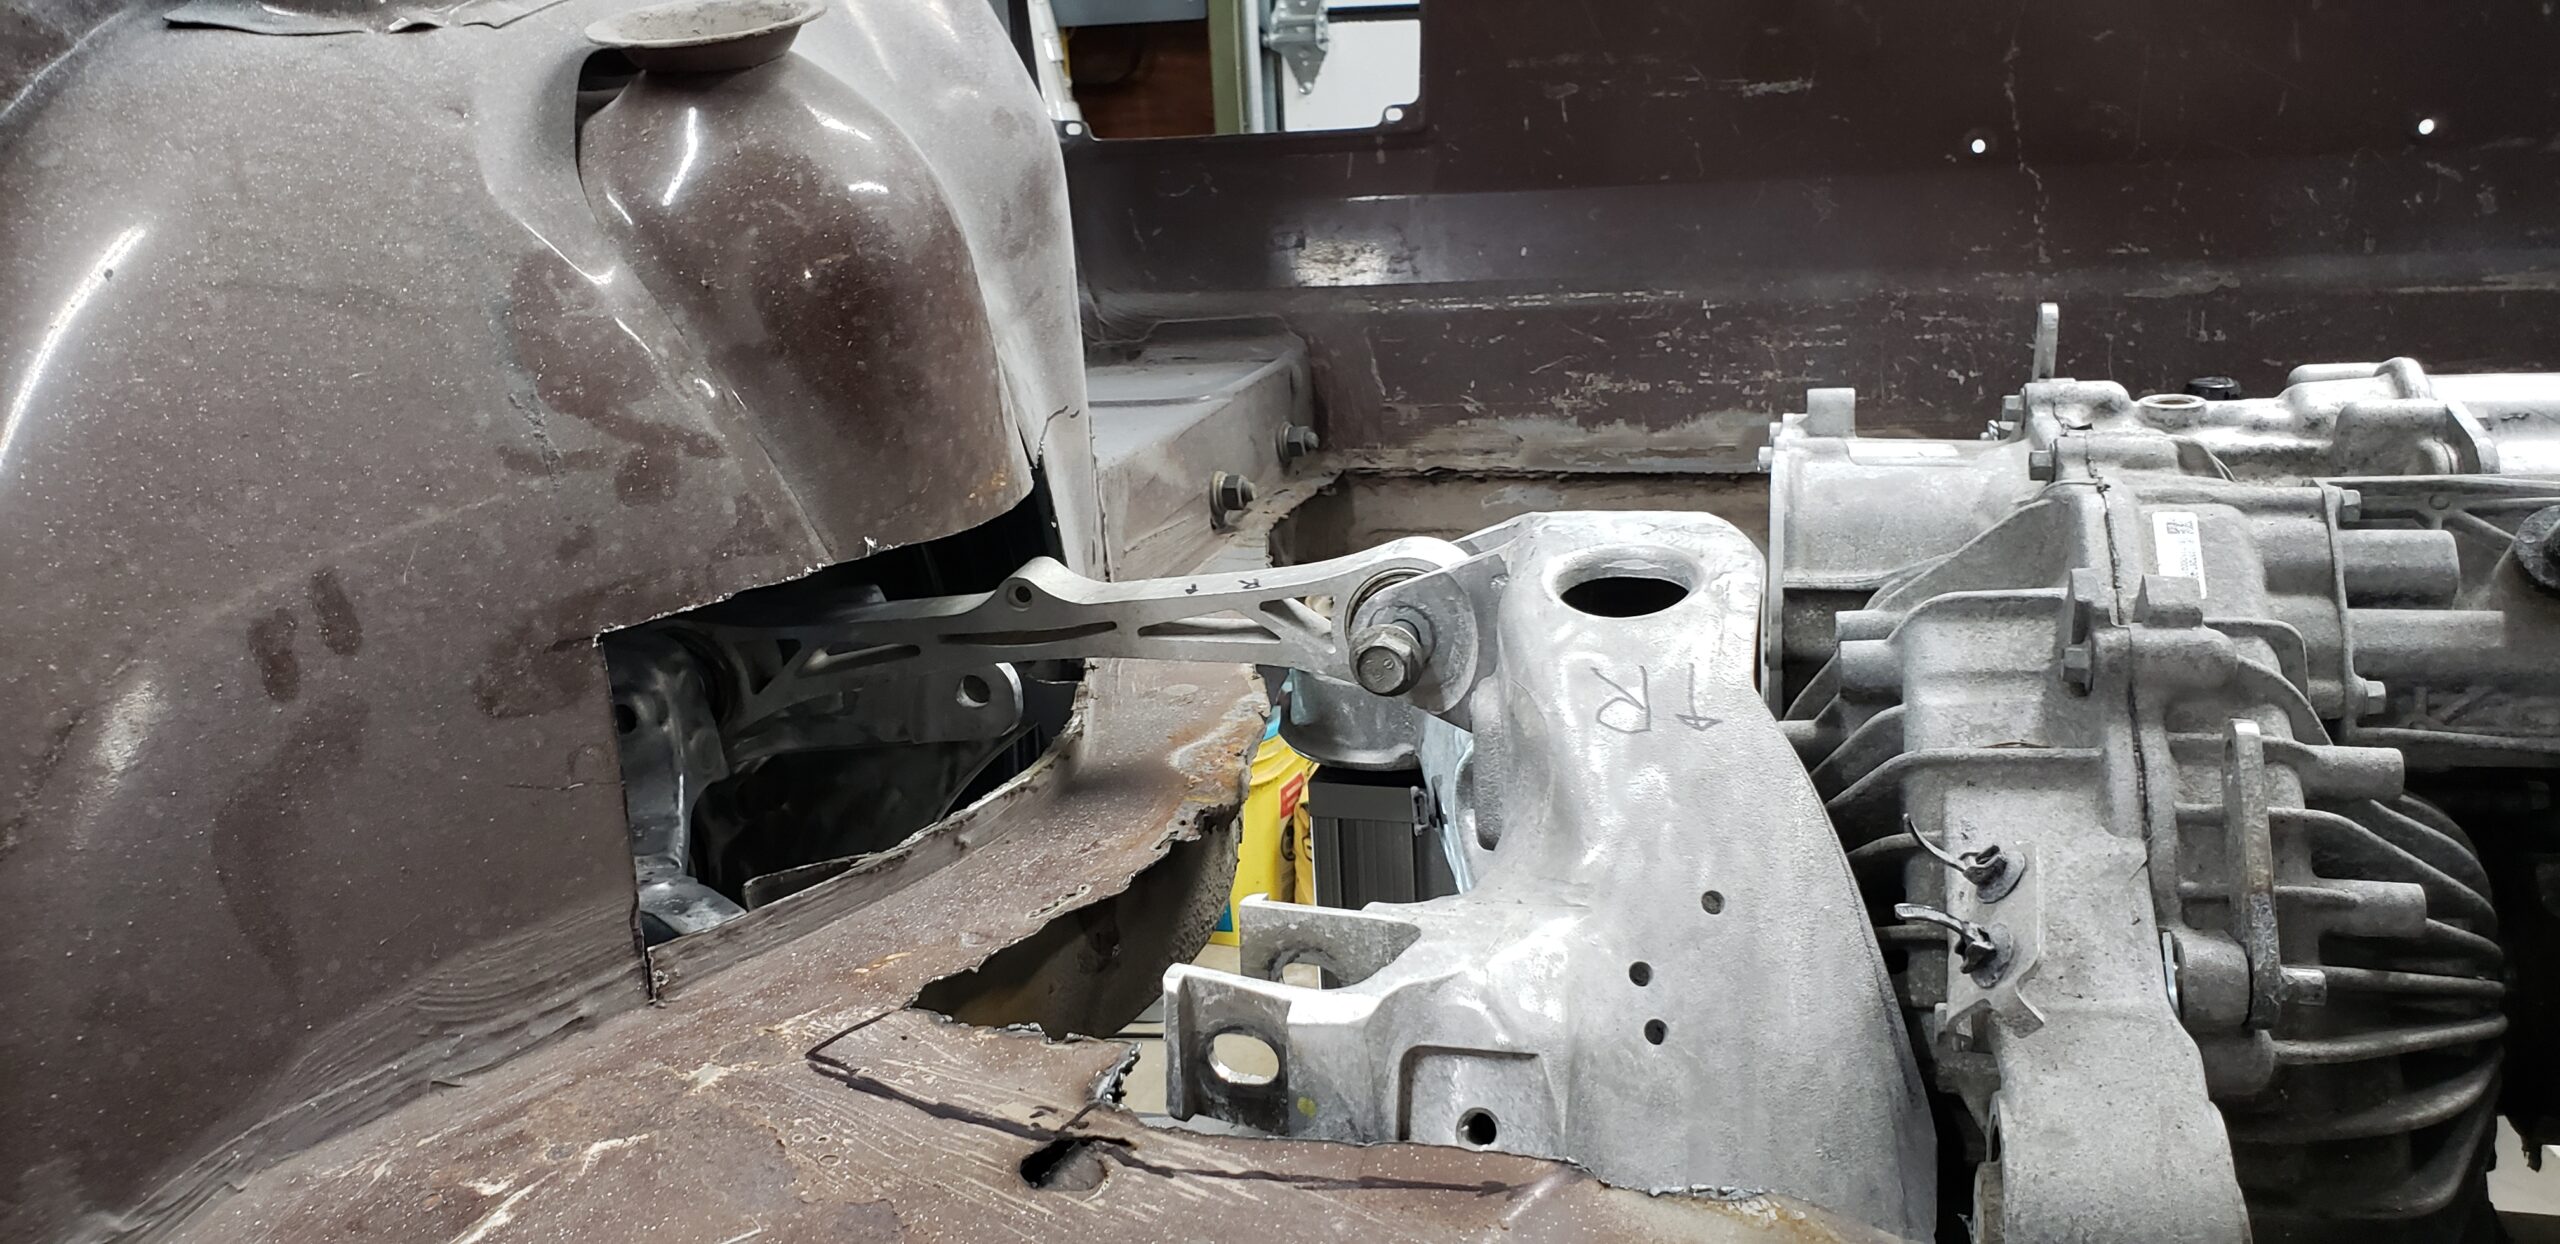
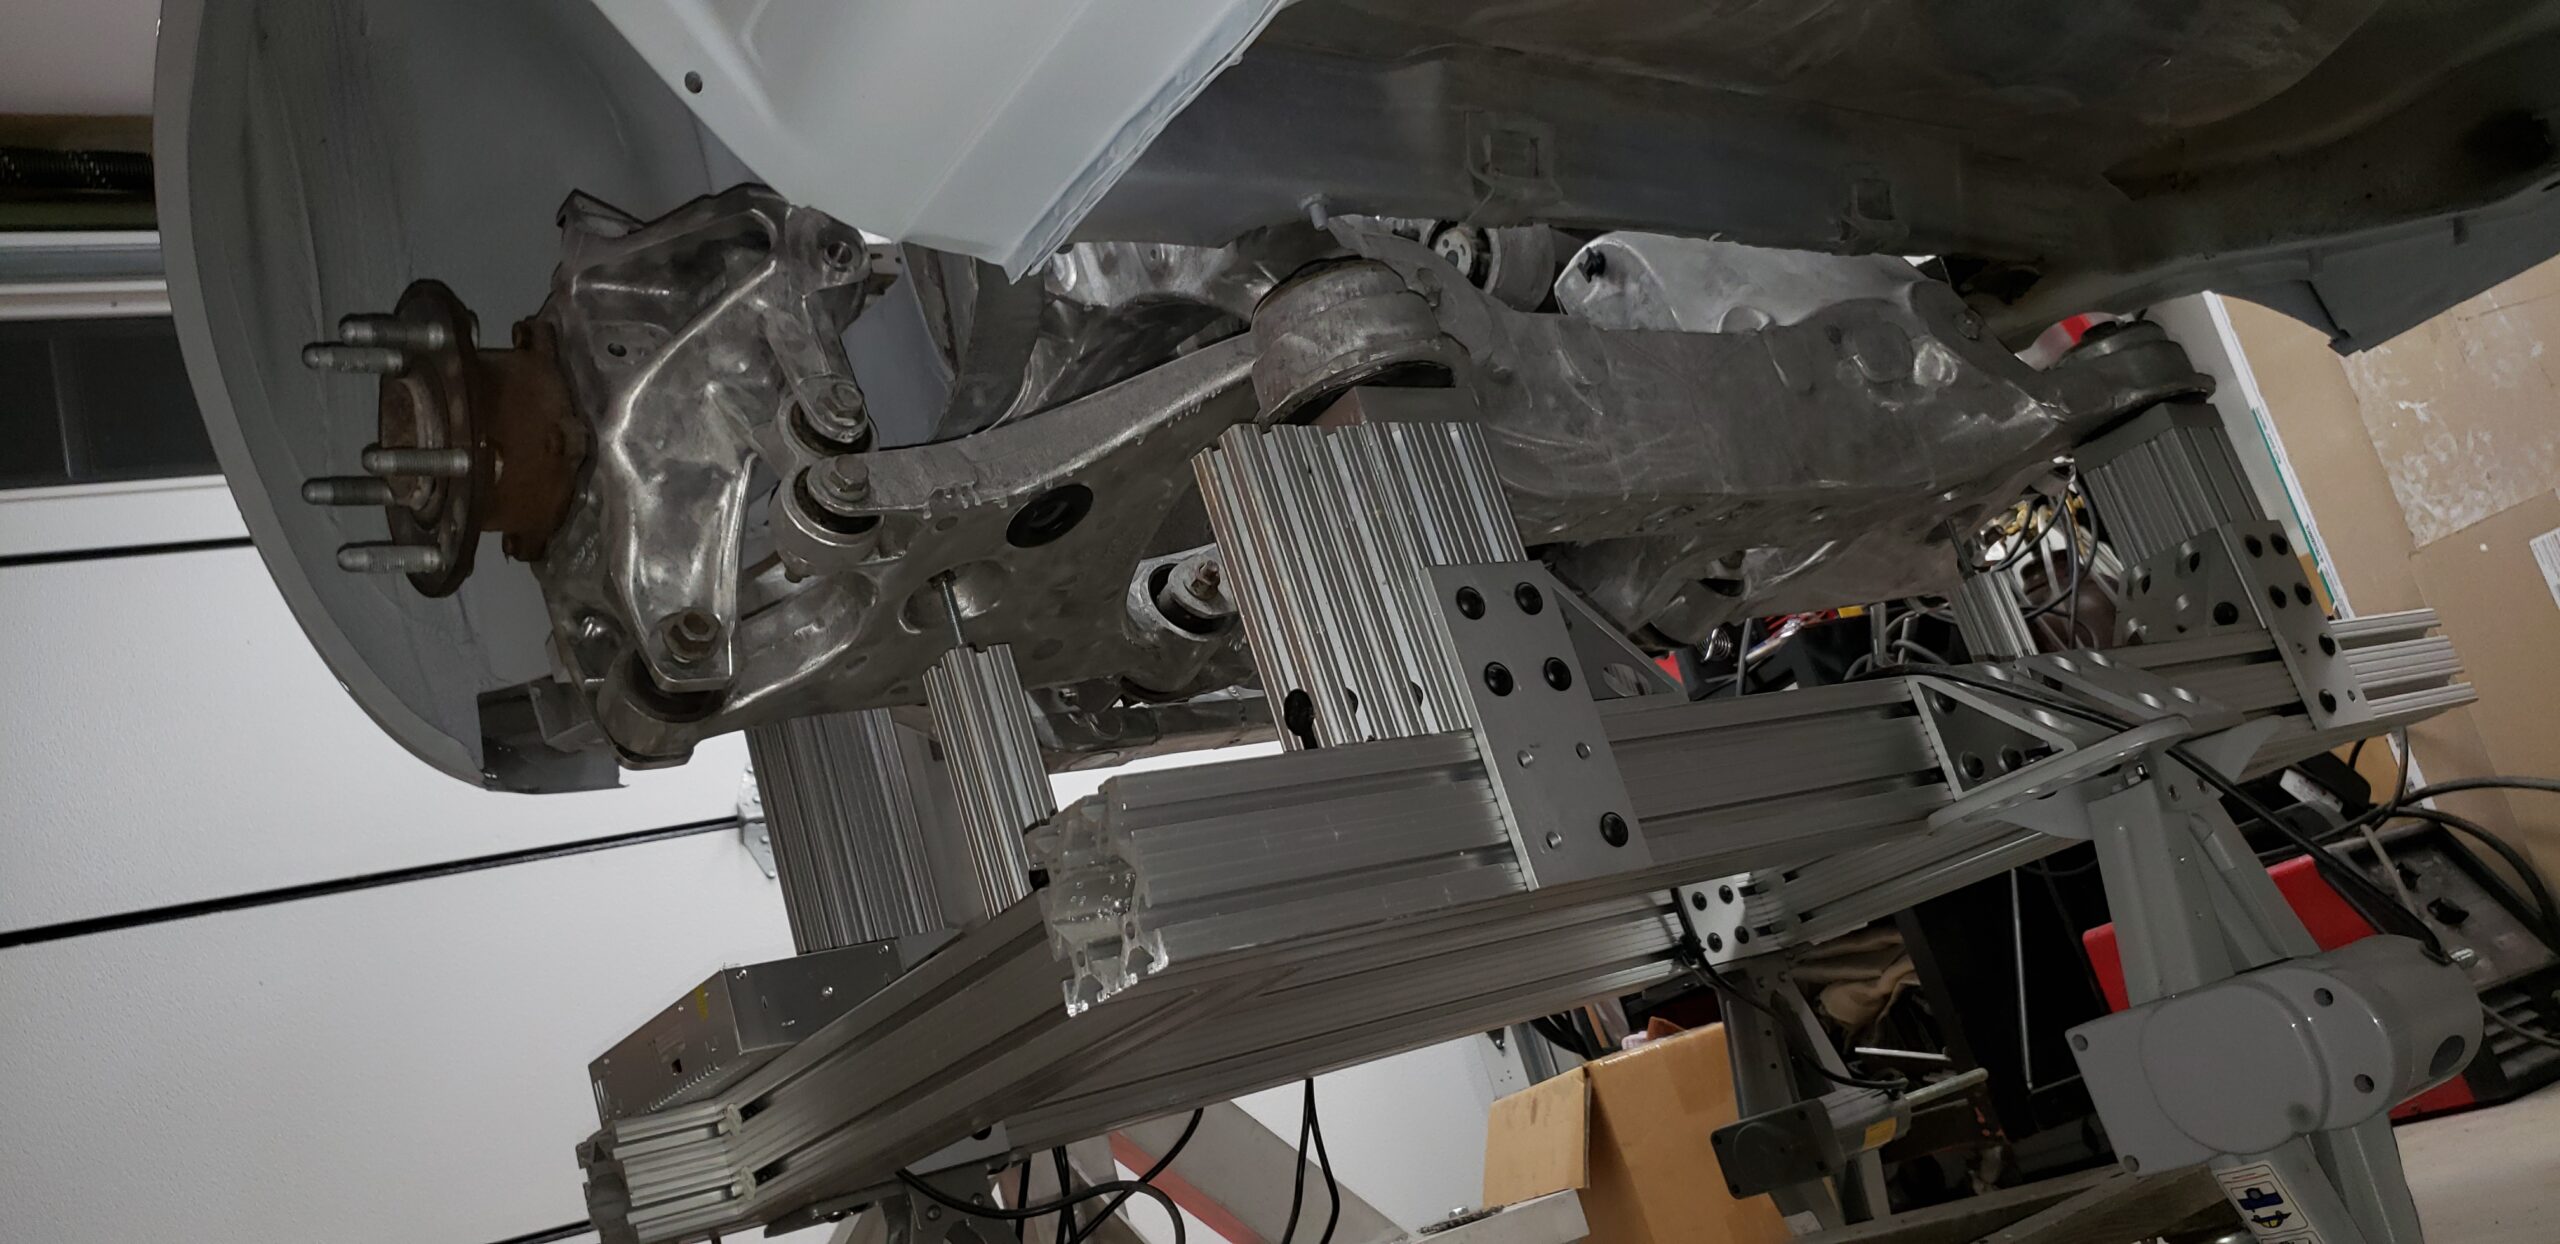
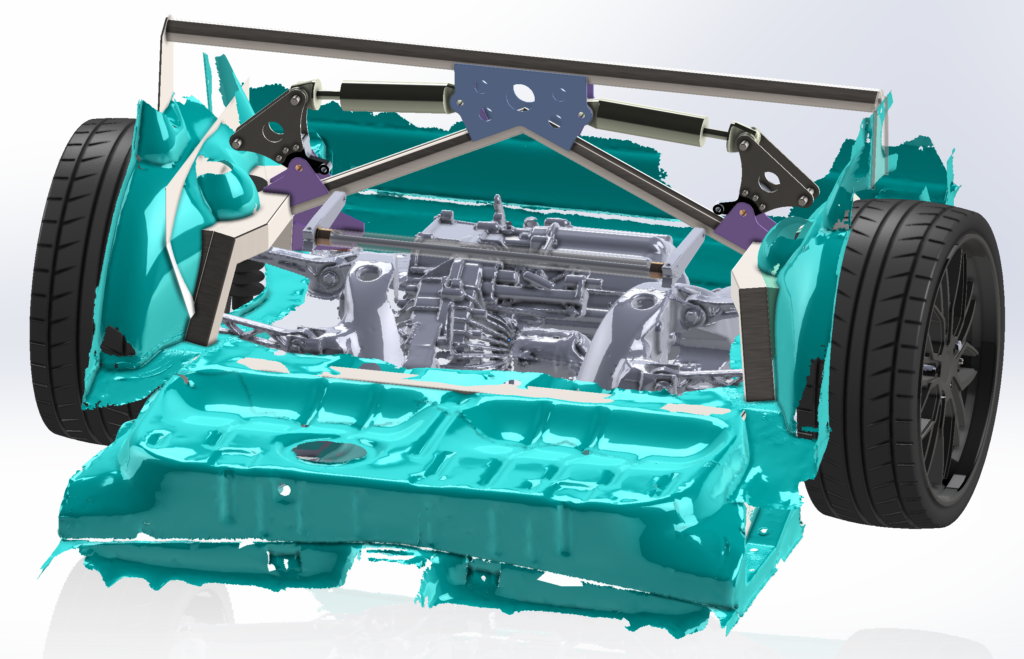
There were many iterations of adjusting the subframe into the chassis and 3D scanning to check alignment. This will insure I can get it in the final proper location before fabrication the mounts.
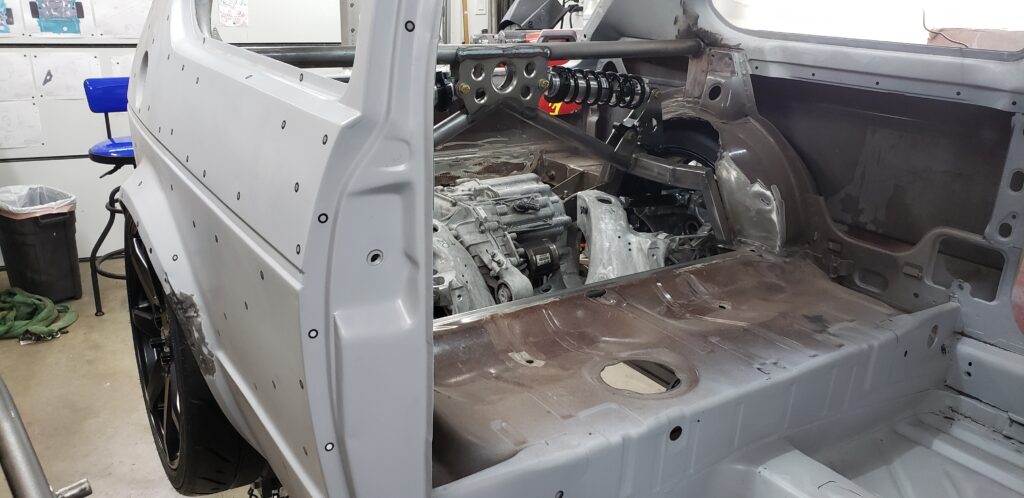
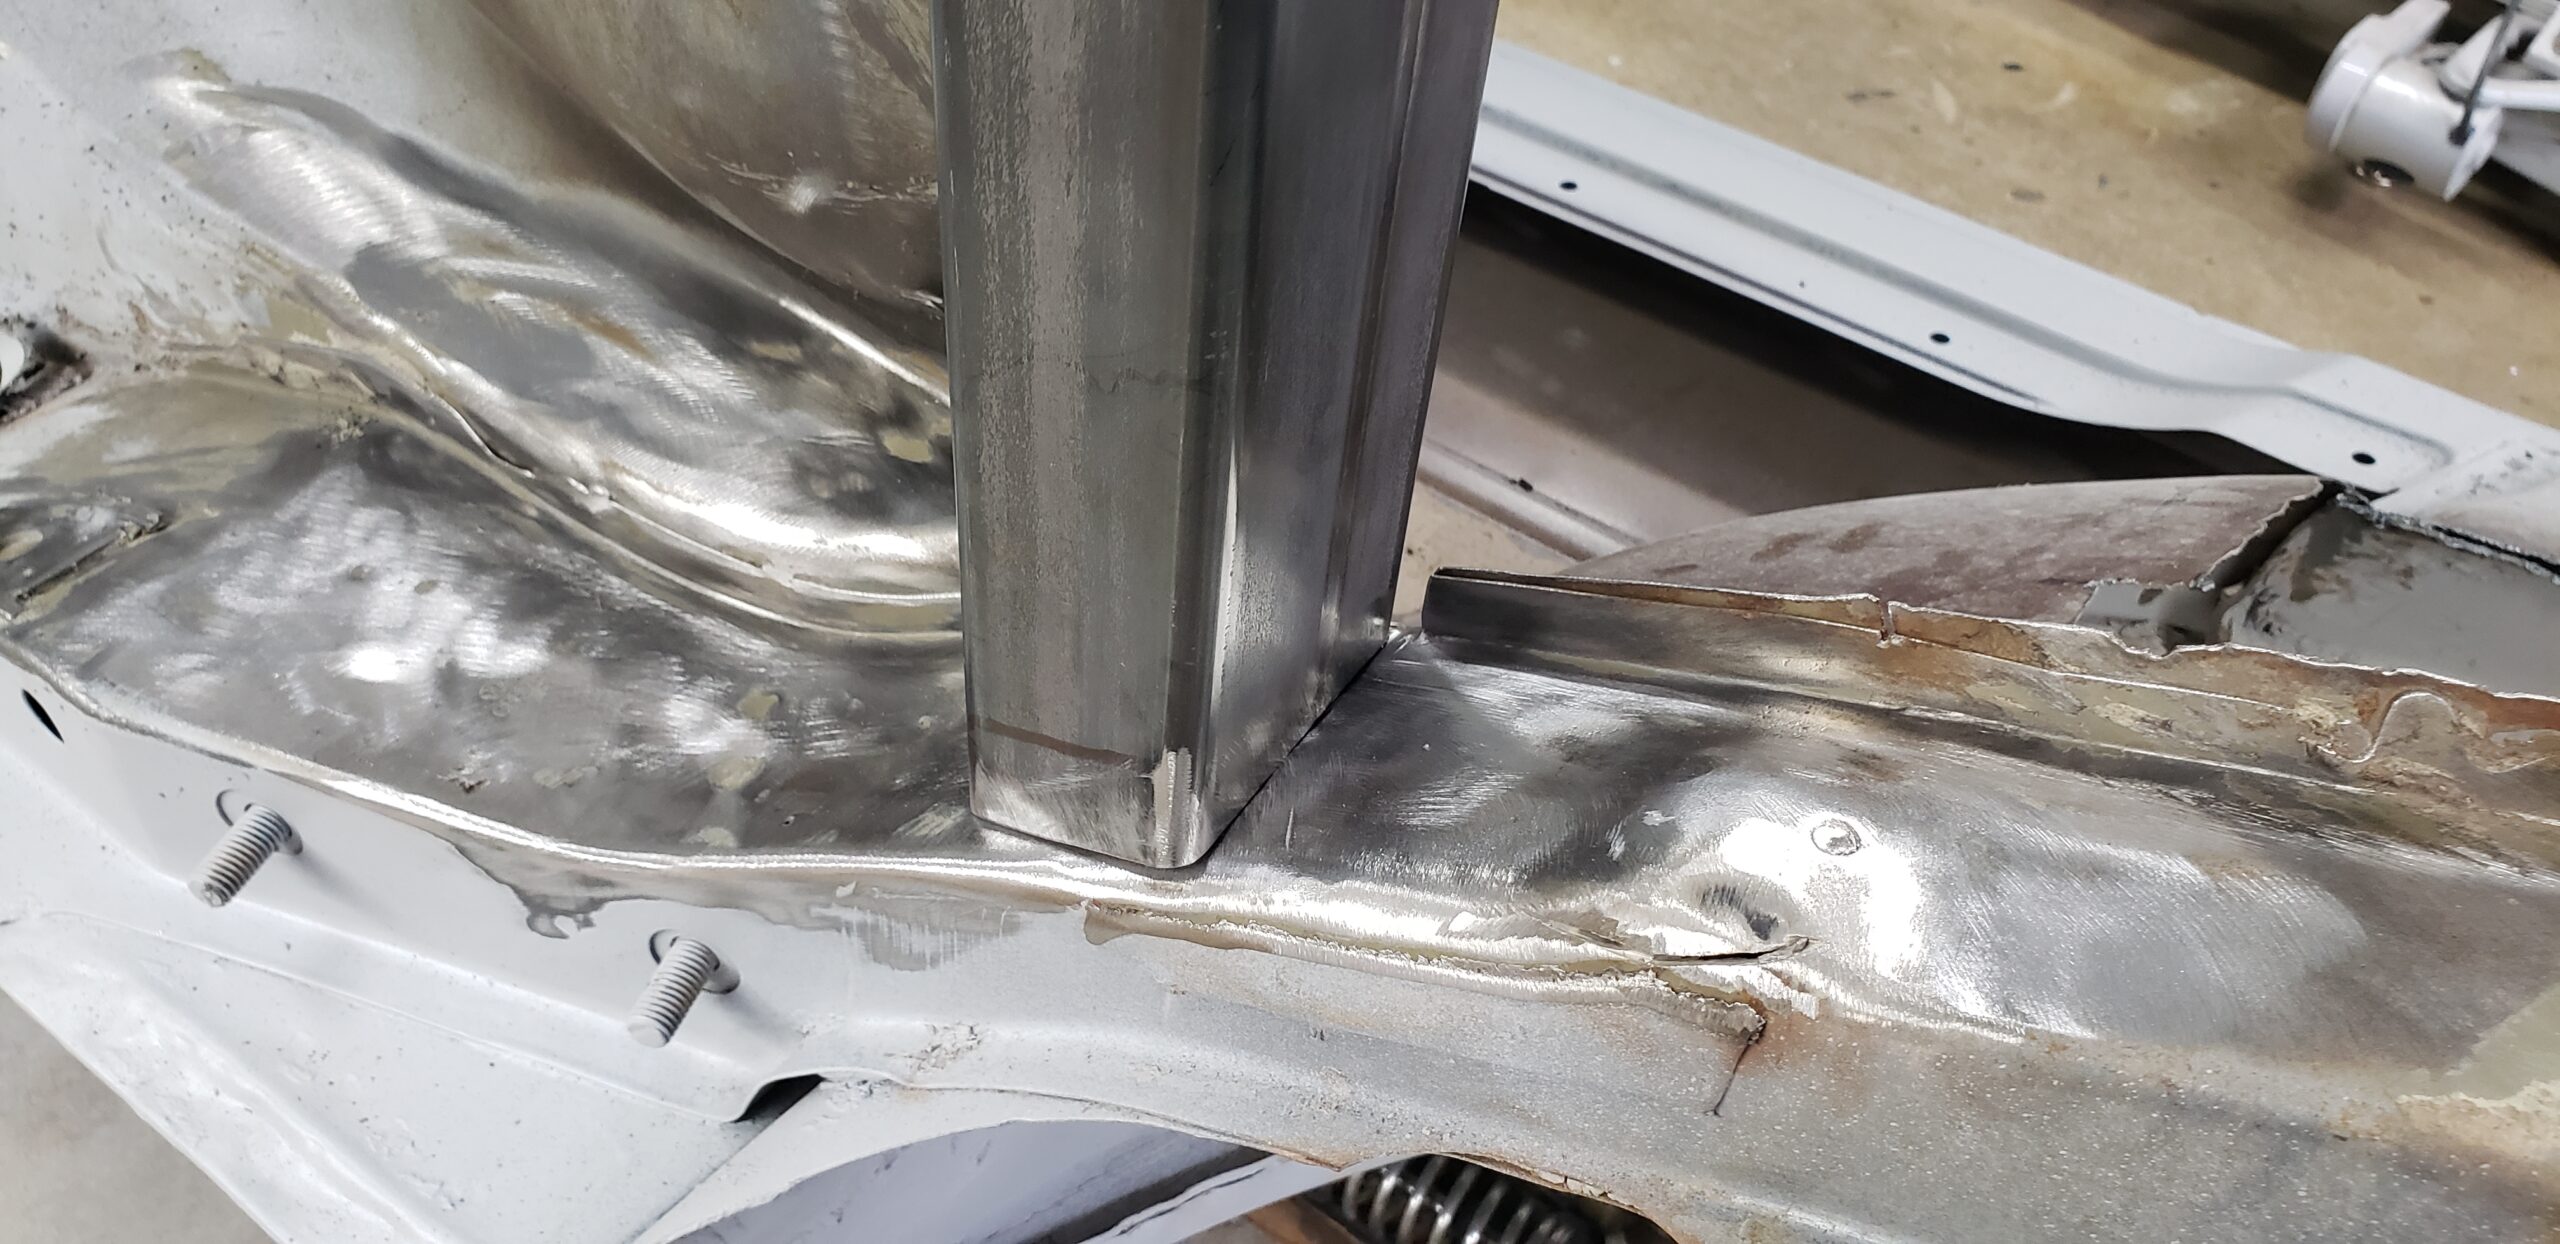
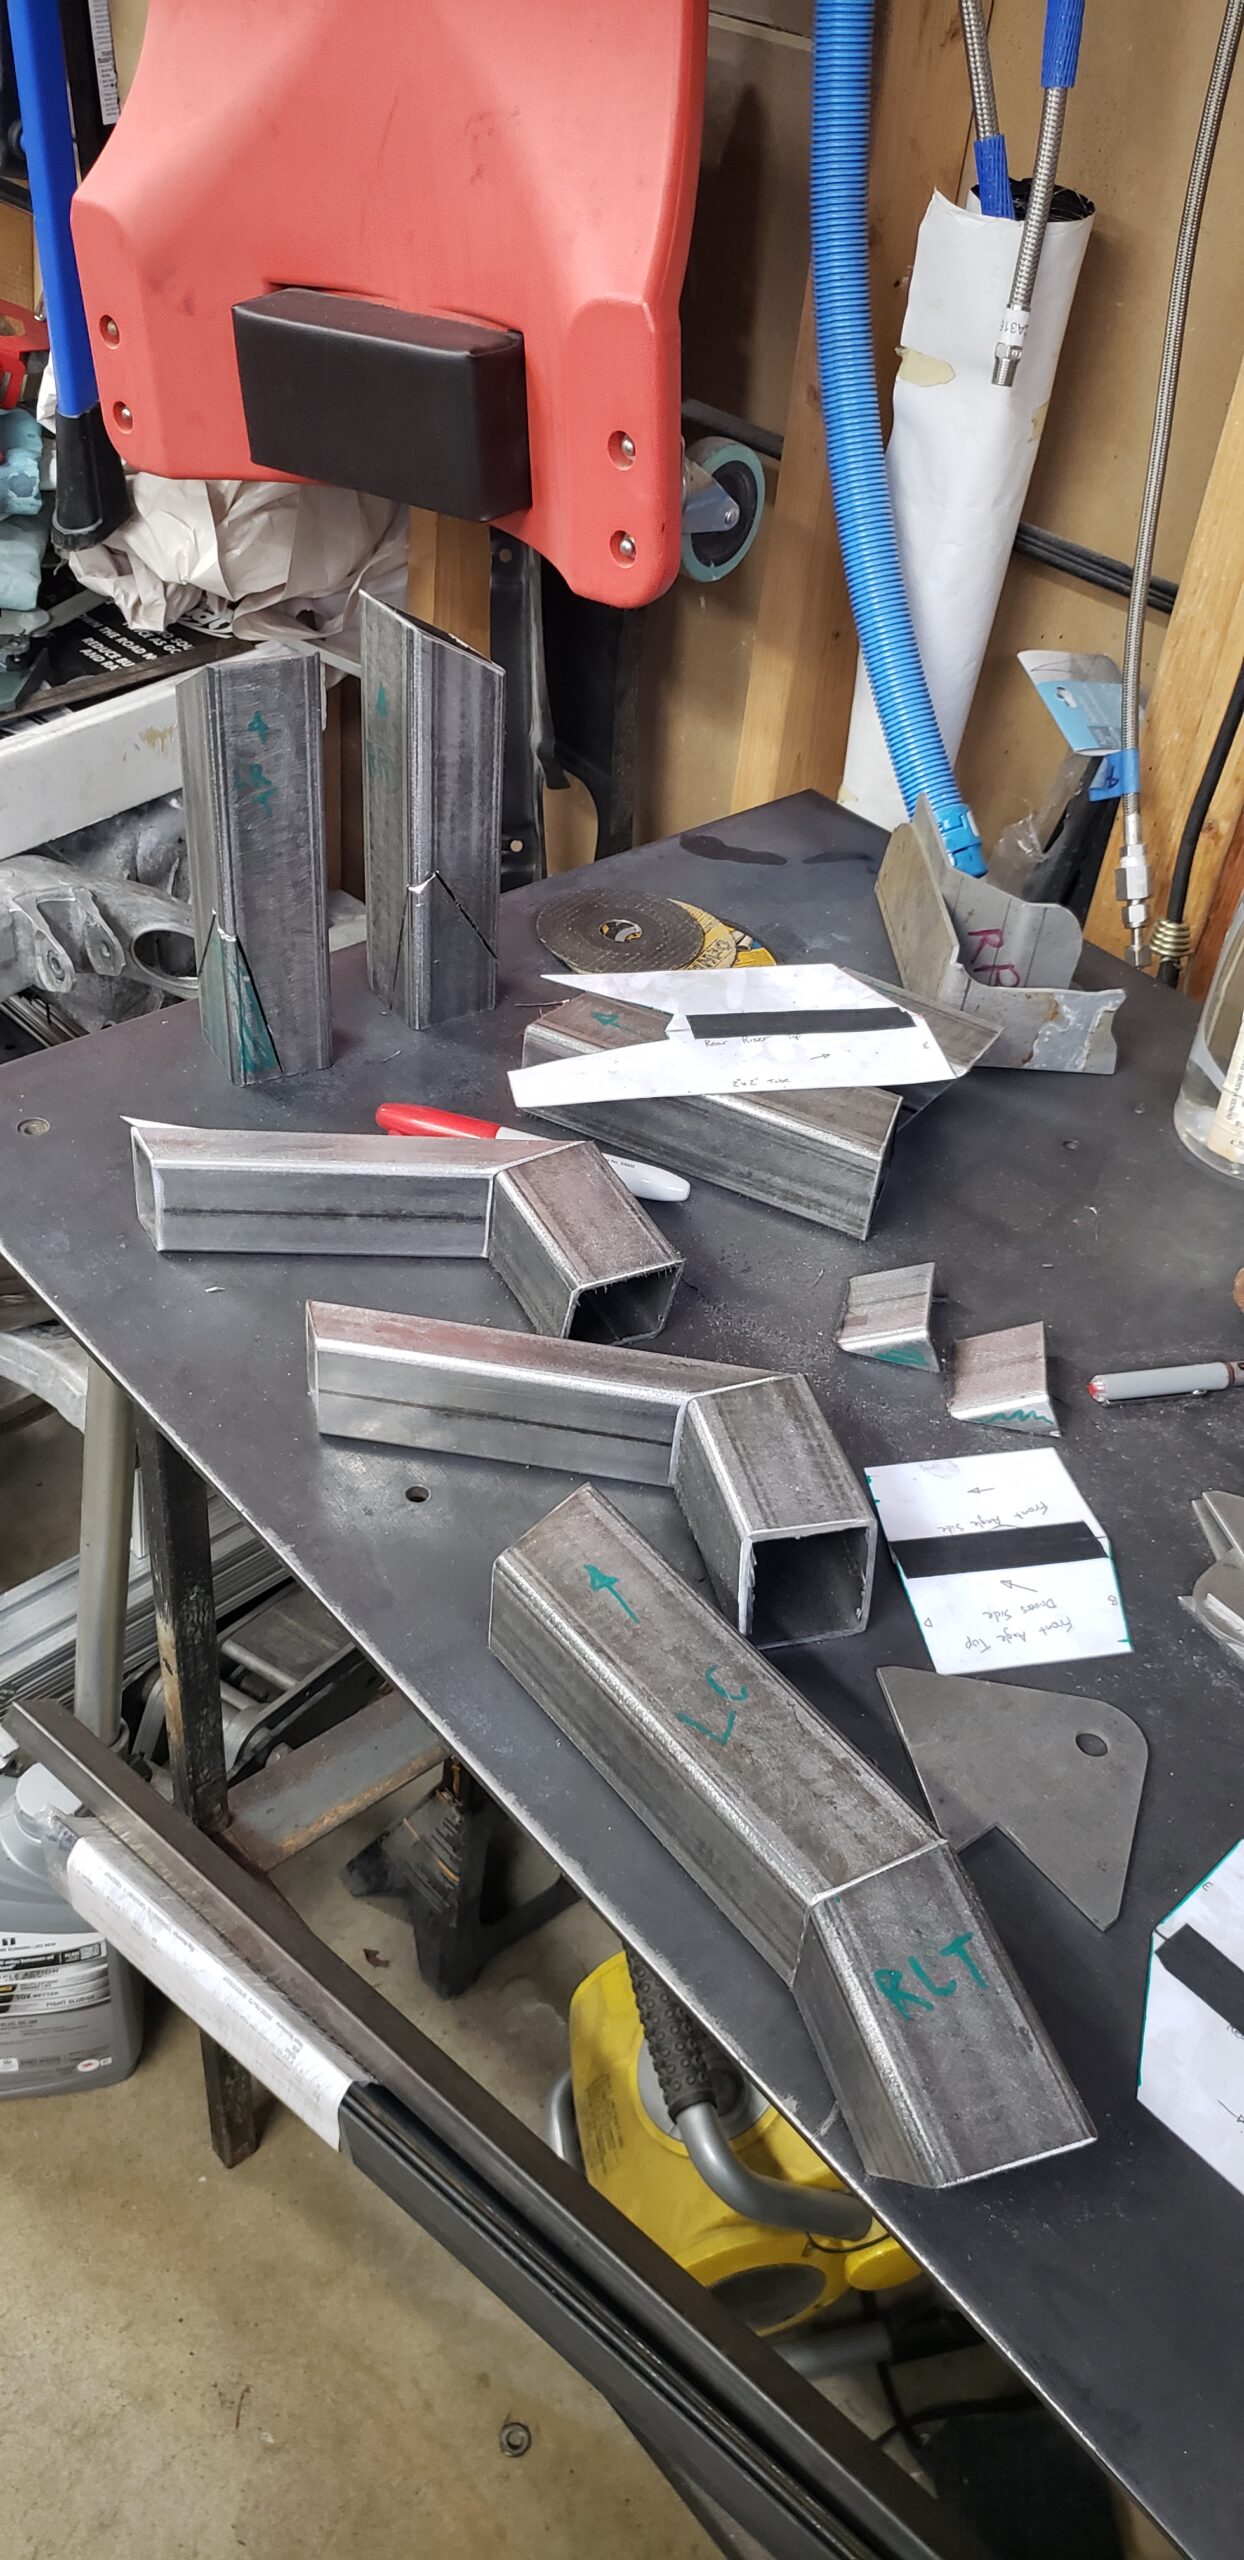
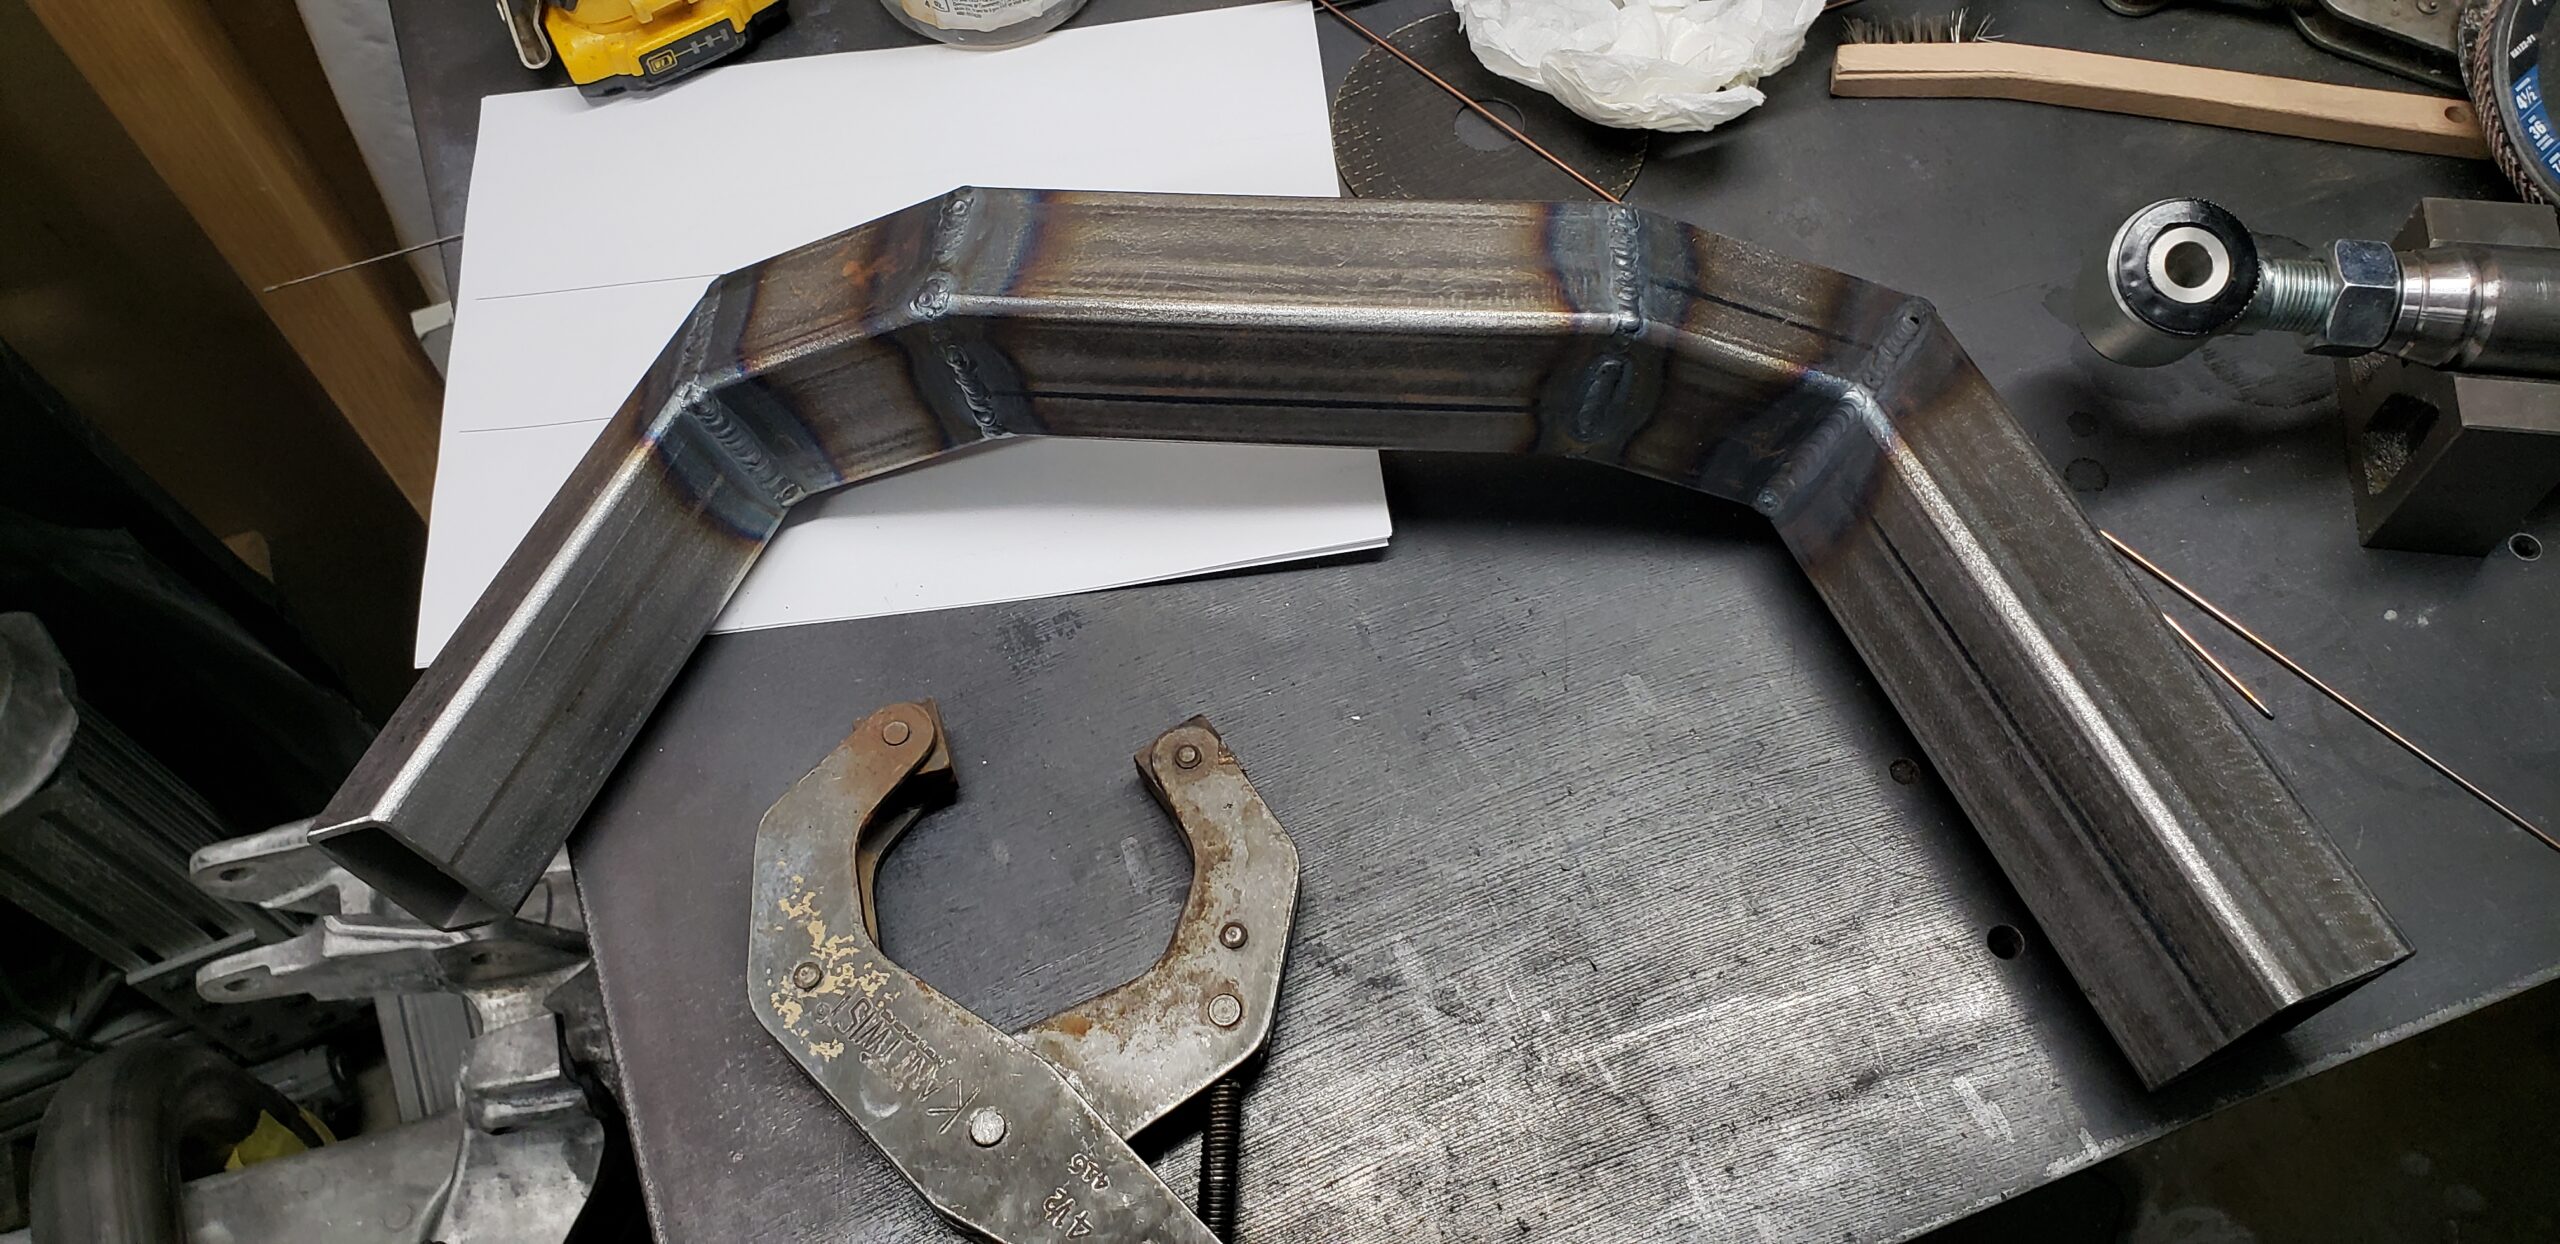
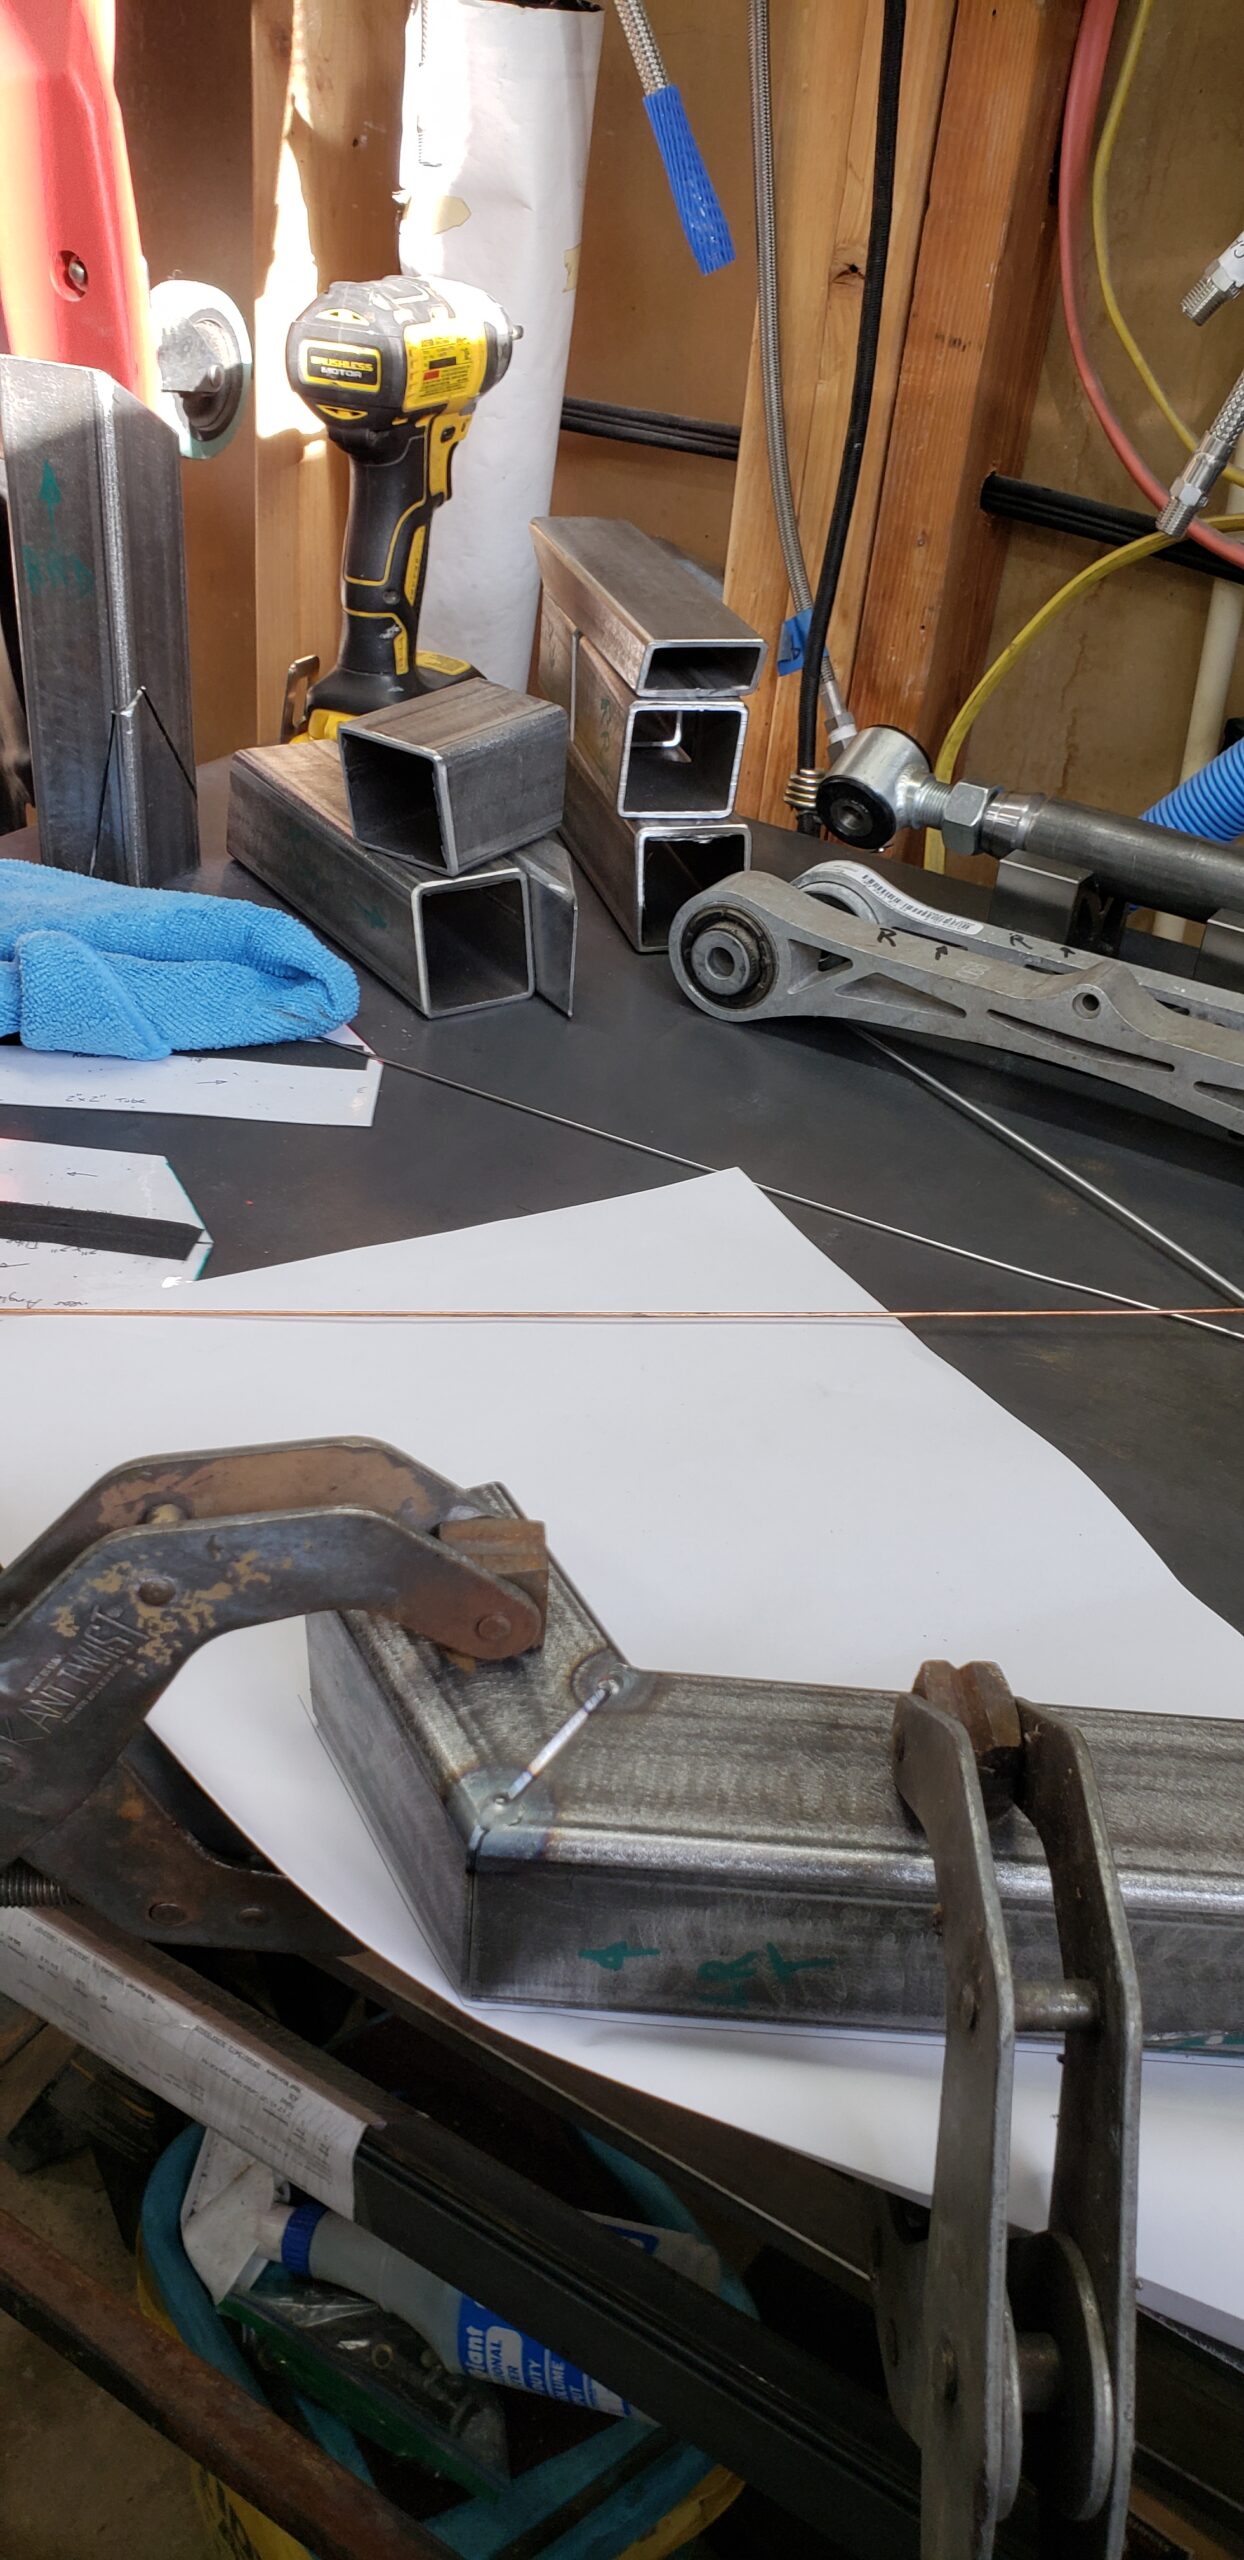
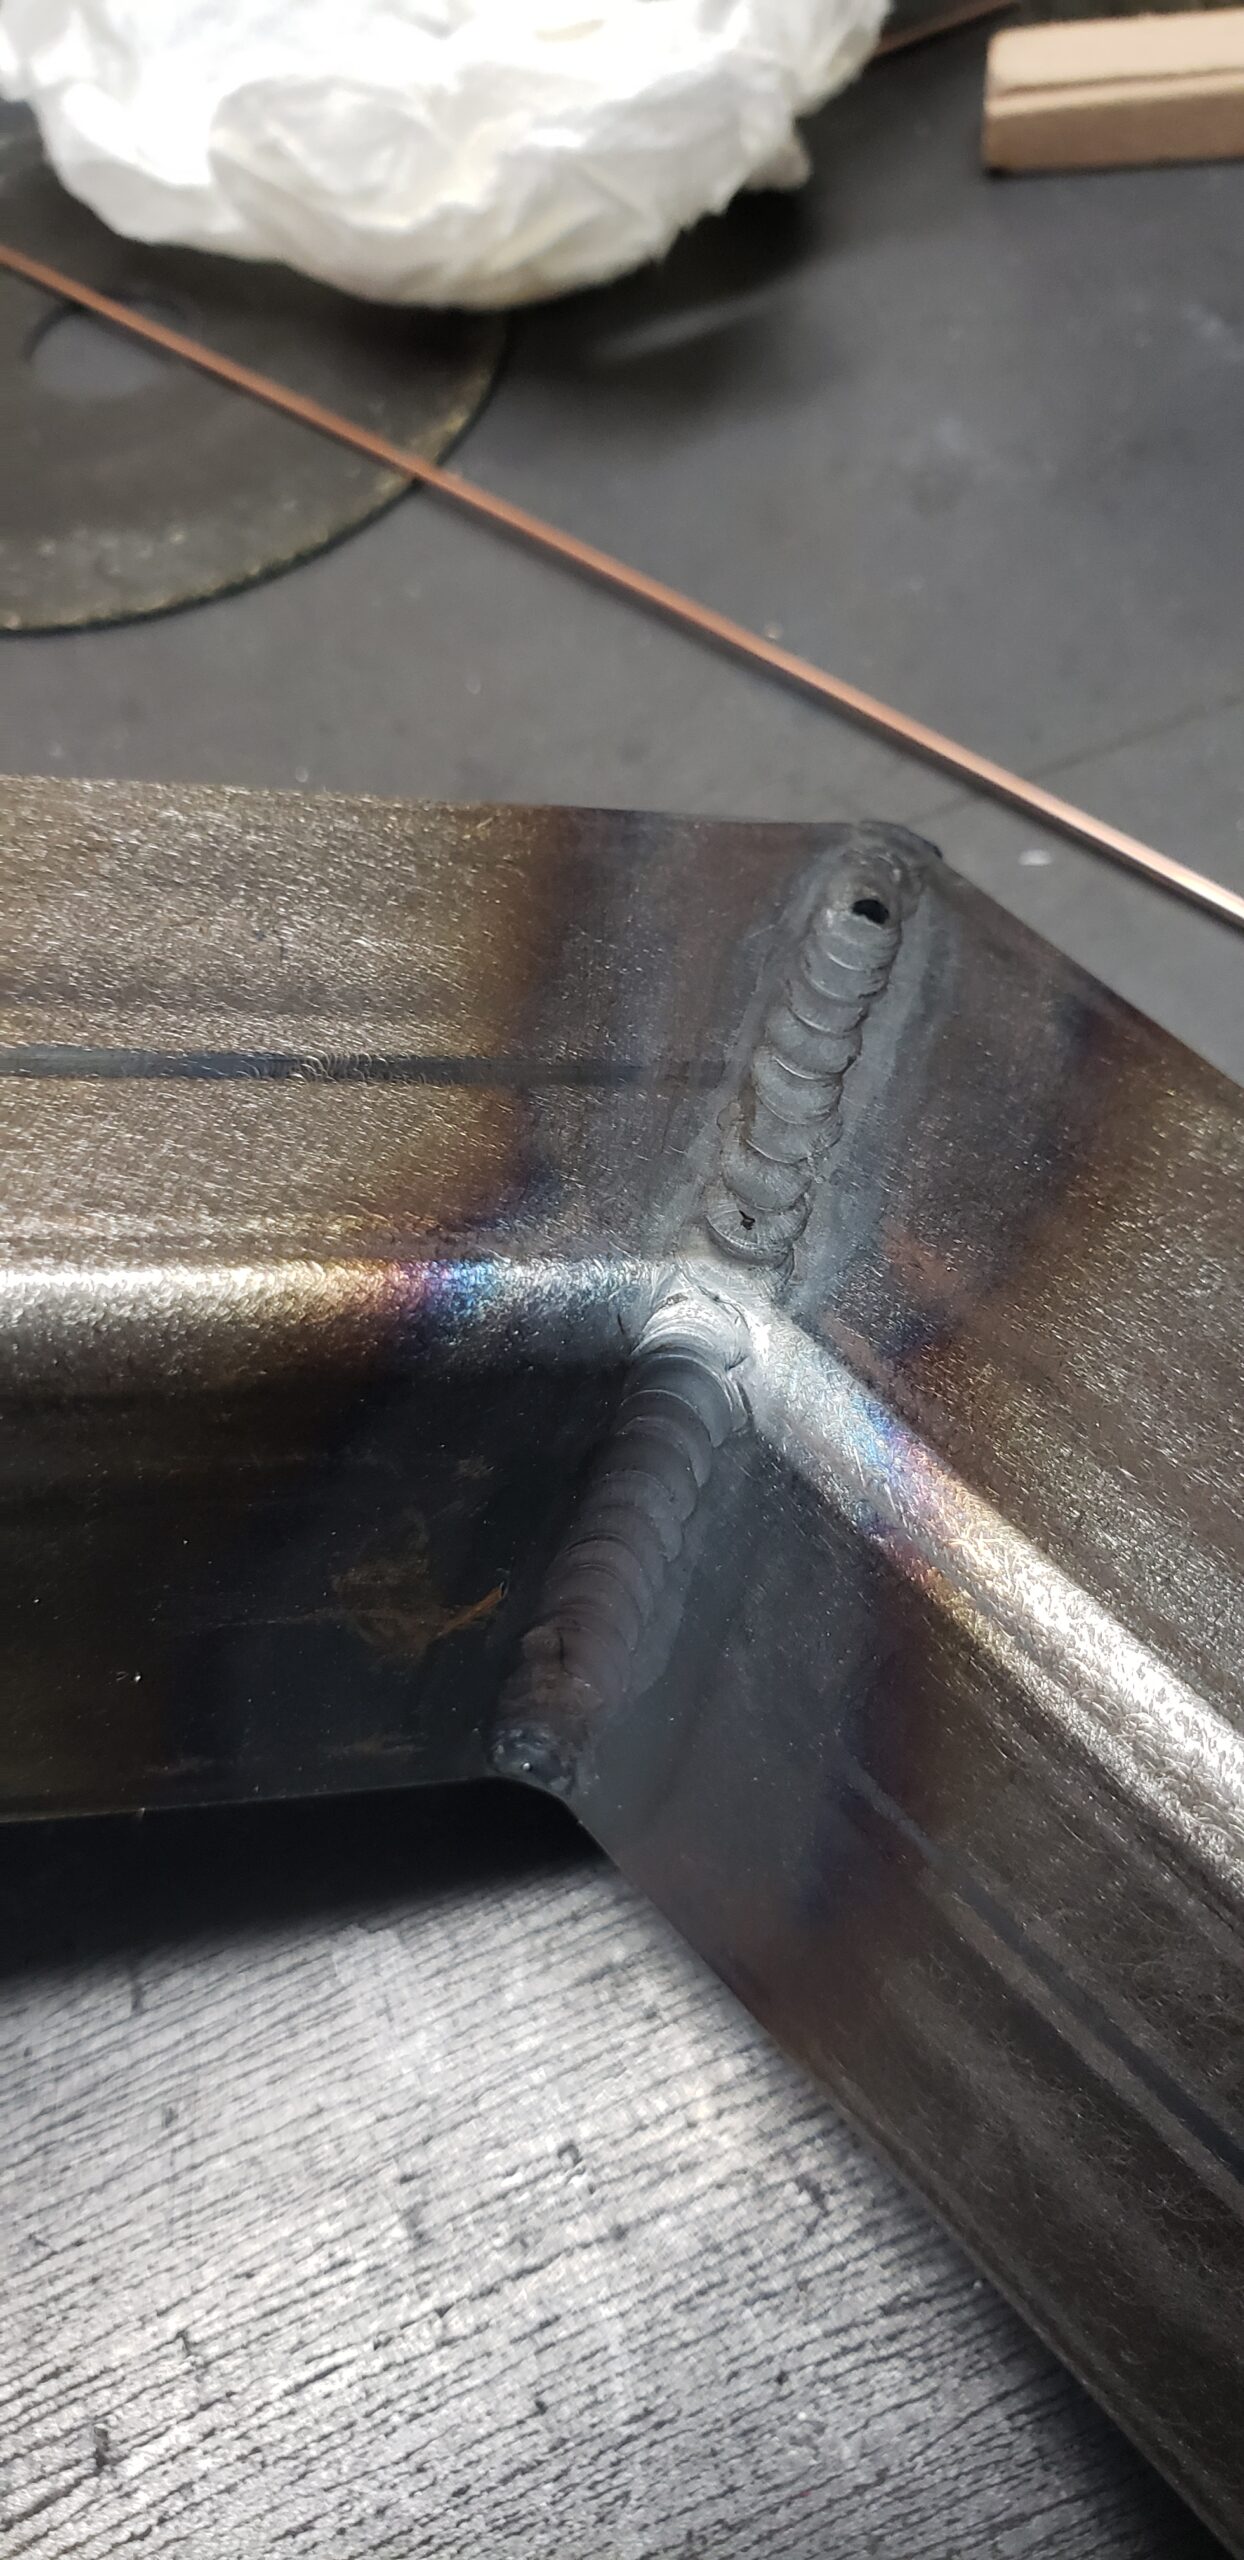
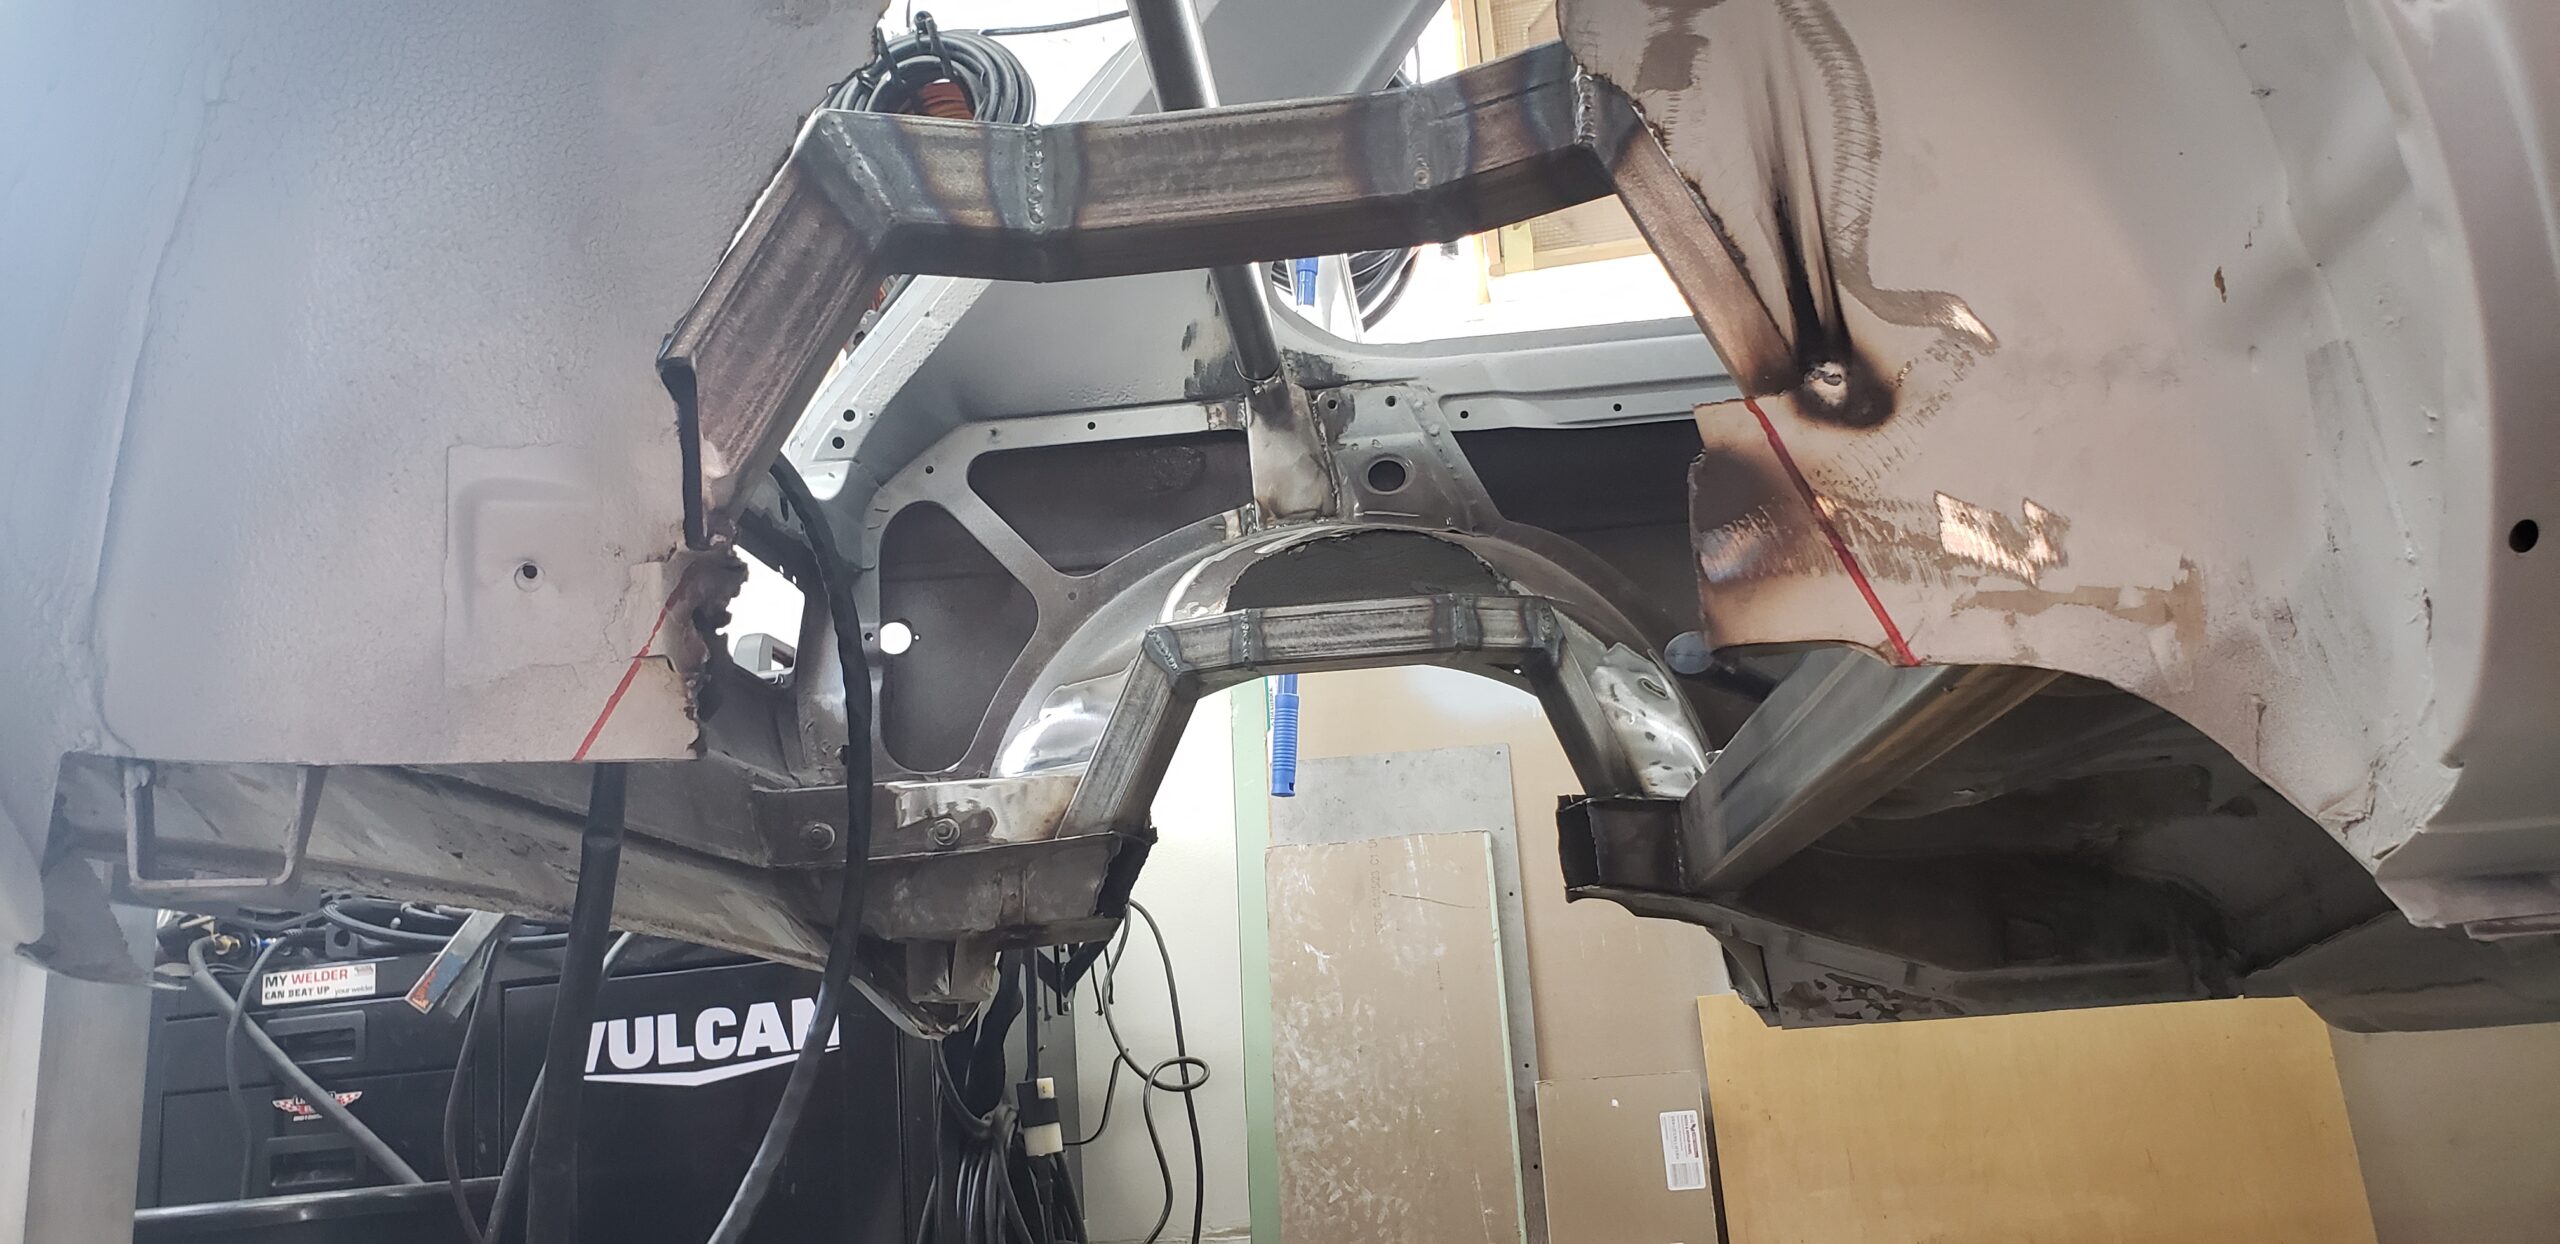
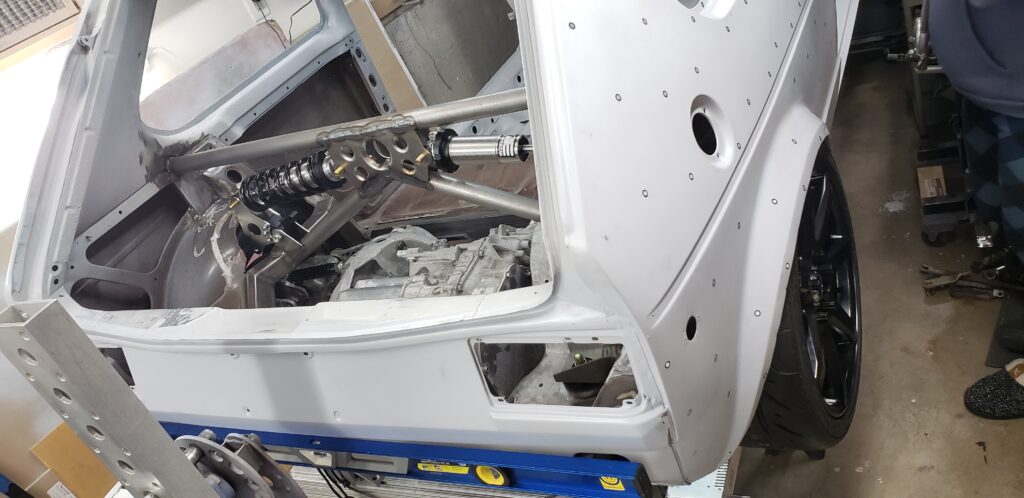
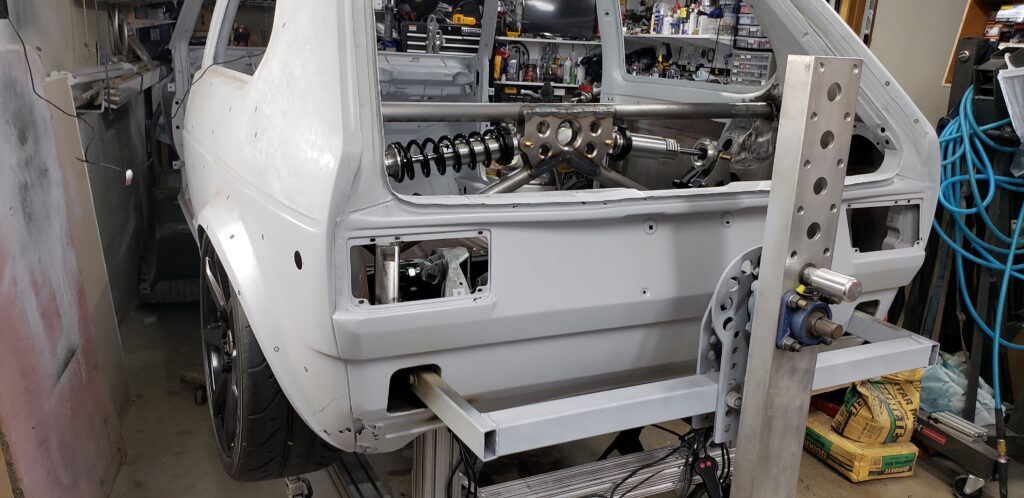
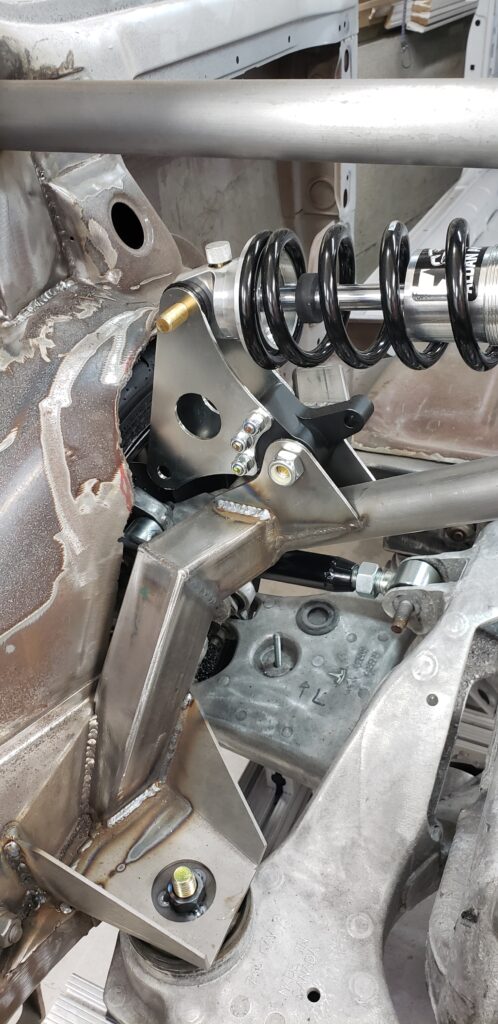
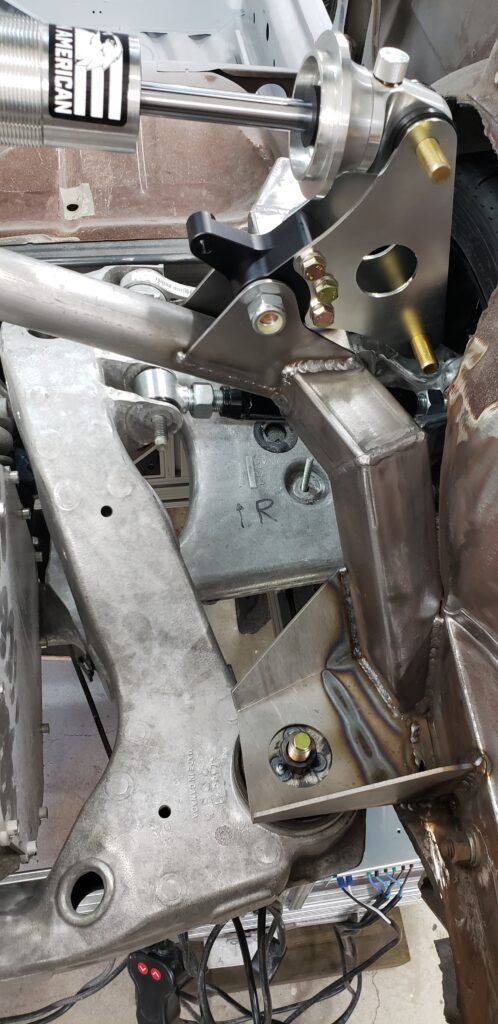
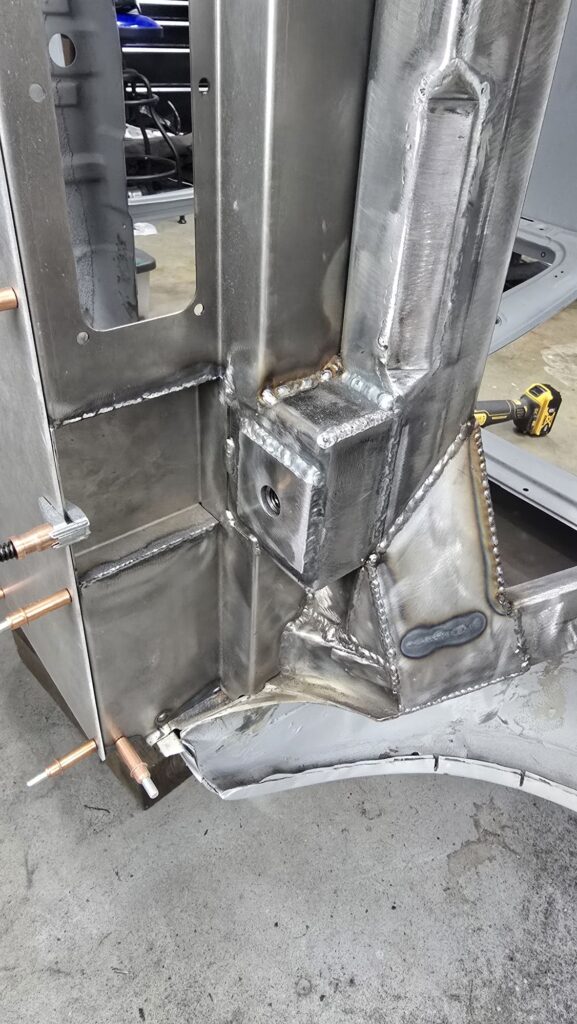
Cantilevered Rear Coil-over Design.
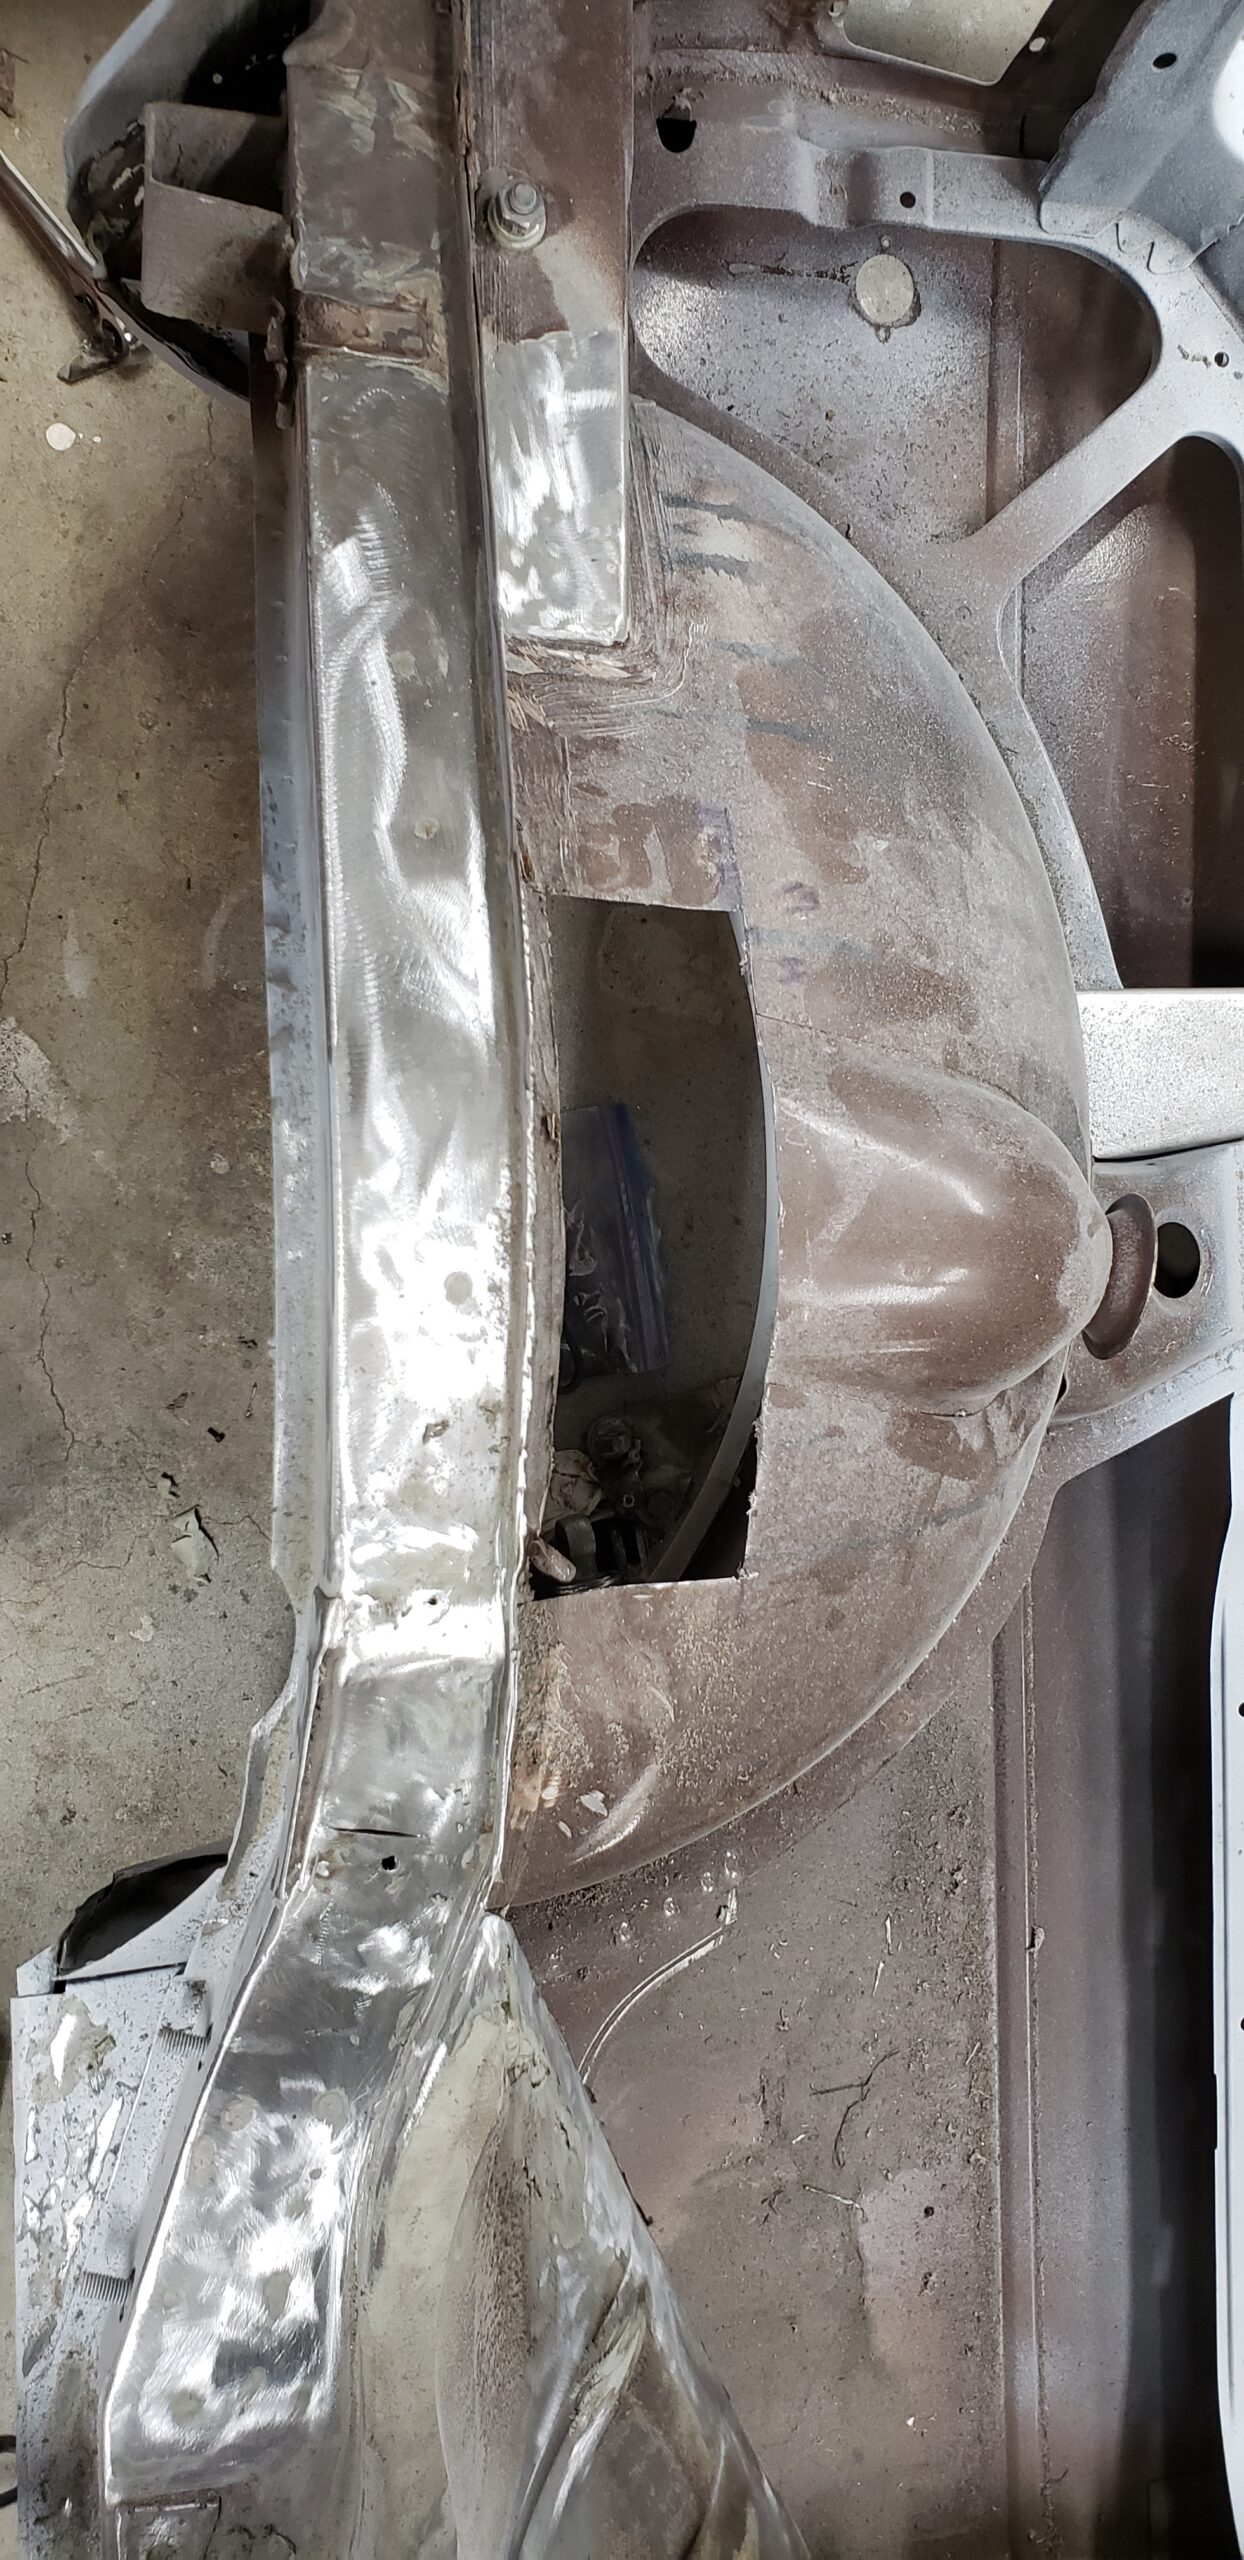
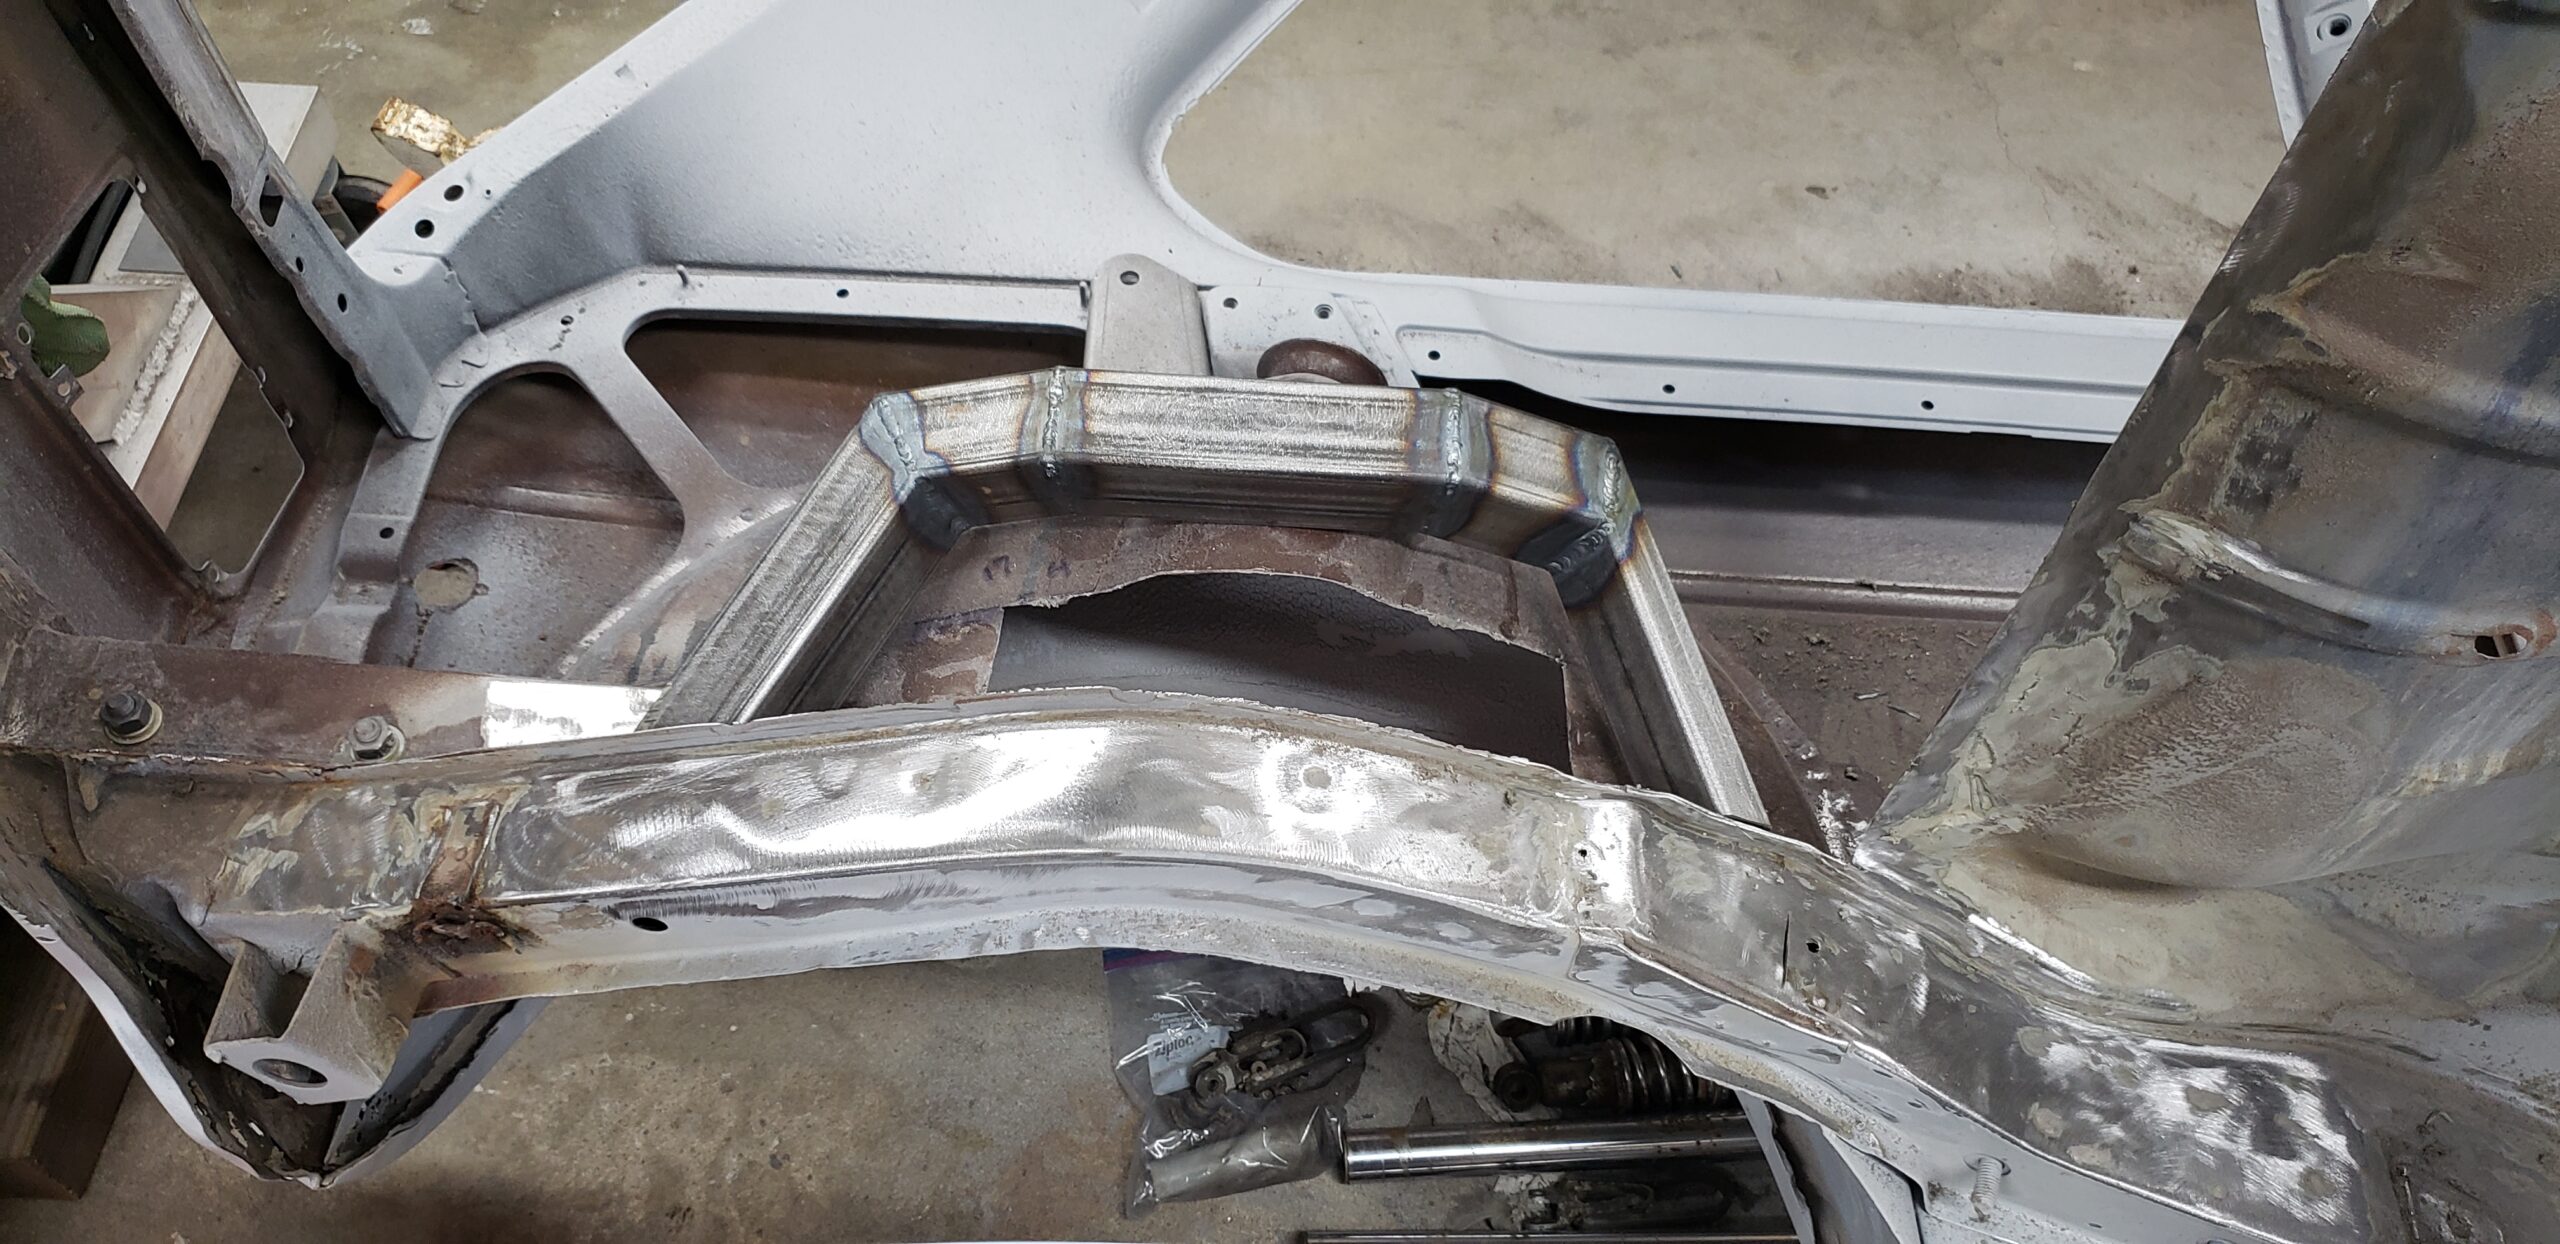
New Lower Crossmember designed from 2″ x 3″ 0.120 wall steel tubing. This will transfer a lot on the load from the Tesla motor into the existing body.
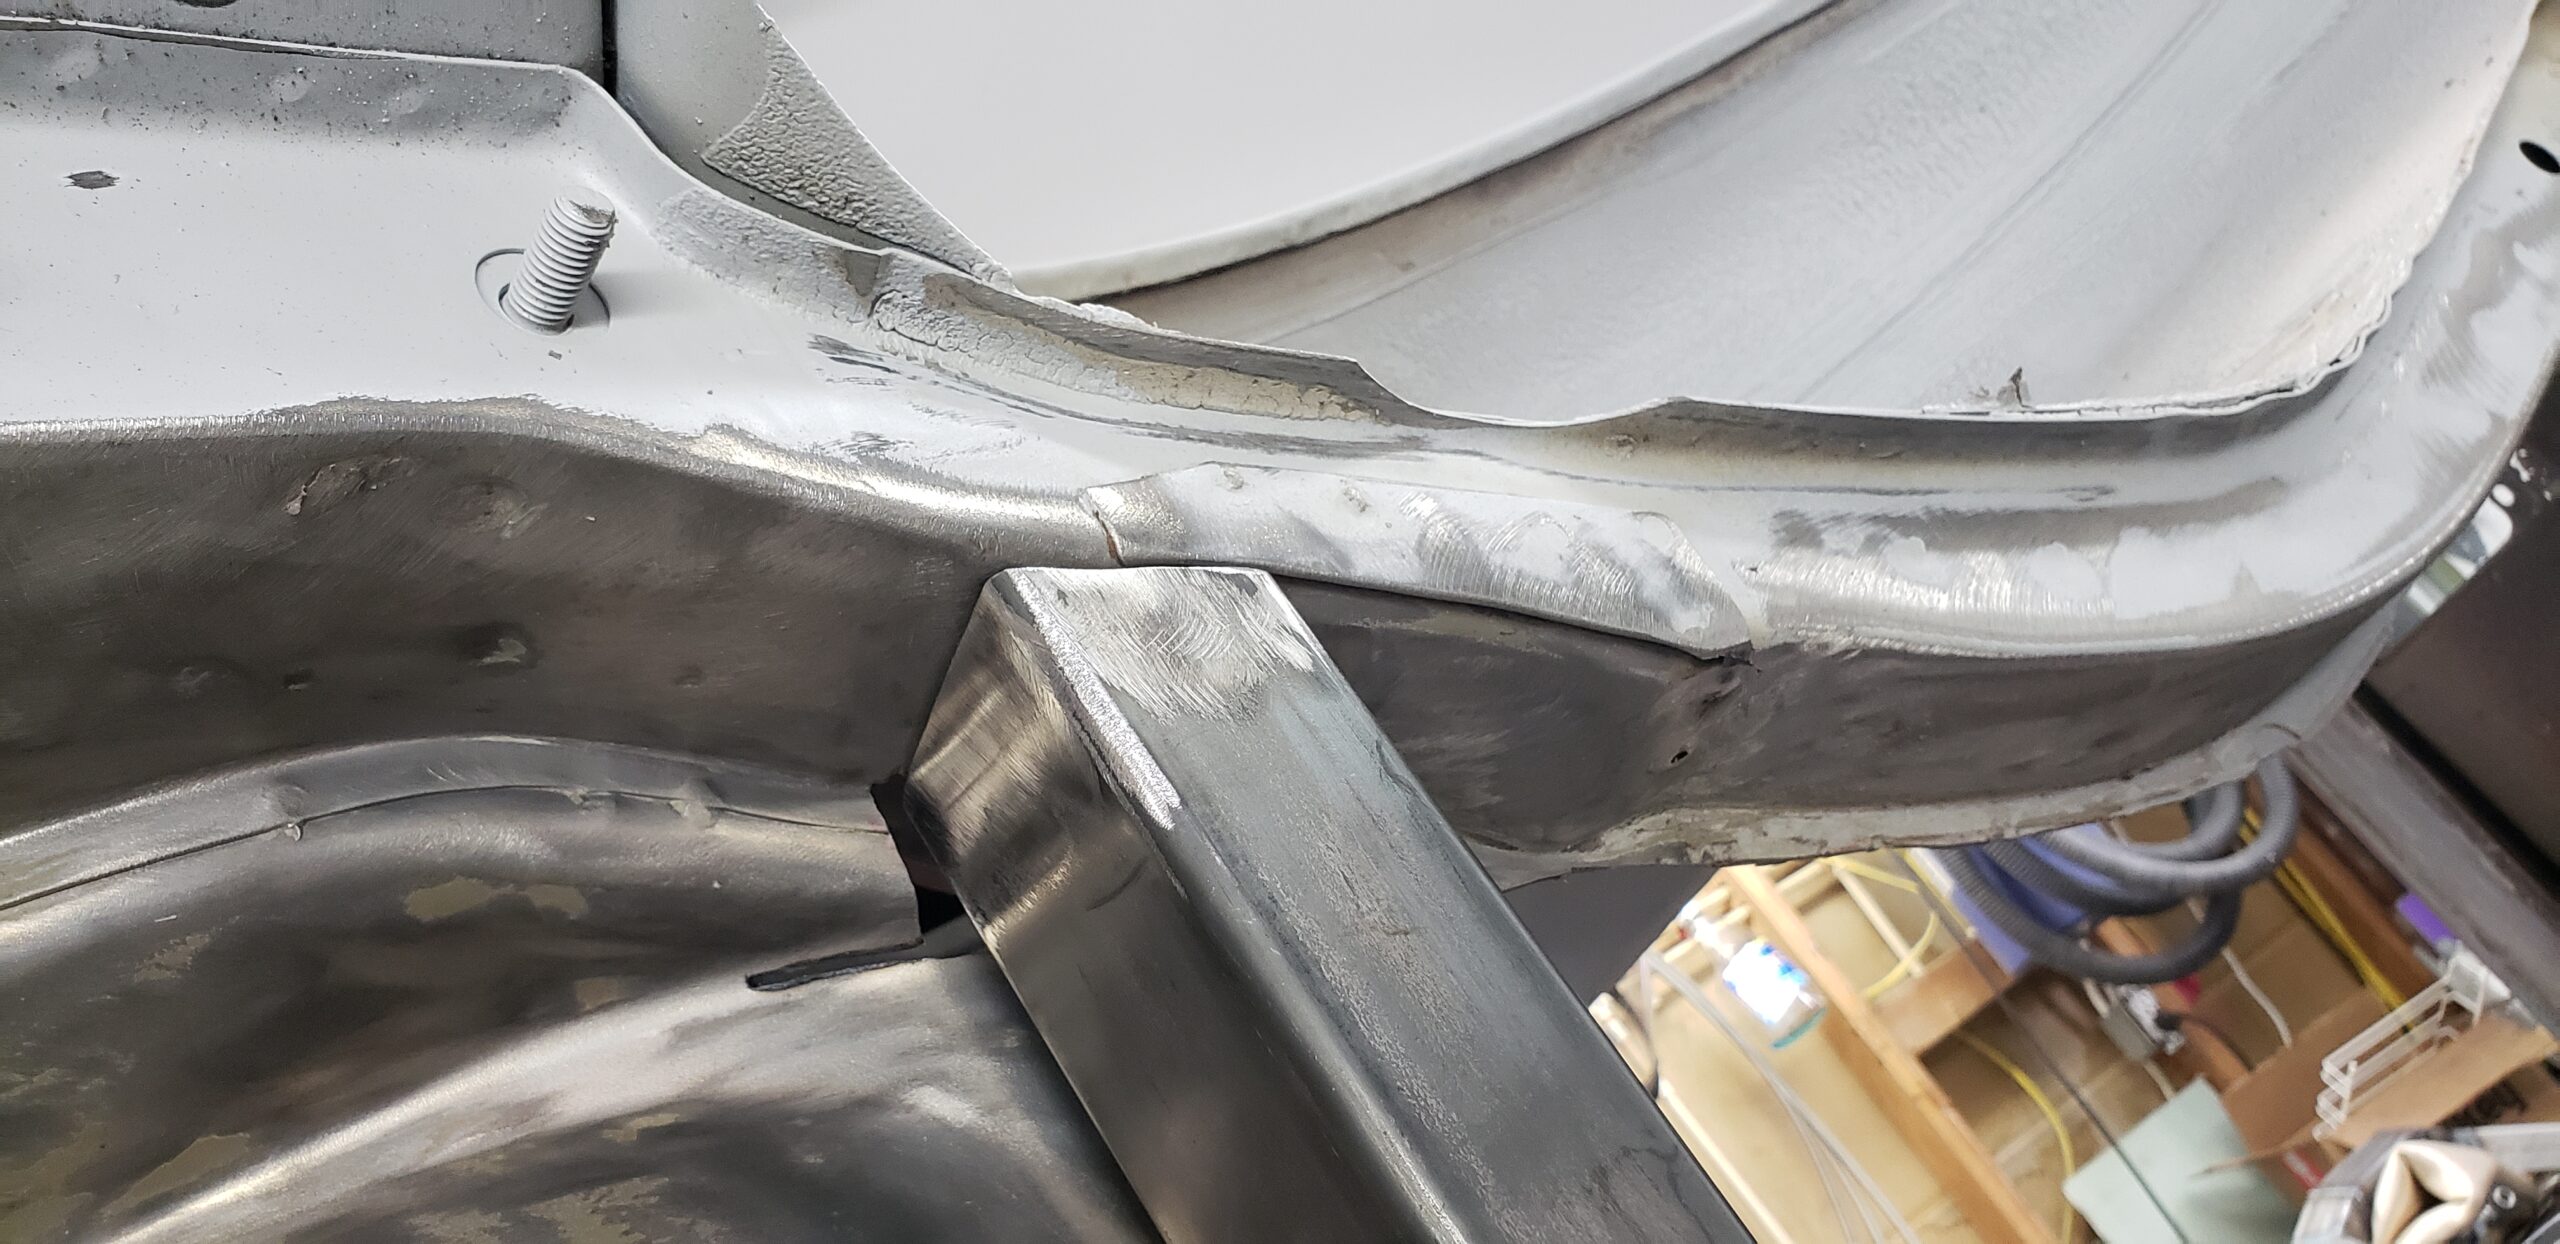
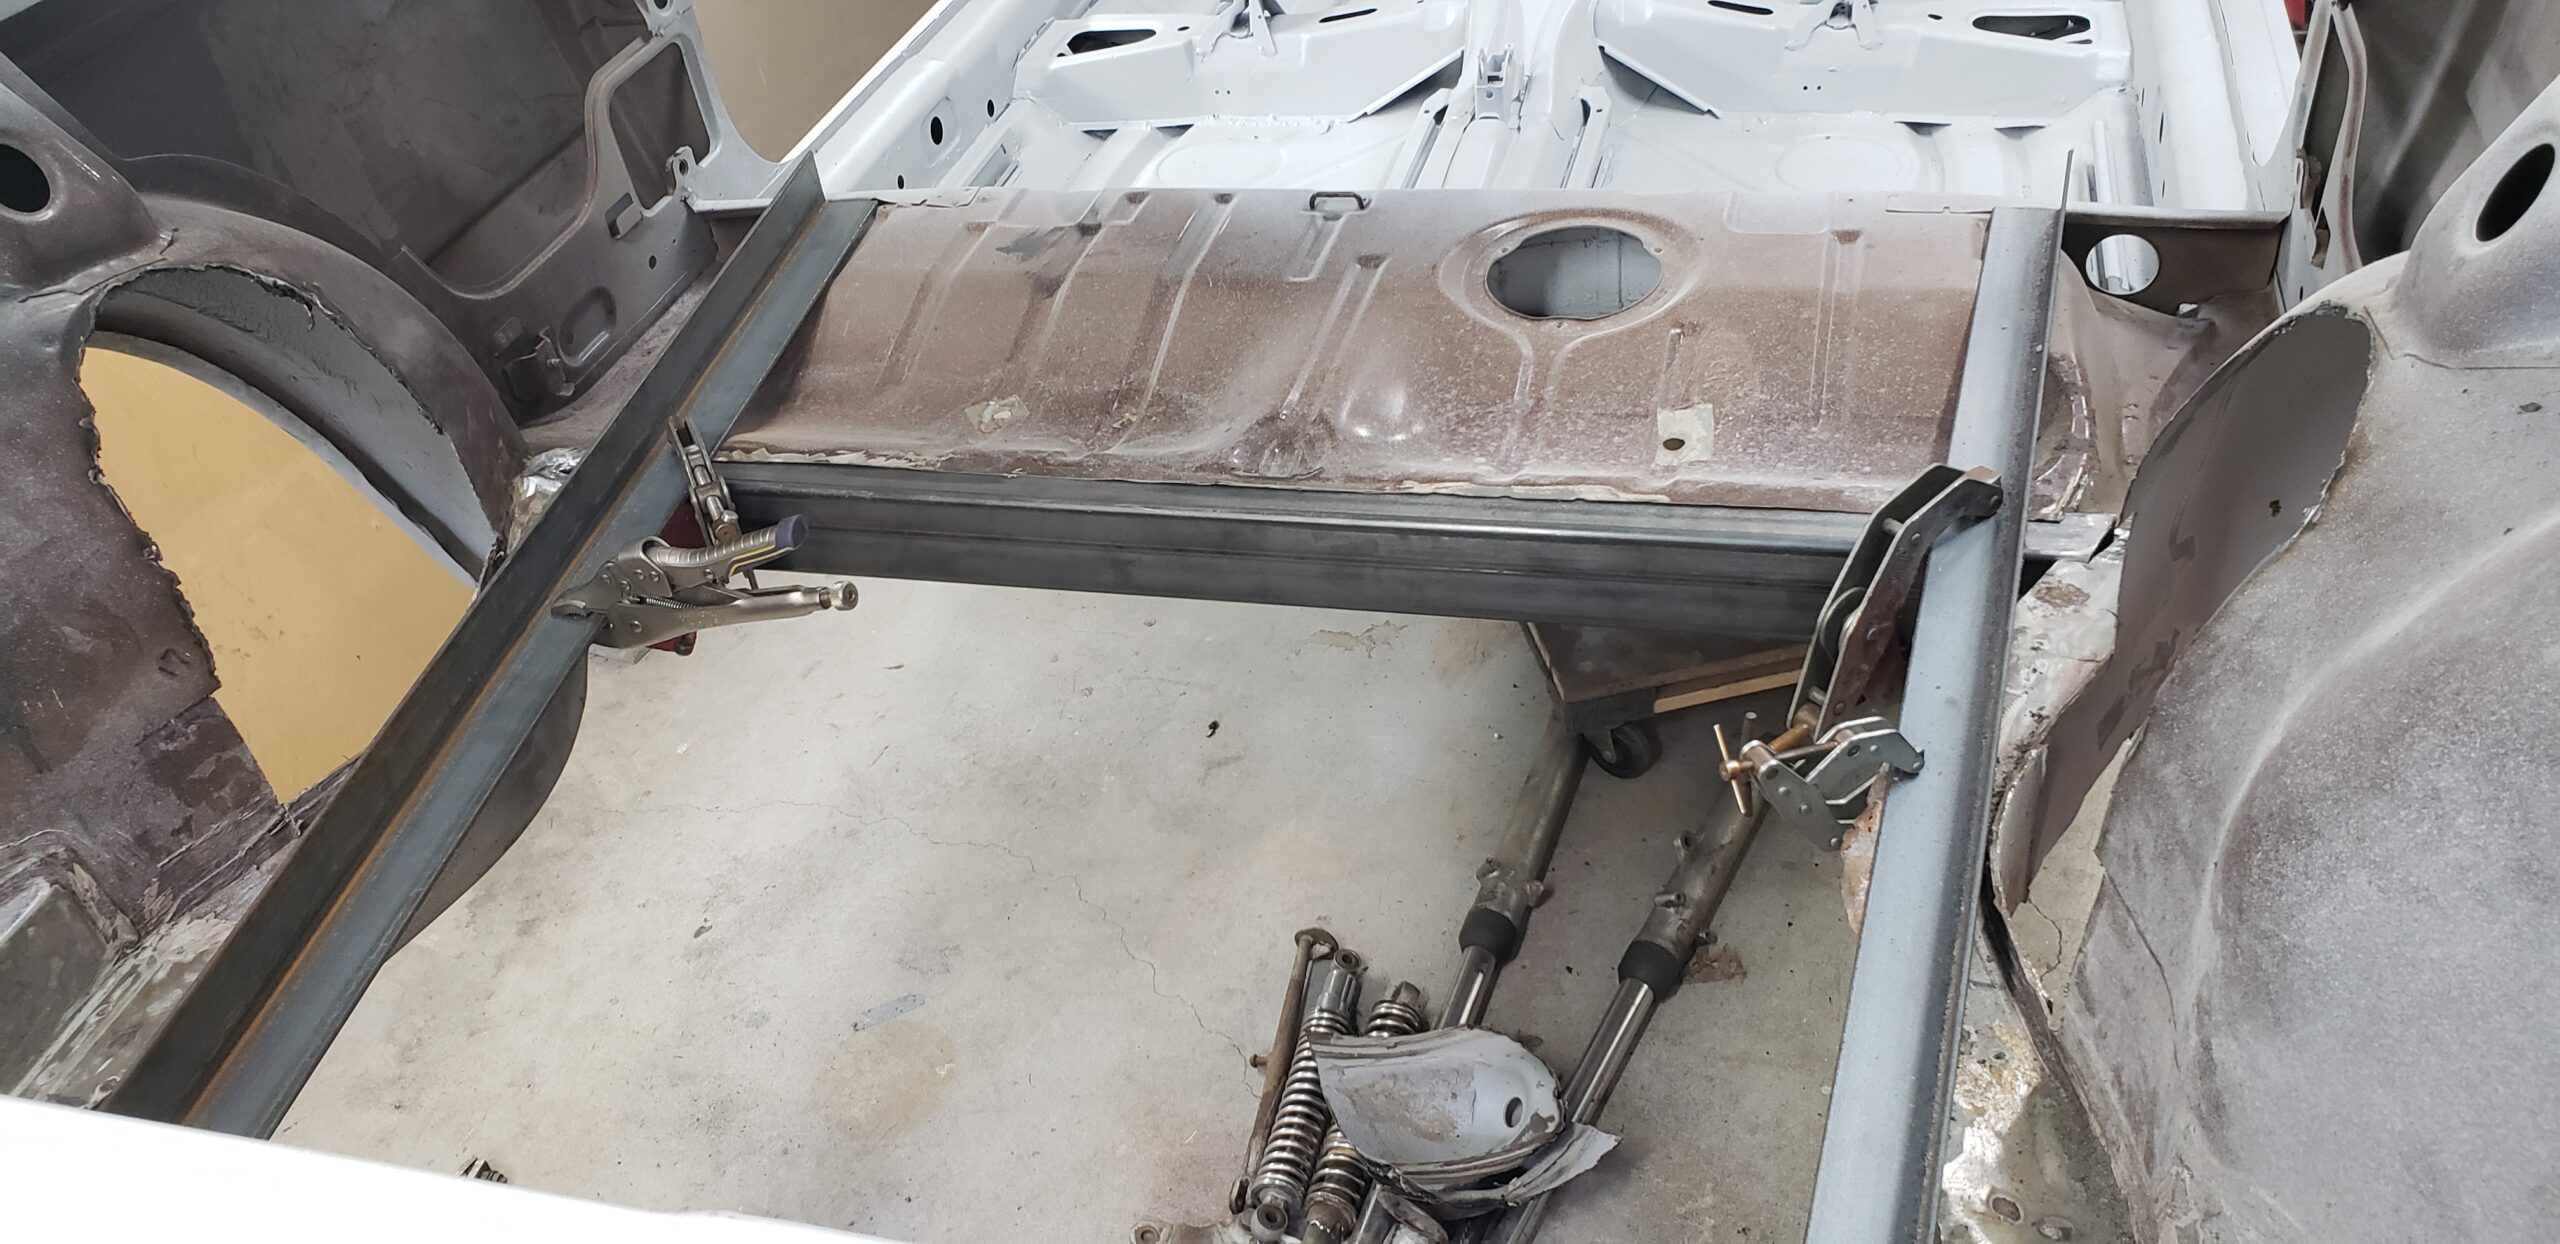
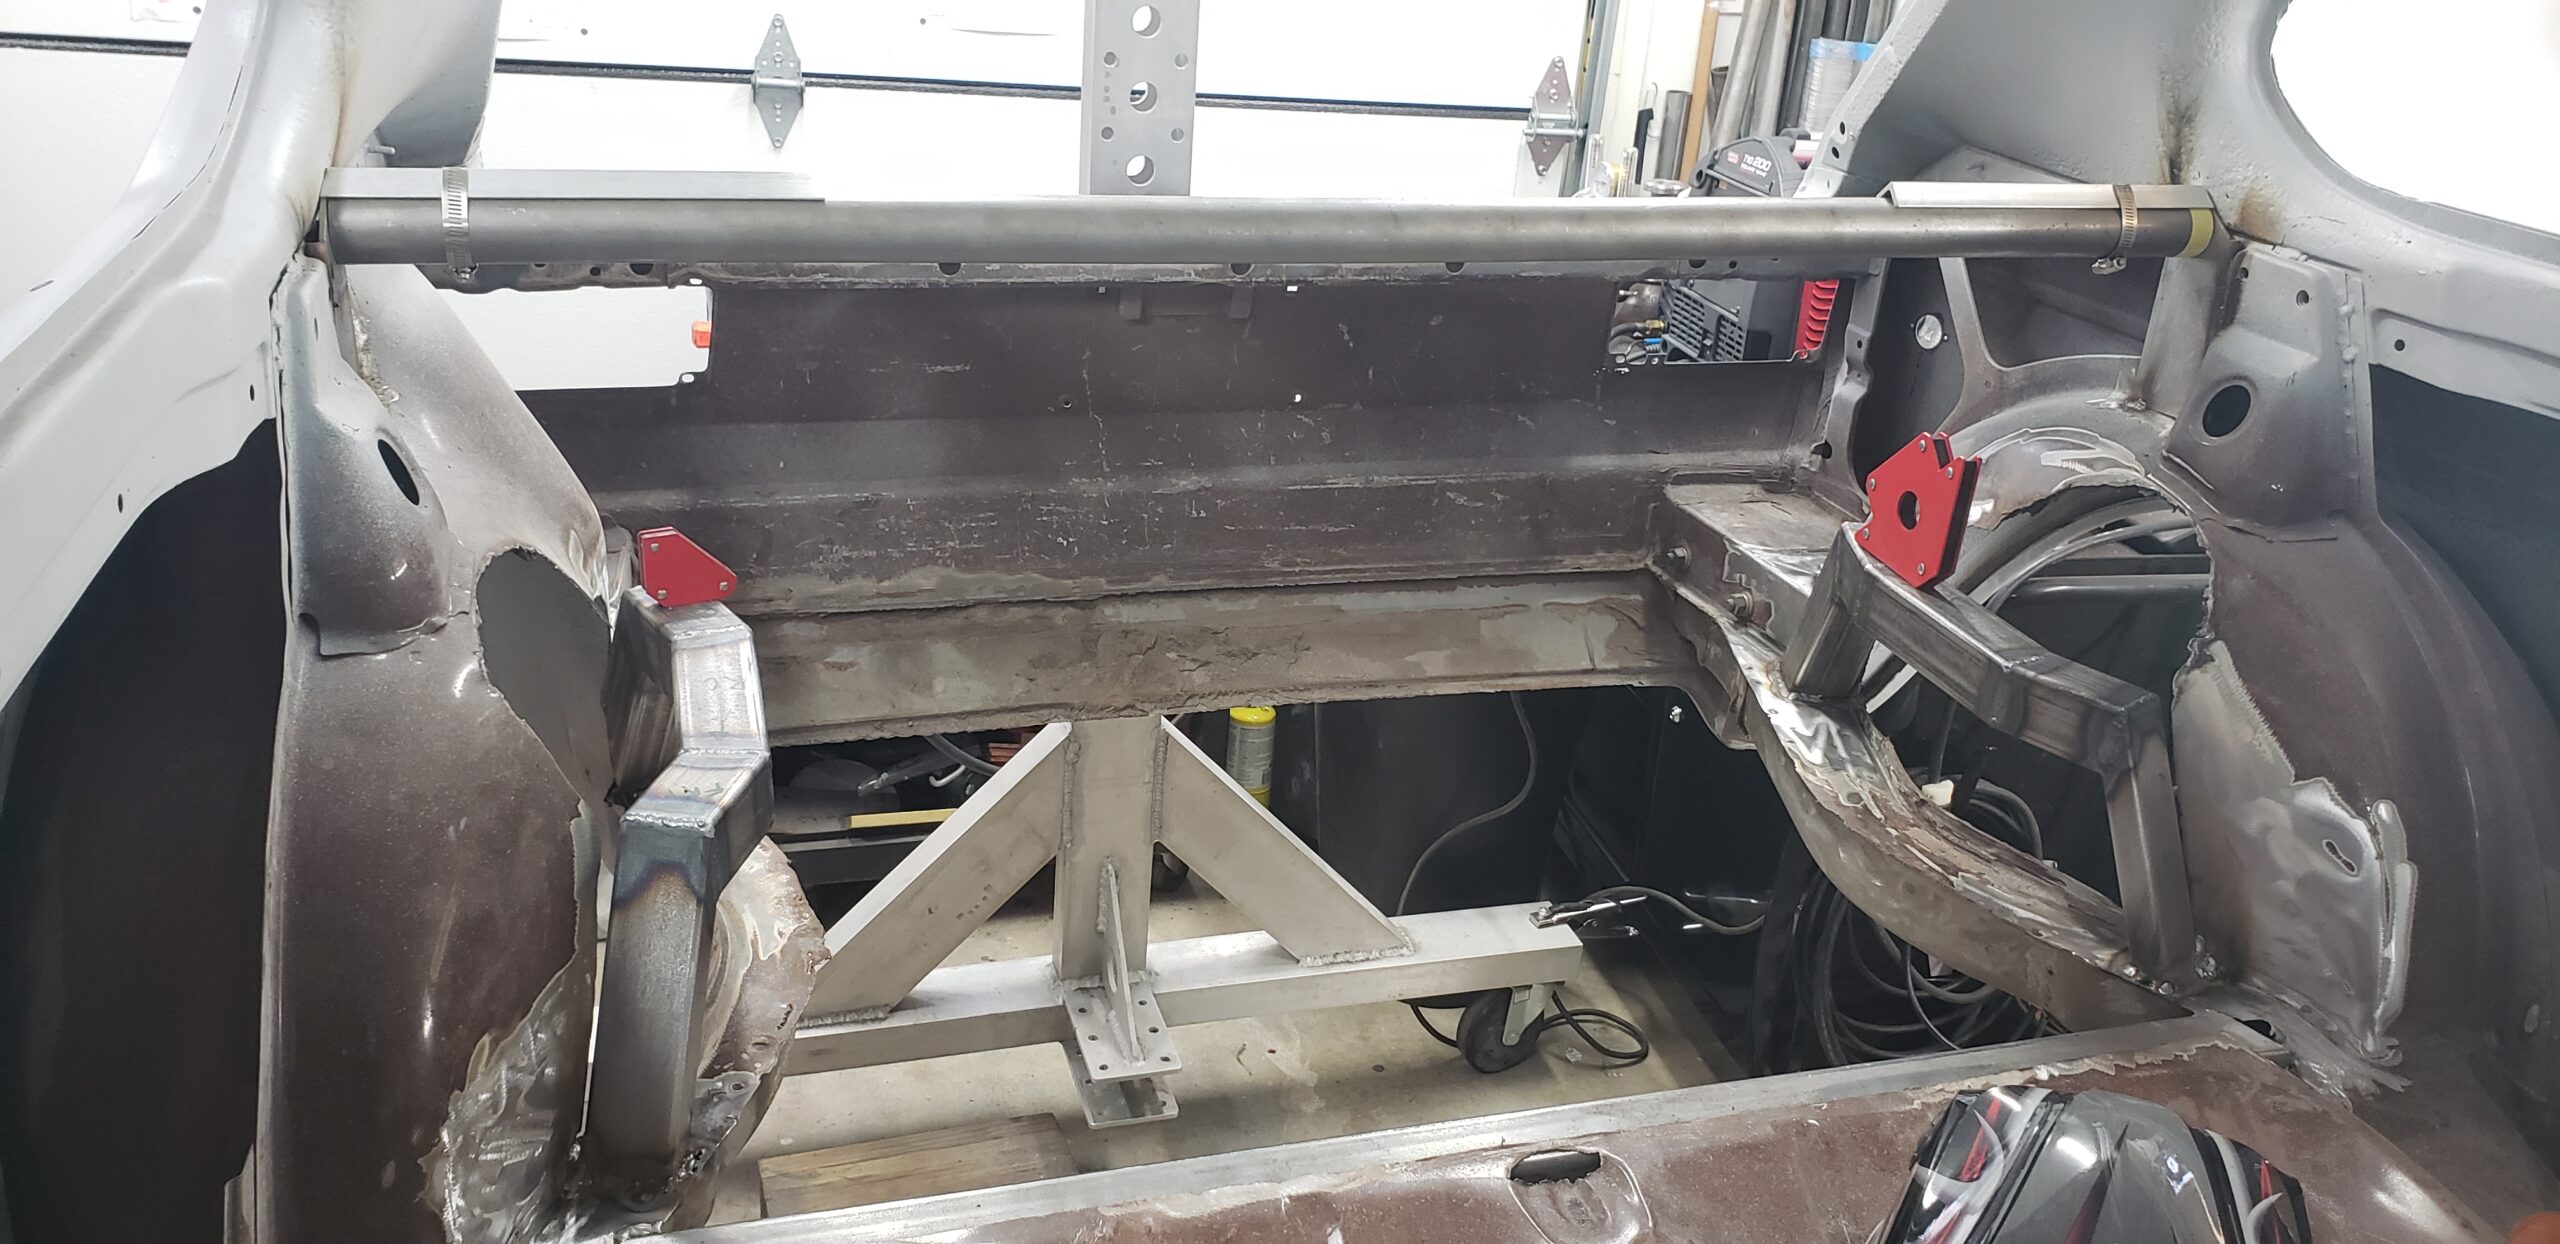
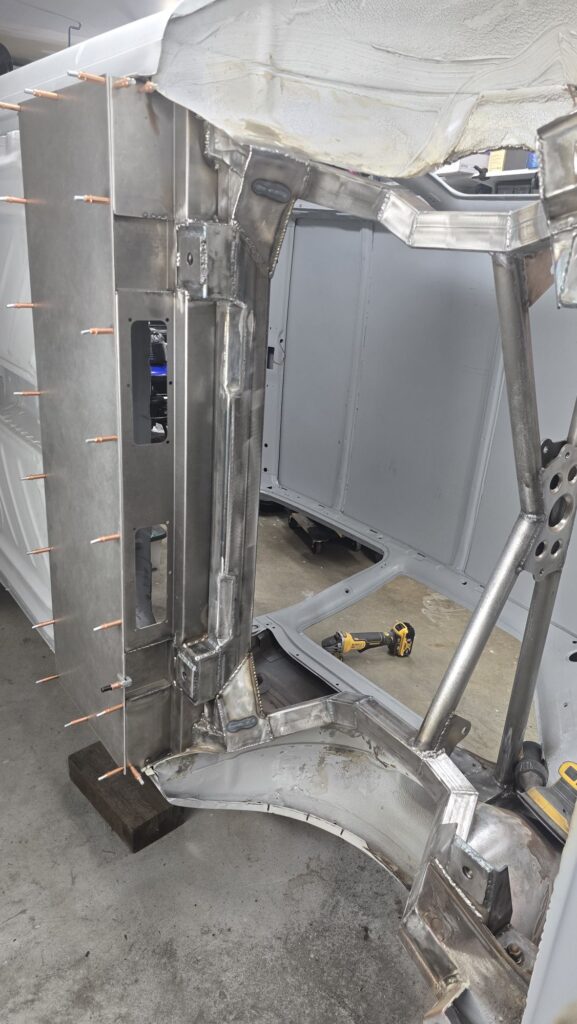
Rear arches needed to be constructed for several reasons. Most importantly to provide clearance for the drive shafts and upper suspension links, but they are also the mounting points for the cantilevered suspension knuckles that transfer all the cars weight to the inboard coil overs.
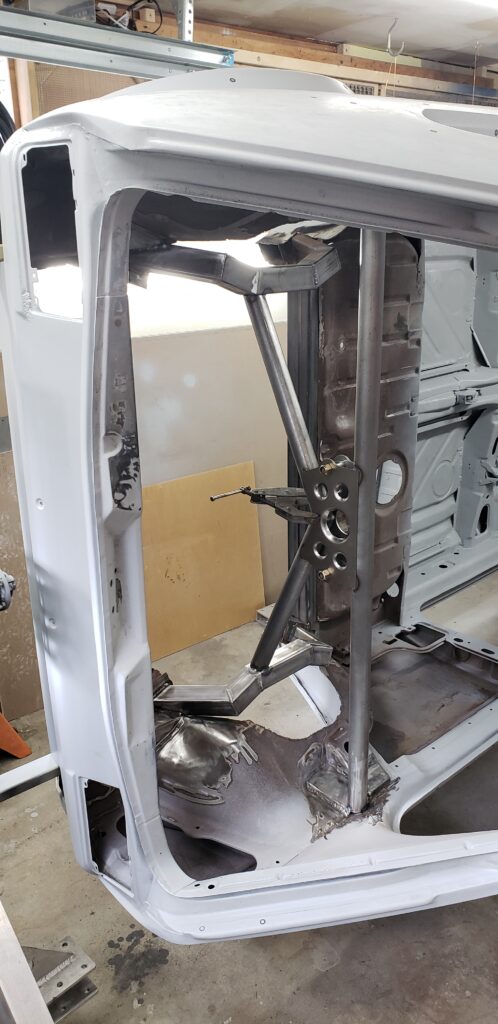
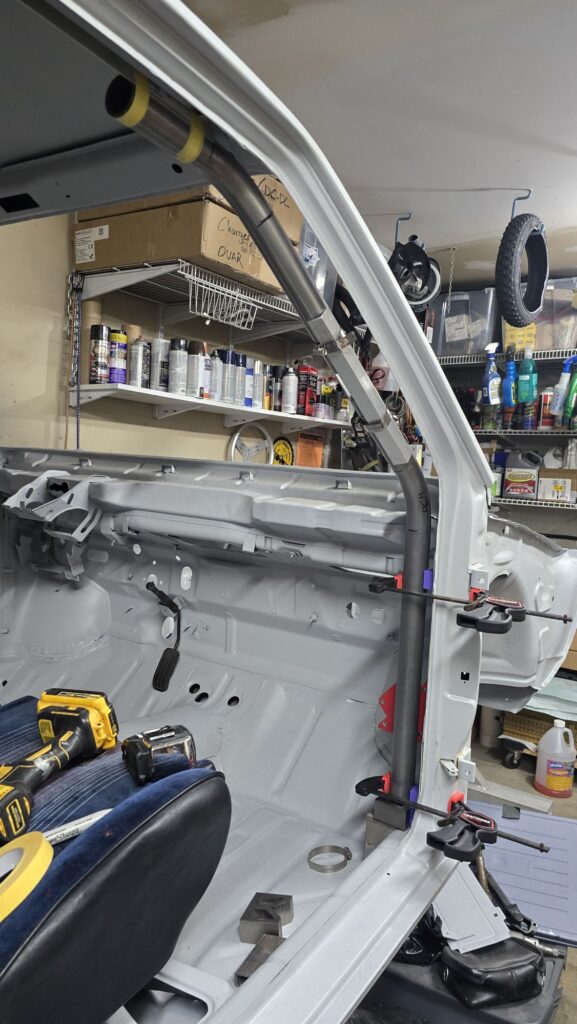
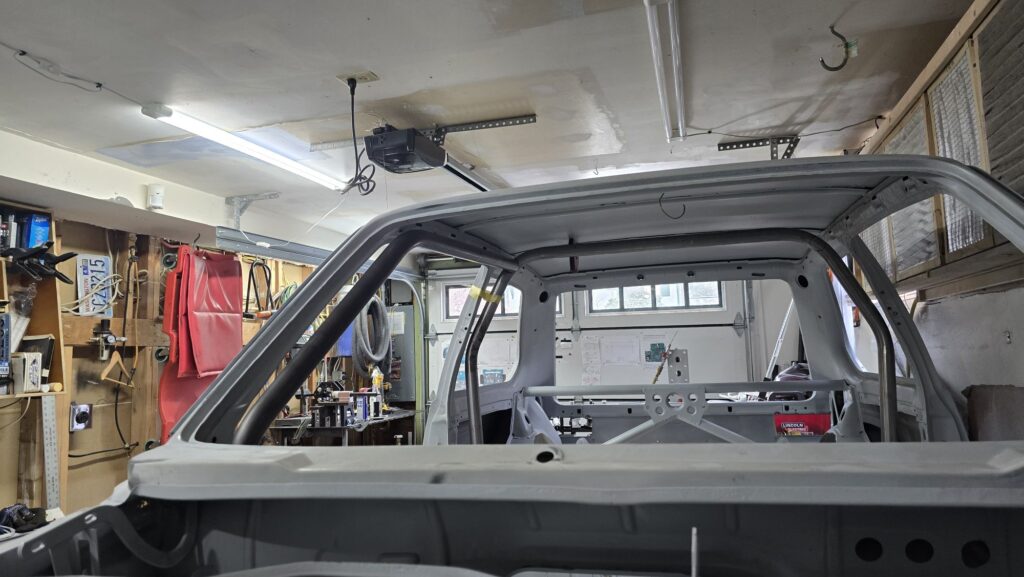
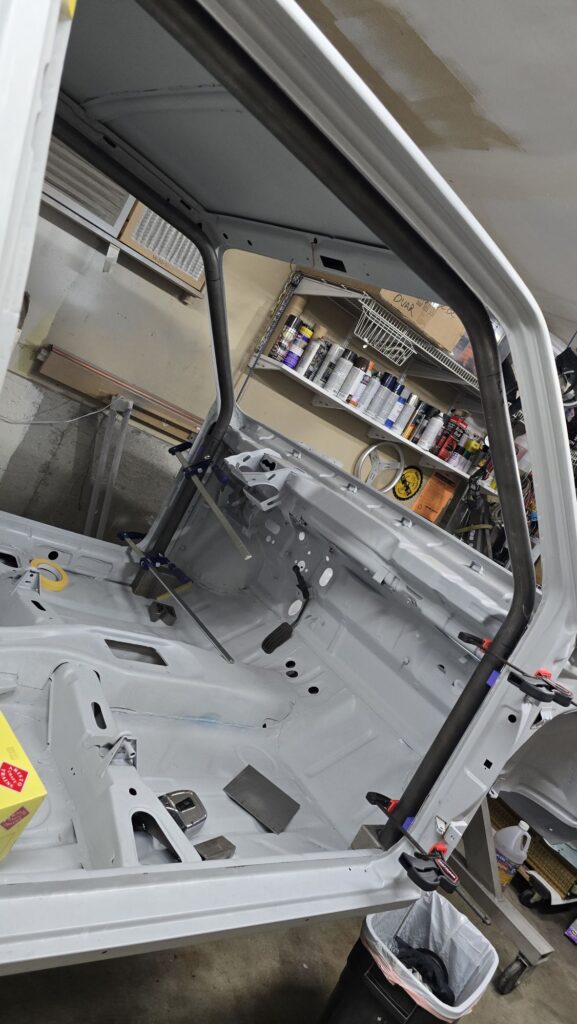
Roll cage fabrication
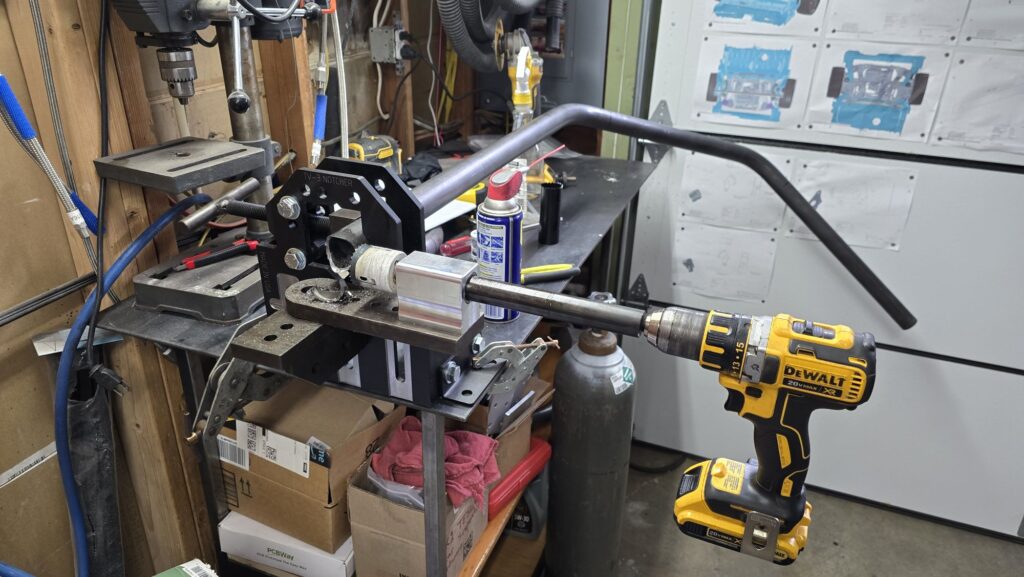
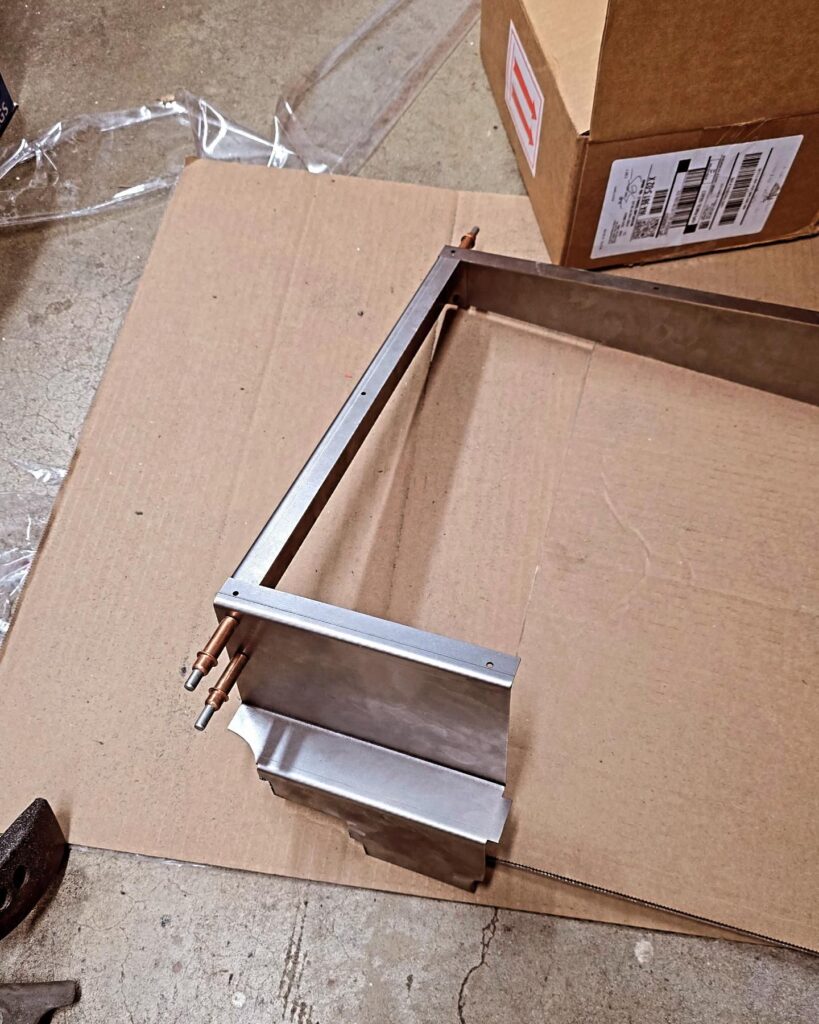
“E-Box” housing for motor and charge controller


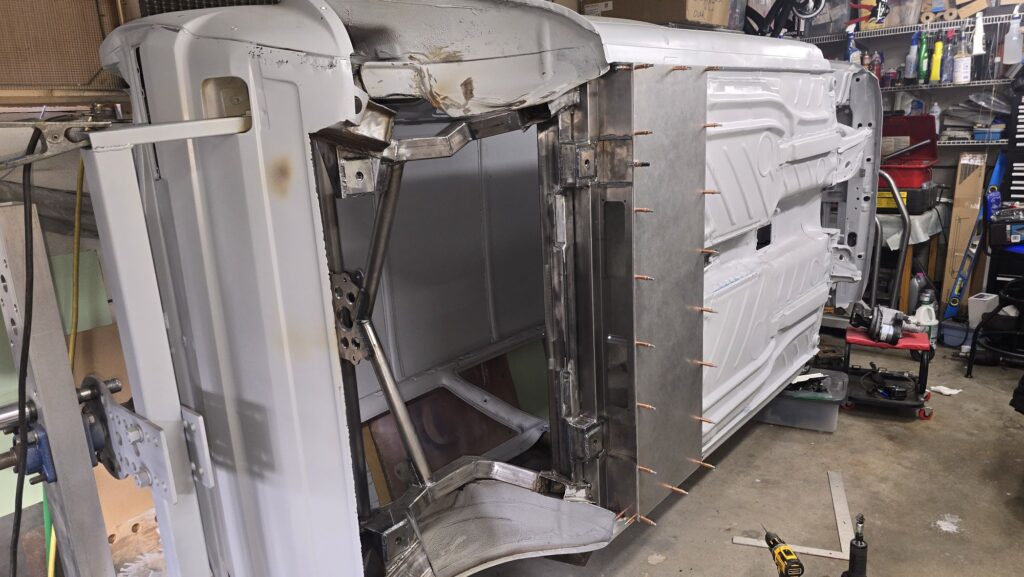
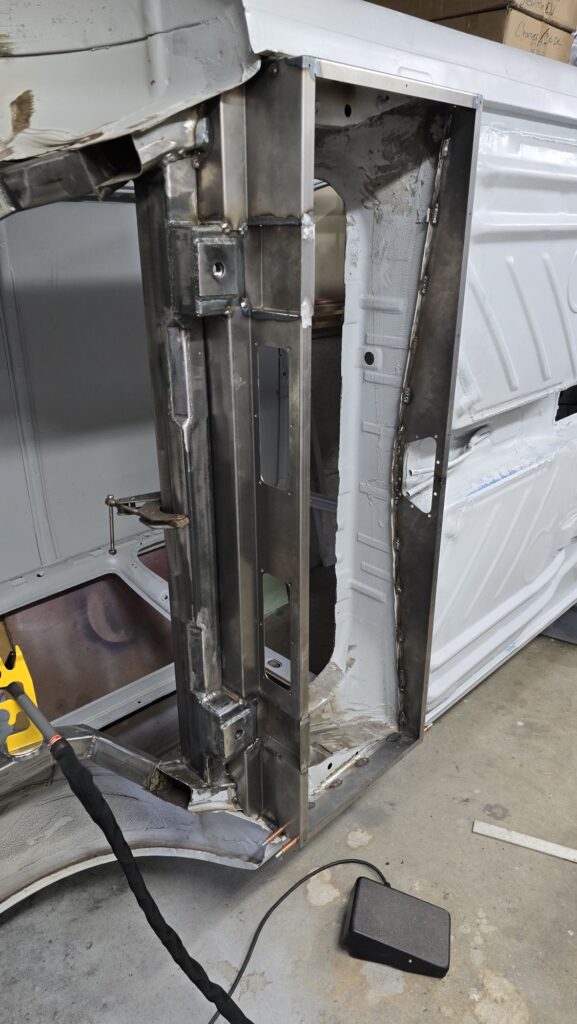
More Roll Cage


